How to Suspend a VPS in Virtualizor?
Introduction:
Suspending a VPS (Virtual Private Server) in Virtualizor is a simple and effective way to temporarily stop a server's operations.
In this article, we'll walk you through the steps to suspend your VPS in a few easy-to-follow instructions.
Step 1: Log in to Virtualizor
Log in to Virtualizor using the VPS management panel details you received via email, along with the server login credentials.
Step 2: Select the VPS
On the left-hand panel, click on the List VPS tab. This will display all of your VPS instances.
Step 3: Suspend VPS
1. Find the VPS that you want to suspend.
2. In the ACTION section, click on the three-dots icon (…).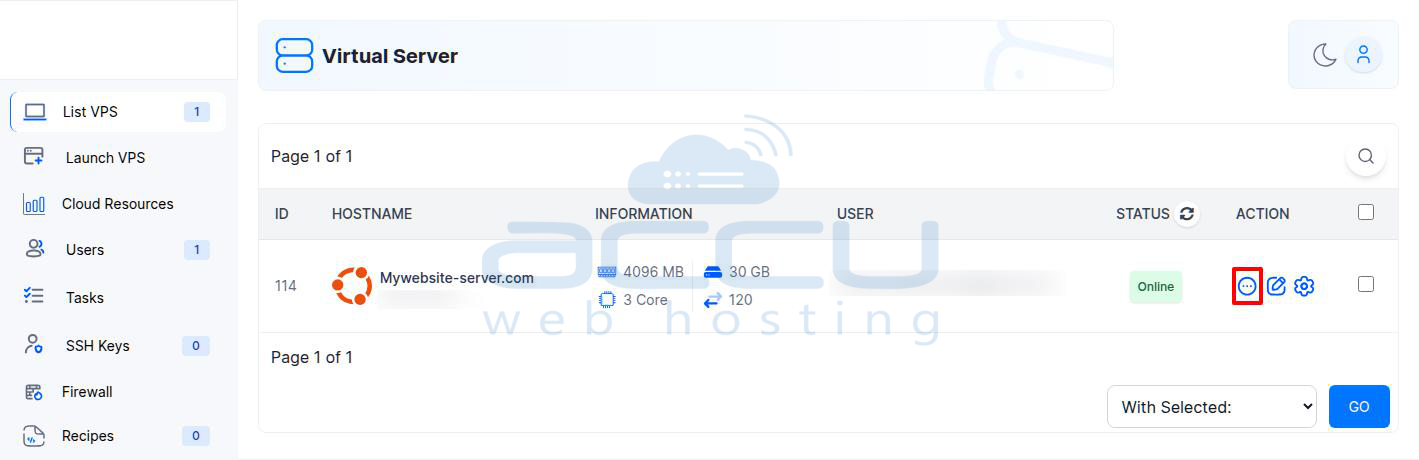
3. This will open a dropdown menu where you can select the "Suspend VPS" option.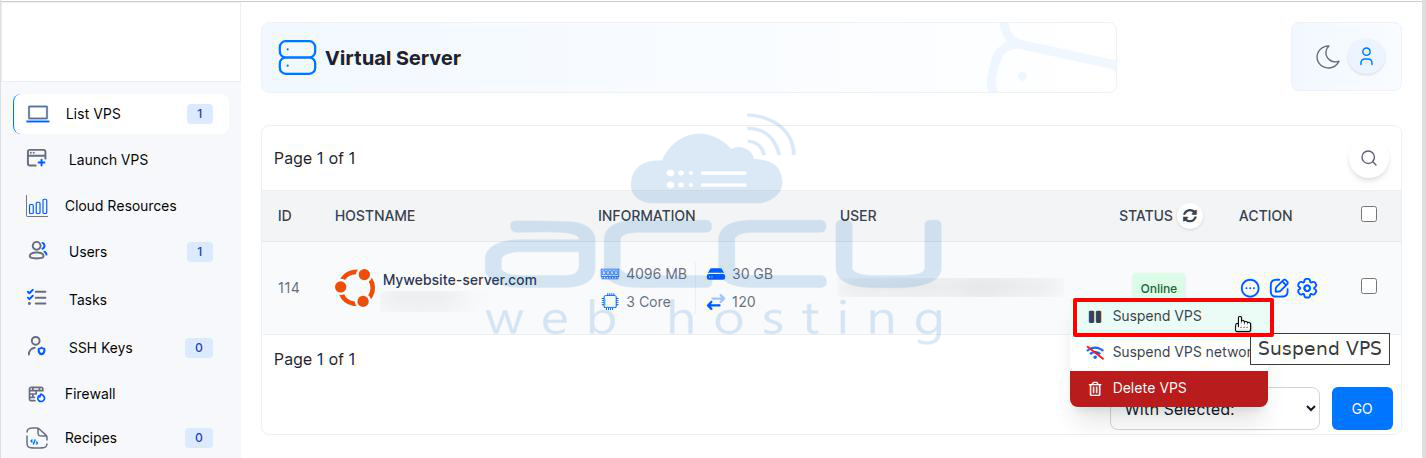
4. Click on the Suspend VPS button.
Step 4: Confirm Suspension
A confirmation modal will appear. Click OK to confirm that you want to suspend the VPS.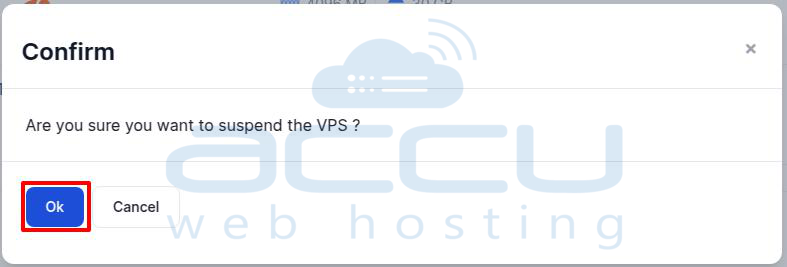
Step 5: Success Message
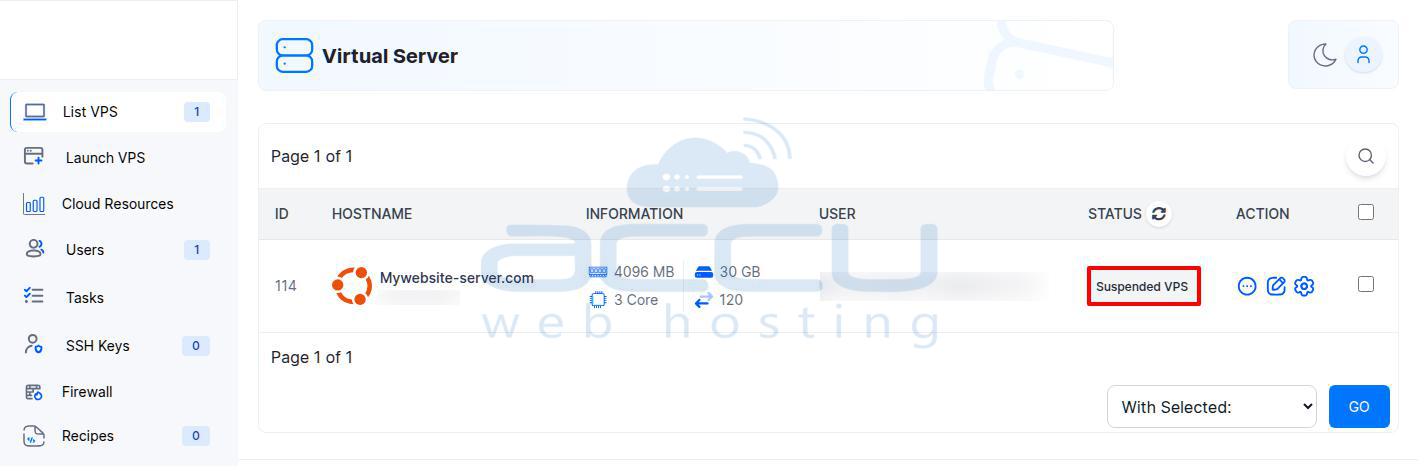
Once you confirm, a success message will appear: "The VPS has been suspended."
The VPS Status will now change from Online to Suspended VPS, indicating that the VPS has been successfully suspended.
Conclusion:
Suspending your VPS in Virtualizor is a straightforward process that can be completed in just a few clicks. By following the steps outlined above, you can easily pause the VPS when necessary and resume its operations whenever you're ready. If you have any questions or need further assistance, don't hesitate to reach out for support.
