Introduction:
Terraria is a popular 2D sandbox adventure game that allows players to explore, build, craft, and fight enemies in a procedurally generated world. While the game can be played in single-player mode, hosting your own multiplayer server allows you to play with friends or create a community server with full control over settings, world management, and access permissions.
Using Docker to host a Terraria server simplifies deployment and management. Docker containers isolate the game server from the host system, making installation faster, cleaner, and easier to maintain. It also allows administrators to easily update, restart, or migrate the server without complicated manual configurations.
In this guide, we will walk through the steps to deploy a Terraria server using Docker on an Ubuntu VPS, including container setup, configuration, and how players can connect to the server.
Step 1: Install Docker
First, update your server packages:
> sudo apt update && sudo apt upgrade -y

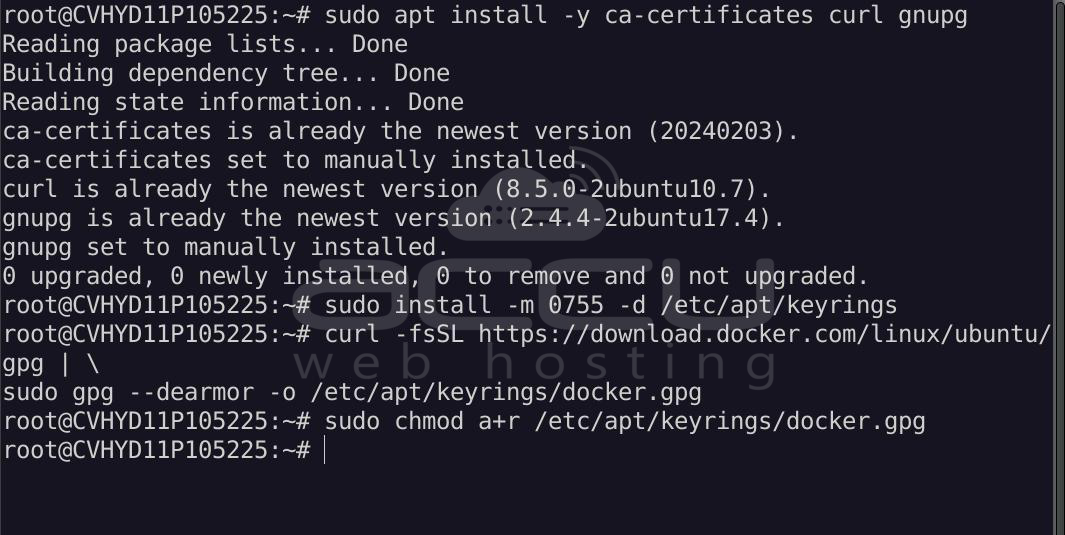
Install required dependencies:
> sudo apt install -y ca-certificates curl gnupg
Add Docker’s official GPG key:
> sudo install -m 0755 -d /etc/apt/keyrings
> curl -fsSL https://download.docker.com/linux/ubuntu/gpg | \sudo gpg --dearmor -o /etc/apt/keyrings/docker.gpg
> sudo chmod a+r /etc/apt/keyrings/docker.gpg
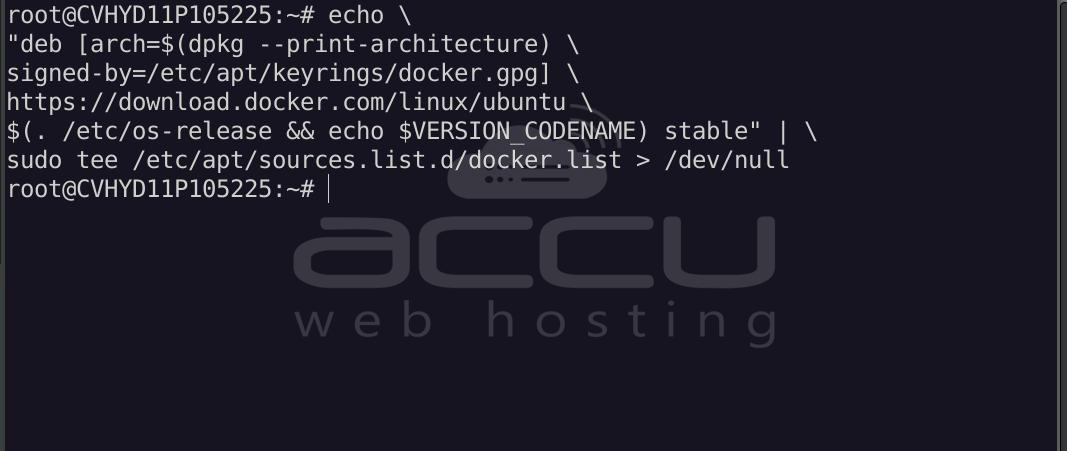
Add the Docker repository:
> echo \"deb [arch=$(dpkg --print-architecture)
signed-by=/etc/apt/keyrings/docker.gpg] \
https://download.docker.com/linux/ubuntu \
$(. /etc/os-release && echo $VERSION_CODENAME) stable" | \
sudo tee /etc/apt/sources.list.d/docker.list > /dev/null
Update packages again:
> sudo apt update
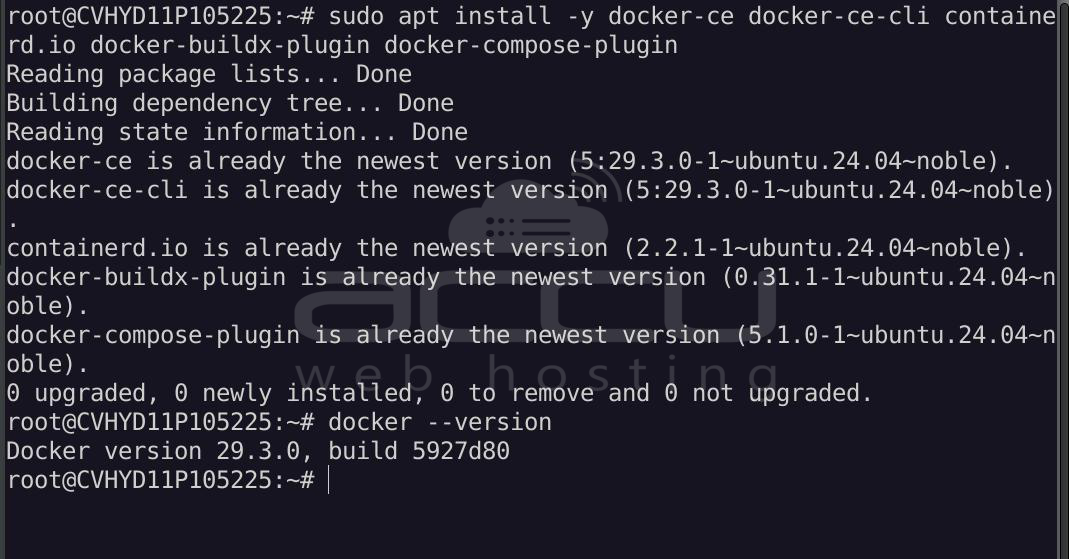
Install Docker:
> sudo apt install -y docker-ce docker-ce-cli containerd.io docker-buildx-plugin docker-compose-plugin
Verify Docker installation:
> docker --version
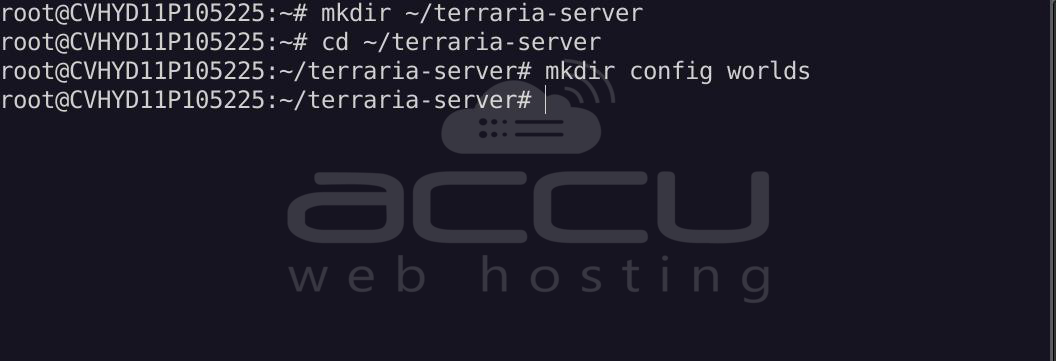
Create a directory to store Terraria server files.
> mkdir ~/terraria-server
> cd ~/terraria-server
Create a configuration directory to store the server settings and world files.
> mkdir config worlds
Step 3: Create the Terraria Server Configuration File
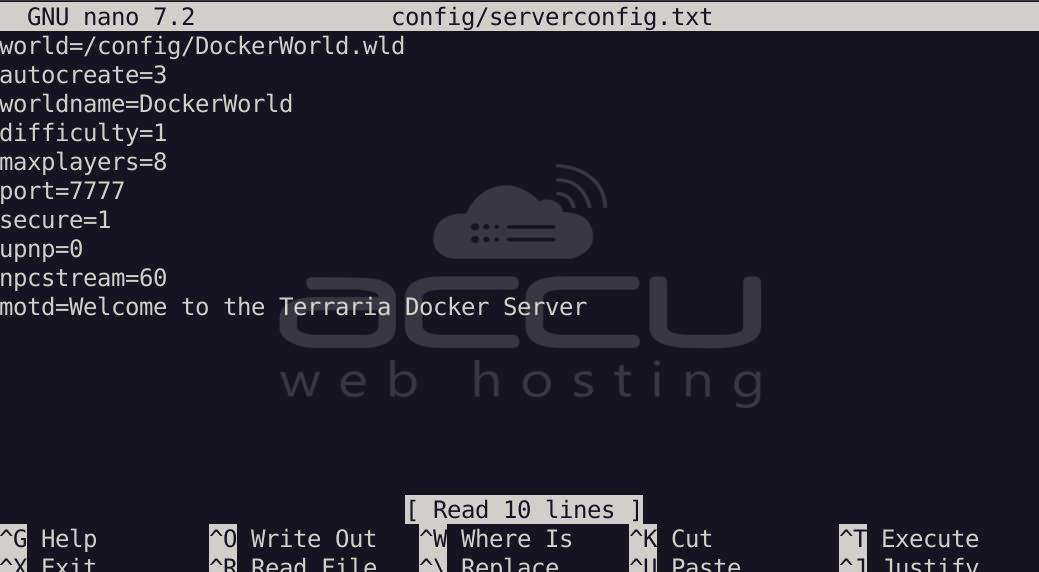
Create the server configuration file:
> nano config/serverconfig.txt
Add the following configuration:
world=/config/DockerWorld.wld
autocreate=3
worldname=DockerWorld
difficulty=1
maxplayers=8
port=7777
secure=1
upnp=0
npcstream=60
motd=Welcome to the Terraria Docker Server
|
Parameter |
Description |
|
world |
Path where the world file will be created |
|
autocreate |
Automatically generates a new world (3 = Large world) |
|
worldname |
Name of the generated world |
|
difficulty |
World difficulty (1 = Normal) |
|
maxplayers |
Maximum number of players |
|
port |
Terraria server port |
|
motd |
Message displayed to players when joining |
Save and exit the editor.
Step 4: Pull the Terraria Docker Image
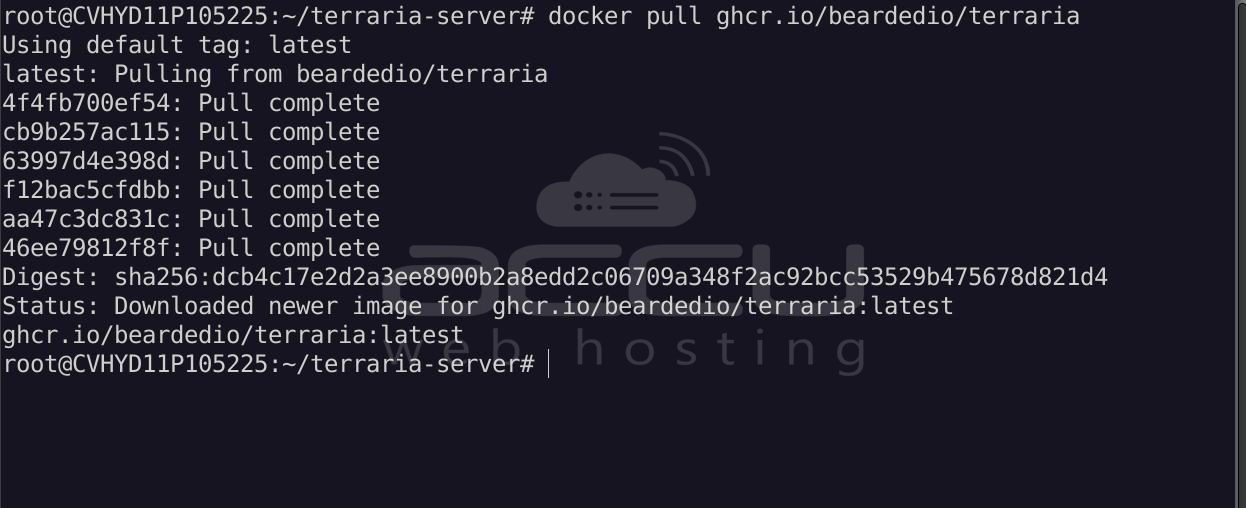
Download the Terraria server Docker image:
> docker pull ghcr.io/beardedio/terraria
Step 5: Run the Terraria Server Container
Run the Terraria server using Docker:
> docker run -d \--name terraria-server \-p 7777:7777 \-v ~/terraria-server/config:/config \ghcr.io/beardedio/terraria
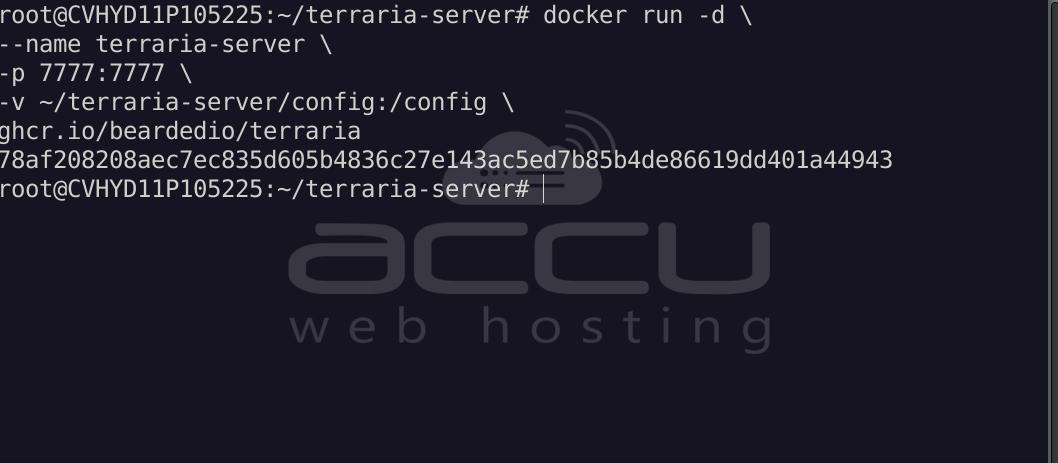
Explanation of parameters:
- -d -> runs the container in the background
- --name terraria-server -> sets the container name
- -p 7777:7777 -> exposes the Terraria server port
- -v ~/terraria-server/config:/config -> stores configuration and world files on the host system
When the container starts for the first time, the server automatically generates the world from the configuration file.
Step 6: Verify the Server is Running
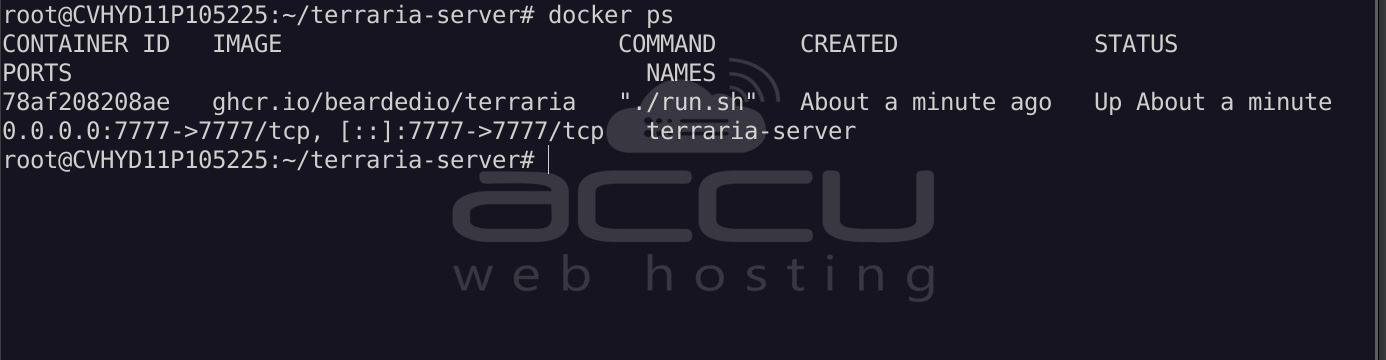
Check running containers:
> docker ps
View server logs:
> docker logs -f terraria-server
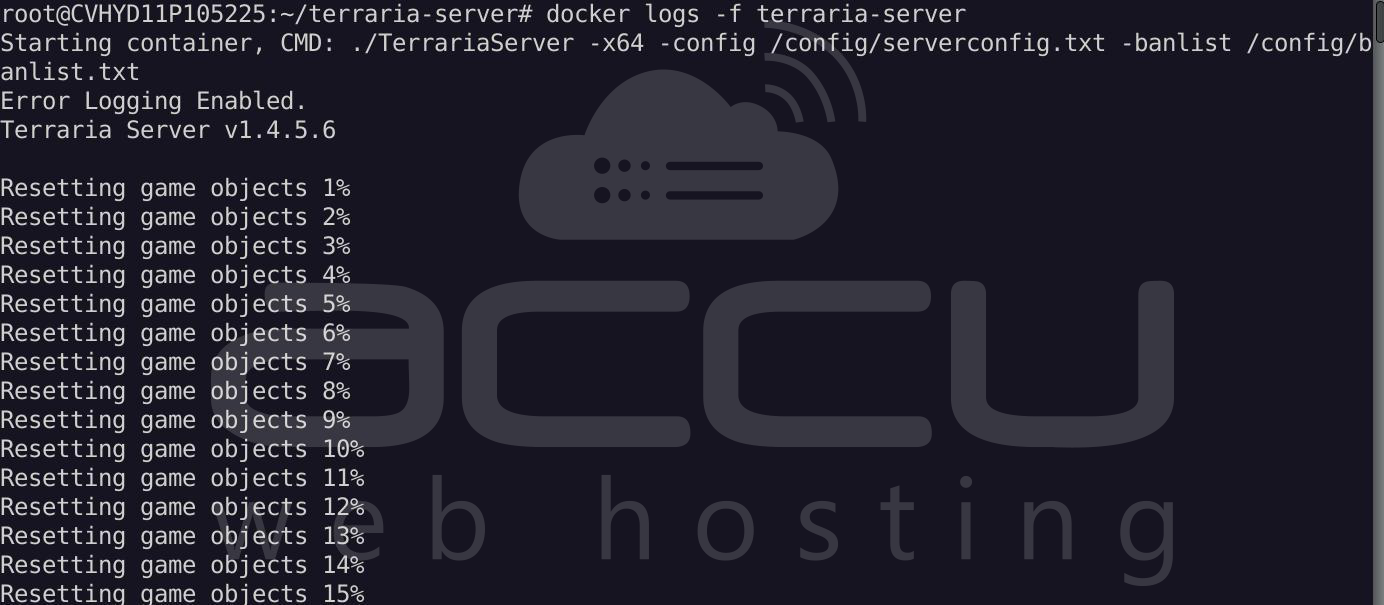
When the world generation completes successfully, you should see output similar to:
Terraria Server v1.4.5.6
Listening on port 7777
Type 'help' for a list of commands.
: Server started
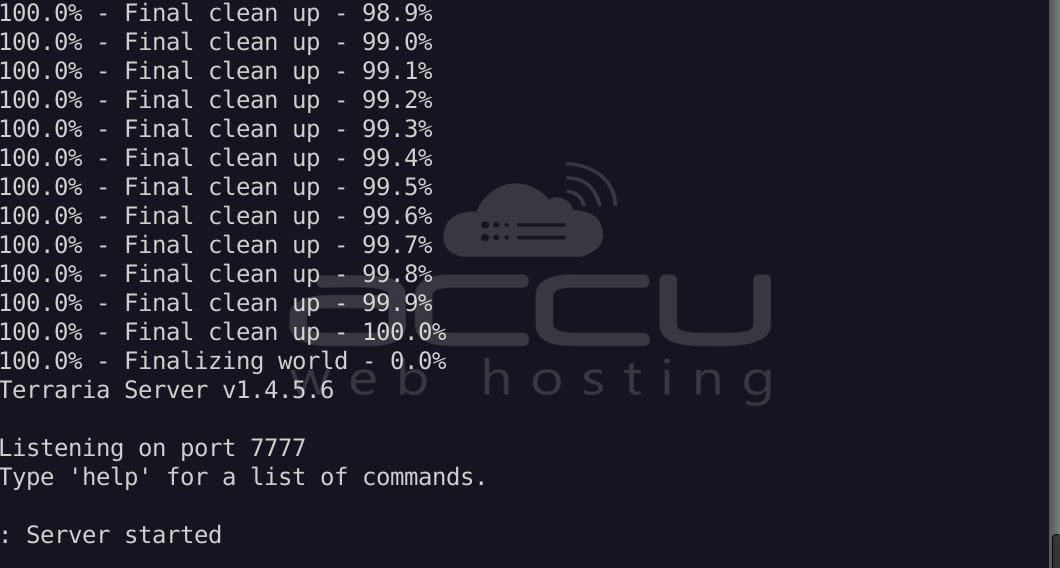
This confirms that the server is running successfully.
Step 7: Configure the Firewall (Optional)
If the firewall is enabled,
allow Terraria server traffic:
> sudo ufw allow 7777/tcp
Reload the firewall rules:
> sudo ufw reload
Step 8: Connect to the Server
Players can connect using the server’s public IP address and port.
Example:
YOUR_SERVER_IP:7777
To connect from the game client:
- Launch Terraria.
- Select Multiplayer.
- Click Join via IP.
- Enter the server IP address.
- Enter port 7777.
Step 9: Managing the Server
Stop the server:
> docker stop terraria-server
Start the server:
> docker start terraria-server
Restart the server:
> docker restart terraria-server
View logs:
> docker logs -f terraria-server
Remove the server container:
> docker rm -f terraria-server
Summary:
Hosting a Terraria server with Docker provides a fast, efficient way to run a multiplayer game server on Linux. In this guide, we installed Docker, created a dedicated server directory, configured the Terraria server using a configuration file, and deployed the server container using a stable Docker image. The server automatically generated the world and began listening for player connections on port 7777.
Docker also simplifies server management, allowing administrators to start, stop, and monitor servers with simple commands.
Conclusion:
Running a Terraria server with Docker is one of the simplest and most reliable ways to host multiplayer worlds. Docker removes the complexity of manual installation and ensures the server runs in a consistent, isolated environment.
By following the steps in this guide, you can deploy a fully functional Terraria server in minutes. This setup is suitable for both private servers with friends and larger community servers, offering flexibility, stability, and easy maintenance for your Terraria multiplayer experience.
