Introduction
Hosting your own Counter-Strike: Global Offensive (CS:GO) server allows full control over gameplay settings, player limits, maps, tickrate, and server rules. While Valve has transitioned the live game to Counter-Strike 2 (CS2), many administrators still deploy legacy or community servers for testing, LAN environments, or archived gameplay.
Using Docker simplifies deployment by isolating the game server in a container, while SteamCMD handles the installation and update of the dedicated server files. This guide walks you through setting up a persistent CS:GO server using Docker on Ubuntu 24.04, including SteamCMD installation and Steam Game Server Login Token (GSLT) generation.
Prerequisites
Before proceeding, make sure your system meets the following requirements:
- A machine running Ubuntu 24.04 (or later).
- Docker installed. If Docker is not installed, follow these steps to install it:
- Update the package index:
> sudo apt update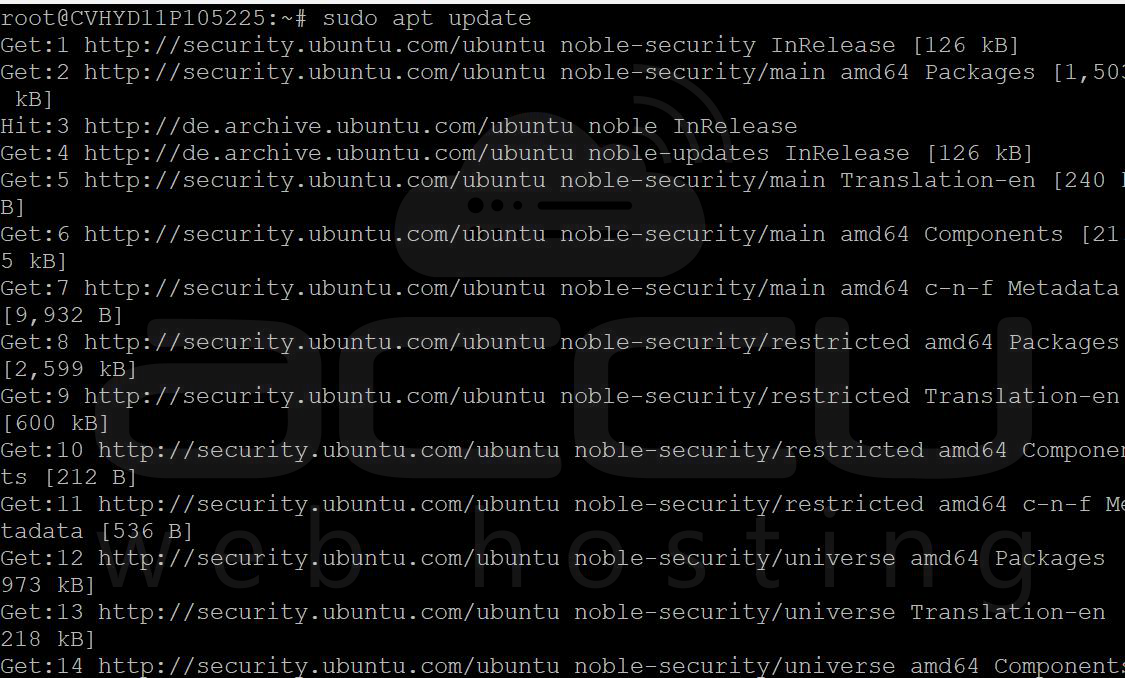
- Install Docker:
> sudo apt install docker.io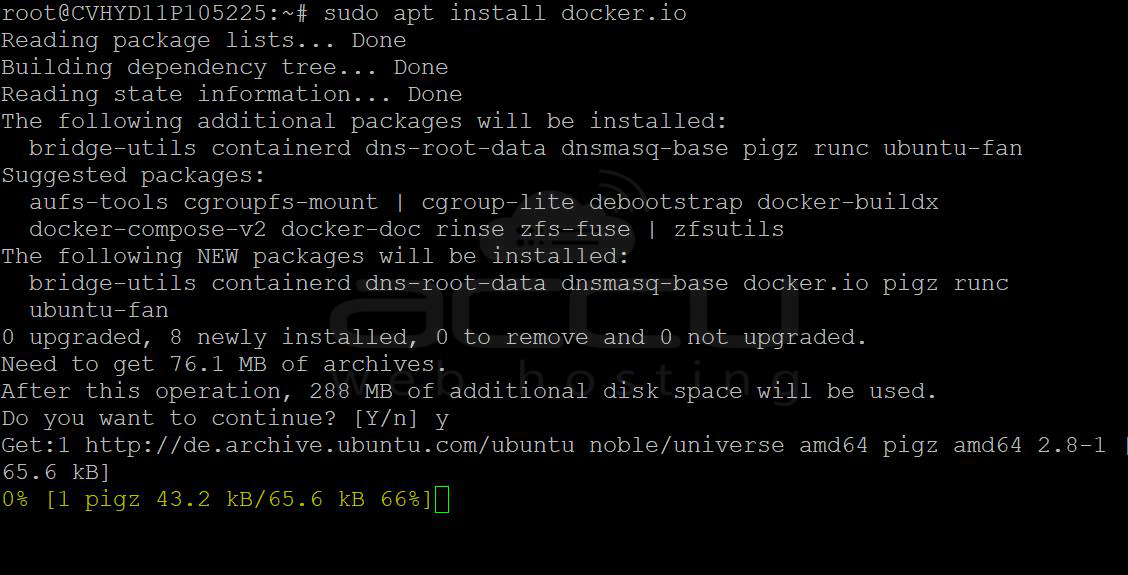
- Enable Docker to start on boot:
> sudo systemctl enable --now docker - Verify Docker installation:
> docker --version
- Basic familiarity with Docker commands.
- An open firewall port for CS:GO (default port: 27015).
Step 1: Create Persistent Storage for CS:GO Data
Docker containers are ephemeral by default, meaning the data stored in them will be lost if the container is removed or restarted. To avoid this, you need to create a persistent storage directory on your host system.
Create a directory for storing CS:GO server data:
> sudo mkdir -p /opt/gameserver/csgo
This directory will hold the CS:GO server configuration files, maps, and other server data.
Step 2: Pull the CS:GO Docker Image
Next, you need to pull the avgaltsev/counter-strike-go image from Docker Hub.
Pull the CS:GO Docker image using the following command:
> docker pull avgaltsev/counter-strike-go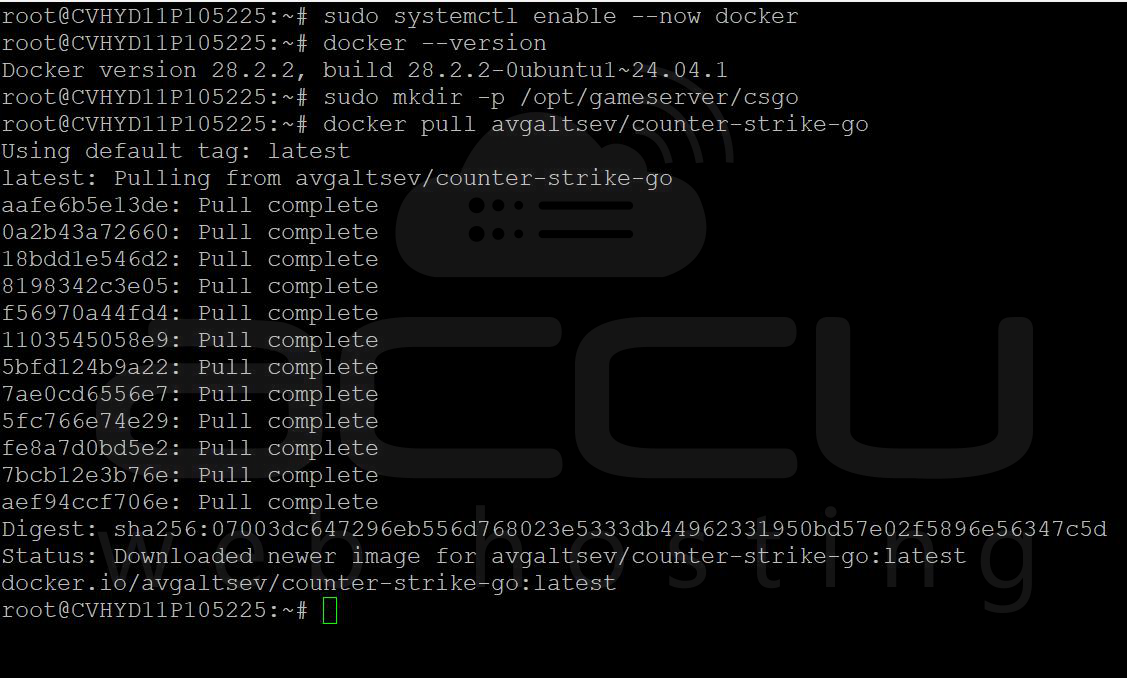
This will download the latest version of the CS:GO server image to your local system.
Step 3: Run the Docker Container with Volume Mapping
Once the image is pulled, you need to run the CS:GO server container with the persistent storage directory that you created earlier. This step ensures that the server data (like configurations, maps, and logs) will persist even after the container is stopped or restarted.
Run the CS:GO server container using the following command:
> docker run -d \
--name csgo-server \
--restart unless-stopped \
-p 27015:27015/udp \
-p 27005:27005/udp \
-p 7777:7777/tcp \
-e STEAM_TOKEN=YOUR_GSLT_TOKEN \
avgaltsev/counter-strike-go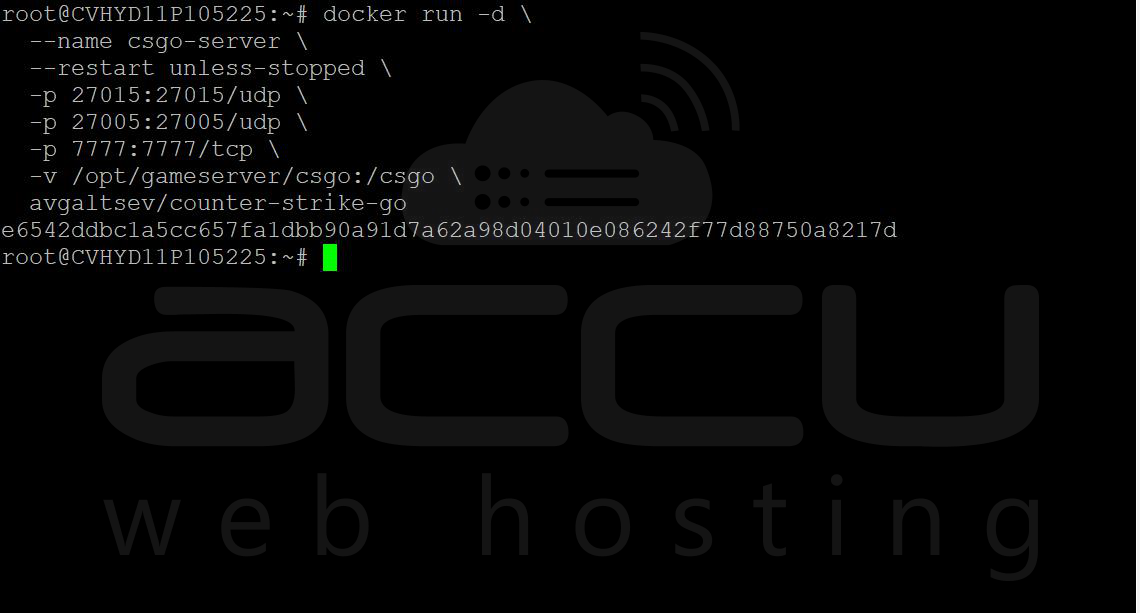
Replace YOUR_GSLT_TOKEN with the actual token.
Breakdown of the command:
- -d: Runs the container in the background.
- --name csgo-server: Names the container csgo-server.
- --restart unless-stopped: Ensures the container restarts automatically unless manually stopped.
- -p 27015:27015/udp: Exposes the default CS:GO game port (UDP) for player connections.
- -p 27005:27005/udp: Exposes the server query port (UDP).
- -p 7777:7777/tcp: Exposes the RCON command port (TCP).
- -v /opt/gameserver/csgo:/csgo: Maps the host directory /opt/gameserver/csgo to /csgo inside the container, ensuring persistent data.
- avgaltsev/counter-strike-go: The Docker image used to run the CS:GO server.
Step 4: Verify the Server is Running
To ensure the CS:GO server container is up and running, use the docker ps command:
> docker ps
You should see an output similar to this:
CONTAINER ID IMAGE COMMAND CREATED STATUS PORTS NAMES
3837aefe4975 avgaltsev/counter-strike-go "/bin/sh -c 'cd /roo…" 23 minutes ago Up 23 minutes 0.0.0.0:27005->27005/udp, [::]:27005->27005/udp, 0.0.0.0:7777->7777/tcp, [::]:7777->7777/tcp, 0.0.0.0:27015->27015/udp, [::]:27015->27015/udp csgo-server
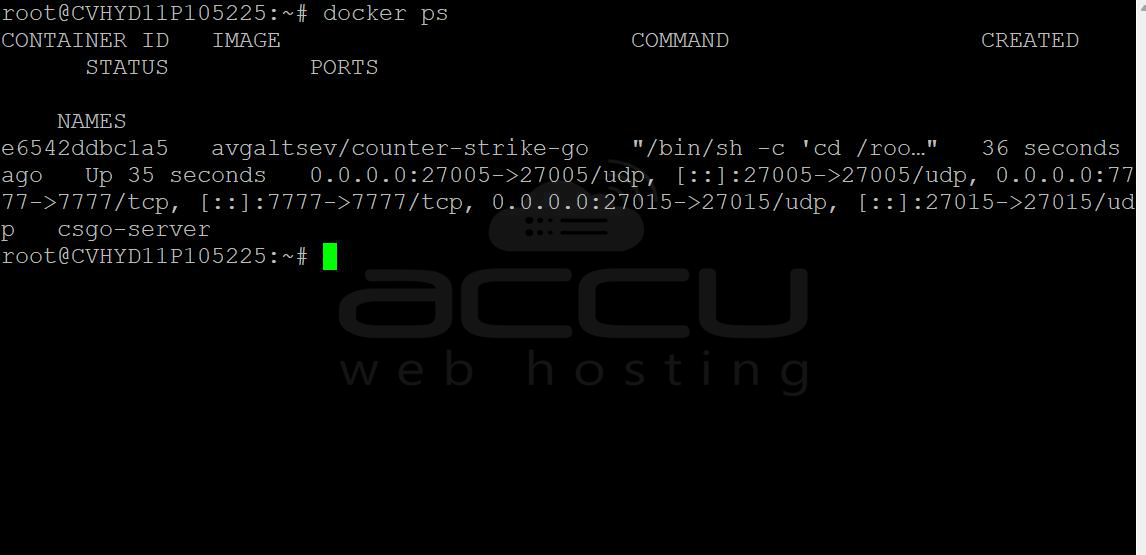
This confirms that the CS:GO server is running and listening on the specified ports.
You can also confirm:
> docker inspect -f '{{.State.Status}}' csgo-server
Expected output: running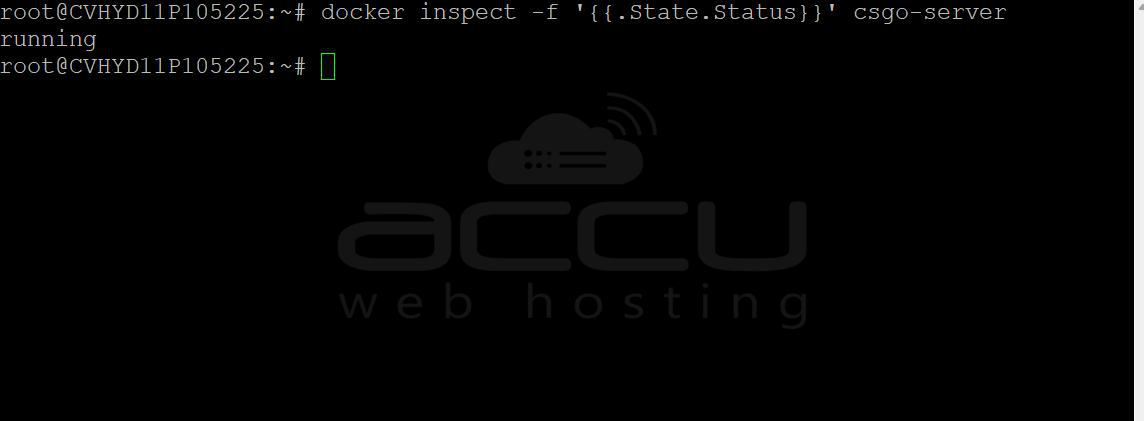
Step 5: Check Logs for Errors
If you're not sure whether the server has started correctly, you can view the container logs.
View logs in real-time using:
> docker logs -f csgo-server
This will stream the logs, allowing you to see if there are any issues starting the server or if it’s successfully running.
Step 6: Access the CS:GO Server
To join your server, open CS:GO on your client machine and connect through the server browser:
- Open the CS:GO client and go to Play.
- Select Community Server Browser.
- Search for your server by entering your IP address and port (default is 27015).
- If you've set up a password, enter it when prompted.
Alternatively, you can directly connect using the console in CS:GO by typing:
> connect <Your_Server_IP>:27015
Step 7: Modify Server Configuration (Optional)
You can customize the server’s settings, such as the server name, maximum players, or map rotation, by editing the server.cfg file located in the /opt/gameserver/csgo directory.
- Modify the server.cfg file:
> nano /opt/gameserver/csgo/csgo/cfg/server.cfg - Make any changes you need (for example, to set the server password, max players, etc.).
- After editing, restart the container to apply the changes:
> docker restart csgo-server
Step 8: Managing the CS:GO Server
You can easily manage the CS:GO server using Docker commands:
- Stop the server:
> docker stop csgo-server - Restart the server:
> docker restart csgo-server - Remove the container (useful if you want to reset or remove the server):
> docker rm csgo-server
Step 9: Open Ports in Firewall (if Necessary)
If you're using a firewall (such as UFW), make sure the necessary ports are open for CS:GO:
> sudo ufw allow 27015/udp
> sudo ufw allow 27005/udp
> sudo ufw allow 7777/tcp
This will allow the game and server queries to pass through the firewall.
Conclusion
In this guide, we walked through the steps to host a CS:GO server using the avgaltsev/counter-strike-go Docker image on Ubuntu 24.04. By following these steps, you’ve set up a persistent CS:GO server that survives restarts and is customizable to your needs. Docker simplifies the management of the server, allowing you to focus on gaming rather than server maintenance.
Feel free to customize the server further by adjusting the configuration files, adding mods, or modifying the map rotation. Let me know if you need further assistance with any part of the setup!
