What Is IceWarp?
IceWarp is a unified communications and collaboration platform that combines email server functions with groupware tools like calendars, contacts, chat, file sharing, and more—all in one solution. Originally launched in 1999 (formerly known as Merak Mail Server), IceWarp has evolved into a complete communications suite for businesses of all sizes. It can be installed on‑premises (like on a VPS) or used in the cloud.
Key Capabilities:
IceWarp works as a server and collaboration platform that includes:
Email services with SMTP, IMAP, and POP3 support.
Webmail and rich groupware — email, calendar, tasks, contacts, etc.
Instant messaging and chat tools.
VoIP/SIP phone features (voice calls).
File sharing and office document collaboration.
Security features like antispam, antivirus, SSL/TLS, and optional encryption.
Mobile sync support via ActiveSync and CalDAV / CardDAV.
In essence, IceWarp gives business users a single platform for email + team collaboration + communications.
Why Use IceWarp?
IceWarp is used to replace or complement traditional email servers (like Microsoft Exchange) with a modern suite that:
- Keeps all communication (email, chat, calendars) integrated
- Allows management of your own domains and users
- Offers browser‑based and client support
- Provides better control over data and security
- Scales from small teams to larger enterprises
Businesses choose IceWarp when they need full control over email and collaboration services on their own infrastructure.
Prerequisites Before Installing on Rocky Linux 9:
Before beginning, make sure you have:
A Rocky Linux 9 VPS with root SSH access
A valid IceWarp installation package (download from the IceWarp website)
Basic familiarity with terminal commands (SSH, scp, firewall, etc.)
Open appropriate ports for mail, web, and collaboration services (e.g., 25, 80/443, 587, 993, etc.)
The IceWarp install supports Red Hat Enterprise Linux 9, Rocky Linux 9, and compatible systems.
Step‑by‑Step Installation Guide:
Follow these steps in your Rocky Linux 9 VPS:
1. Connect to Your VPS
Use SSH to log in as root (or a user with sudo privileges):
ssh root@your_vps_ip
2. Update the System
Make sure your system packages are up to date:
sudo dnf update -y
3. Download IceWarp Server
Go to the IceWarp download page and get the Linux server package (.tar.gz) for RHEL9/Rocky9.
Upload it to your server or use wget if you have a direct link.
Example:
wget https://dl.icewarp.com/server/RedHat/RedHat9/icewarp14/IceWarpServer-14.2.0_RHEL9_x64.tar.gz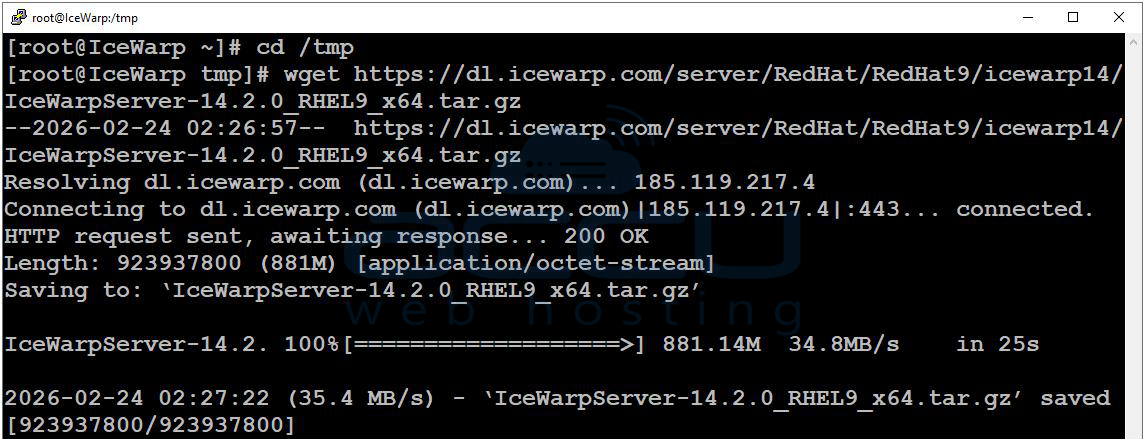
(Change URL to match the latest version.)
4. Extract the Archive
tar xvf IceWarpServer‑14.2.0_RHEL9_x64.tar.gz
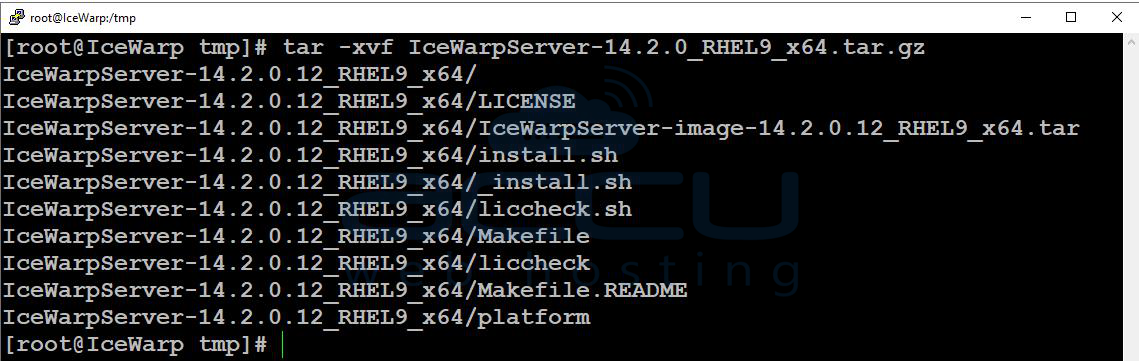
Then enter the folder:
cd IceWarpServer‑14.2.0_RHEL9_x64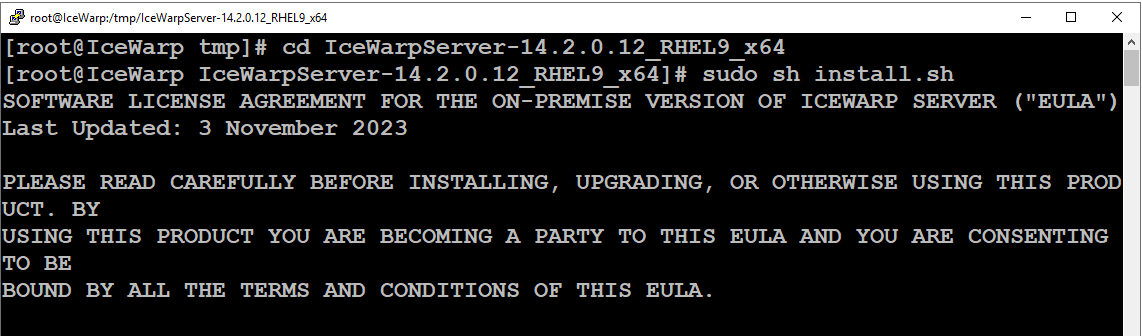
5. Run the Installer Script
Start the interactive installer:
sh install.sh
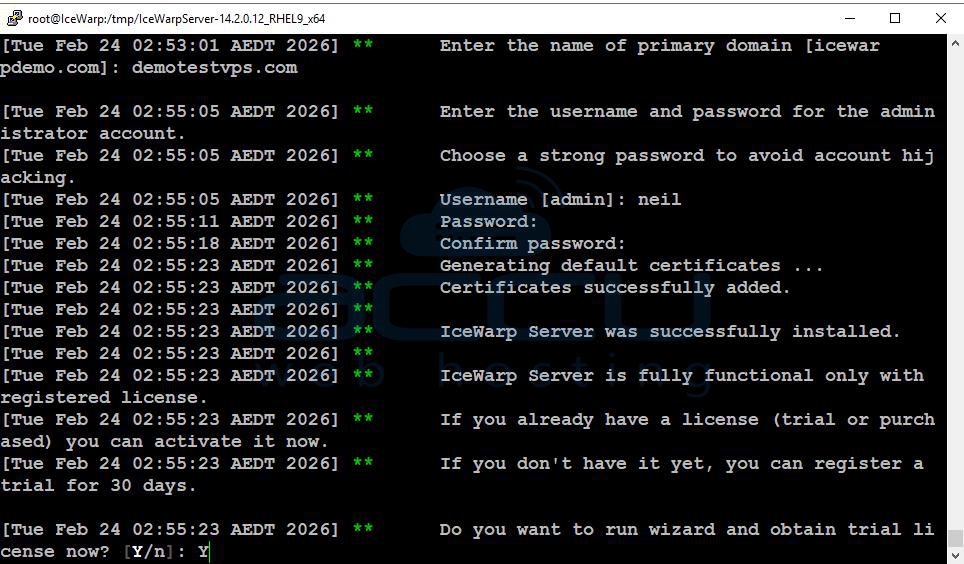
You’ll be guided through:
Accepting the license
Setting installation location
Choosing or creating a non‑root user for IceWarp
Deciding whether to start on boot
Entering hostname and initial config
Follow the prompts, pressing Enter to accept defaults as appropriate.
6. Complete License Setup
At the license step, you can either:
Enter your paid license key
or
Choose to use a trial license (if available).
This activates IceWarp’s features.
7. Access the Admin Web Interface
After installation, open your browser and go to:
https://your_vps_IP/admin/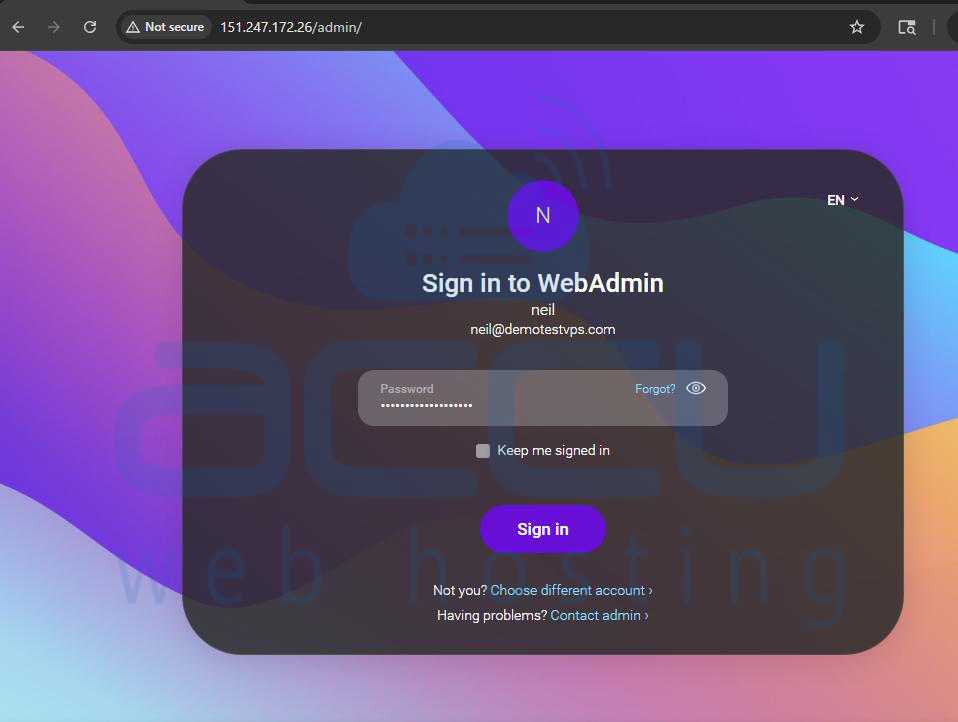
For Webmail:
https://your_vps_IP/webmail/
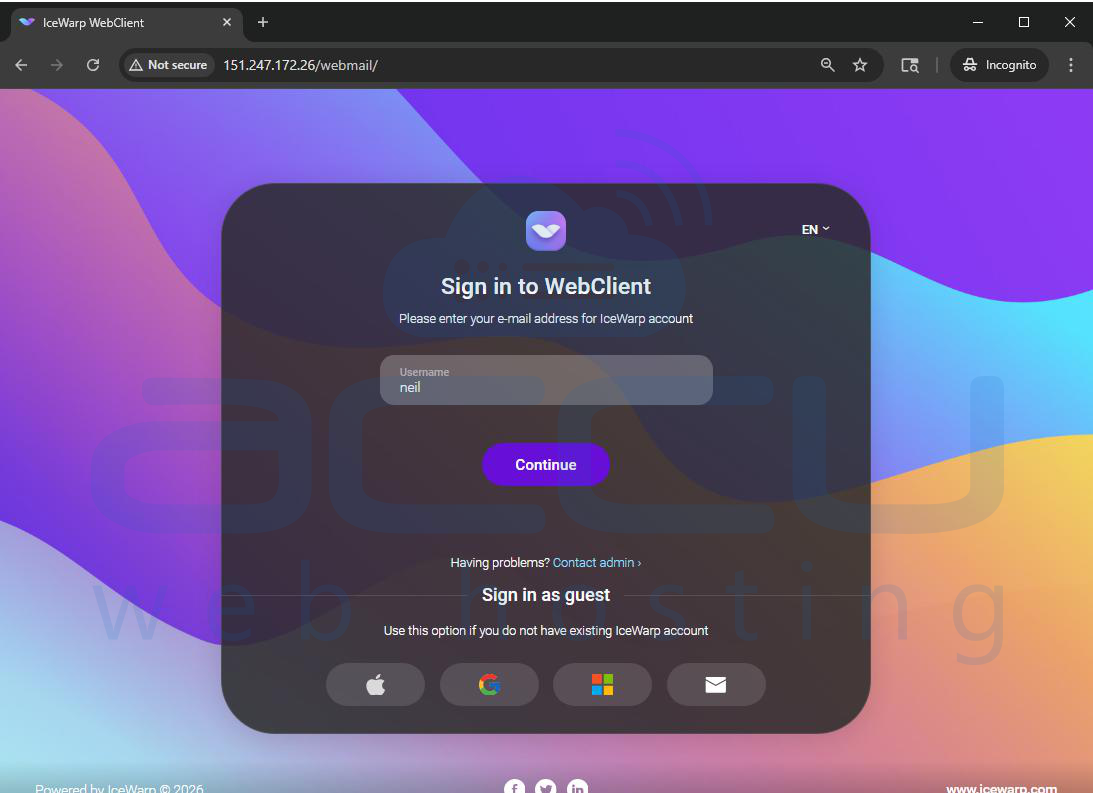
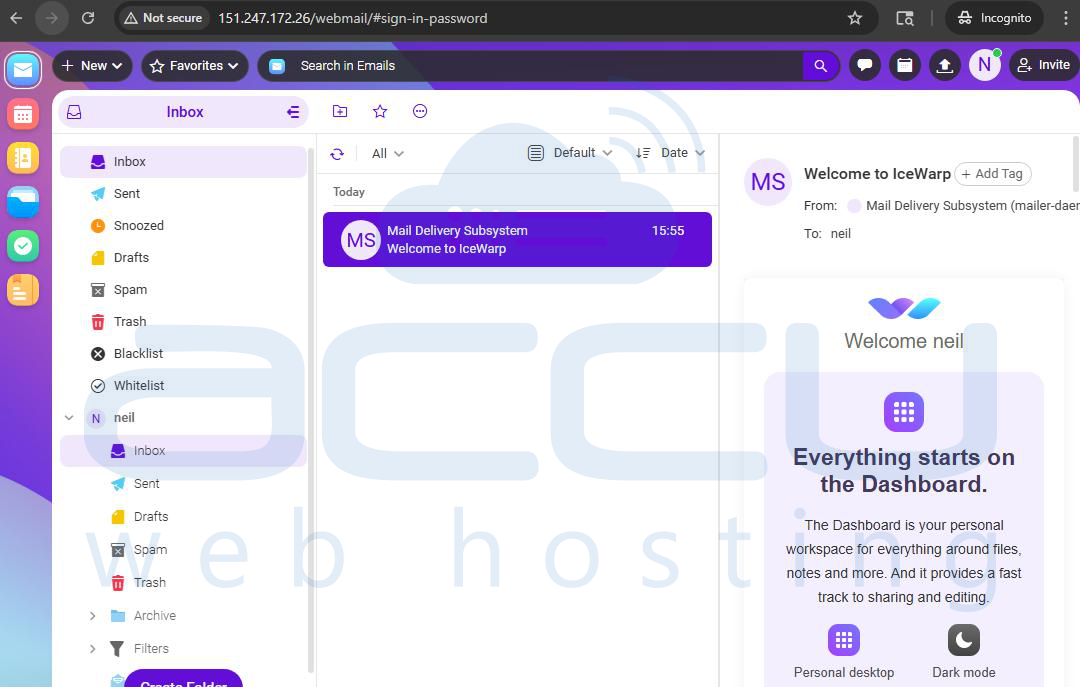
Here you can finalize domain setup, create user accounts, and tweak server options.
Conclusion:
IceWarp is a powerful, all‑in‑one email and collaboration server, ideal for businesses that want control over messaging and team tools. Its installation on Rocky Linux 9 is straightforward with the provided Linux installer, and once running, IceWarp supports a wide array of communication features beyond basic email. If you encounter any issues during installation, please feel free to contact us via chat or support. Our support team will assist you with the installation process.
