Introduction
OpenCart is an open-source online shopping cart solution that is both powerful and user-friendly. It is designed to help entrepreneurs, businesses, and developers set up their e-commerce stores quickly. OpenCart supports multiple languages, currencies, and payment options, making it an ideal choice for a global audience. In this guide, we will walk through the steps to set up OpenCart on an Ubuntu 24.04 server, ensuring your website is both functional and secure.
By following these instructions, you will install OpenCart, configure the necessary dependencies, and be ready to begin building your online store.
Step-by-Step Guide to Install OpenCart
Step 1: Update Your Server
Before installing any software, it’s always a good practice to update your server’s packages to the latest versions.
> sudo apt update && sudo apt upgrade -y
This command will update the package lists and upgrade installed packages.
Step 2: Install Apache Web Server
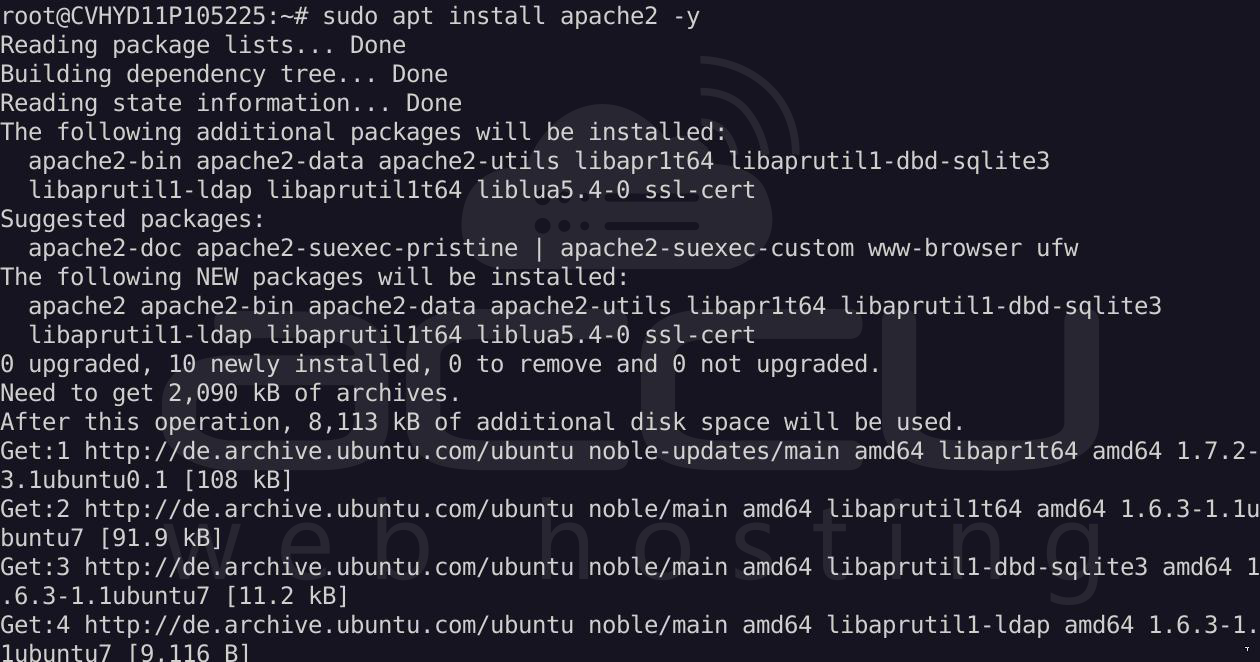
OpenCart requires a web server, and we will be using Apache in this guide.
> sudo apt install apache2 -y
Once installed, enable and start the Apache service:
> sudo systemctl enable apache2
> sudo systemctl start apache2
To ensure Apache is running, you can open your web browser and enter your server's IP address or domain name. You should see the Apache2 Ubuntu default page.
Step 3: Install MySQL Database Server
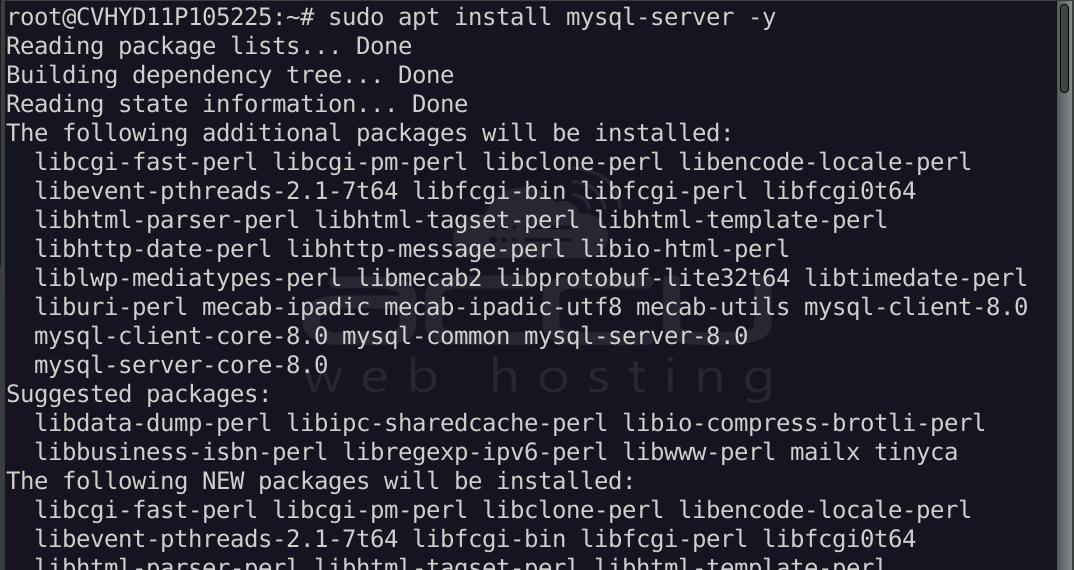
OpenCart requires MySQL to store all e-commerce data, including products, customers, and orders.
> sudo apt install mysql-server -y
Once MySQL is installed, you can secure your MySQL installation:
> sudo mysql_secure_installation
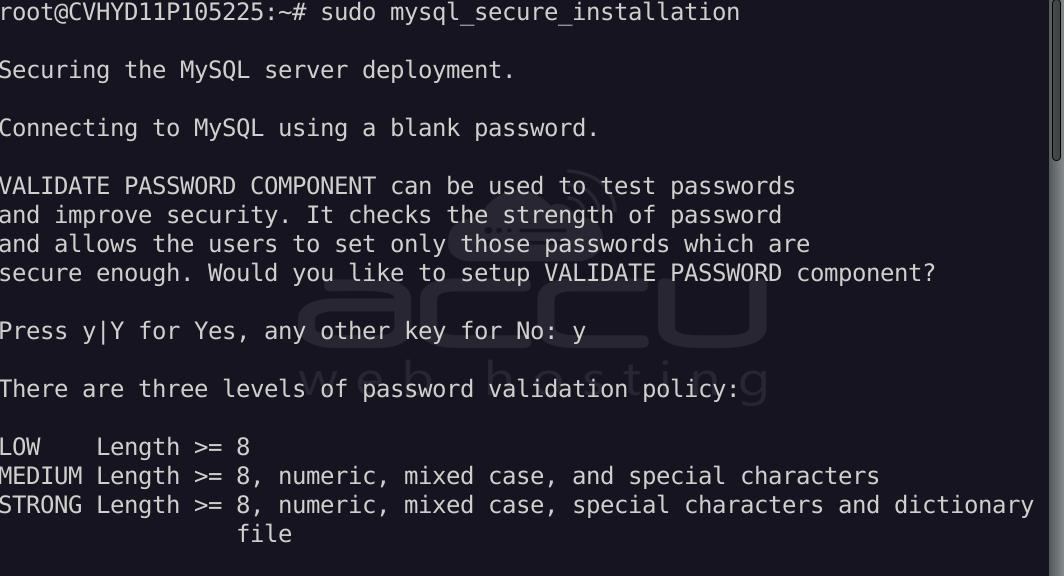
Follow the prompts to set up a root password and secure your MySQL installation.
Step 4: Install PHP and Required Extensions
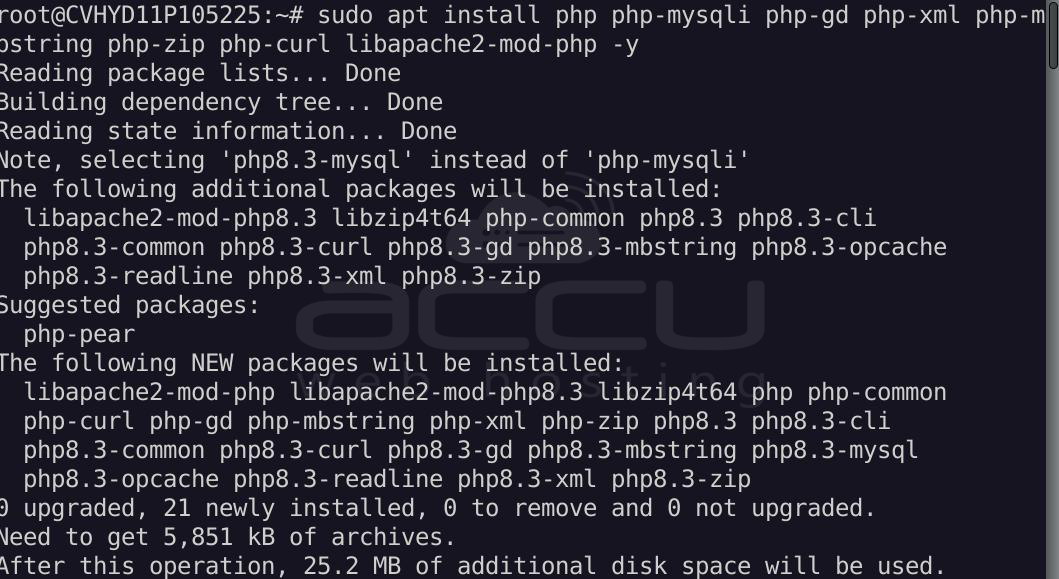
OpenCart requires PHP and several PHP extensions to work correctly. Install PHP and its necessary extensions by running the following command:
> sudo apt install php php-mysqli php-gd php-xml php-mbstring php-zip php-curl libapache2-mod-php -y
Once installed, restart Apache to apply the changes:
> sudo systemctl restart apache2
Step 5: Download and Install OpenCart
Next, we’ll download the latest version of OpenCart. Go to the official OpenCart website and copy the URL for the latest version.
Use wget to download OpenCart:
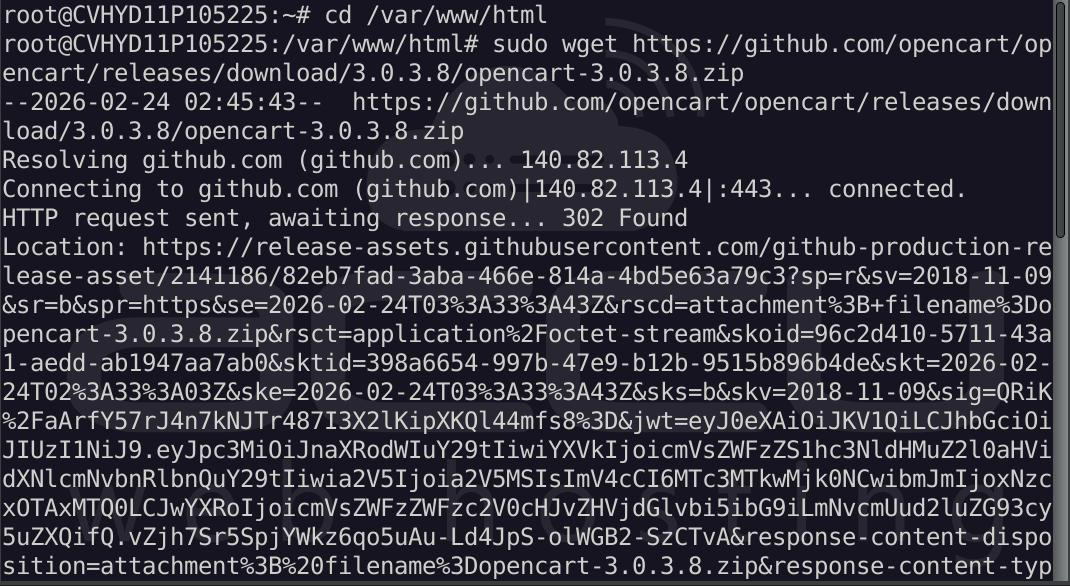
> cd /var/www/html
> sudo wget https://github.com/opencart/opencart/releases/download/3.0.3.8/opencart-3.0.3.8.zip
After downloading, unzip the file:
> sudo apt install unzip
> sudo unzip opencart-3.0.3.8.zip
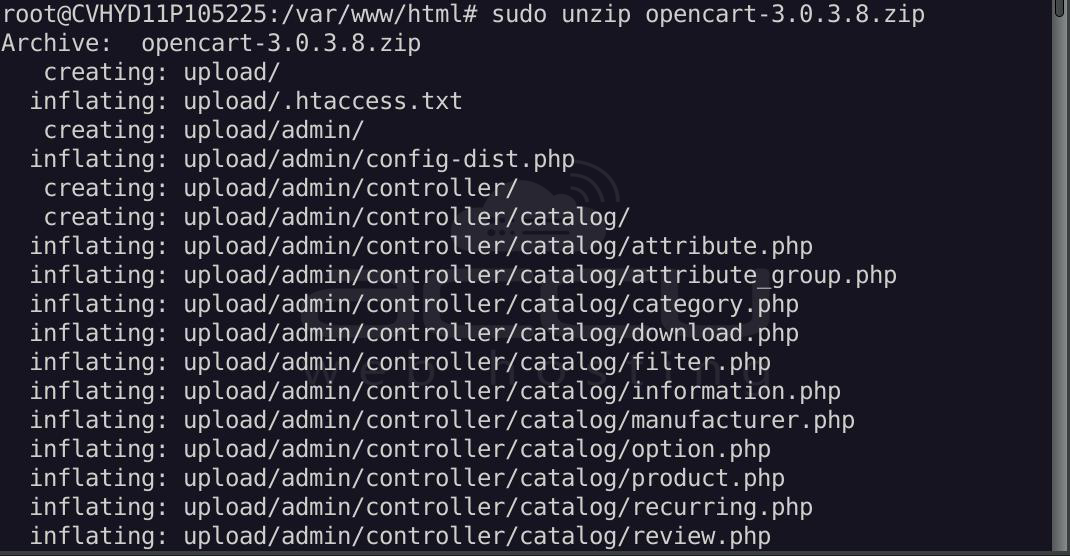
This will extract OpenCart into the current directory (/var/www/html). After extracting, rename the folder to opencart:
> sudo mv upload/ opencart/
Step 6: Set Permissions for OpenCart Directory
It’s important to set the proper file and directory permissions for OpenCart to function correctly:
> sudo chown -R www-data:www-data /var/www/html/opencart/
> sudo chmod -R 755 /var/www/html/opencart/
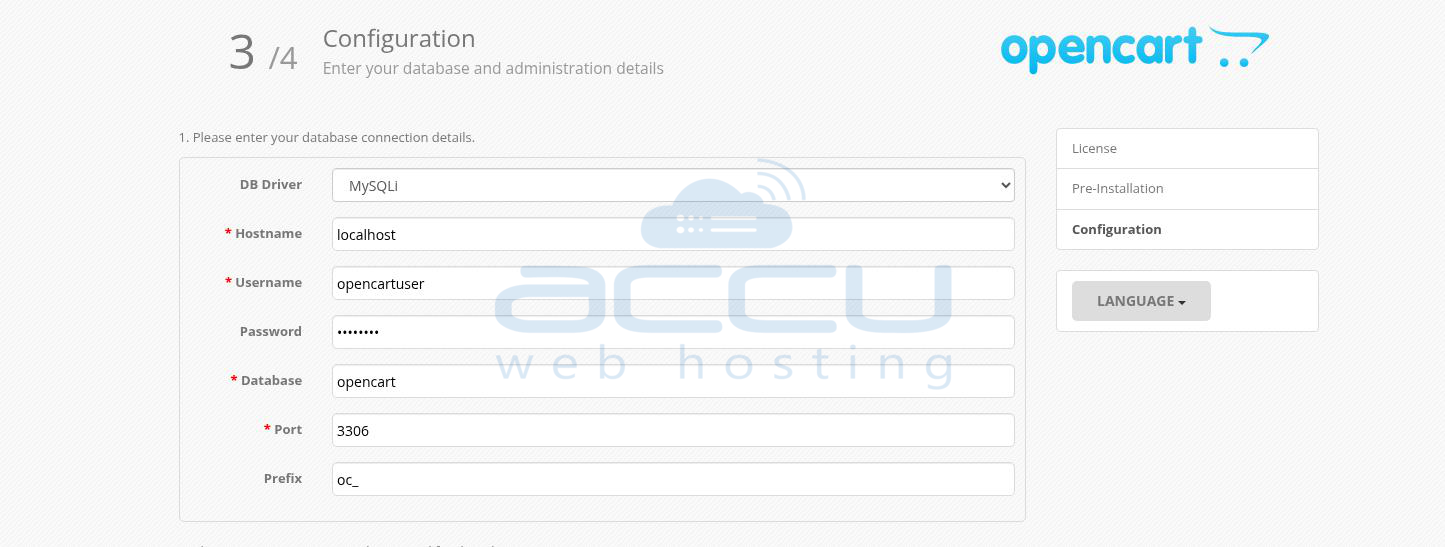
Step 7: Create a MySQL Database for OpenCart
OpenCart requires a database to store your store data. You can create the database by logging into MySQL:
> sudo mysql -u root -p
Inside the MySQL shell, create a database for OpenCart:
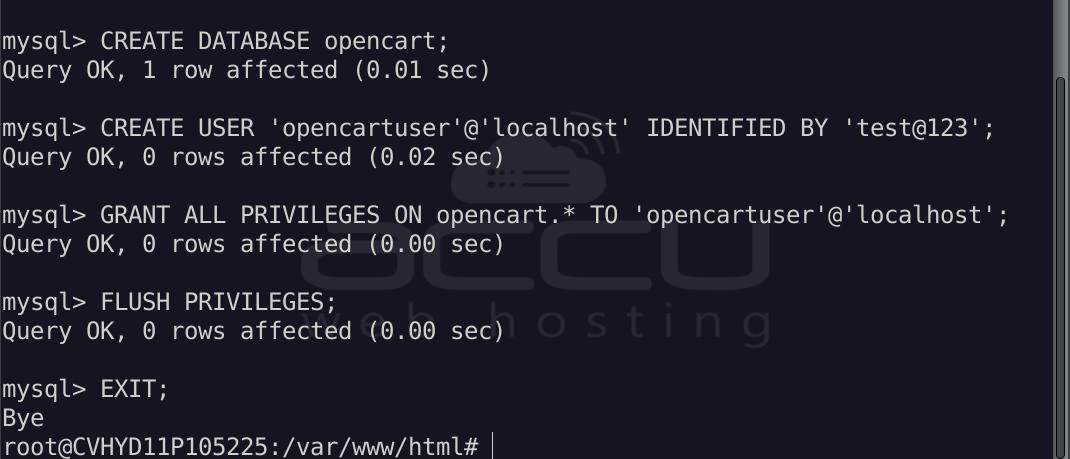
> CREATE DATABASE opencart;
> CREATE USER 'opencartuser'@'localhost' IDENTIFIED BY 'yourpassword';
> GRANT ALL PRIVILEGES ON opencart.* TO 'opencartuser'@'localhost';
> FLUSH PRIVILEGES;
> EXIT;
Make sure to replace 'yourpassword' with a secure password.
Step 8: Configure Apache Virtual Host for OpenCart
Next, create a new Apache virtual host for your OpenCart installation:
> sudo nano /etc/apache2/sites-available/opencart.conf
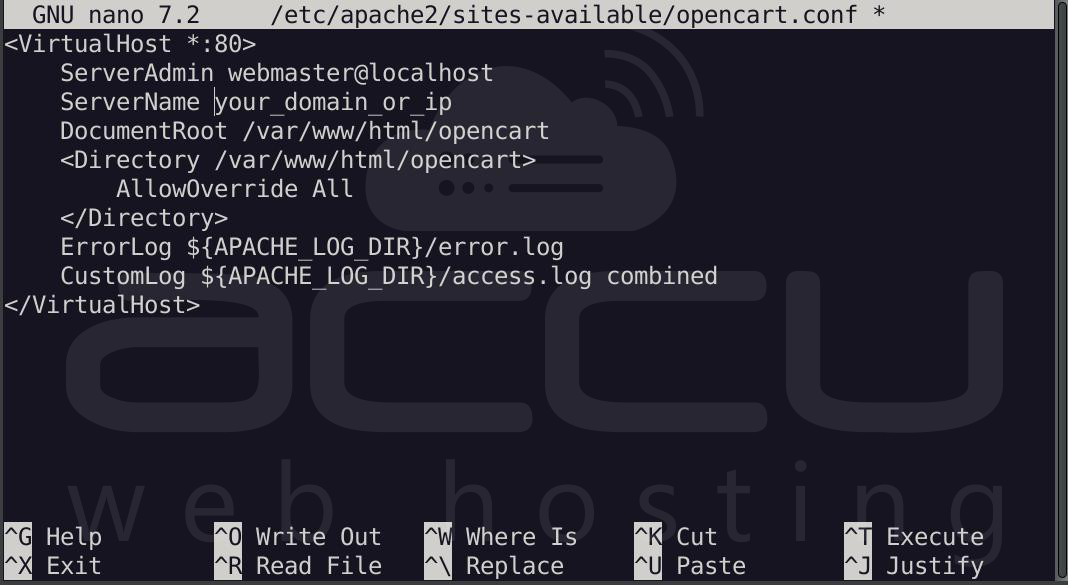
Add the following configuration, making sure to replace your_domain_or_ip with your domain name or server’s IP address:
<VirtualHost *:80>
ServerAdmin webmaster@localhost
ServerName your_domain_or_ip
DocumentRoot /var/www/html/opencart
<Directory /var/www/html/opencart>
AllowOverride All
</Directory>
ErrorLog ${APACHE_LOG_DIR}/error.log
CustomLog ${APACHE_LOG_DIR}/access.log combined
</VirtualHost>
Enable the new virtual host and rewrite module:
> sudo a2ensite opencart.conf
> sudo a2enmod rewrite
> sudo systemctl restart apache2
Step 9: Complete OpenCart Installation
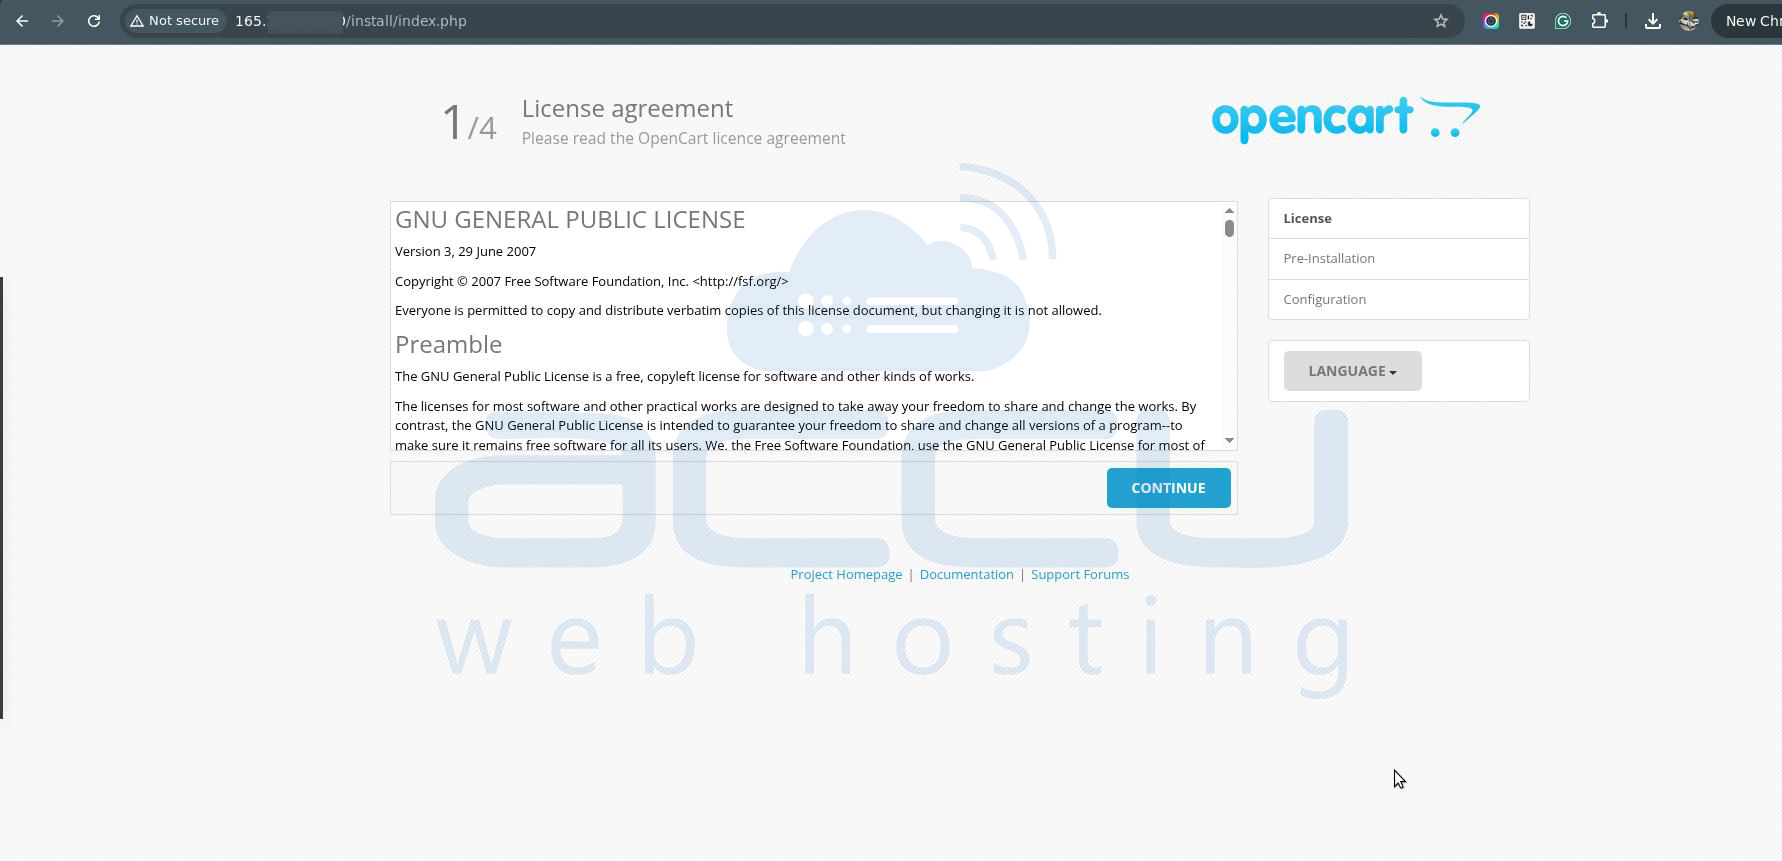
At this point, OpenCart is installed, and you can complete the installation through your web browser.
- Open a browser and navigate to http://your_domain_or_ip to start the OpenCart setup wizard.
- Follow the on-screen instructions, which will include:
- Language selection
- Database details (use the database and user created earlier)
- Admin account setup
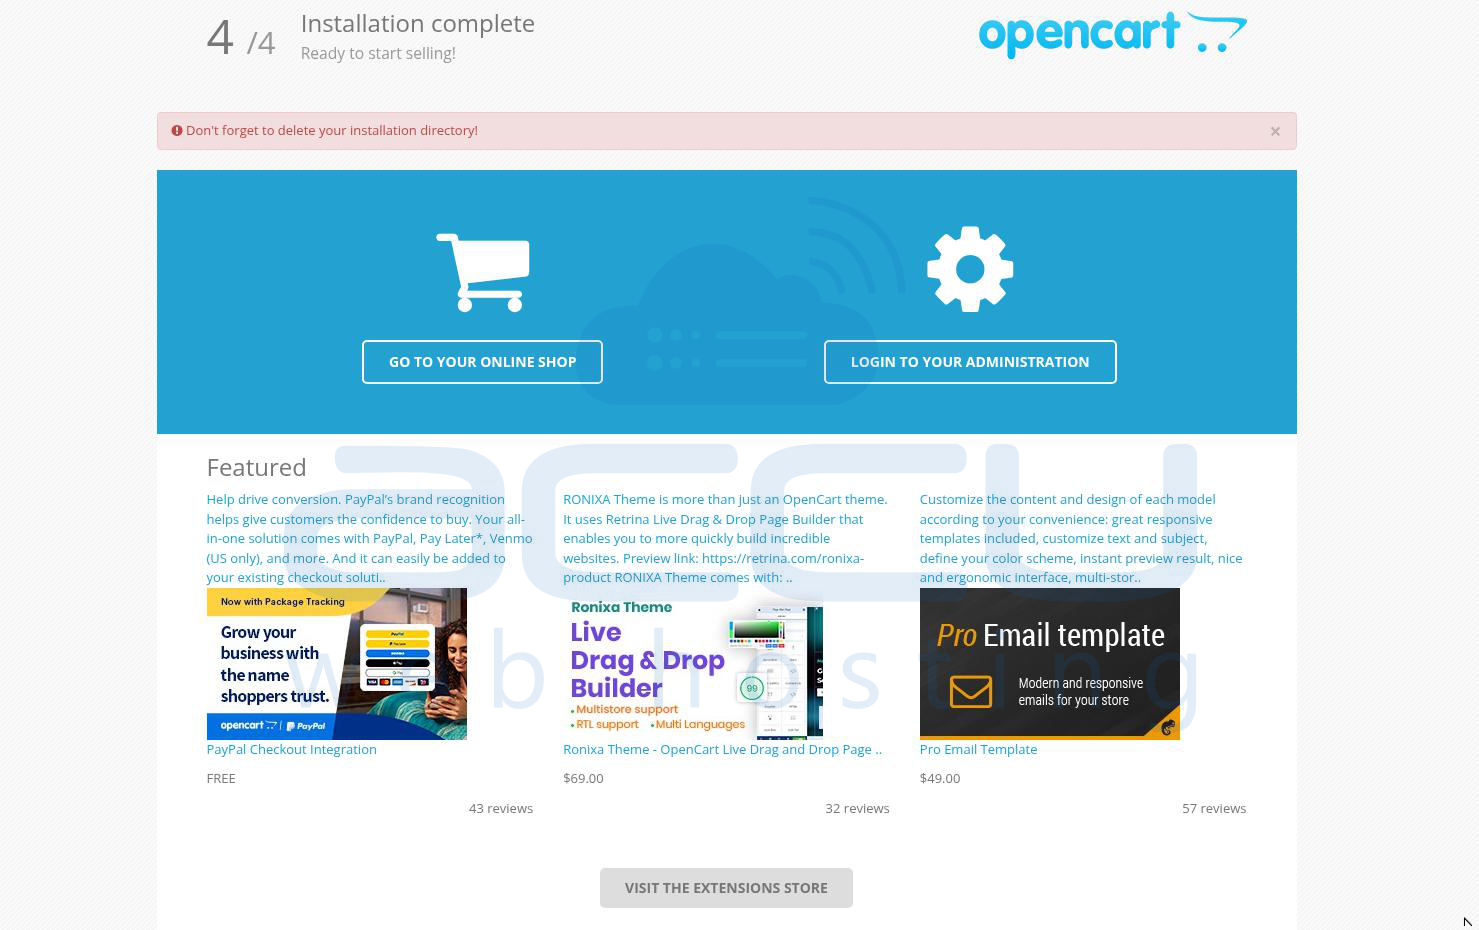
After completing the installation, the setup wizard will guide you to remove the install directory. Run this command:
> sudo rm -rf /var/www/html/opencart/install/
Summary
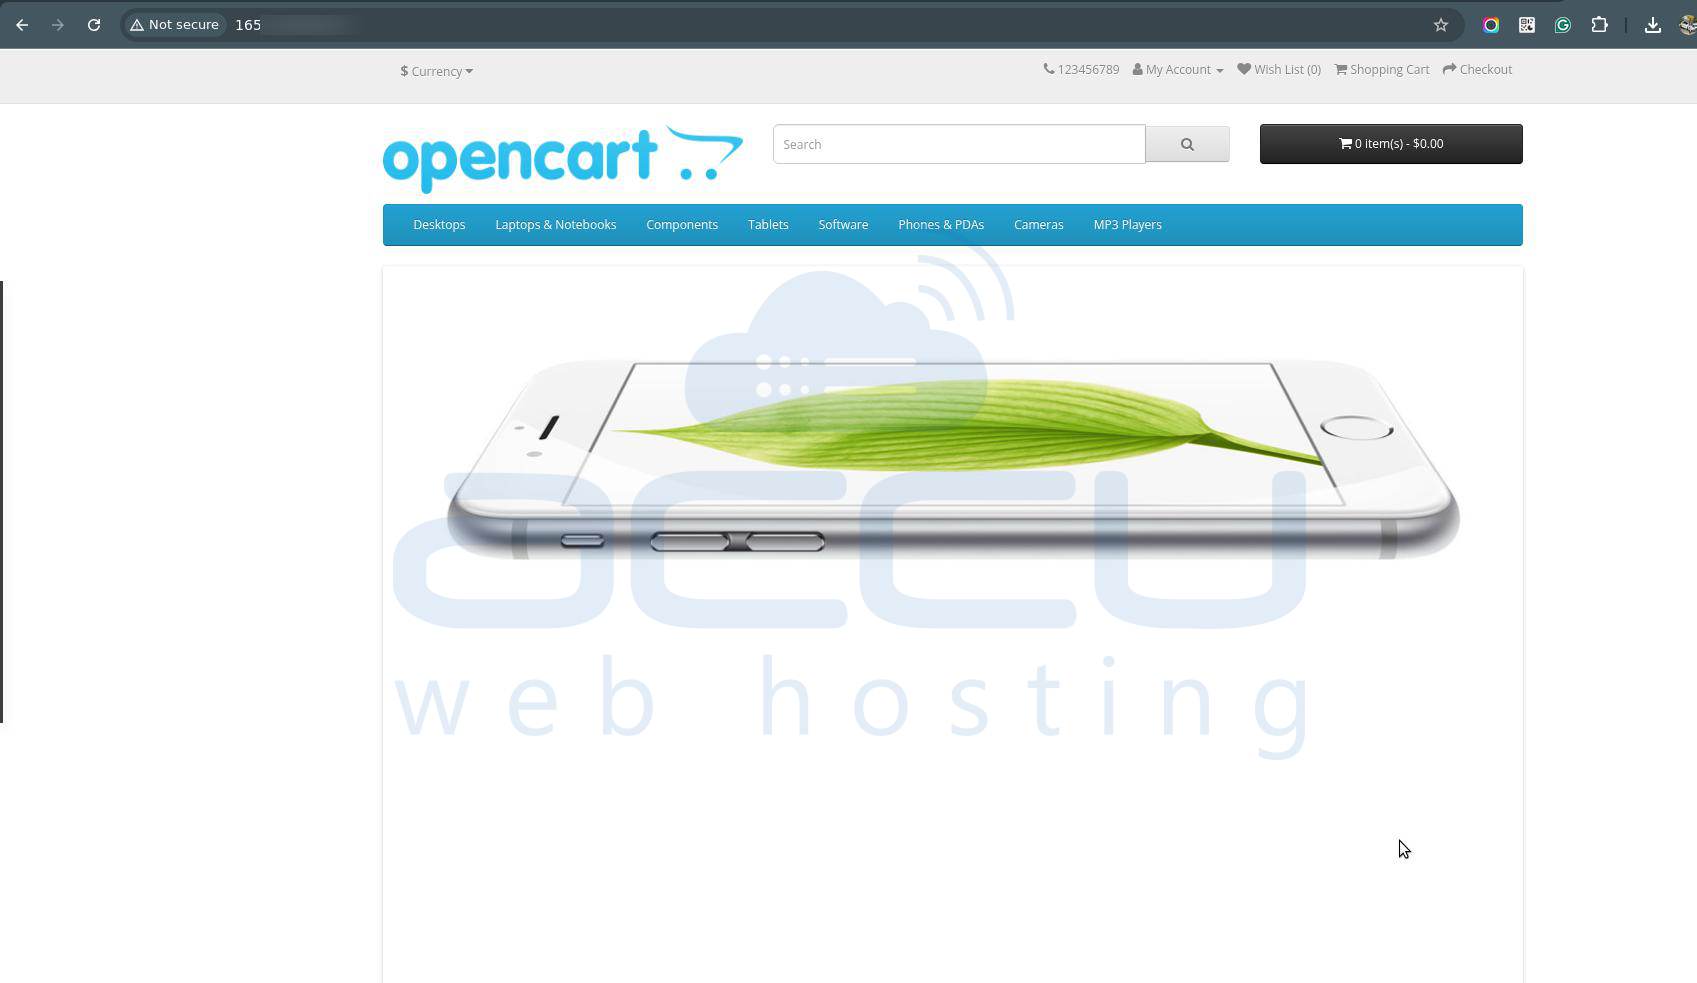
Congratulations! You’ve successfully installed OpenCart on your Ubuntu 24.04 server. You can now start building your online store by adding products, configuring payment gateways, and customizing the design.
The steps you followed included installing the LAMP stack, downloading and configuring OpenCart, and setting up a MySQL database for storing your store’s data. Finally, you completed the installation through the OpenCart setup wizard in the web browser.
Conclusion
Setting up OpenCart on an Ubuntu server is a straightforward process that involves installing a LAMP stack, configuring Apache, MySQL, and PHP, and downloading the OpenCart software. By following these steps, you’ve created a solid foundation for launching your own online store.
Now that OpenCart is up and running, you can begin adding products, setting up shipping options, and integrating payment systems to start selling online. Happy e-commerce building!
