Introduction
If you're looking to stream your media content, such as movies, TV shows, music, and more, from your own server, Jellyfin is a fantastic free and open-source solution. It allows you to organize your media library and access it across web browsers, mobile apps, smart TVs, and other devices.
In this article, we will walk you through the process of installing Jellyfin on an Ubuntu 24.04 server. By the end of this guide, you'll have a fully functional media server to stream your favorite content without any subscription fees.
What is Jellyfin?
Jellyfin is a free, open-source media server software that helps you:
-
Organize movies, TV shows, and music
-
Stream media to multiple devices
-
Create user accounts and manage access
-
Enjoy media without the need for paid subscription services
Unlike many commercial alternatives, Jellyfin is entirely free to use and doesn’t require any paid licenses.
Prerequisites
Before getting started, make sure that you have:
-
A server running Ubuntu 24.04 (or a compatible version)
-
Root or sudo access to the server
Step 1: Update Your System
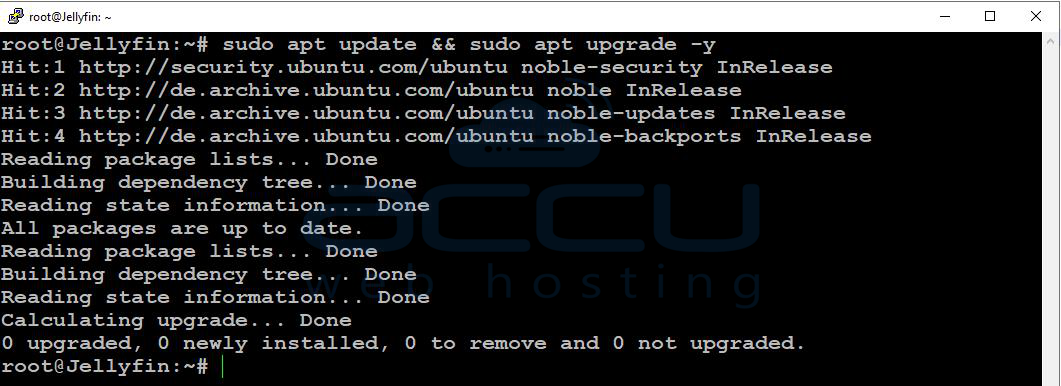
It’s always recommended to update your system before installing new software. This ensures that your server has the latest security patches and software updates. Run the following command:
sudo apt update && sudo apt upgrade -y
Step 2: Install Required Packages
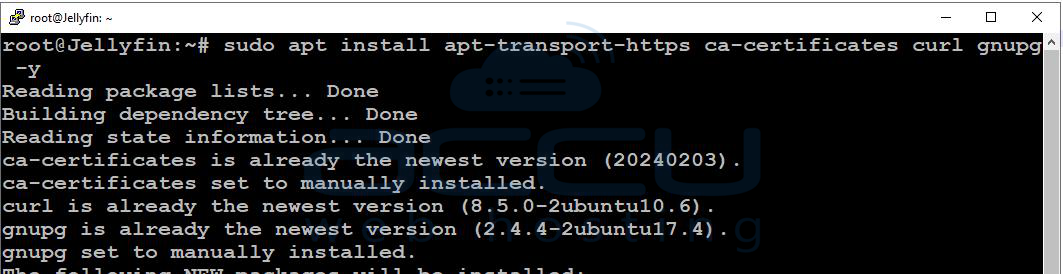
Jellyfin requires a few packages to securely download and verify software from external repositories. To install them, run:
sudo apt install apt-transport-https ca-certificates curl gnupg -y
Step 3: Add Jellyfin Repository Key
The next step is to add Jellyfin’s repository GPG key, which verifies the authenticity of the software you're downloading.
Start by creating a directory for security keyrings:
mkdir -p /etc/apt/keyrings
Then, download Jellyfin’s GPG key:
curl -fsSL https://repo.jellyfin.org/ubuntu/jellyfin_team.gpg.key | gpg --dearmor -o /etc/apt/trusted.gpg.d/jellyfin.gpg

Step 4: Add the Jellyfin Repository
Now that you’ve added the repository key, you need to add the official Jellyfin repository to your APT sources. This ensures that you will be able to install Jellyfin via your package manager.
Run the following command to add the Jellyfin repository:
echo "deb [arch=$( dpkg --print-architecture )] https://repo.jellyfin.org/$( awk -F'=' '/^ID=/{ print $NF }' /etc/os-release ) $( awk -F'=' '/^VERSION_CODENAME=/{ print $NF }' /etc/os-release ) main" | tee /etc/apt/sources.list.d/jellyfin.list

Step 5: Install Jellyfin
Once the repository is added, update your package list to include the Jellyfin repository:
sudo apt update
Now, install Jellyfin:
sudo apt install jellyfin -y
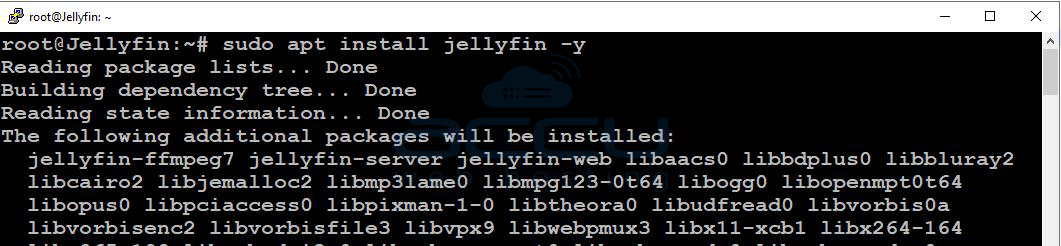
The installation process will complete automatically.
Step 6: Start and Enable Jellyfin
After installation, start the Jellyfin service with the following command:
sudo systemctl start jellyfin
To ensure that Jellyfin starts automatically on boot, run:
sudo systemctl enable jellyfin
Check the status of the Jellyfin service to confirm it's running properly:
sudo systemctl status jellyfin
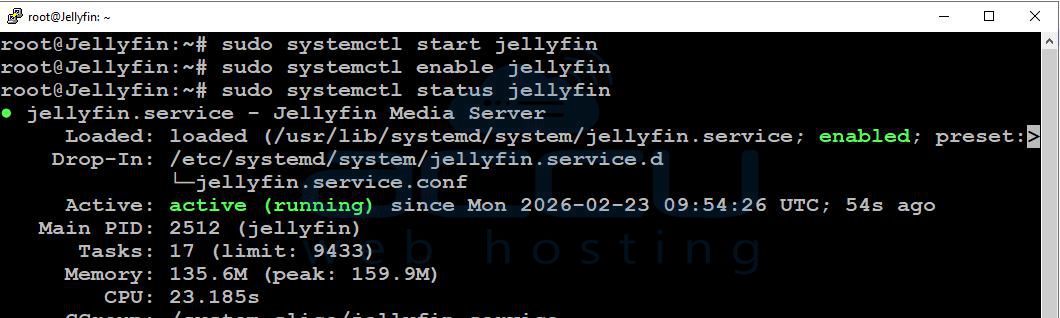
If everything is working correctly, you should see an “active (running)” status.
Step 7: Access Jellyfin Web Interface
Once Jellyfin is installed and running, you can access the web interface by opening your browser and navigating to:
http://your-server-ip:8096
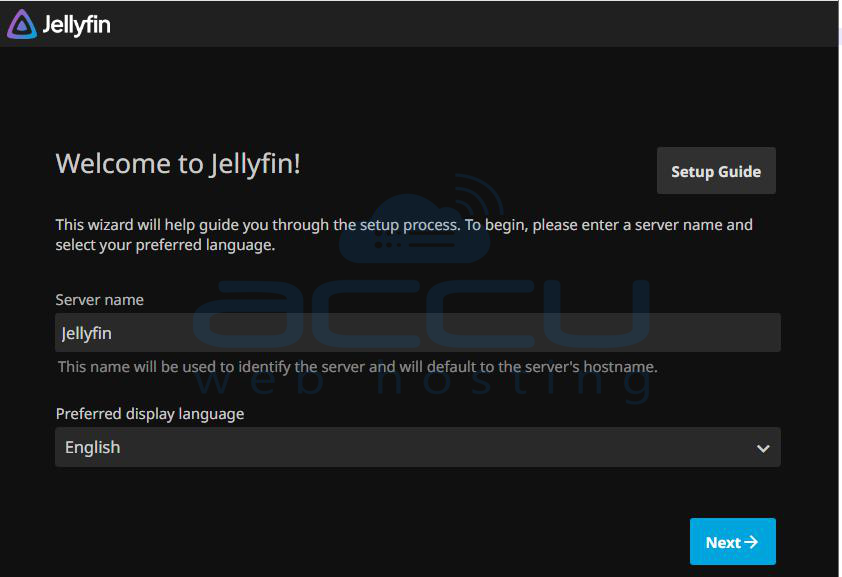
This will bring up the Jellyfin setup wizard. Follow the on-screen instructions to complete the initial configuration:
-
Choose your preferred language and click Next.
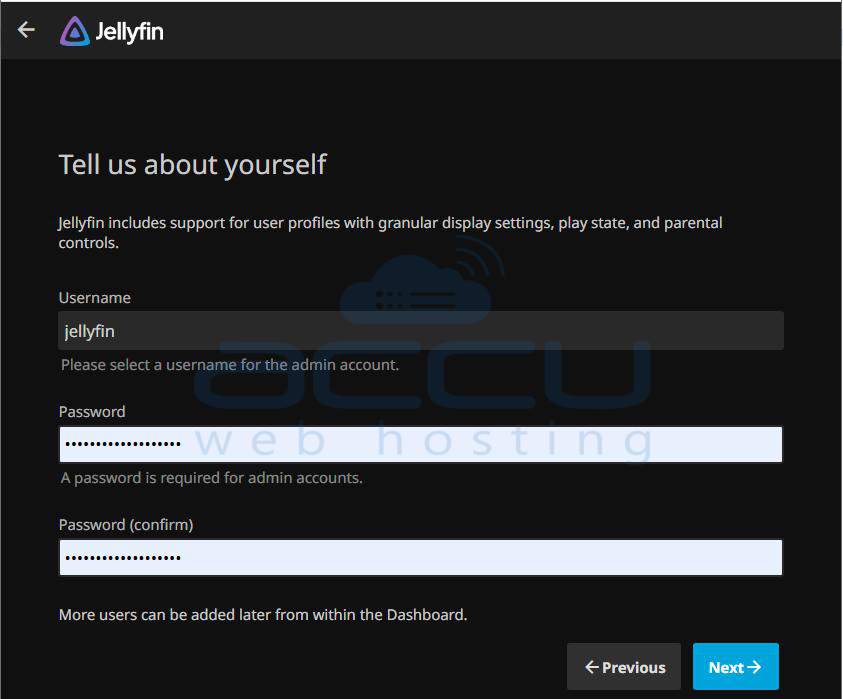
-
Create an admin account by entering a username and password, then click Next.
-
Set up your media library by specifying the folders where your movies, music, or photos are stored, then click Next.

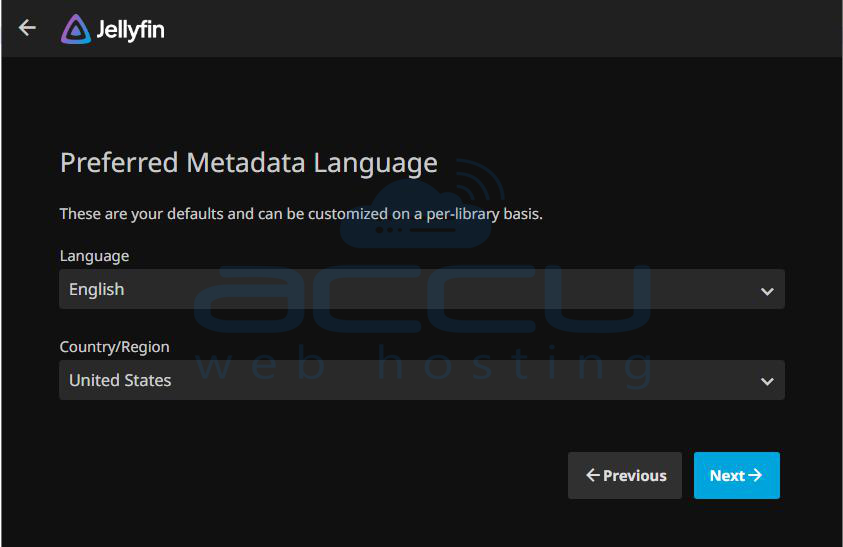
-
Select your preferred metadata language and country, then click Next.
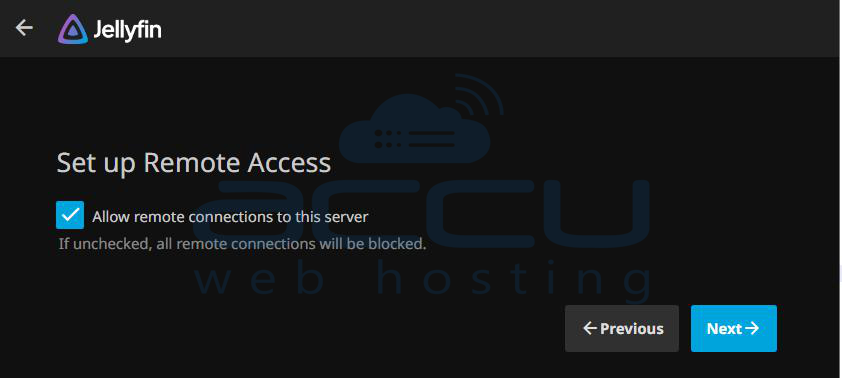
-
Configure remote access settings if needed, then click Next.
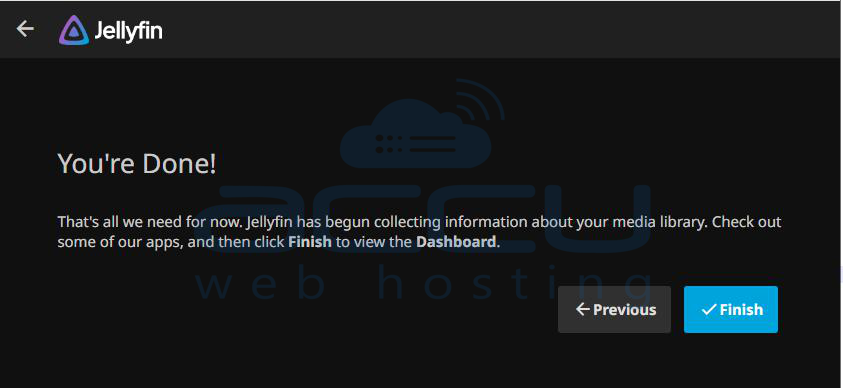
-
Finally, click Finish to complete the setup.
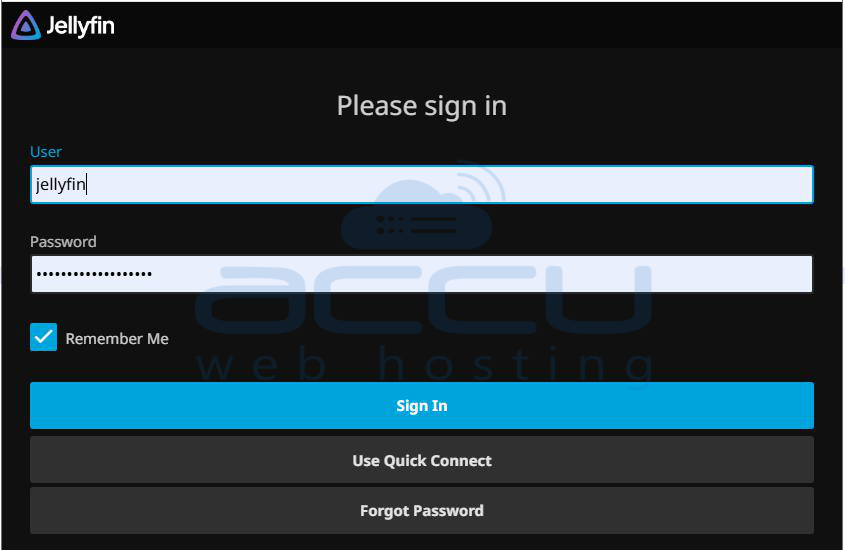
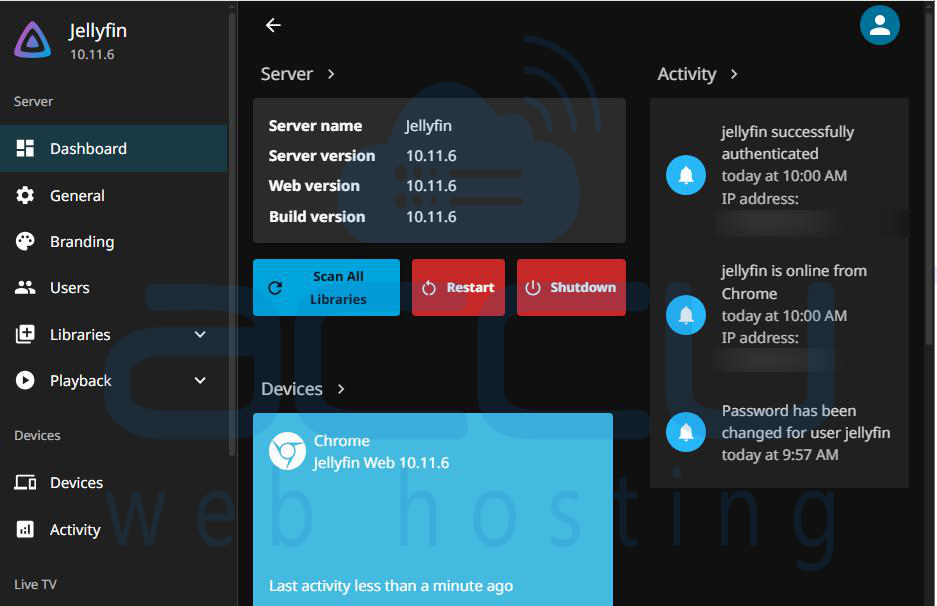
After setup, you will be redirected to the Jellyfin login page. Log in using the admin credentials you created, and you will be taken to your personal media server dashboard.
Conclusion
Installing Jellyfin on Ubuntu 24.04 is a straightforward process that allows you to set up your own personal media streaming server. With Jellyfin, you can organize, manage, and stream your media content without relying on subscription-based services.
By following the steps outlined in this guide, you’ll be able to enjoy your media library on any device that supports Jellyfin.
If you encounter any issues during the installation process, feel free to reach out for support. Our team is here to help you with the installation and setup!
