Introduction:
Moodle is an open-source learning management system (LMS) widely used by educators and institutions to create online courses and educational environments. It offers a flexible and scalable platform, and its popularity has grown significantly in recent years. Hosting Moodle on your own server provides you with complete control over your data, customization, and performance. This article will guide you through the process of installing and hosting Moodle on an Ubuntu 24.04 server.
Step 1: Update Your Server
Start by updating your server to ensure all packages are up-to-date.
> sudo apt update && sudo apt upgrade -y
This will ensure that your system has the latest security patches and updates.
Step 2: Install Apache Web Server
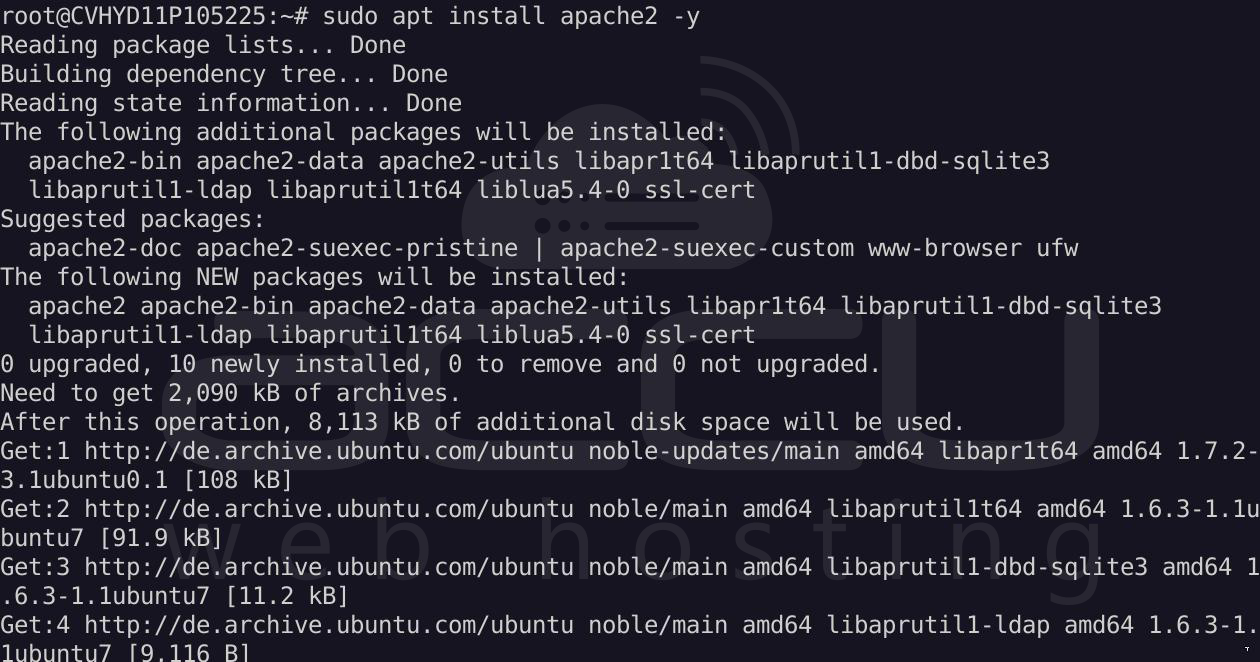
Apache is a popular web server for hosting Moodle. To install Apache, run the following command:
> sudo apt install apache2 -y
Once installed, you can start and enable Apache to run on boot:
> sudo systemctl start apache2
> sudo systemctl enable apache2
Step 3: Install MariaDB
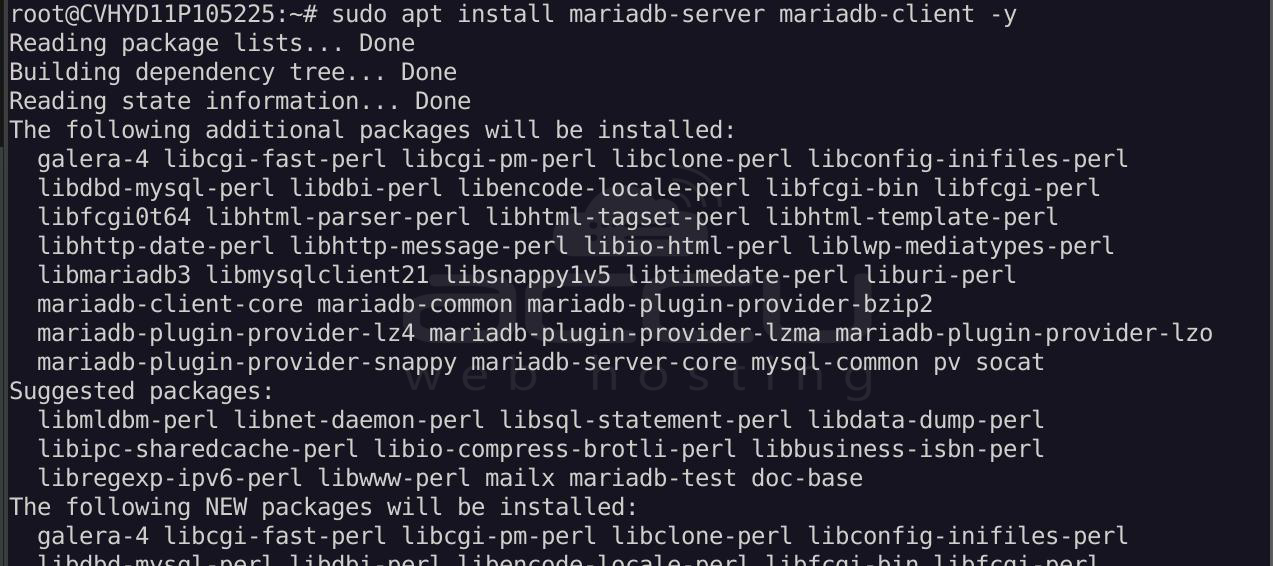
Moodle requires a database to store course data and configurations. In this case, we’ll use MariaDB, a popular MySQL fork. Install MariaDB by running:
> sudo apt install mariadb-server mariadb-client -y
Once installed, start and enable MariaDB:
> sudo systemctl start mariadb
> sudo systemctl enable mariadb
Run the secure installation command to set up your MariaDB server:
> sudo mysql_secure_installation
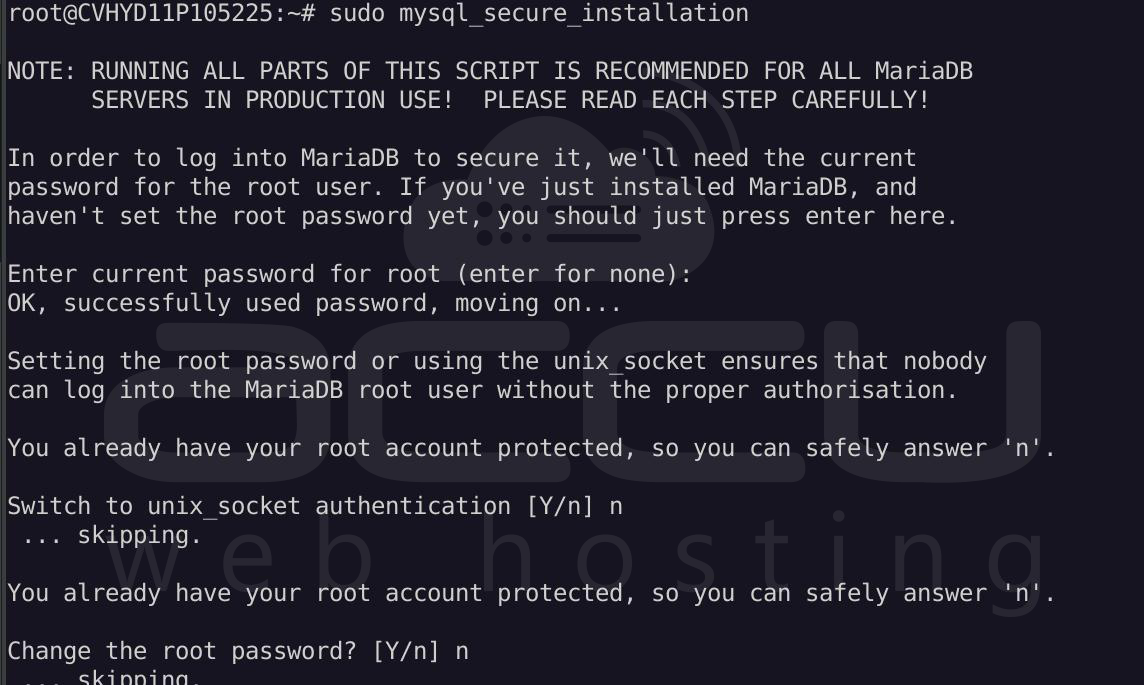
Follow the prompts to configure MariaDB with a root password and other security settings.
Step 4: Install PHP and Required PHP Extensions
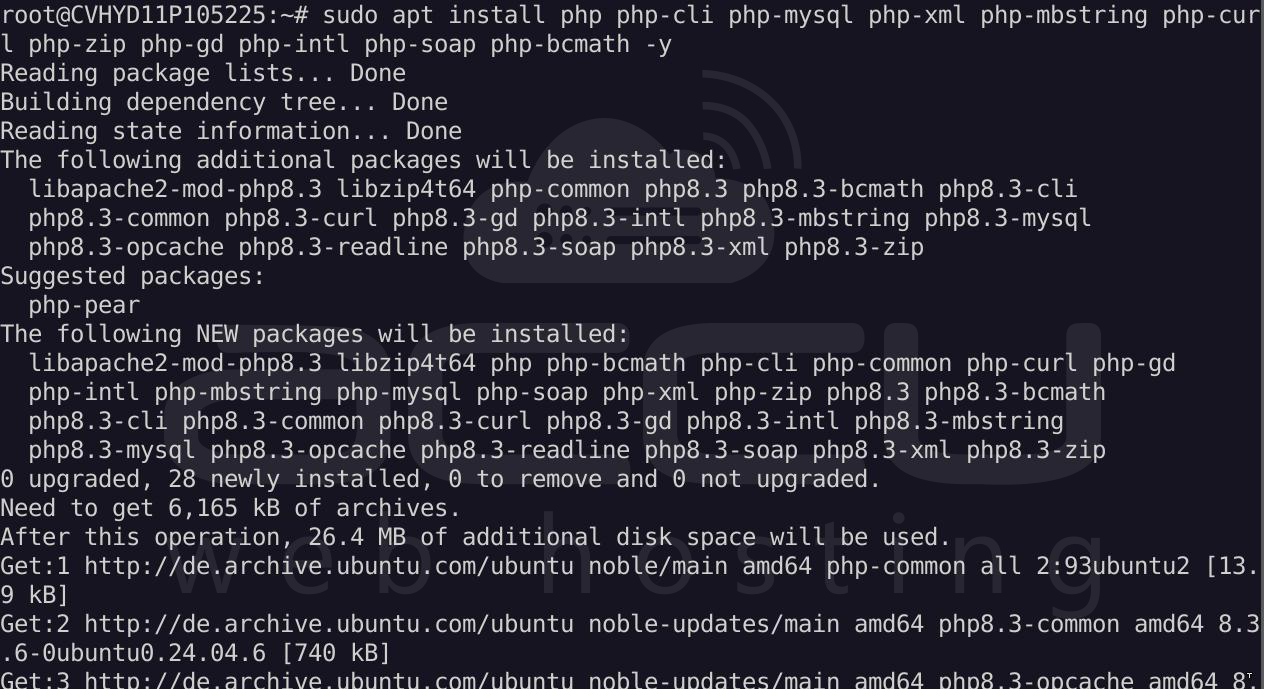
Moodle is built using PHP, so you’ll need to install the appropriate PHP version along with the required extensions. Run the following command to install PHP 8.3 (which is the supported version for Moodle):
> sudo apt install php php-cli php-mysql php-xml php-mbstring php-curl php-zip php-gd php-intl php-soap php-bcmath -y
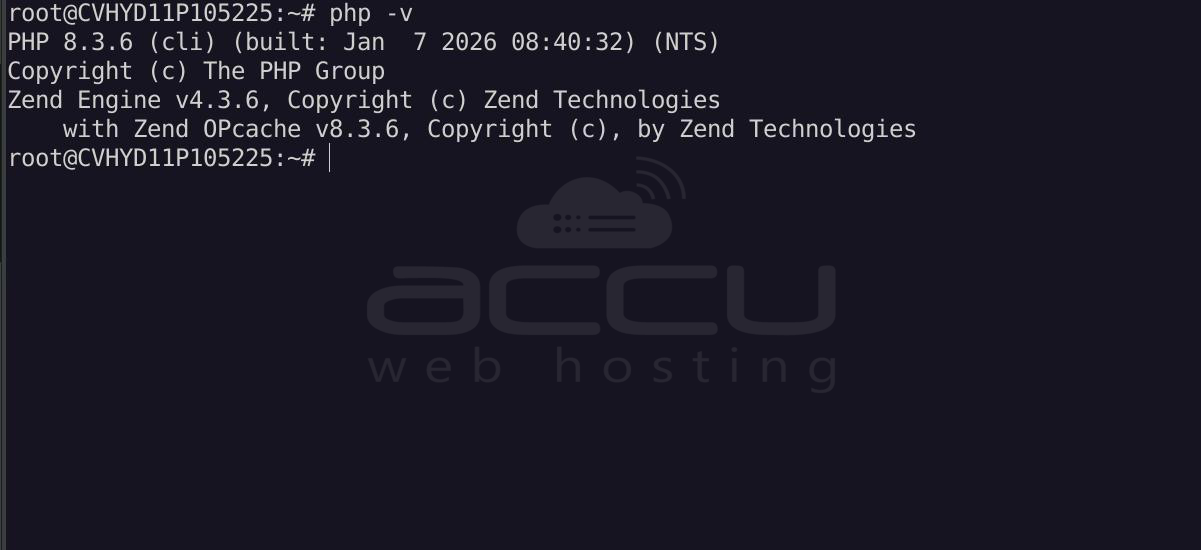
To verify PHP installation, run:
> php -v
Step 5: Create a Database for Moodle
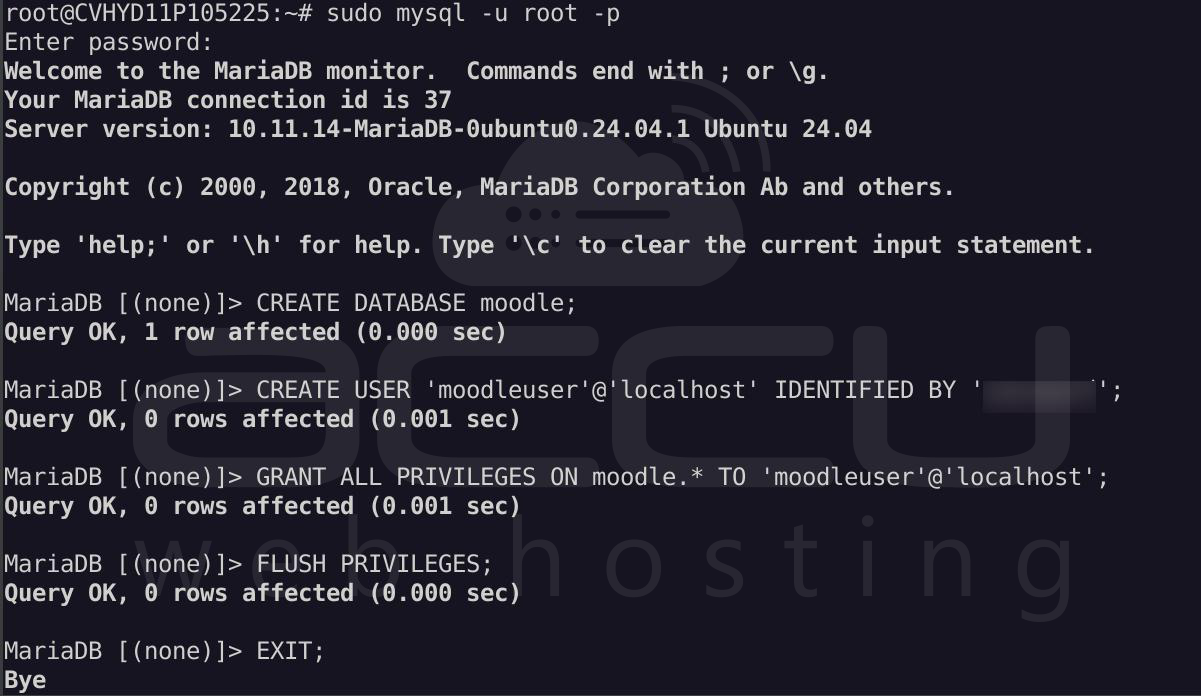
Moodle needs a MySQL/MariaDB database to store its data. To create a new database, log in to MariaDB:
> sudo mysql -u root -p
Once logged in, run the following commands to create the database, user, and grant permissions:
> CREATE DATABASE moodle;
> CREATE USER 'moodleuser'@'localhost' IDENTIFIED BY 'password';
> GRANT ALL PRIVILEGES ON moodle.* TO 'moodleuser'@'localhost';
> FLUSH PRIVILEGES;
> EXIT;
Be sure to replace the ‘password’ with a strong password of your choice.
Step 6: Download Moodle
Now it's time to download the Moodle files. First, navigate to the directory where you want to install Moodle:
> cd /var/www/html
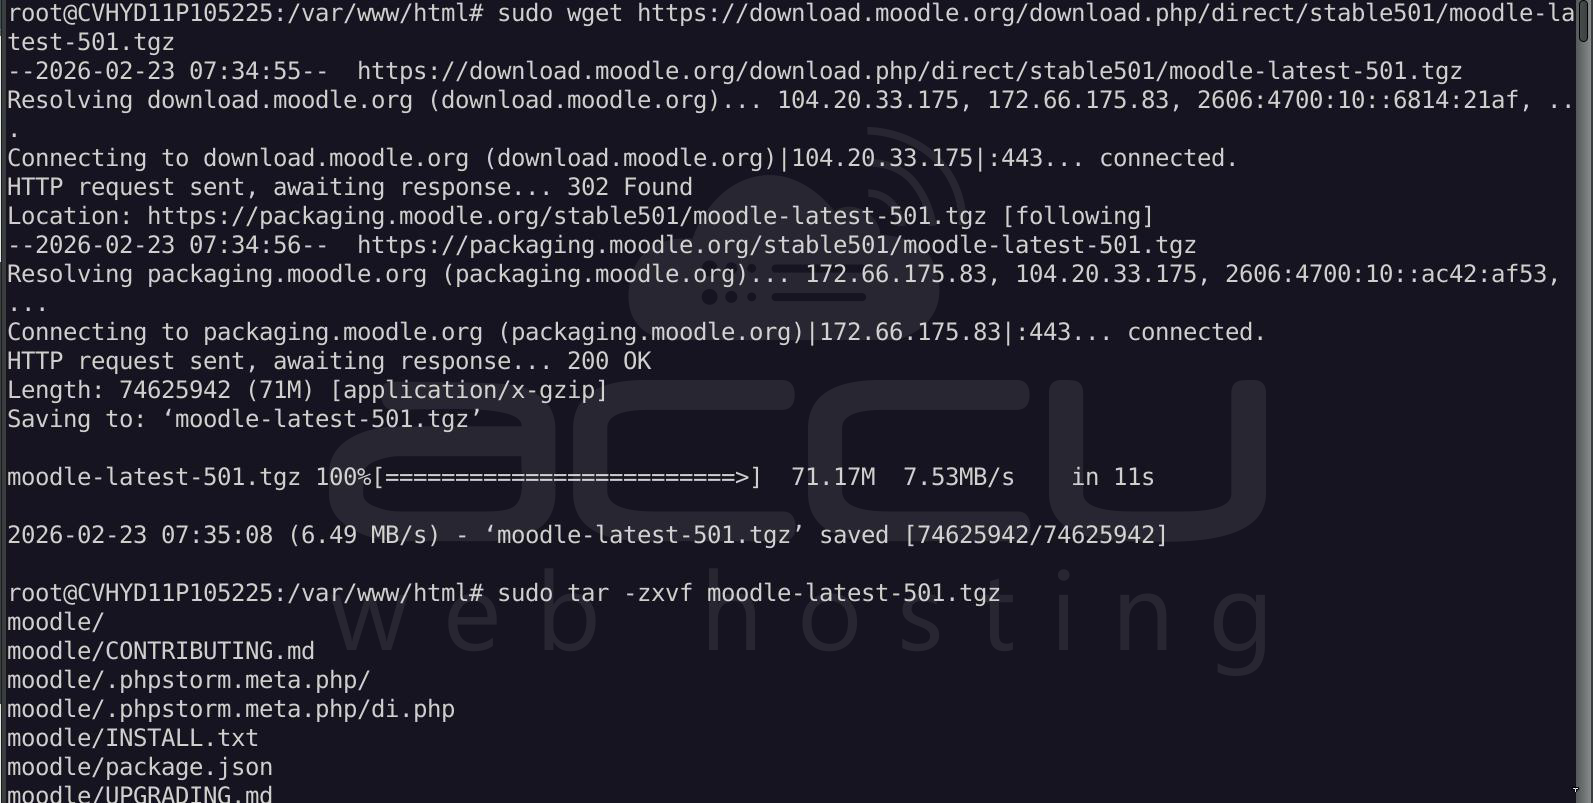
Next, download the latest stable release of Moodle:
> sudo wget https://download.moodle.org/download.php/direct/stable501/moodle-latest-501.tgz
Extract the downloaded file:
> sudo tar -zxvf moodle-latest-501.tgz
Remove the downloaded .tar.gz file:
> sudo rm moodle-latest-501.tgz
Step 7: Configure Permissions
Set the correct permissions for the Moodle directory:
> sudo chown -R www-data:www-data /var/www/html/moodle
Step 8: Configure Apache for Moodle
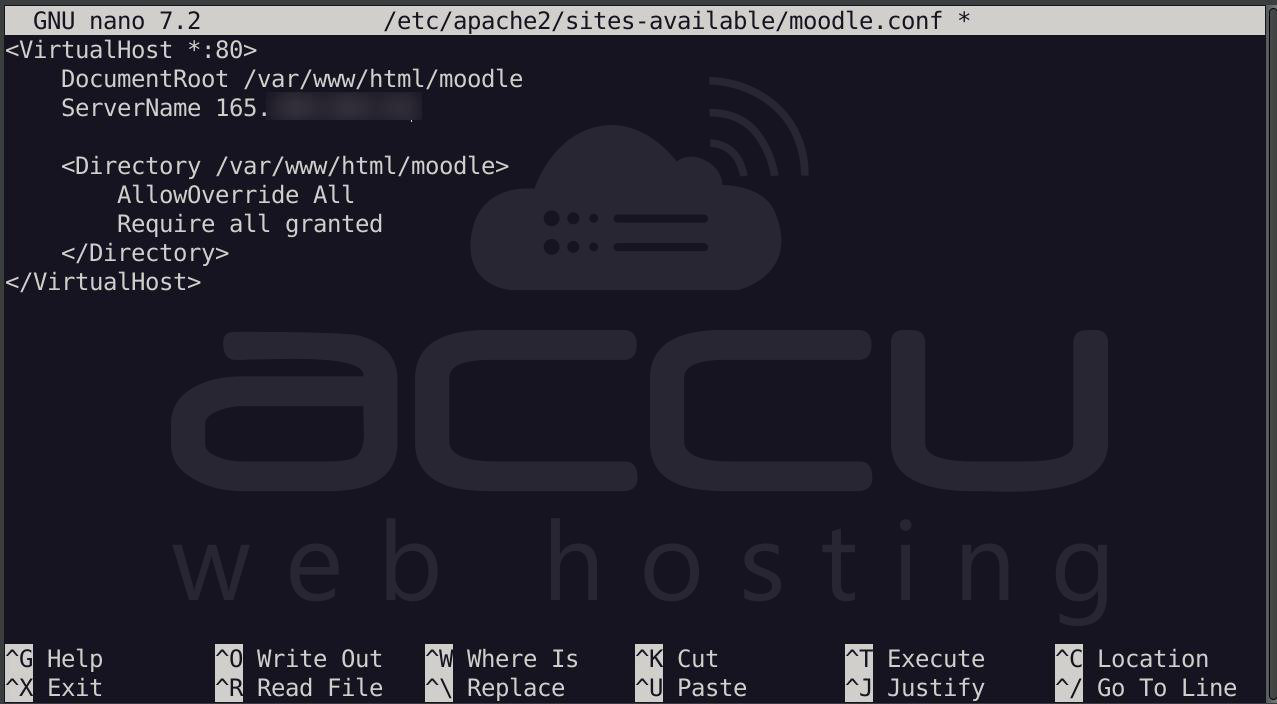
To set up Apache for Moodle, create a new configuration file:
> sudo nano /etc/apache2/sites-available/moodle.conf
Add the following configuration:
<VirtualHost *:80>
    DocumentRoot /var/www/html/moodle/public
    ServerName your_domain_or_ip_address
    <Directory /var/www/html/moodle/public>
        AllowOverride All
        Require all granted
    </Directory>
</VirtualHost>
Replace your_domain_or_ip_address with your server’s IP address or domain name.
Enable the site configuration and rewrite module:
> sudo a2ensite moodle.conf
> sudo a2enmod rewrite
Restart Apache to apply the changes:
> sudo systemctl restart apache2
Step 9: Install Composer
Before configuring it, install Composer. Because Moodle 5.x requires Composer dependencies.
> sudo apt install composer -y
Run Composer in Moodle Root
Go to Moodle root (NOT public):
> cd /var/www/html/moodle
Then run:
> sudo composer install --no-dev --classmap-authoritative
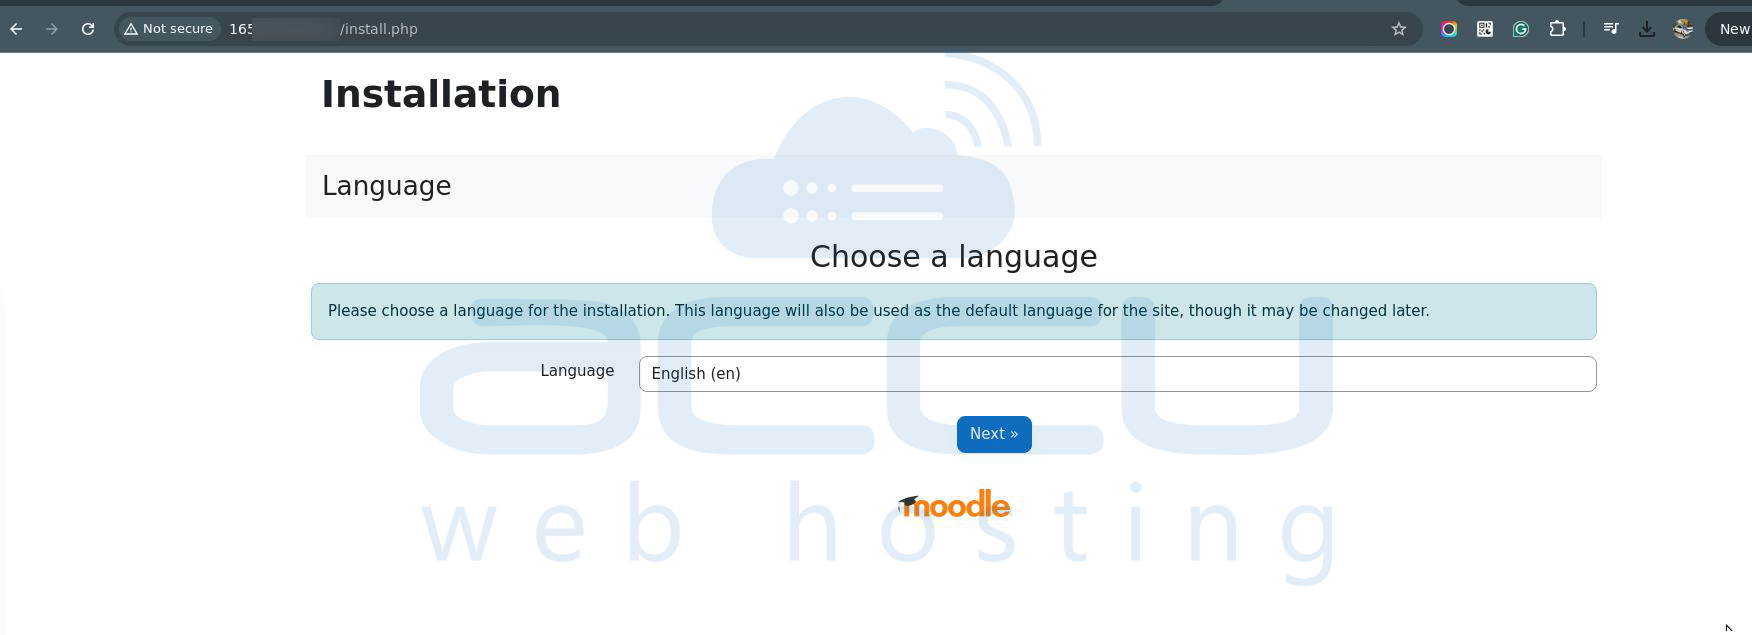
Step 10: Configure Moodle via Web Interface
Now, open your browser and go to the server’s IP address (or domain). You should see the Moodle installation page.
- Select your language.
- Enter the database details (database name, username, password).
- Moodle will check your server configuration and verify that all required extensions and services are installed. If there are no errors, proceed to the next step.
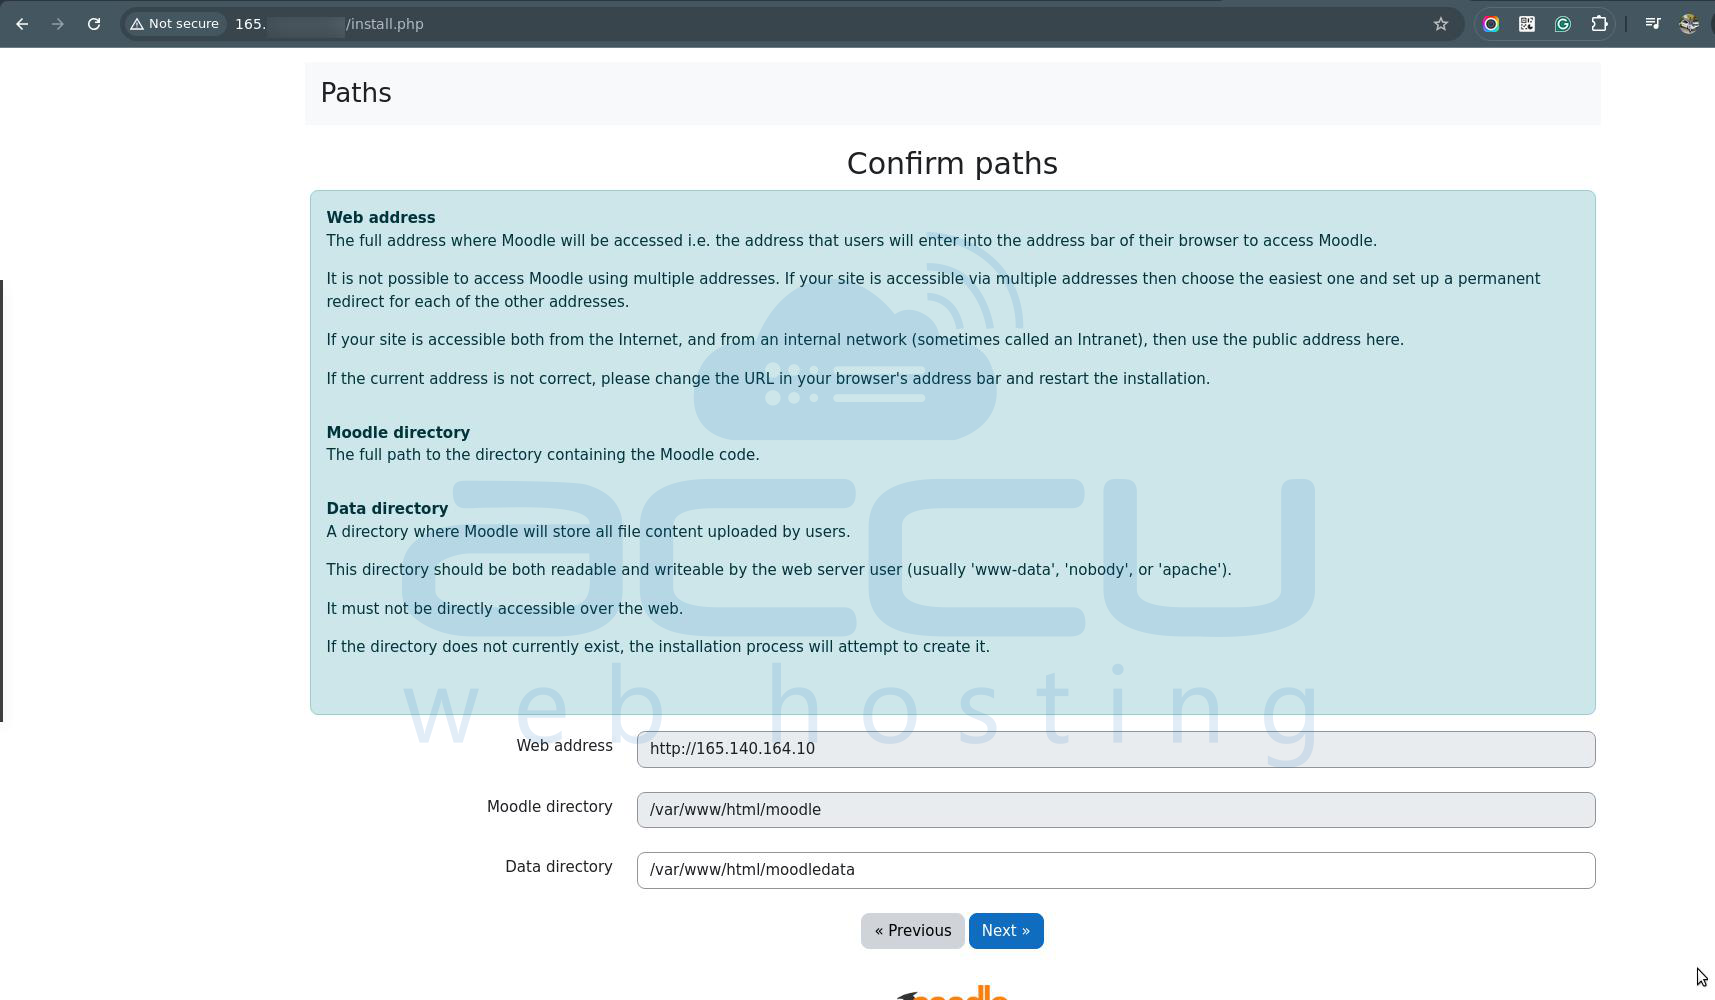
- Choose the Moodle data directory (outside the web root).
- Complete the installation by creating an admin account.
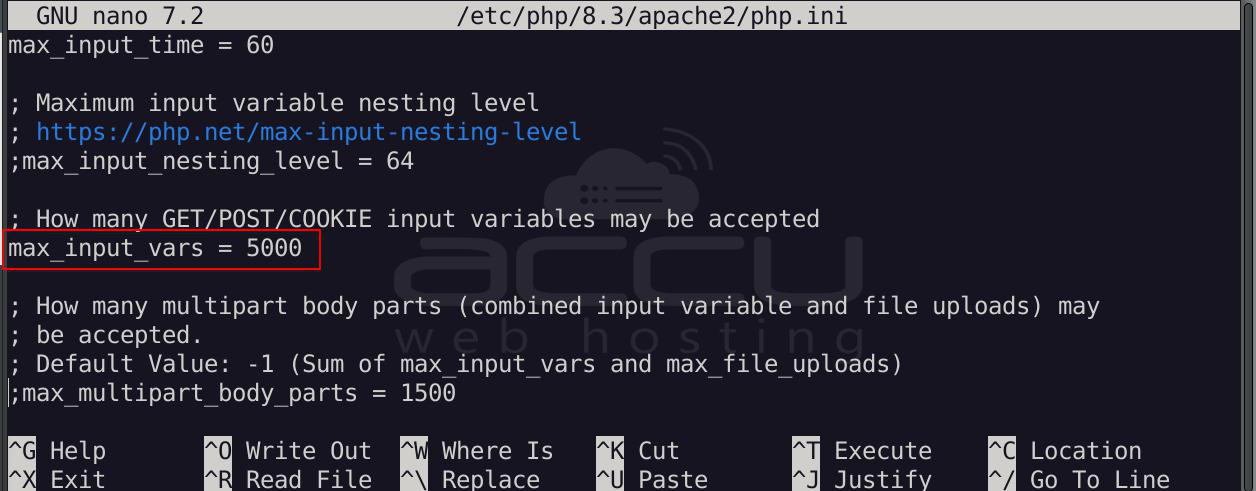
If you receive the "max_input_vars must be at least 5000" error during configurations, you will need to update the value.
Open PHP config:
> sudo nano /etc/php/*/apache2/php.ini
(Replace * with your version if needed, for example, 8.3)
Find: max_input_vars =
Change it to: max_input_vars = 5000
Save.
Restart Apache:
> sudo systemctl restart apache2
Reload the installer page.
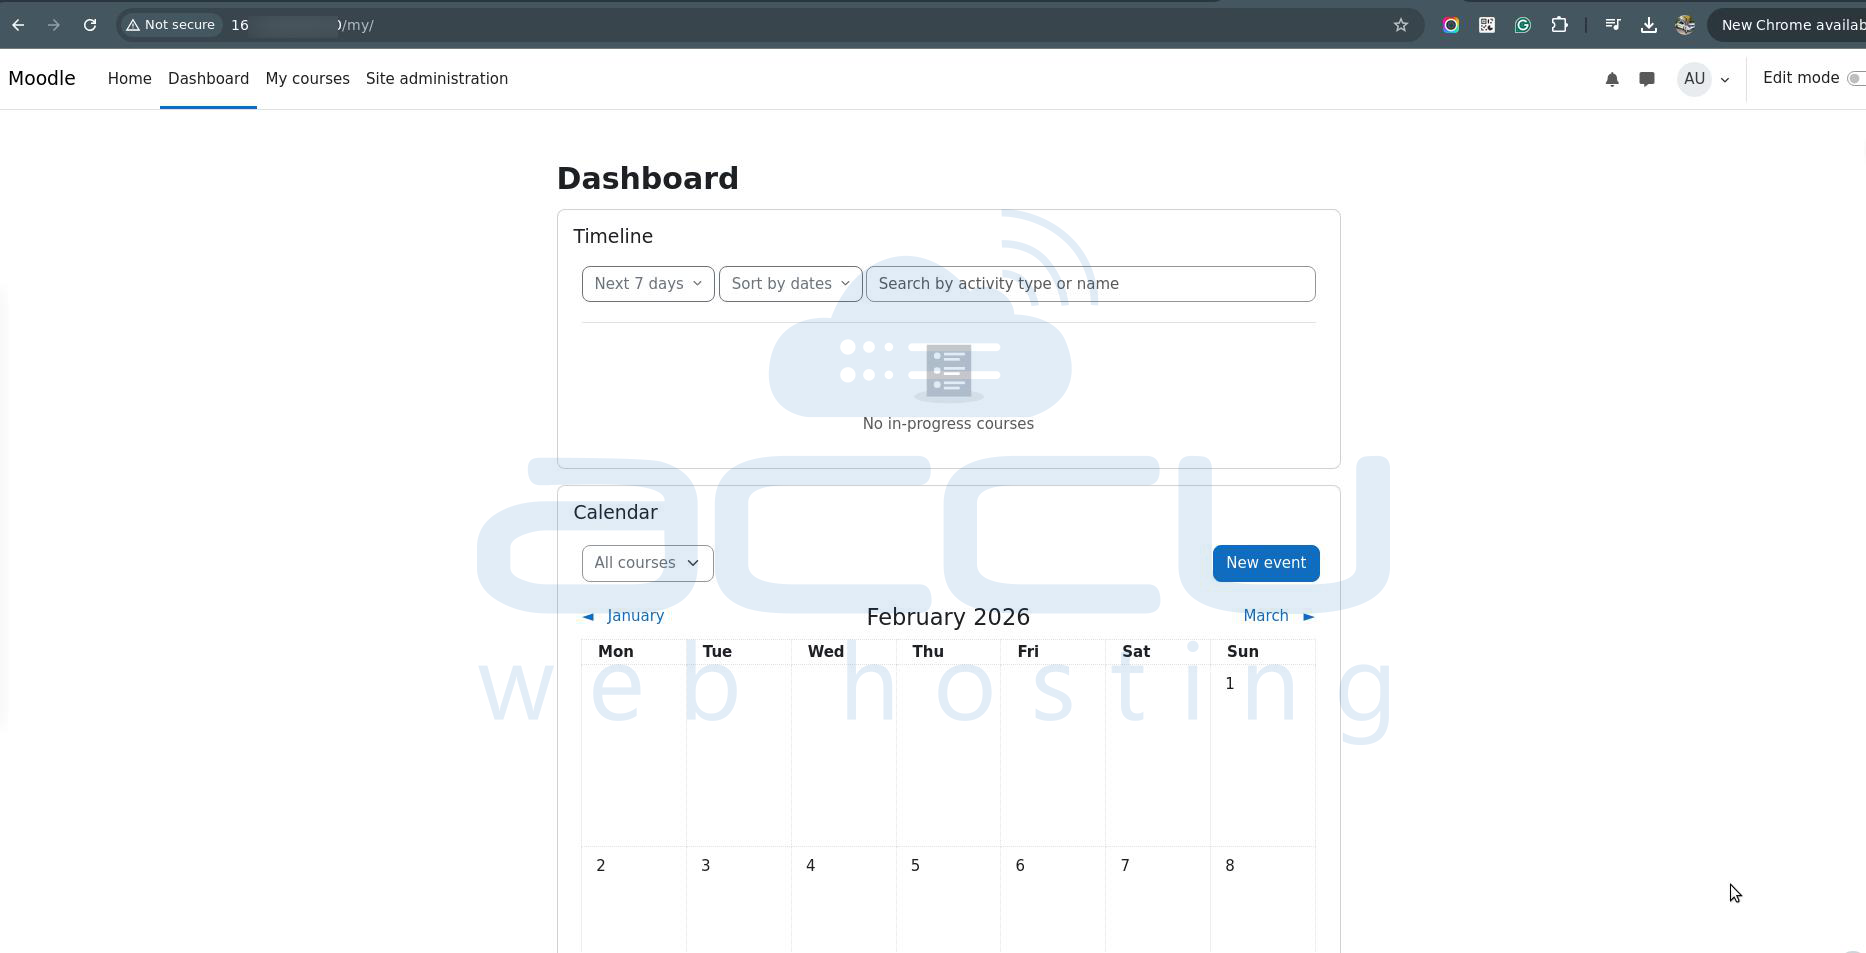
Step 11: Final Steps
Once installation is complete, Moodle will redirect you to the login page. You can now log in with the administrator credentials you created during installation.
Optional: Set up SSL (HTTPS)
If you wish to set up SSL for secure connections, you can install Let's Encrypt SSL:
> sudo apt install certbot python3-certbot-apache
> sudo certbot --apache
Follow the instructions to obtain and install the SSL certificate.
Summary:
In this guide, we covered the steps to install and host Moodle on an Ubuntu 24.04 server. We set up Apache, MariaDB, PHP, and downloaded Moodle, configured it via the web interface, and verified that everything is running properly. Finally, we touched on setting up SSL for secure connections.
Conclusion:
Hosting Moodle on your own server provides flexibility, control, and the ability to customize the platform to your needs. By following the steps in this guide, you can create a reliable and secure Moodle hosting environment on your Ubuntu 24.04 server. Always ensure that your server is kept up-to-date with security patches and backups to keep your Moodle environment running smoothly.
