Introduction
Deploying a Large Language Model (LLM) on a Virtual Private Server (VPS) enables organizations to operate artificial intelligence workloads within a controlled infrastructure environment. Instead of transmitting sensitive data to external API providers, the model runs directly on your own server instance. This architecture improves data governance, regulatory compliance, performance predictability, and cost control.
A VPS is a virtualized computing environment that provides dedicated CPU, memory, and storage resources within a cloud provider’s infrastructure. By installing an LLM runtime such as Ollama, containerizing the service with Docker, or using the Hugging Face Transformers library, organizations can create a fully private AI inference server.
Running an LLM on a VPS is particularly beneficial for:
-
Enterprise internal tools requiring strict data privacy
-
Customer support automation systems
-
Knowledge-base assistants
-
Secure research and analytics environments
-
AI-powered backend services
-
Environments subject to compliance standards (GDPR, HIPAA, ISO 27001)
This guide provides a structured and secure methodology for deploying, configuring, and hardening an LLM on a Linux-based VPS environment.
Infrastructure Requirements
LLMs are computationally intensive. Resource planning is critical.
Minimum Specifications (Testing Only)
-
4 vCPU
-
8 GB RAM
-
50 GB SSD
-
Ubuntu 22.04 LTS
-
No GPU
This configuration supports small models (1B–3B parameters) with slower CPU inference.
Recommended Specifications (Production – Small/Medium Models)
-
8–16 vCPU
-
16–32 GB RAM
-
NVMe SSD
-
Optional: GPU-enabled VPS (NVIDIA GPU recommended)
GPU acceleration significantly reduces inference latency (5×–20× improvement depending on model size).
Selecting a Deployment Method
There are three common approaches for hosting an LLM on a VPS, and the right choice depends on your technical requirements, scalability goals, and level of control needed.
1: Ollama: Using Ollama (Recommended for Simplicity) is best suited for rapid deployment, lightweight to medium-sized models, local API services, and environments where minimal configuration is preferred. This method abstracts much of the complexity involved in model loading, quantization, and serving, making it ideal for developers who want to get started quickly without deep infrastructure management.
2: Docker Containers: Using Docker Containers is more appropriate for production environments where service isolation, microservice architecture, and CI/CD pipelines are required. Containers provide reproducibility, portability, and easier scalability, ensuring that the LLM runs consistently across different environments.
3: Hugging Face Transformers: Using Hugging Face Transformers is best suited for advanced use cases such as custom model configuration, fine-tuning workflows, complex inference pipelines, and research-oriented environments. This approach offers full control over how models are loaded, optimized, and executed, making it the most flexible but also the most technically demanding option.
Method 1: Deploy LLM Using Ollama (Simple Setup)
Step 1: Connect to Your VPS and Update the System.
First, connect to your VPS via SSH: ssh root@your_vps_ip
Once connected, update your system packages to ensure security patches and dependencies are current:
sudo apt update && sudo apt upgrade -y
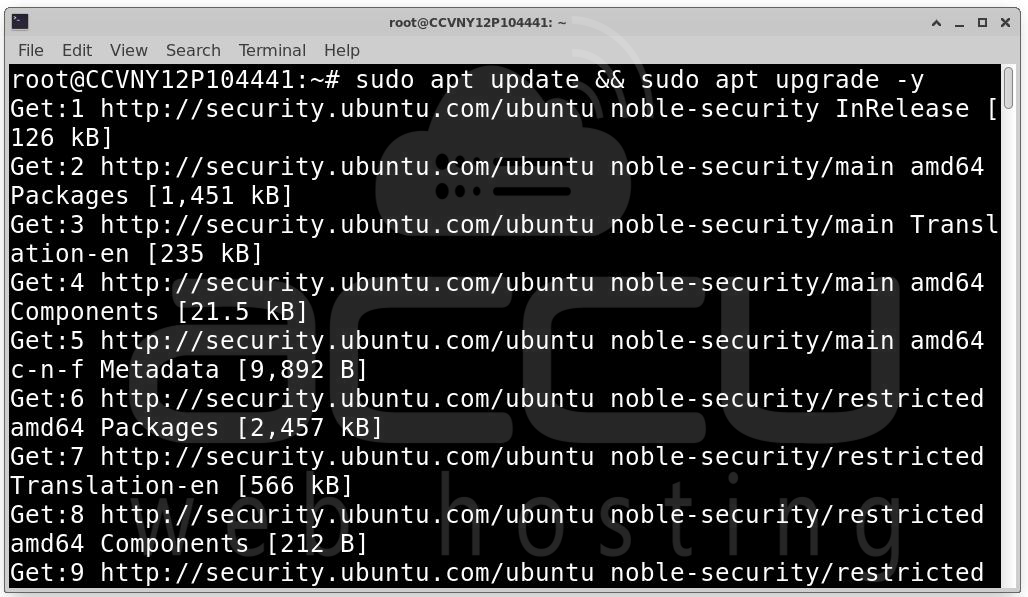
Keeping the system updated helps prevent compatibility issues and ensures a stable runtime environment.
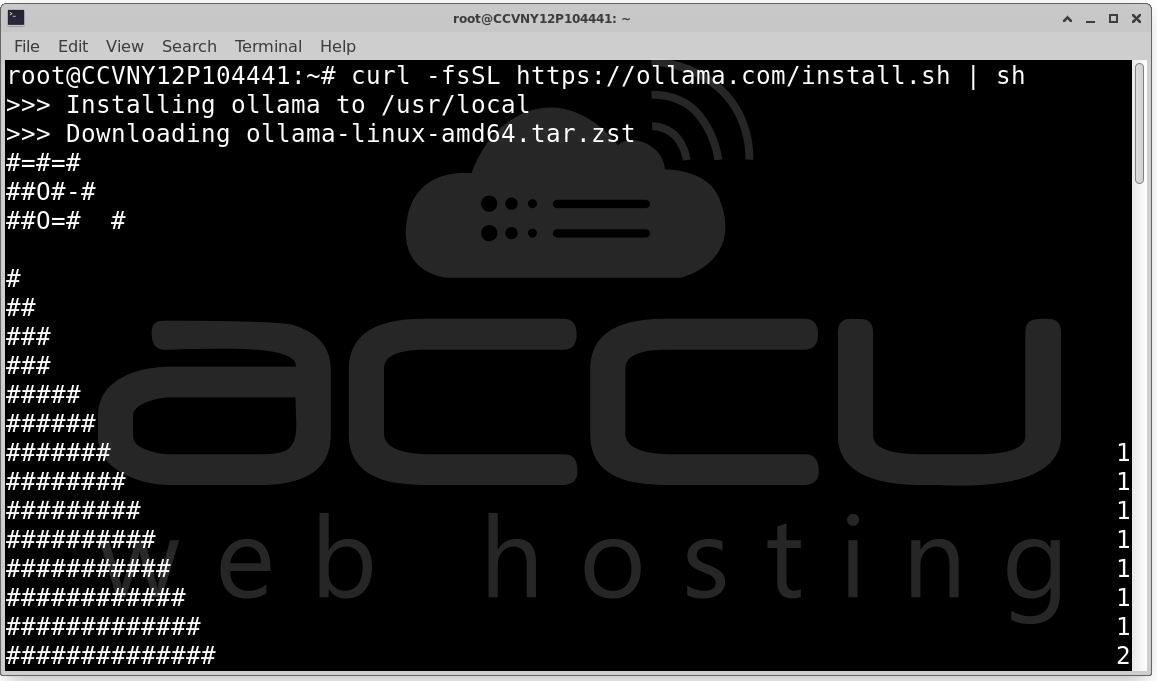
Step 2: Install Ollama. Ollama provides an automated installation script for Linux systems.
Run: curl -fsSL https://ollama.com/install.sh | sh
After installation, verify it was installed correctly:
ollama --version
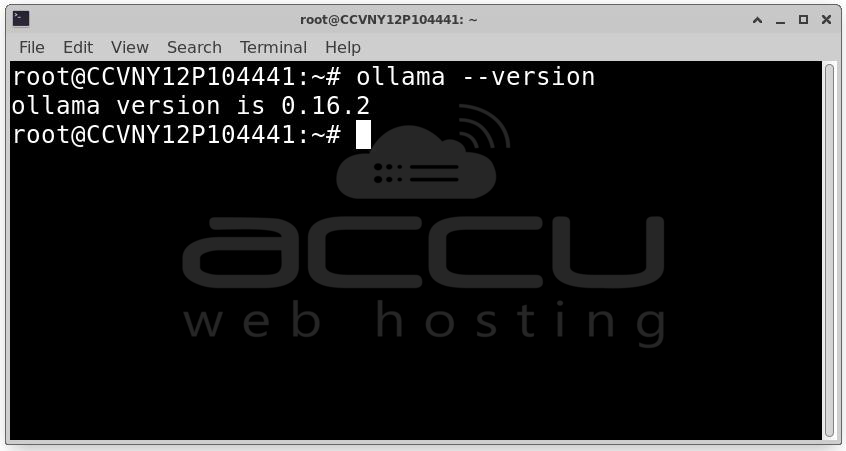
If the version number appears, the installation was successful.
Step 3: Download a Model. Before running an LLM, you must download a model.
Example (LLaMA-based model):
ollama pull llama3
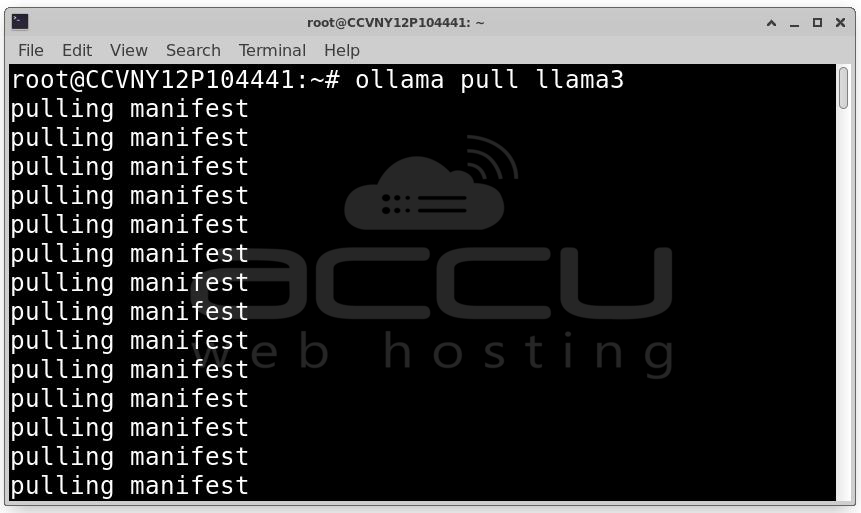
This installs a model based on Llama 3. Depending on the model size and your VPS bandwidth, this may take several minutes.
Other available models include: mistral, phi, gemma. You can list installed models using: ollama list
Step 4: Run the Model (Interactive Mode). Start the model in interactive mode:
ollama run llama3
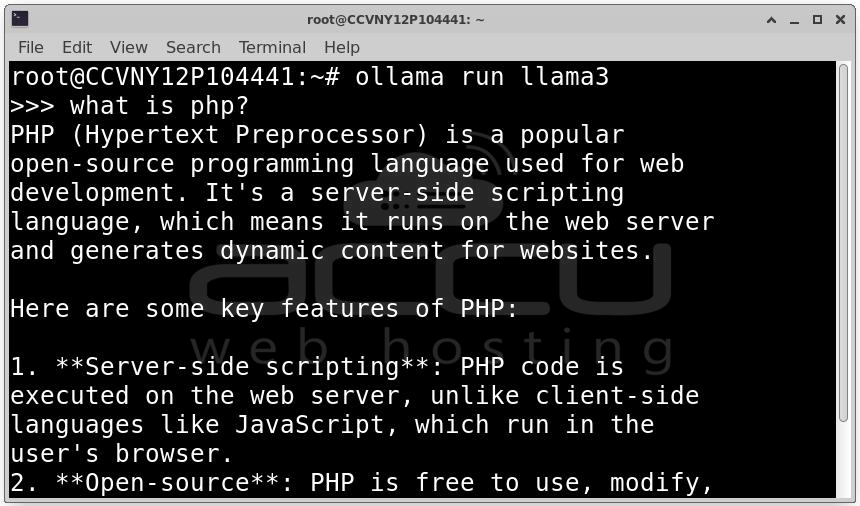
You can now type prompts directly into the terminal, for example:
What is PHP?
The LLM will generate a response in real time. At this stage, the model is running locally and responding to interactive prompts.
Method 2: Deploy LLM with Docker (Production-Oriented)
Step 1: Docker is the containerization platform that allows you to run isolated environments for your LLM.
Install Docker on your VPS: sudo apt install docker.io -y

Enable Docker to start automatically on boot:
sudo systemctl enable docker
sudo systemctl start docker
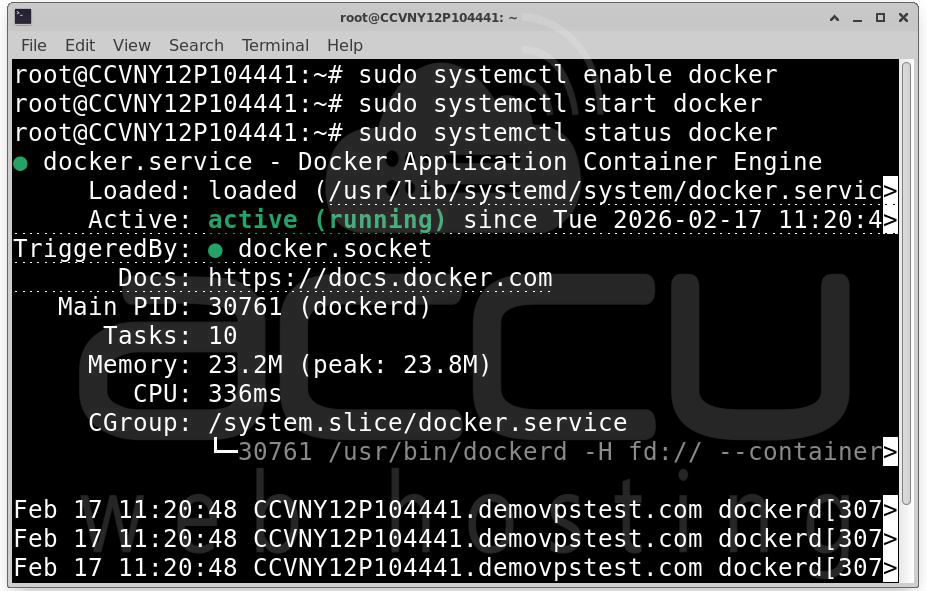
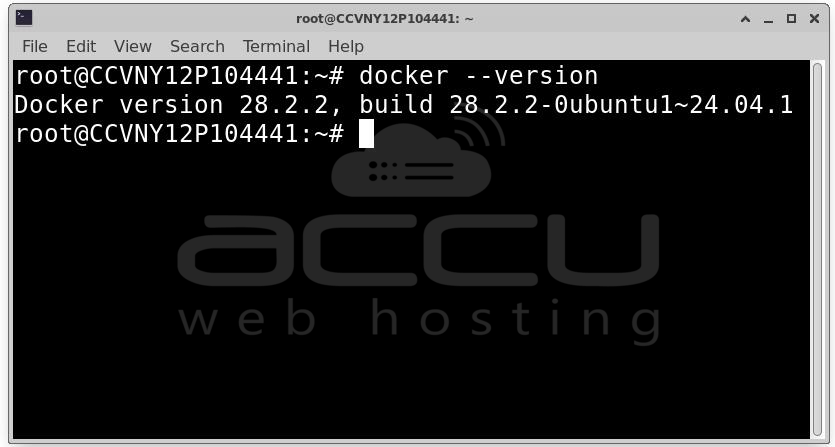
Verify that Docker is installed correctly:
docker --version
Step 2: Once Docker is installed, you can launch the LLM container. For Ollama, run:
docker run -d \
-p 11434:11434 \
--name ollama \
ollama/ollama
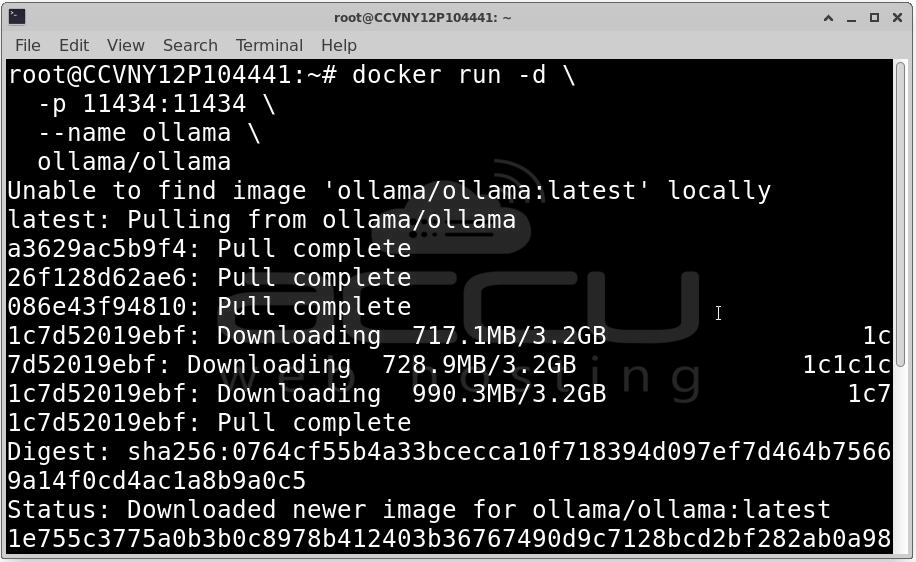
Explanation of parameters:
-
-d: Runs the container in detached mode (background).
-
-p 11434:11434: Maps port 11434 on the host to port 11434 inside the container, exposing the LLM API.
-
--name ollama: Assigns a human-readable name to the container for easier management.
-
ollama/ollama: The official Ollama Docker image containing the LLM runtime.
At this point, the LLM is running inside a container and accessible via http://localhost:11434.
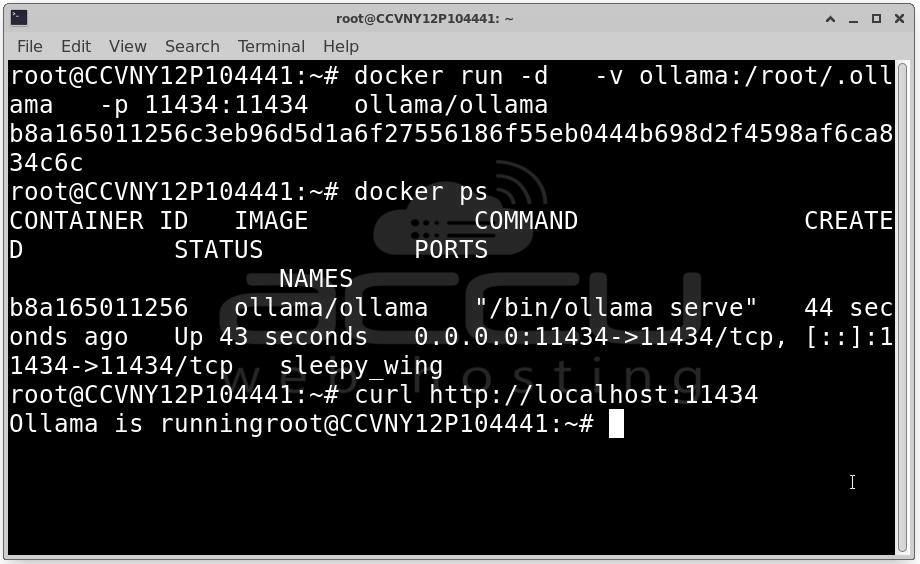
Step 3: By default, any data inside a Docker container is ephemeral. To prevent model loss after container restarts or updates, you should use a Docker volume:
docker run -d \
-v ollama:/root/.ollama \
-p 11434:11434 \
--name ollama \
ollama/ollama
After these steps Ollama is running inside a Docker container , the LLM is accessible via a local API (http://localhost:11434), Model files are stored persistently in a Docker volume. And your environment is production-ready, isolated, and reproducible. This Docker-based setup is ideal for enterprise or high-availability deployments where robustness and repeatability are crucial.
Method 3: Deploy Using Hugging Face Transformers (Advanced)
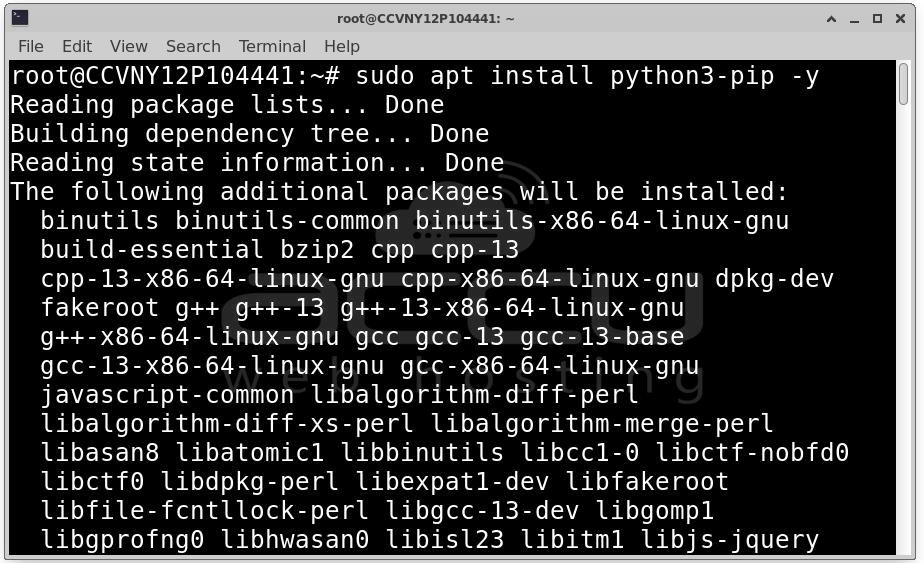
Step 1: Before running any Transformers model, ensure Python and pip are installed:
sudo apt install python3-pip -y
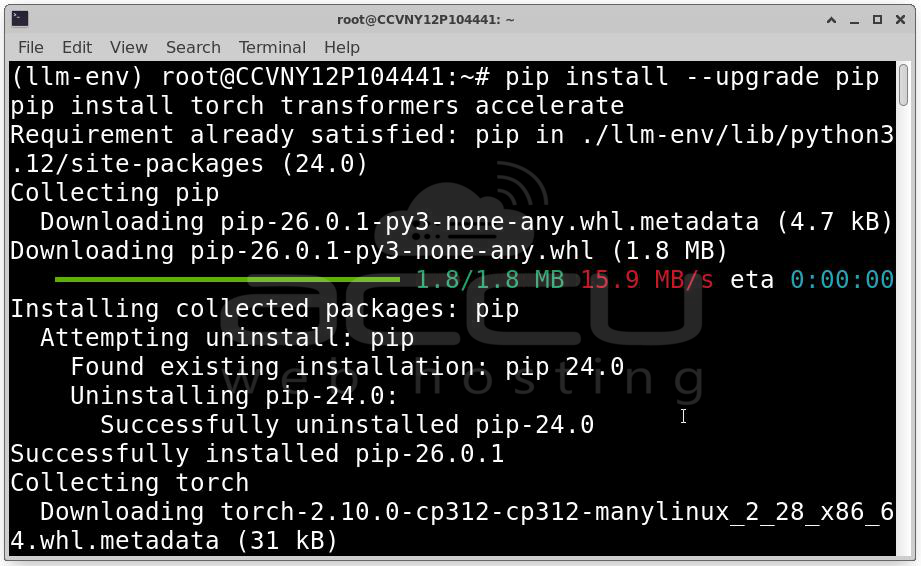
It is highly recommended to use a virtual environment to avoid conflicts:
python3 -m venv llm-env
source llm-env/bin/activate
Next, install the required Python libraries:
pip install torch transformers accelerate
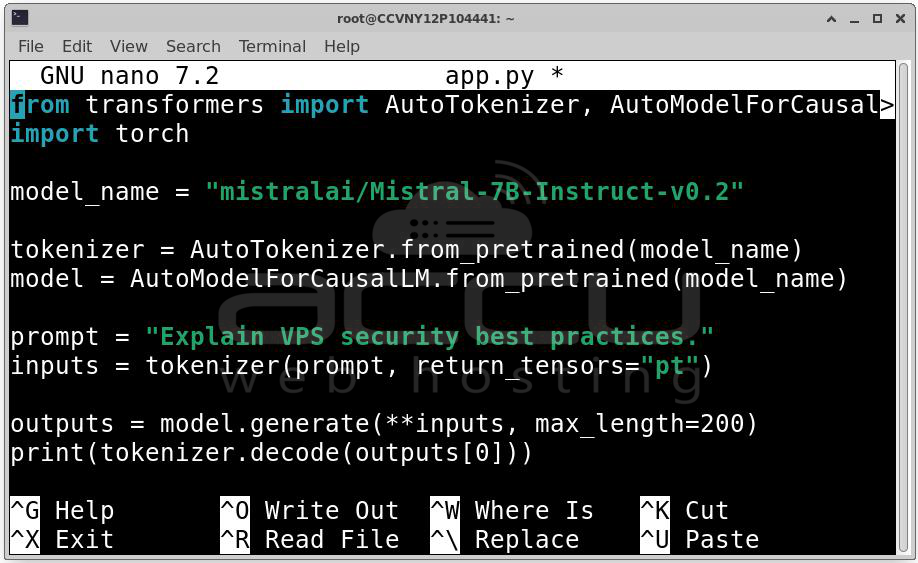
Step 2: Create Python Script (app.py). Create a file named app.py and include the following code:
from transformers import AutoTokenizer, AutoModelForCausalLM
import torch
# Select the model
model_name = "mistralai/Mistral-7B-Instruct-v0.2"
# Load tokenizer and model
tokenizer = AutoTokenizer.from_pretrained(model_name)
model = AutoModelForCausalLM.from_pretrained(model_name)
# Define prompt
prompt = "Explain VPS security best practices."
inputs = tokenizer(prompt, return_tensors="pt")
# Generate output
outputs = model.generate(**inputs, max_length=200)
print(tokenizer.decode(outputs[0]))
Step 3: Execute the script with: python3 app.py
You should see the model’s response printed directly in the terminal.
GPU Configuration and Securing Your LLM on a VPS
Deploying a large language model (LLM) on a VPS can be resource-intensive, especially for models with billions of parameters. If your VPS includes an NVIDIA GPU, you can dramatically improve inference speed and support larger models. At the same time, it’s critical to secure the LLM to prevent unauthorized access, misuse, or data leakage. This section covers GPU setup and recommended security practices.
Step 1: Install the recommended NVIDIA drivers for your GPU:
sudo apt install nvidia-driver-535
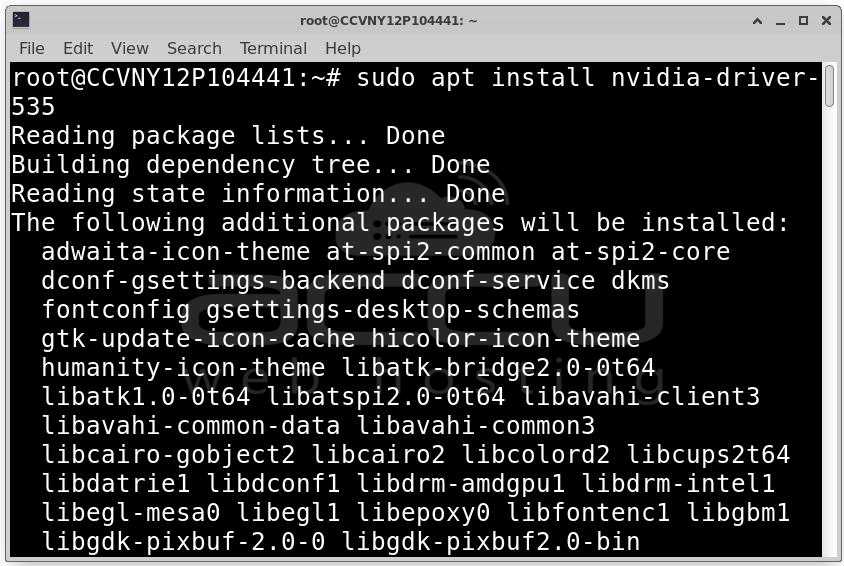
These drivers allow the operating system to communicate with the GPU hardware properly.
Step 2: Download and install the CUDA toolkit appropriate for your GPU model. CUDA provides the necessary libraries for GPU computation. Follow the official NVIDIA CUDA installation guide for your version.
Step 3: To take advantage of GPU acceleration in PyTorch, install a version compatible with your CUDA installation:
pip install torch --index-url https://download.pytorch.org/whl/cu118
Verify that PyTorch recognizes the GPU:
import torch
torch.cuda.is_available()
Step 4: Check that the GPU is detected and available:
nvidia-smi
This command outputs GPU utilization, temperature, and memory usage. A properly configured GPU can improve inference speed 5x–20x, depending on model size, enabling smooth operation of models with 7B–13B parameters or more.
Securing the LLM on a VPS
Exposing an LLM publicly without protection introduces several risks:
-
Unauthorized access or abuse of the model
-
Resource exhaustion leading to degraded performance
-
Leakage of sensitive data processed by the LLM
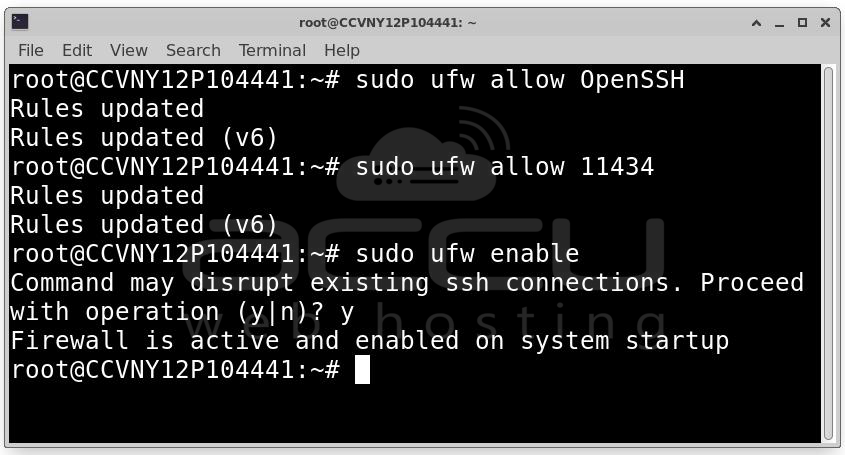
Configure Firewall (UFW): Use ufw to restrict access to your VPS:
sudo ufw allow OpenSSH
sudo ufw allow 11434
sudo ufw enable
Best practice: Bind the LLM service to localhost and expose it only through a reverse proxy. This prevents direct internet access to the model API.
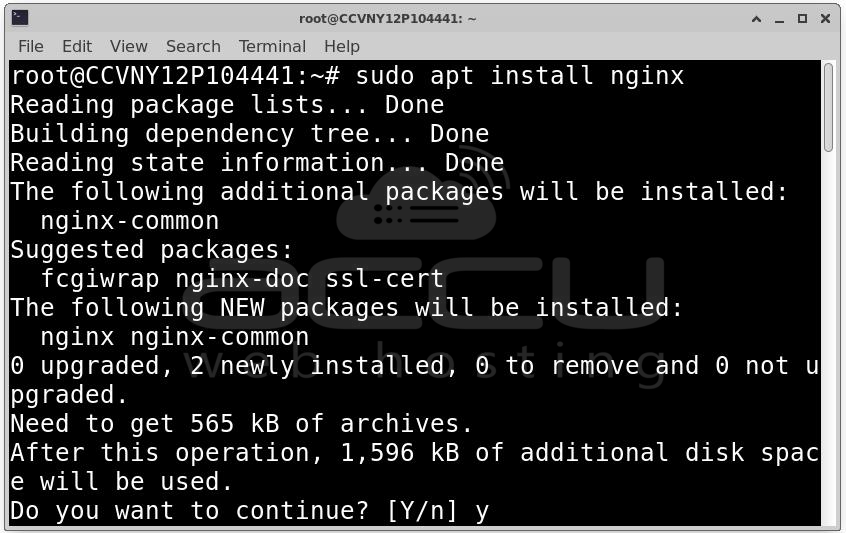
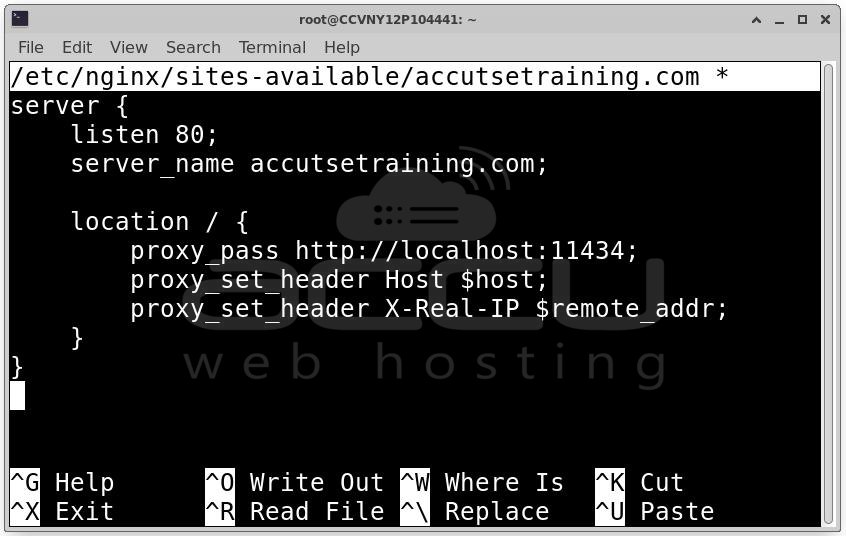
Configure Nginx Reverse Proxy: Nginx can serve as a secure gateway for your LLM API. Install Nginx:
sudo apt install nginx
Create a basic server block configuration:
server {
listen 80;
server_name yourdomain.com;
location / {
proxy_pass http://localhost:11434;
proxy_set_header Host $host;
proxy_set_header X-Real-IP $remote_addr;
}
}
Restart Nginx to apply changes: sudo systemctl restart nginx
Optional Security Enhancements:
-
Enable HTTPS with Let’s Encrypt: certbot --nginx -d yourdomain.com
-
Add authentication: Basic Auth, API keys, or OAuth
-
Restrict access to trusted IP addresses or VPN users
These steps ensure your LLM runs efficiently, safely, and reliably on your VPS.
Conclusion
Setting up an LLM on a VPS turns a regular server into a private AI platform. It involves choosing the right hardware, installing the runtime, deploying models, configuring APIs, and securing access. For enterprises, using containers with a reverse proxy and authentication is recommended. Self-hosting gives full control, keeps data private, and allows custom inference pipelines. When optimized and secured, a VPS-hosted LLM is scalable, cost-efficient, and production-ready.
