Deploying a Django application in a production environment requires more than running the built-in development server. A reliable deployment setup must be secure, stable, scalable, and optimized for performance. This article provides a complete, production-focused guide for deploying a Django application on an AlmaLinux VPS using Gunicorn as the WSGI application server and Nginx as the reverse proxy.

This architecture is widely used in production systems because it separates responsibilities:
- Django handles application logic.
- Gunicorn runs the Python WSGI application.
- Nginx handles client connections, static files, and reverse proxy functionality.
- Systemd manages the Gunicorn service lifecycle.
System Requirements
Before starting deployment, ensure that your environment meets the following requirements:
- AlmaLinux 8, AlmaLinux 9 AlmaLinux 10 VPS
- Root or sudo privileges
- Python 3.9 or higher
- A registered domain name (recommended for SSL)
AlmaLinux is a stable enterprise-grade Linux distribution derived from Red Hat Enterprise Linux (RHEL). It includes SELinux and firewalld by default, which must be configured correctly for web deployments.
Steps to deploy a Django Application with Gunicorn and Nginx on AlmaLinux VPS
Step 1: System updates are essential to ensure security and compatibility.
Update all installed packages: sudo dnf update -y
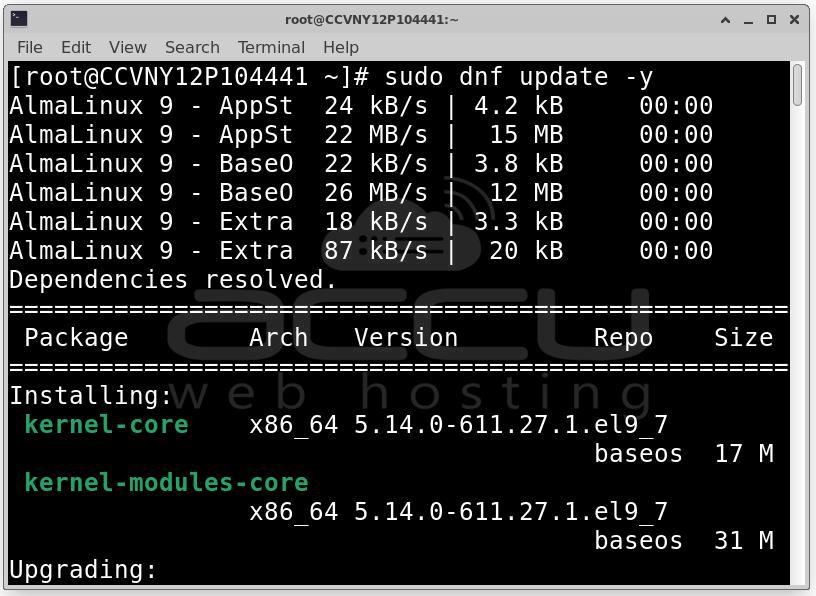
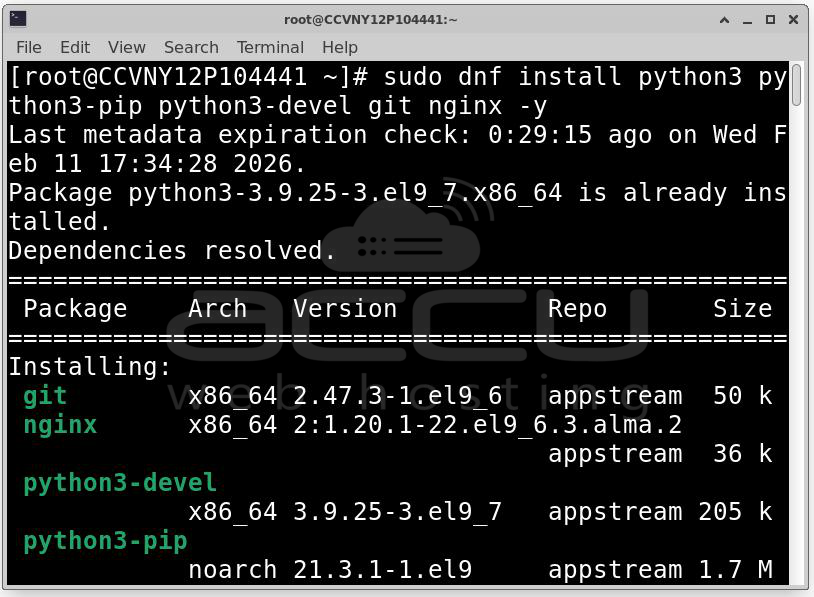
Install required packages: sudo dnf install python3 python3-pip python3-devel git nginx -y
Enable and start Nginx:
sudo systemctl enable nginx
sudo systemctl start nginx
Verify Nginx status: sudo systemctl status nginx
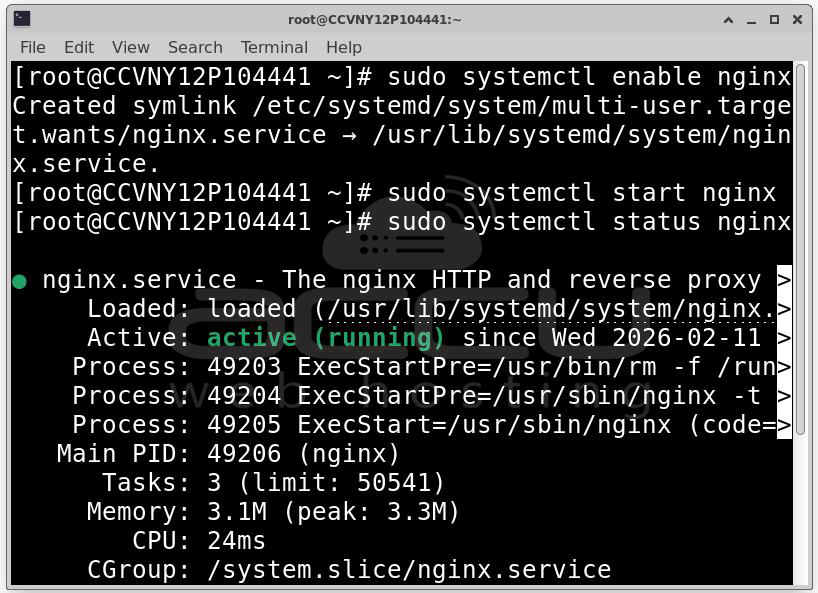
At this stage, Nginx should be running and accessible via the server IP address.
Step 2: Create a Project Directory. It is best practice to store web applications under /var/www/.
Create the project directory: sudo mkdir -p /var/www/myproject
sudo chown -R $USER:$USER /var/www/myproject
cd /var/www/myproject
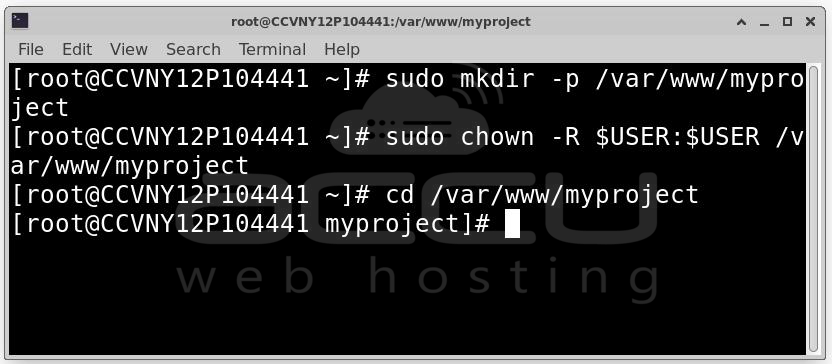
This ensures that the current user owns the directory and can manage the project files.
Step 3: Create a Python Virtual Environment
Using a virtual environment isolates project dependencies from the system Python installation.
Create the environment: python3 -m venv venv
Activate the environment: source venv/bin/activate
Upgrade pip: pip install --upgrade pip
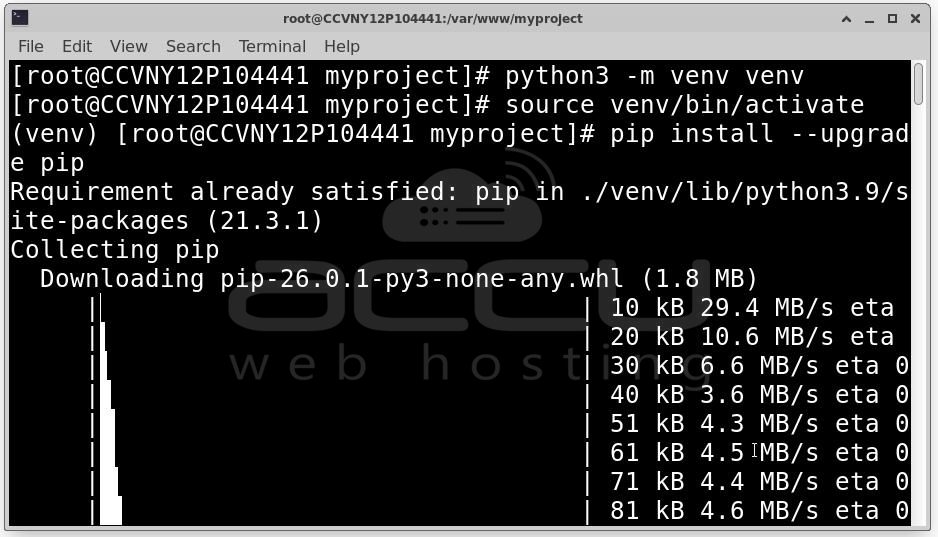
From this point onward, all Python packages will be installed inside the virtual environment.
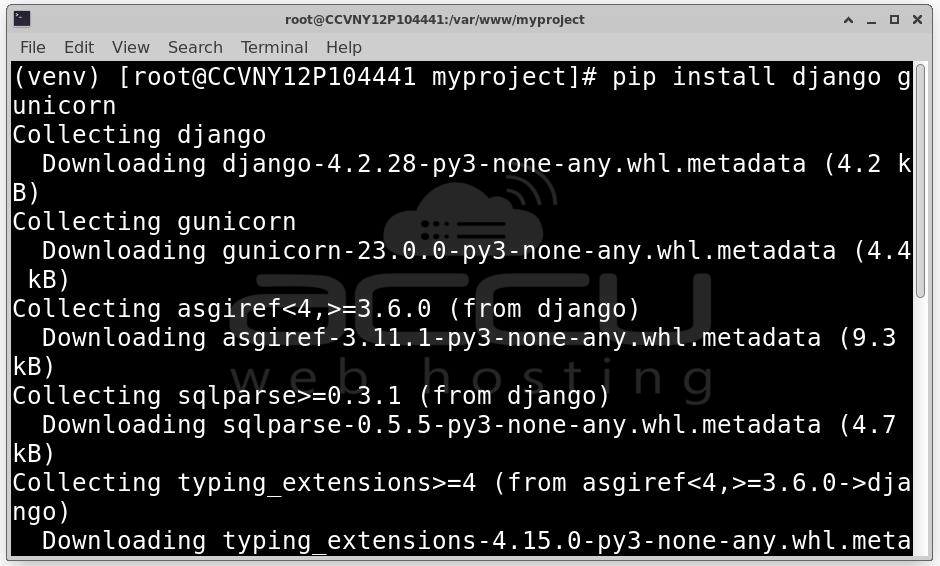
Step 4: Install Django and Gunicorn.
Install required Python packages: pip install django gunicorn
If deploying an existing project: git clone https://your-repository-url.git .
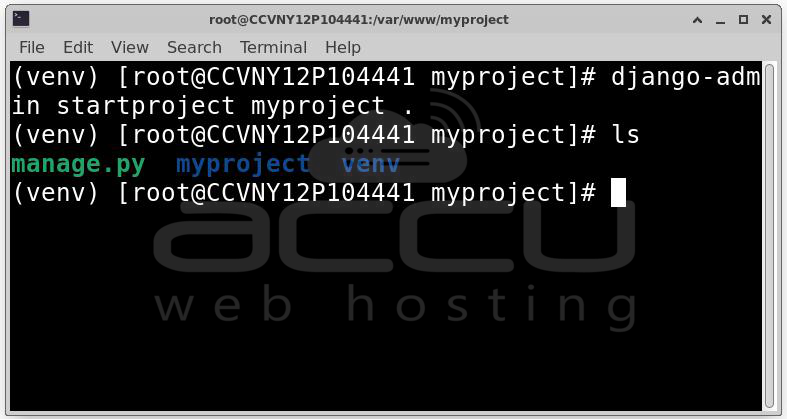
If creating a new project: django-admin startproject myproject .
Project structure should now include:
- manage.py
- myproject/ (project settings directory)
- venv/
Step 5: Production configuration is critical. The default Django settings are not secure for deployment.
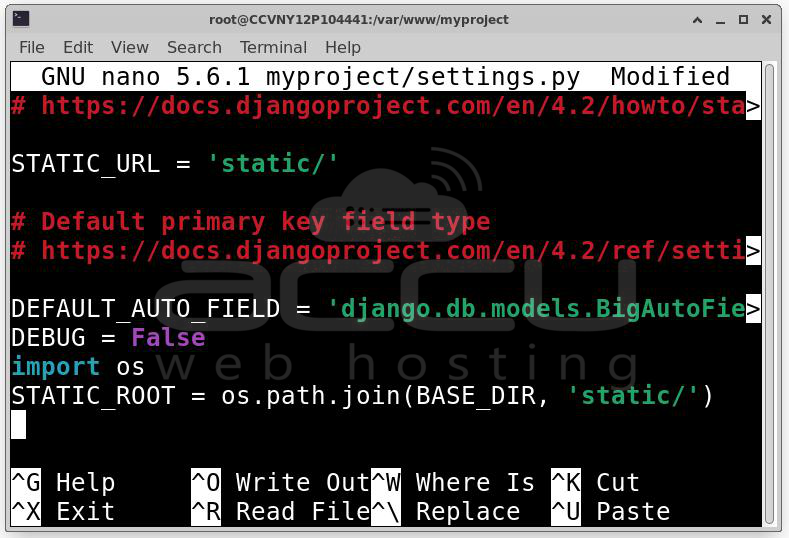
Open the settings file: nano myproject/settings.py
Configure Allowed Hosts: Set allowed domains or IP addresses:
ALLOWED_HOSTS = [“your_domain.com”, “your_server_ip”]
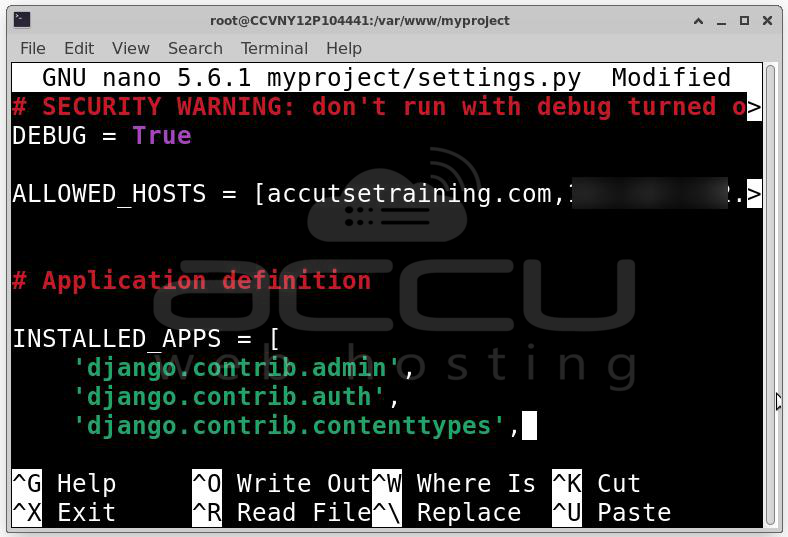
This prevents host header attacks.
Disable Debug Mode: DEBUG = False
Never enable debug mode in production.
Configure Static Files: Add:
import os
STATIC_ROOT = os.path.join(BASE_DIR, 'static/')
Collect static files: python manage.py collectstatic
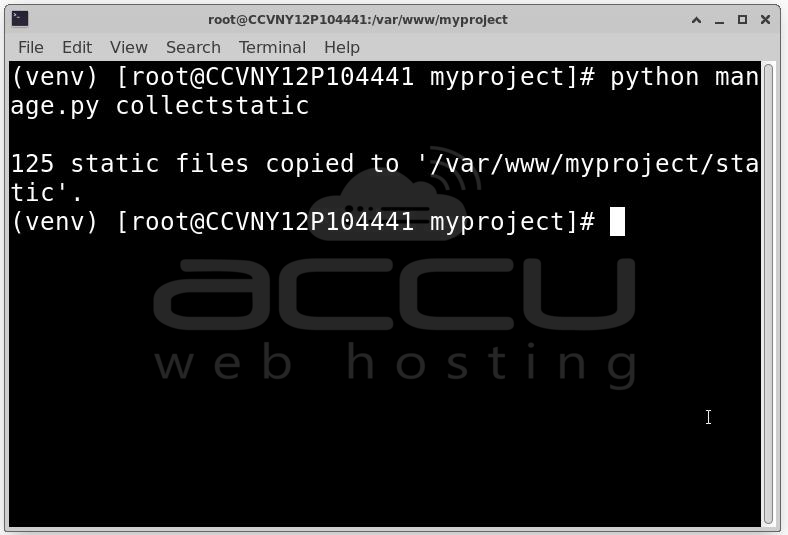
This command gathers all static files into a single directory that Nginx will serve directly.
Step 6: Apply Database Migrations.
python manage.py migrate
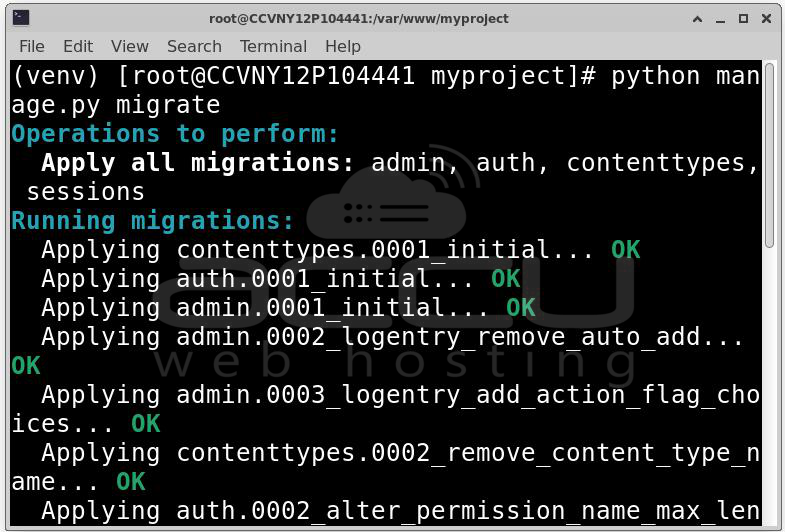
This creates necessary database tables.
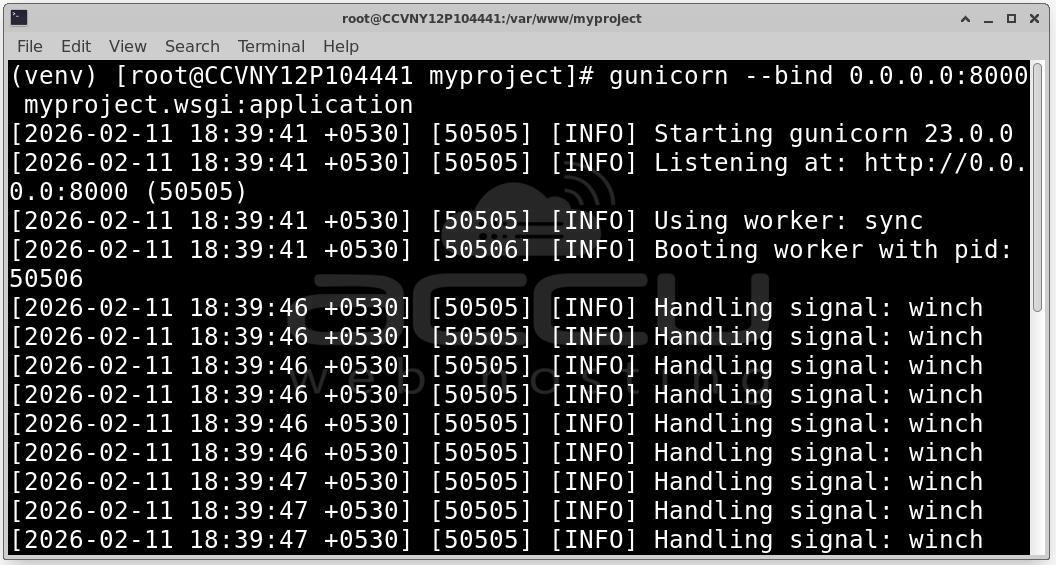
Step 7: Test Gunicorn Manually. Before configuring system services, test Gunicorn manually.
gunicorn --bind 0.0.0.0:8000 myproject.wsgi:application
Open browser:
http://your_server_ip:8000

If the application loads successfully, Gunicorn is functioning correctly.
Stop the server using Ctrl + C.
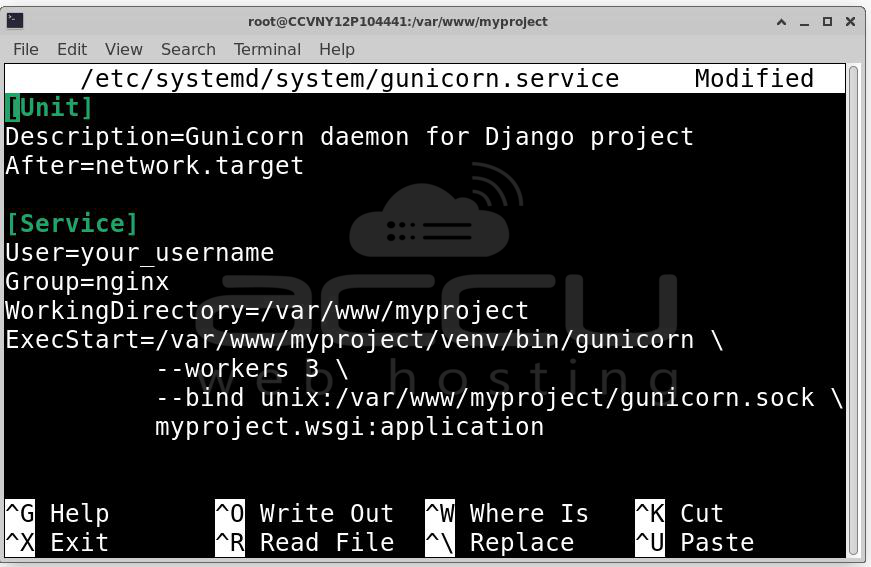
Step 8: Configure Gunicorn as a Systemd Service. Running Gunicorn manually is not suitable for production. Systemd ensures automatic startup and service management.
Create service file:
sudo nano /etc/systemd/system/gunicorn.service
Add:
[Unit]
Description=Gunicorn daemon for Django project
After=network.target
[Service]
User=your_username
Group=nginx
WorkingDirectory=/var/www/myproject
ExecStart=/var/www/myproject/venv/bin/gunicorn \
--workers 3 \
--bind unix:/var/www/myproject/gunicorn.sock \
myproject.wsgi:application
[Install]
WantedBy=multi-user.target
Reload systemd: sudo systemctl daemon-reload
Start Gunicorn: sudo systemctl start gunicorn
Enable auto-start: sudo systemctl enable gunicorn
Check status: sudo systemctl status gunicorn
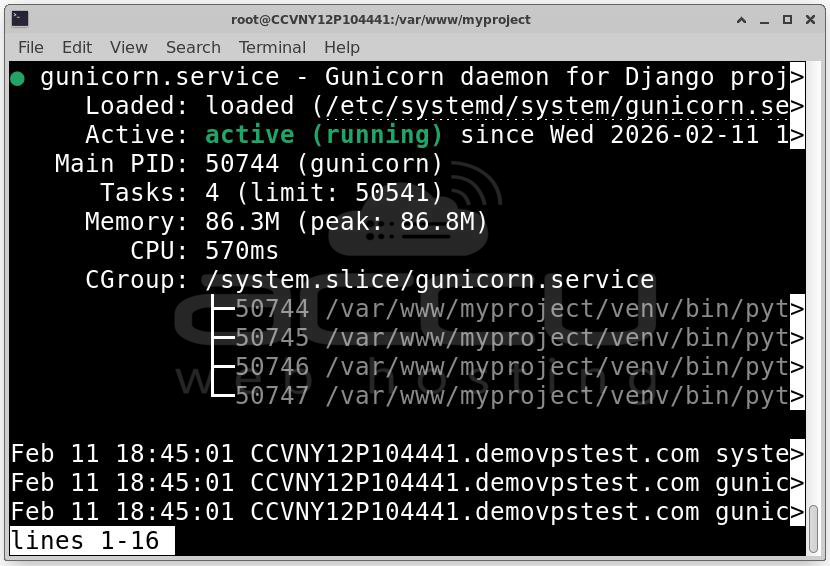
If active, Gunicorn is running correctly.
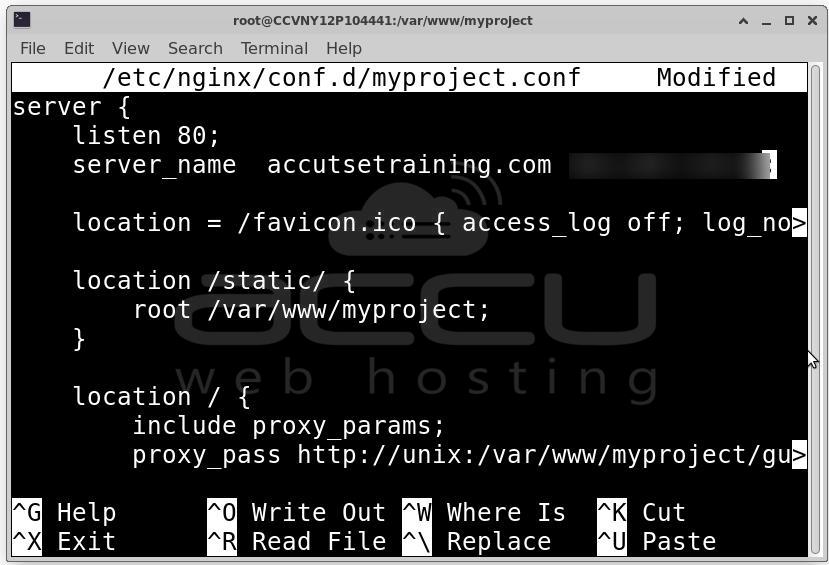
Step 9: Configure Nginx as Reverse Proxy. Nginx will serve static files, forward dynamic requests to Gunicorn and handle client connections
Create configuration file: sudo nano /etc/nginx/conf.d/myproject.conf
Add:
server {
listen 80;
server_name your_domain.com your_server_ip;
location = /favicon.ico { access_log off; log_not_found off; }
location /static/ {
root /var/www/myproject;
}
location / {
proxy_pass http://unix:/var/www/myproject/gunicorn.sock;
proxy_set_header Host $host;
proxy_set_header X-Real-IP $remote_addr;
proxy_set_header X-Forwarded-For $proxy_add_x_forwarded_for;
proxy_set_header X-Forwarded-Proto $scheme;
}
}
Test configuration: sudo nginx -t
Restart Nginx: sudo systemctl restart nginx
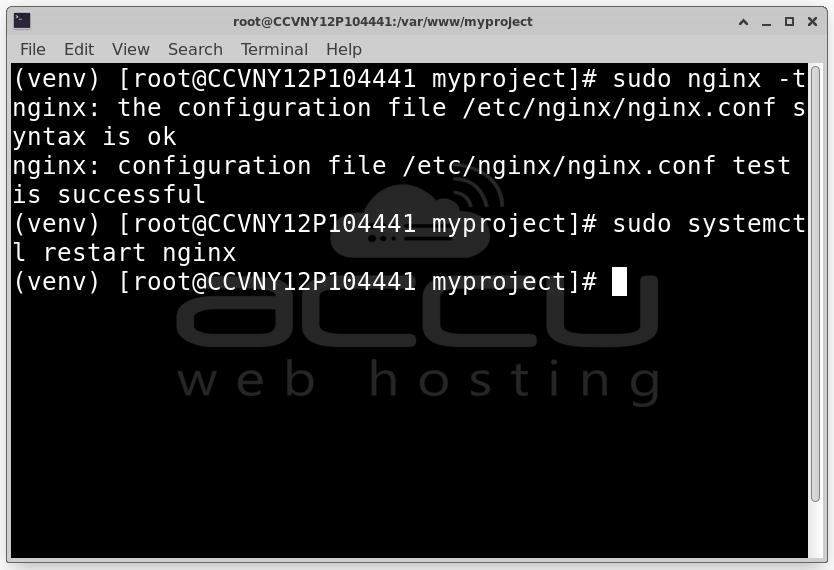
At this stage, visiting your domain should load the Django application.

Monitoring and Maintenance
Restart services when needed:
sudo systemctl restart gunicorn
sudo systemctl restart nginx
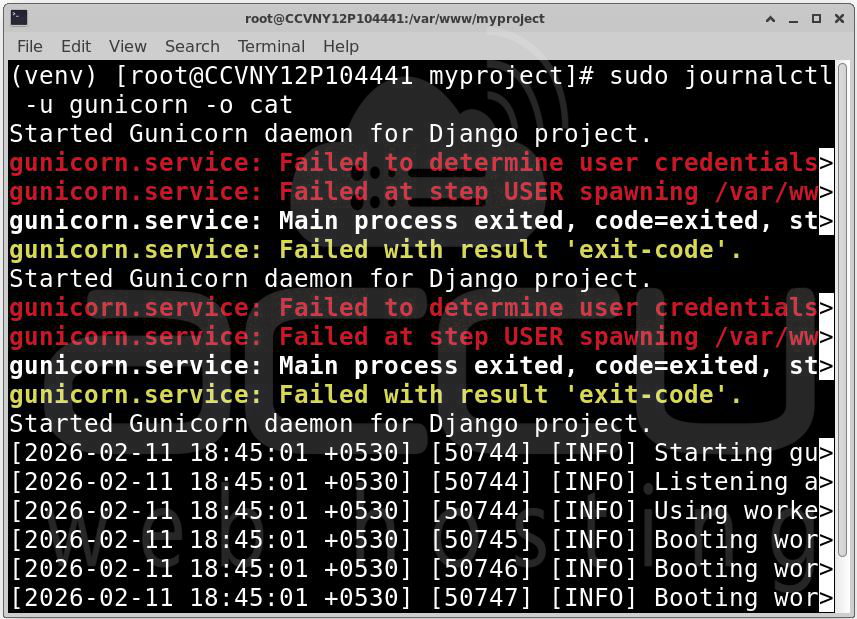
Check Gunicorn logs: sudo journalctl -u gunicorn -o cat
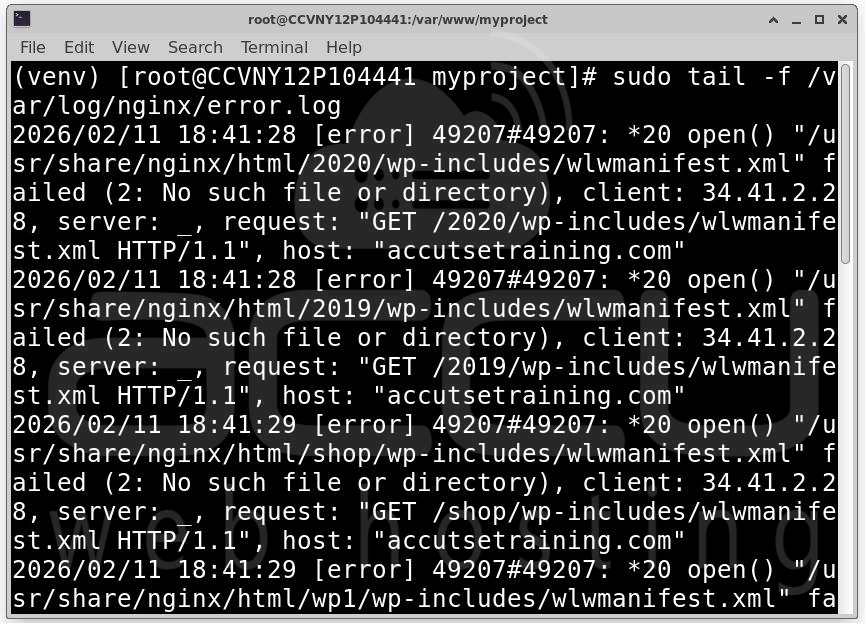
Check Nginx errors: sudo tail -f /var/log/nginx/error.log
Conclusion
Deploying a Django application on AlmaLinux using Gunicorn and Nginx provides a stable, secure, and production-ready architecture. Gunicorn handles Python application execution, while Nginx efficiently manages client communication and static content. AlmaLinux provides enterprise-level stability and security, making it a strong foundation for production Django applications. With proper configuration, monitoring, and maintenance, this deployment strategy can support small applications as well as large-scale production systems.
