What is Coolify?
Coolify is an open-source, self-hosted platform that serves as a powerful alternative to popular deployment services such as Vercel, Heroku, Netlify, and Railway.
In simple terms, Coolify functions like your own cPanel for modern applications. It enables you to deploy and manage websites, APIs, databases, and more—all from a single server—without relying on costly cloud platforms.
Features of Coolify
With Coolify, you can:
- Deploy Next.js, Node.js, PHP, Docker, and static websites
- Host databases like PostgreSQL, MySQL, and Redis
- Install 280+ one-click open-source services
- Manage everything using a web-based dashboard
- Maintain full control of your server and data
Why Choose Coolify?
Coolify stands out because it combines simplicity with power.
Key Benefits
- Fully open source
- Runs on your own or a remote server
- One-click deployment for apps and databases
- Built-in Docker support
- Automatic builds and deployments
- Custom domains and environment variables
Additionally, you can host multiple projects, applications, and databases on a single VPS, which significantly reduces hosting costs.
Prerequisites for Coolify Installation
Operating System:
- Ubuntu 22.04 / 24.04
- Debian 11 / 12
Hardware Requirements:
- CPU: Minimum 2 vCPUs (4+ recommended)
- RAM: Minimum 2GB (4GB+ recommended)
- Disk: Minimum 30GB available space
Access: Root or sudo access via SSH is required
Step‑by‑Step Guide: Install Coolify on Ubuntu VPS
Coolify is a self-hosted, open-source platform that simplifies the deployment and management of modern applications. This guide walks you through the installation process on an Ubuntu VPS.
Step 1: Connect Your VPS via SSH
Use the following command to connect to your VPS:
ssh root@your_vps_ip
Step 2: Update System Packages and Install Essentials
Update your system and install required packages:
sudo apt update && sudo apt upgrade -y
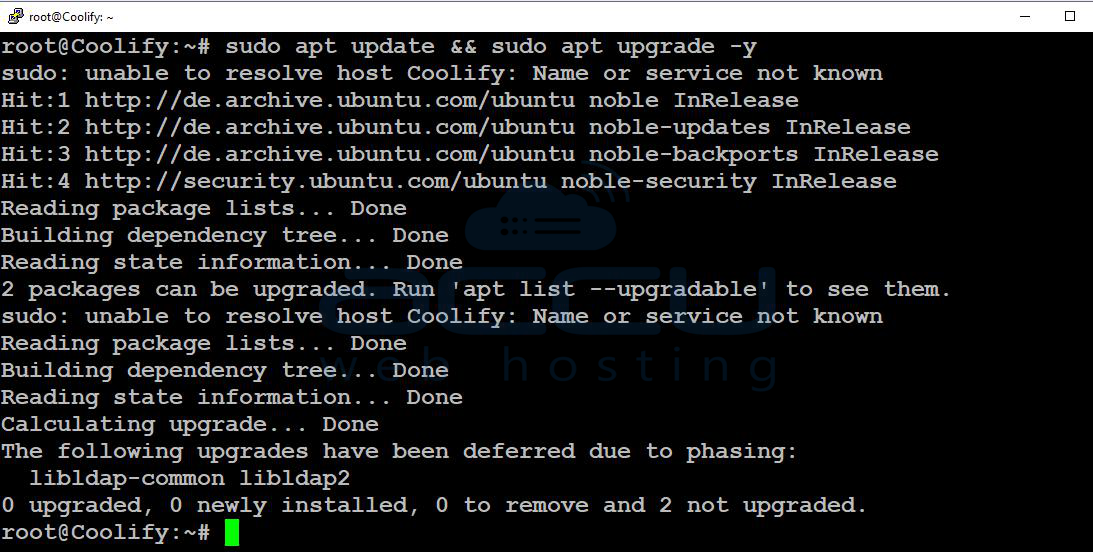
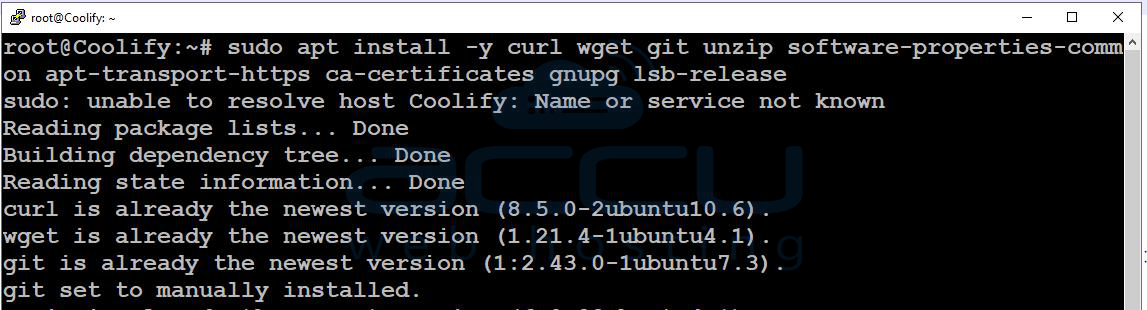
sudo apt install curl -y
Step 3: Install Docker
Coolify requires Docker and Docker Compose to function.
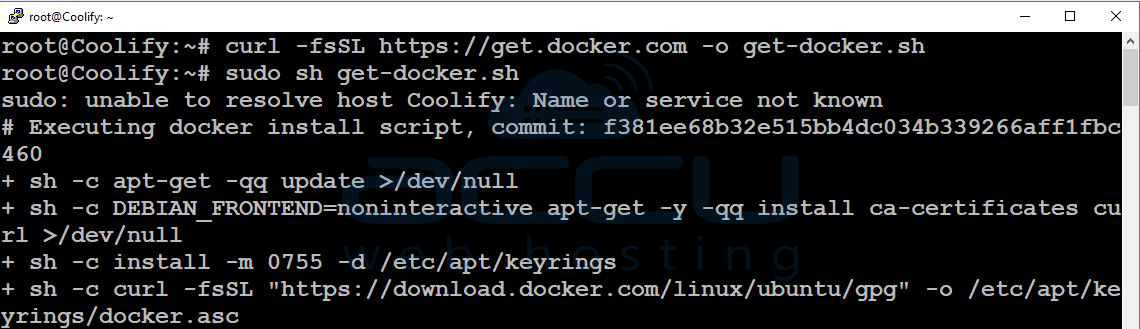
Install Docker
Run the following command:
curl -fsSL https://get.docker.com -o get-docker.sh
sudo sh get-docker.sh
Add User to Docker Group:
sudo usermod -aG docker $USER

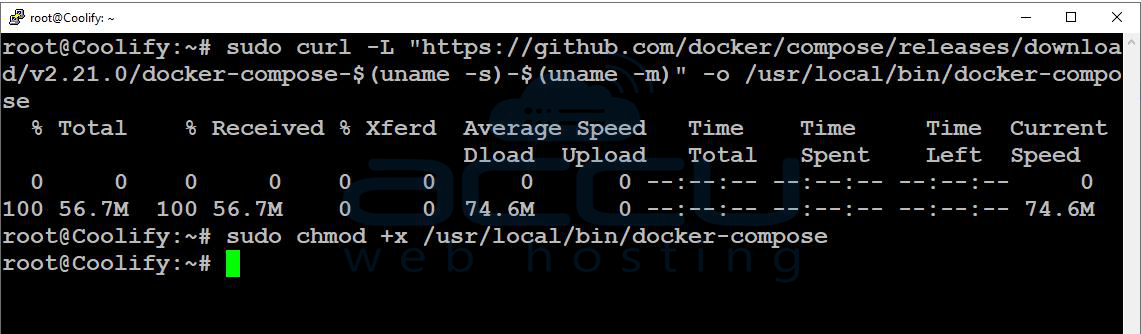
Install Docker Compose:
sudo curl -L "https://github.com/docker/compose/releases/download/v2.21.0/docker-compose-$(uname -s)-$(uname -m)" -o /usr/local/bin/docker-composesudo chmod +x /usr/local/bin/docker-compose
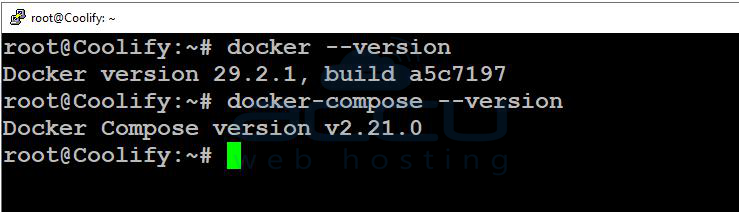
Verify Installation
docker --version
docker-compose --version
Step 4: Install Coolify
Run the official installation command:
curl -fsSL https://cdn.coollabs.io/coolify/install.sh | bash
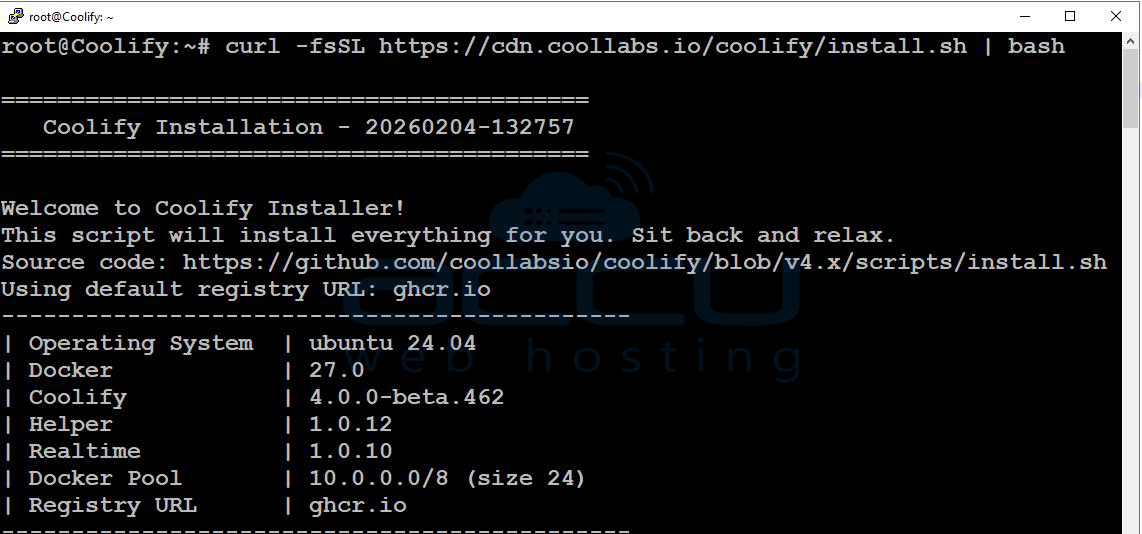
The installation process may take up to 10 minutes as it downloads and configures all necessary components. Once complete, you’ll see a success message confirming Coolify is installed.
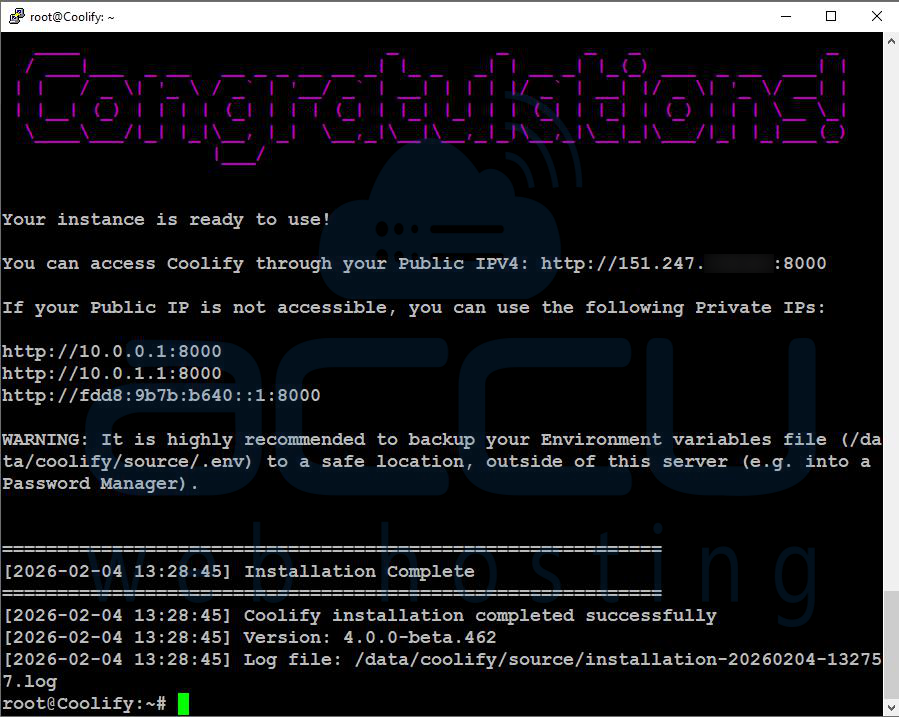
Step 5: Access the Coolify Dashboard
Open your browser and visit:
http://your-vps-ip:8000
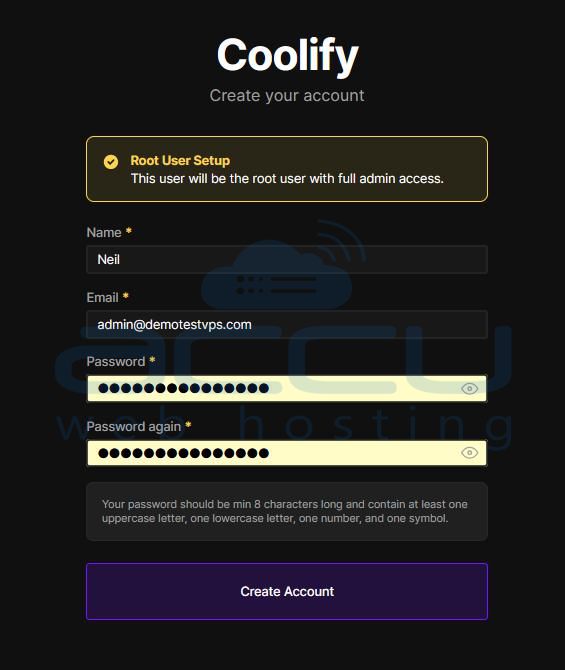
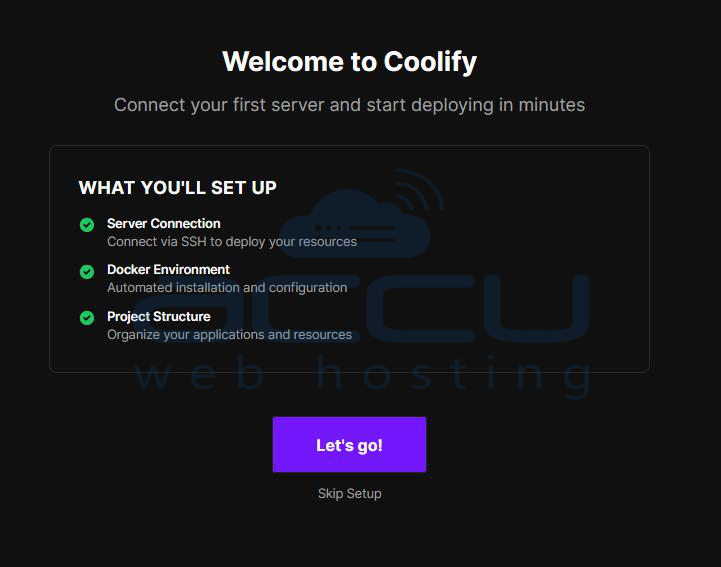
You’ll be prompted to create an admin account to manage Coolify.
After registration, Coolify will display an overview of its features. Click “Let’s go!” to continue.
Step 6: Choose Server Type for Deployment
Coolify will ask where you want to deploy your resources. You’ll see two options:
- This Machine: Host apps and databases on the same VPS (recommended for this guide).
- Remote Server: Deploy applications to another server via SSH for greater flexibility.
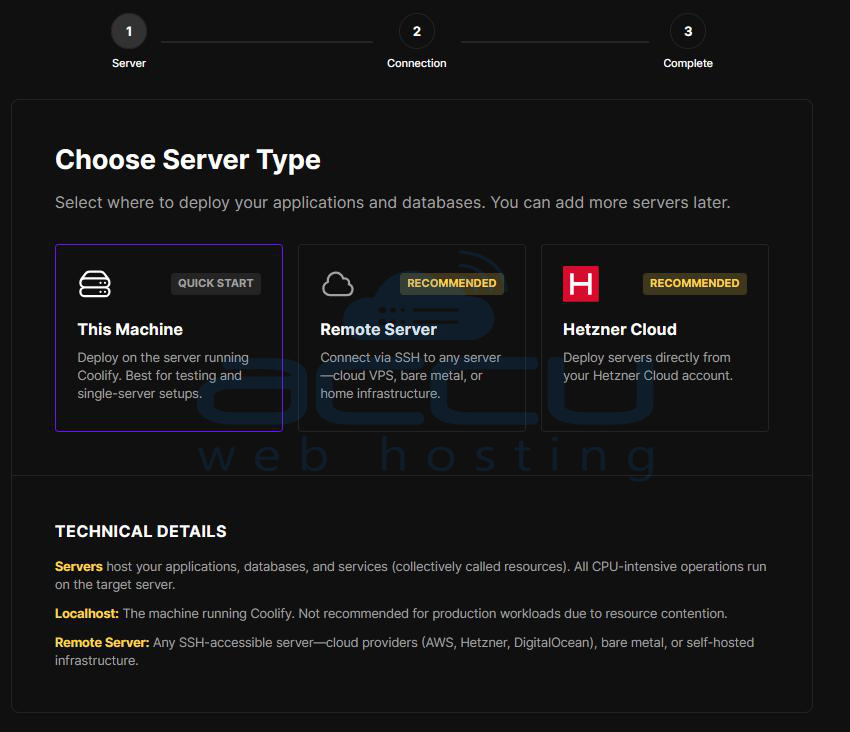
Once confirmed, Coolify prepares the environment and automatically creates your first project.
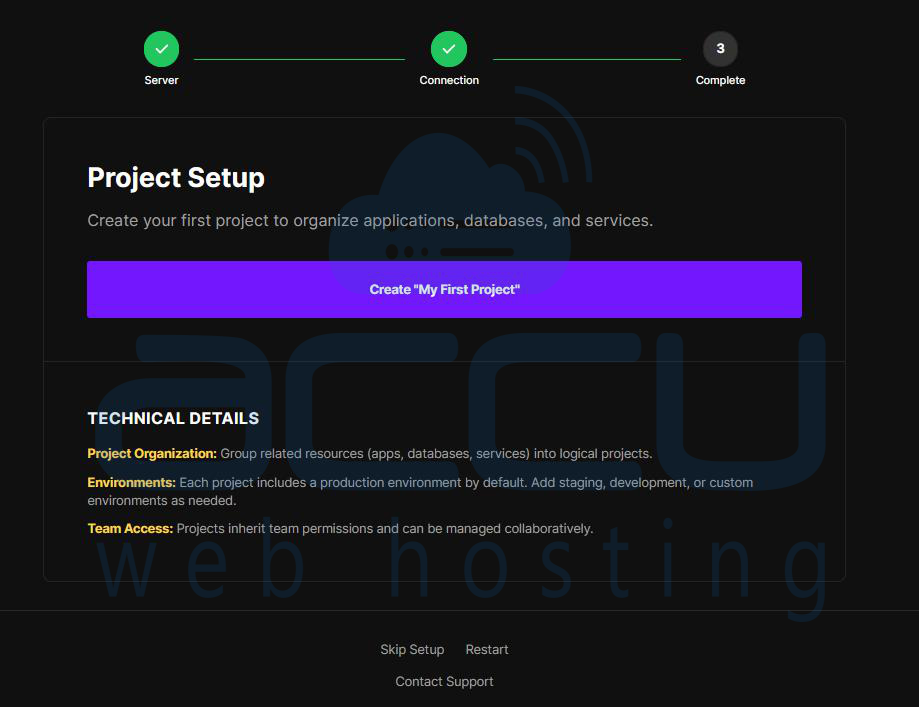
Create a New Project
Click “Create My First Project” to proceed.
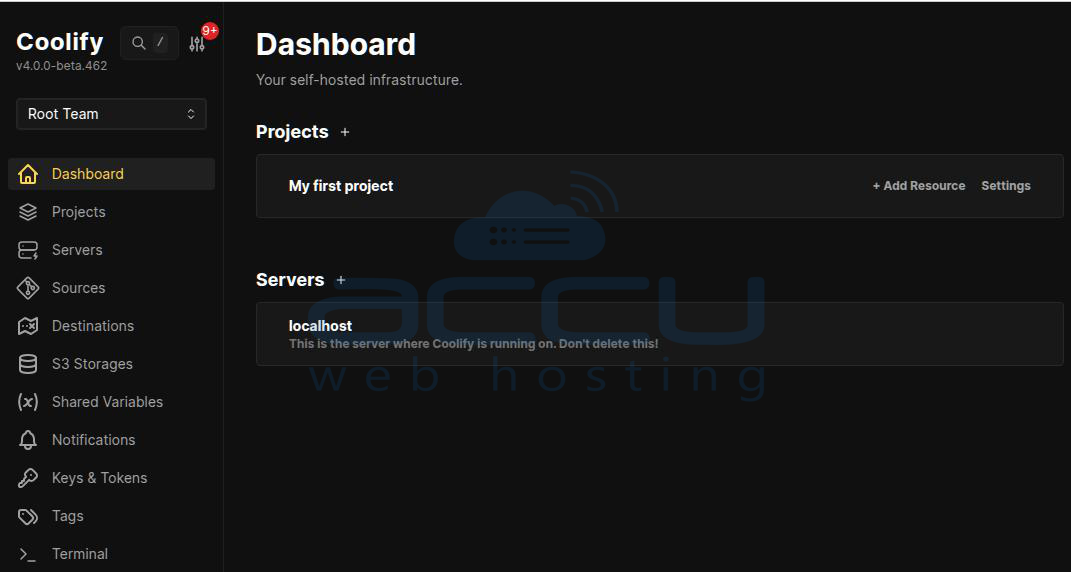
Setup Complete!
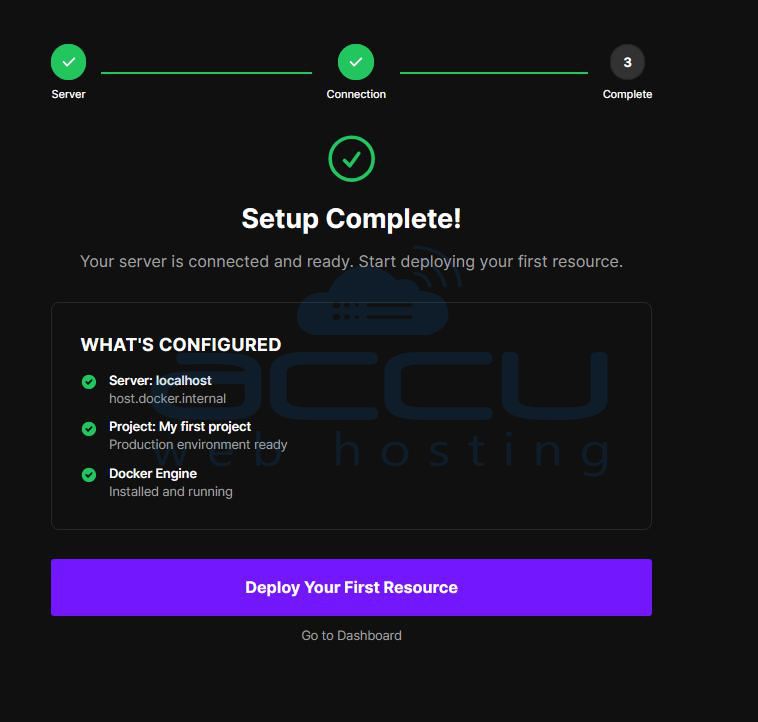
Coolify is now fully installed and ready to use. Head to the Dashboard to start deploying and managing your applications.
Conclusion:
Coolify is a powerful and flexible solution for users who want full control over their application hosting without depending on costly managed platforms. It combines the convenience of one-click deployments with the flexibility of self-hosting, helping bridge the gap between traditional VPS management and modern cloud platforms such as Vercel or Heroku.
With a straightforward installation process on Ubuntu, built-in Docker support, and the ability to host applications, databases, and services on a single server, Coolify makes self-hosting accessible even for beginners.
Installing Coolify on an Ubuntu VPS is simple and can be completed in just a few steps using the official installer. If you encounter any issues during installation, please feel free to contact us via chat or support. Our support team will assist you with the installation process.
