Hosting a 7 Days to Die (7DTD) on Linux gives you full control over performance, mods, player limits, and uptime. Ubuntu 24.04 is a stable and modern choice for running a 7DTD server on a VPS or dedicated machine.
This article provides step-by-step instructions to:
- Install the 7DTD
- Verify that the server is running correctly
The guide assumes you are running Ubuntu 24.04 and have SSH access to your server.
System Requirements:
|
Players |
RAM |
CPU |
Storage |
|
2-4 |
4 GB |
2 cores |
20+ GB SSD |
|
6-10 |
8 GB |
4 cores |
30+ GB SSD |
|
10+ |
12–16 GB |
6+ cores |
40+ GB SSD |
Note: SSD storage is strongly recommended for world loading and performance.
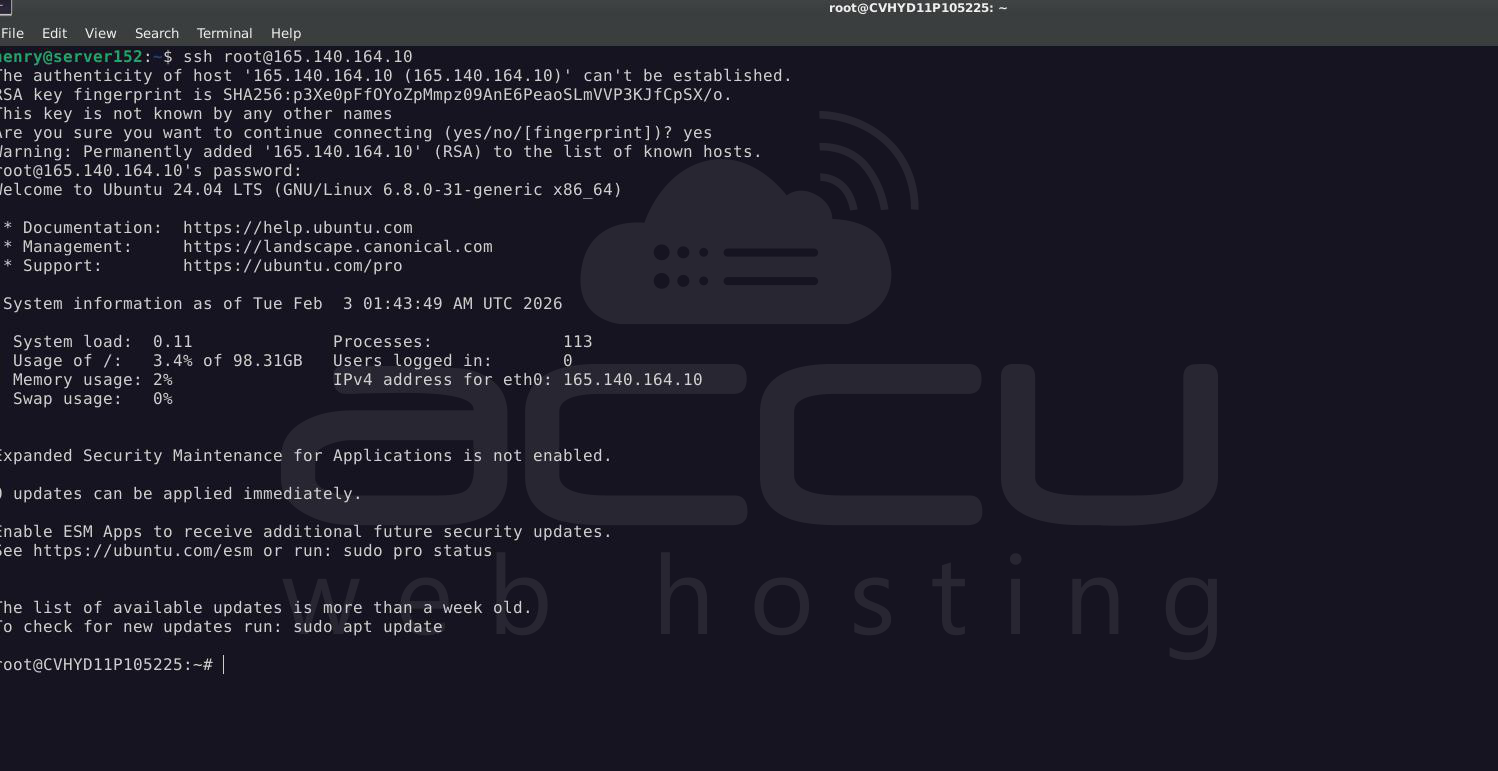
Step 1: Log in to your VPS
> ssh root@VPS-IP -p Port_Number
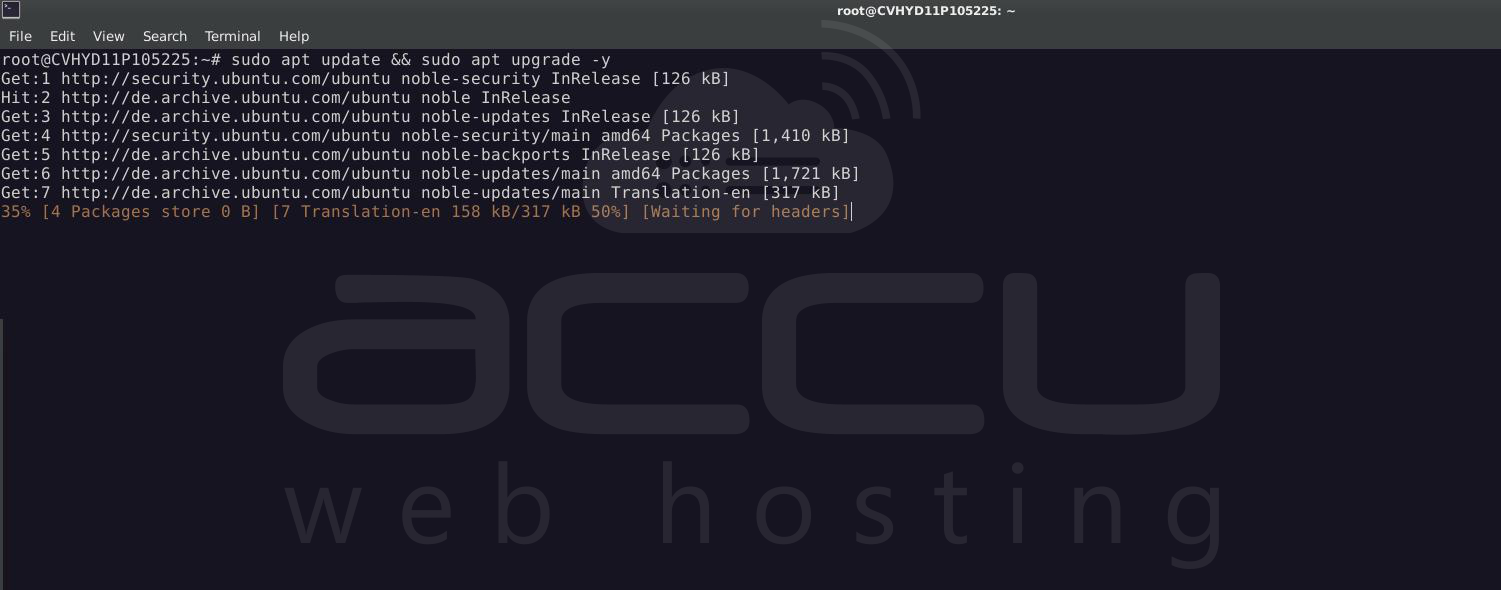
Step 2: Update your VPS and reboot
> sudo apt update && sudo apt upgrade -y
> sudo reboot
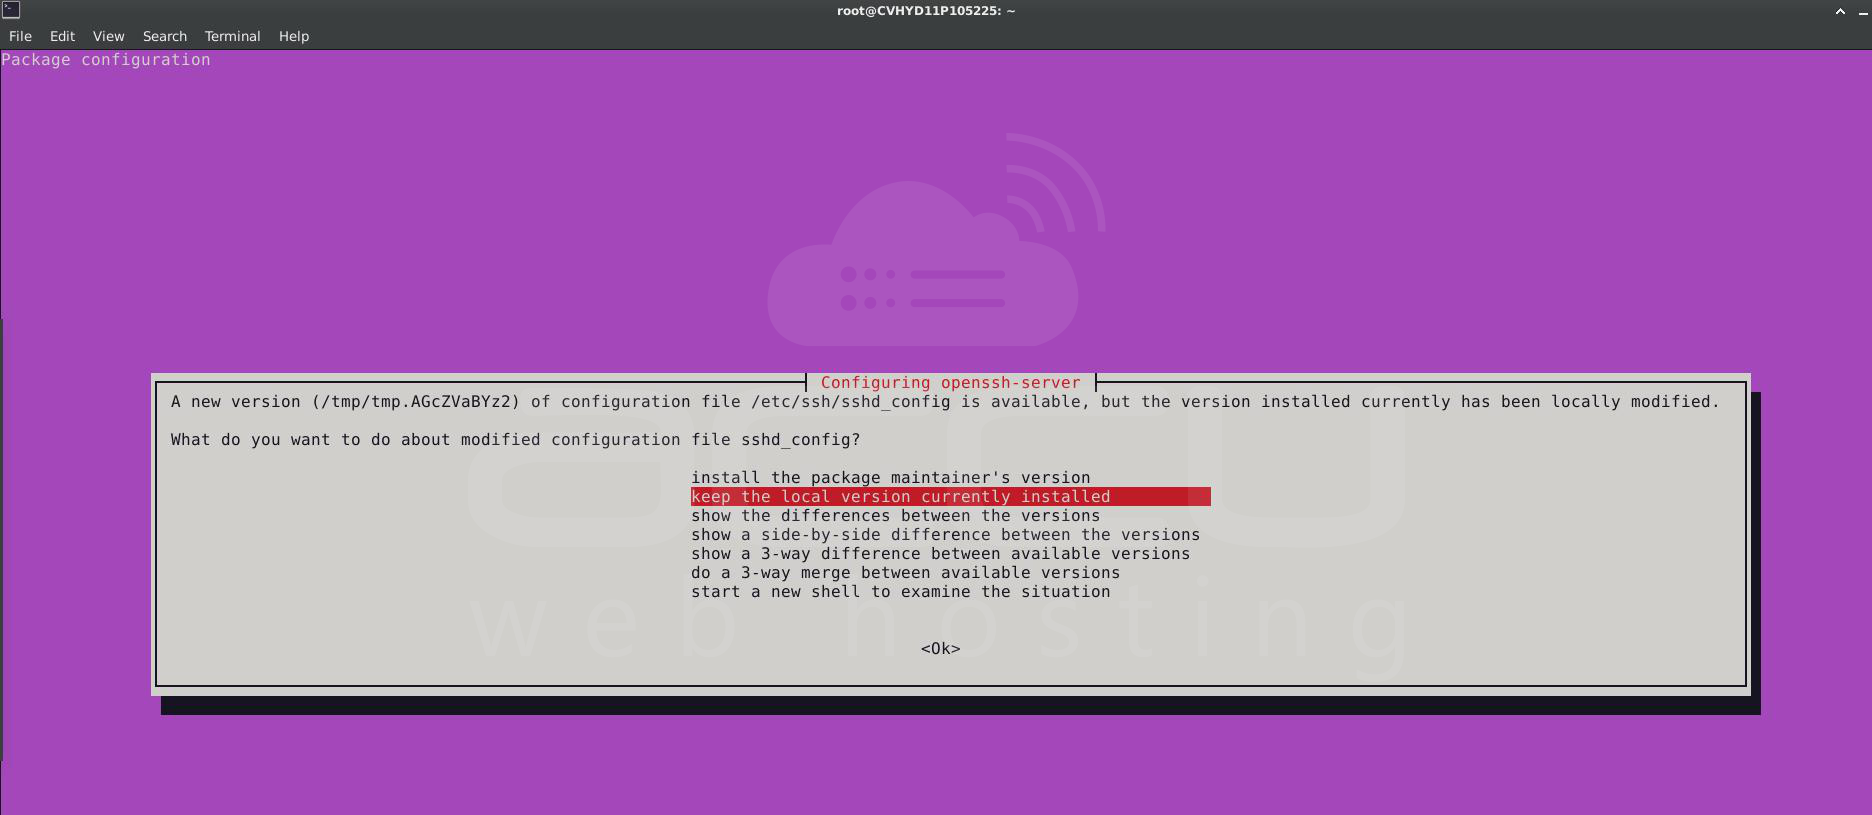
Select the “Keep the local version currently installed” option:
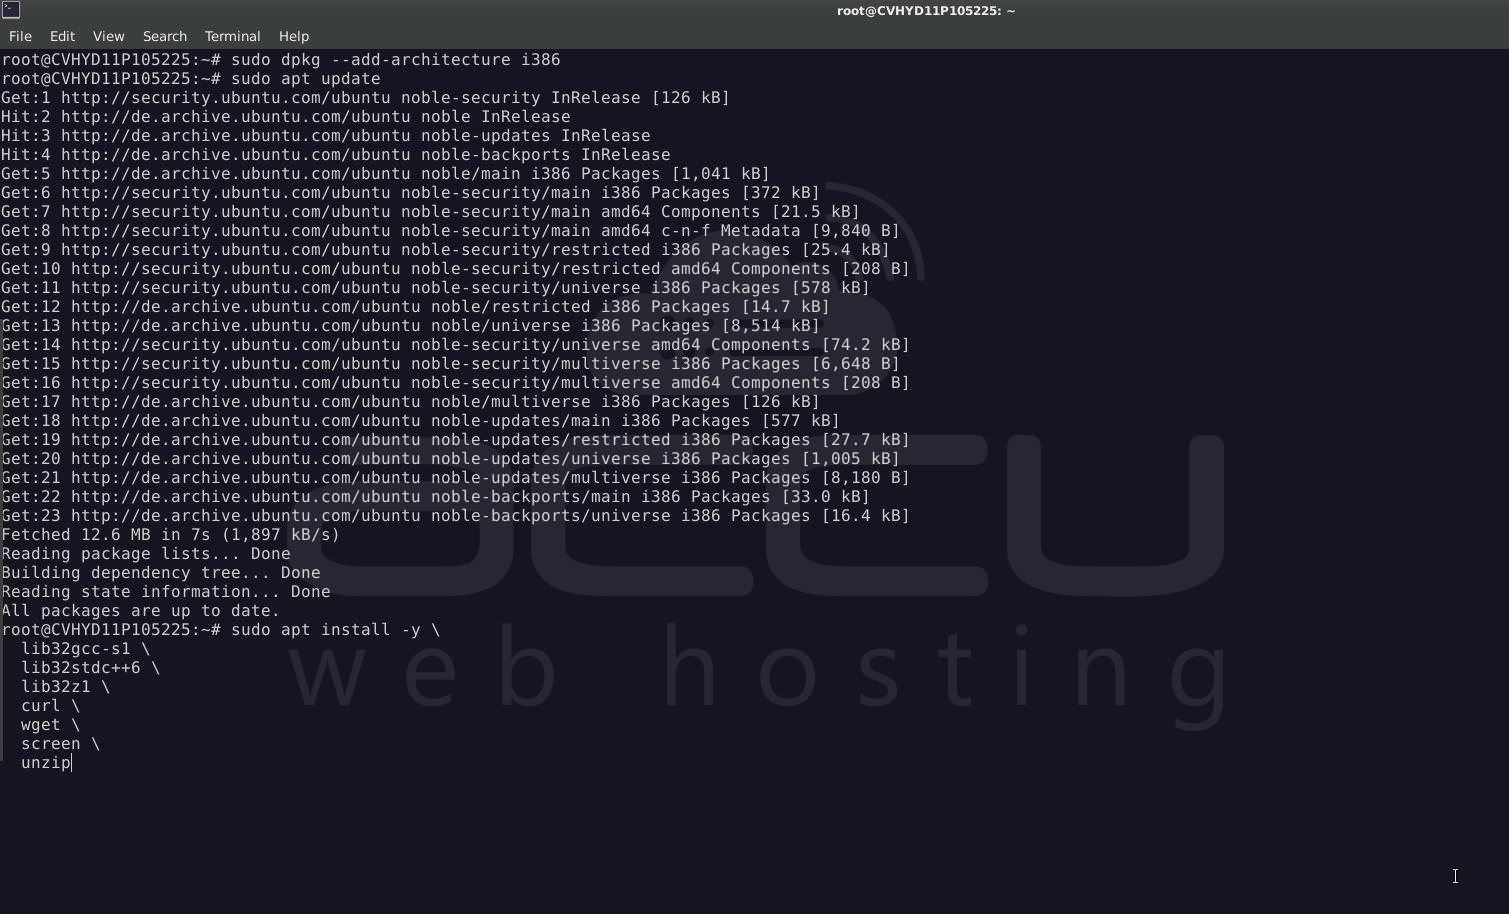
Step 3: Install required dependencies:
> sudo dpkg --add-architecture i386
> sudo apt update
> sudo apt install -y lib32gcc-s1 lib32stdc++6 lib32z1 curl wget screen unzip
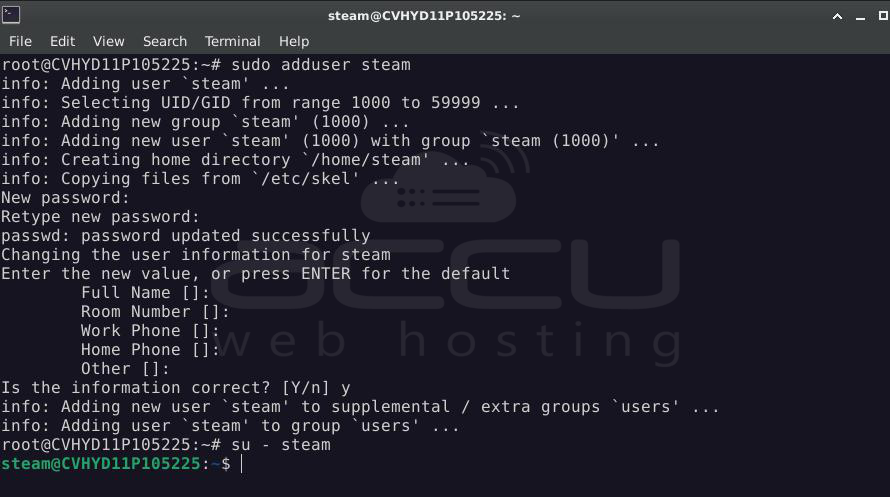
Step 4: Create a Dedicated Steam User
Running game servers as root is not recommended.
> sudo adduser steam
> su - steam
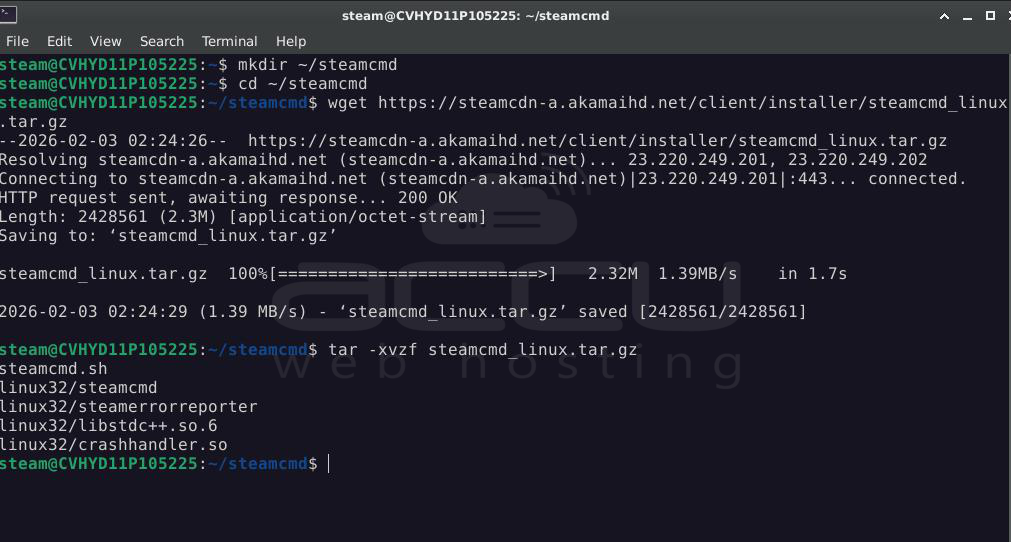
Step 5: Install SteamCMD
> mkdir ~/steamcmd
> cd ~/steamcmd
> wget https://steamcdn-a.akamaihd.net/client/installer/steamcmd_linux.tar.gz
> tar -xvzf steamcmd_linux.tar.gz
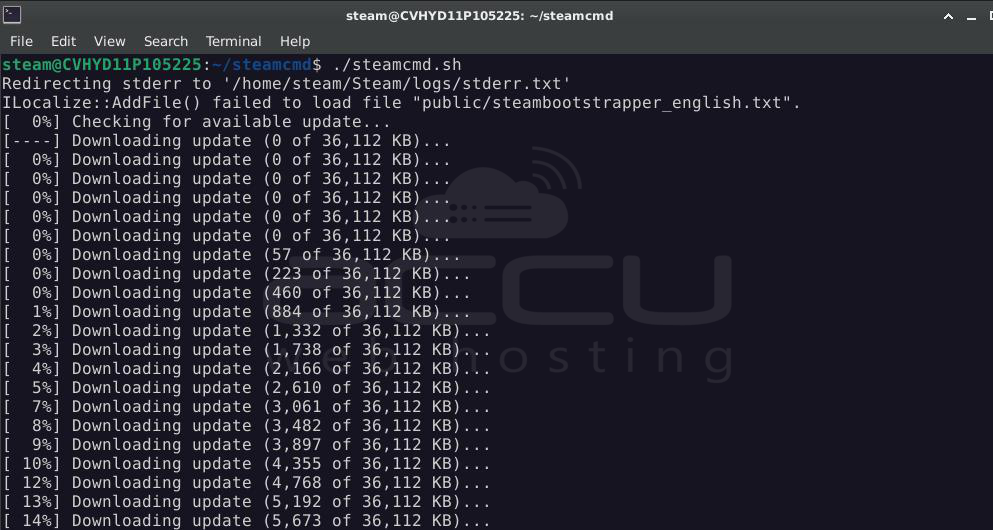
Test SteamCMD:
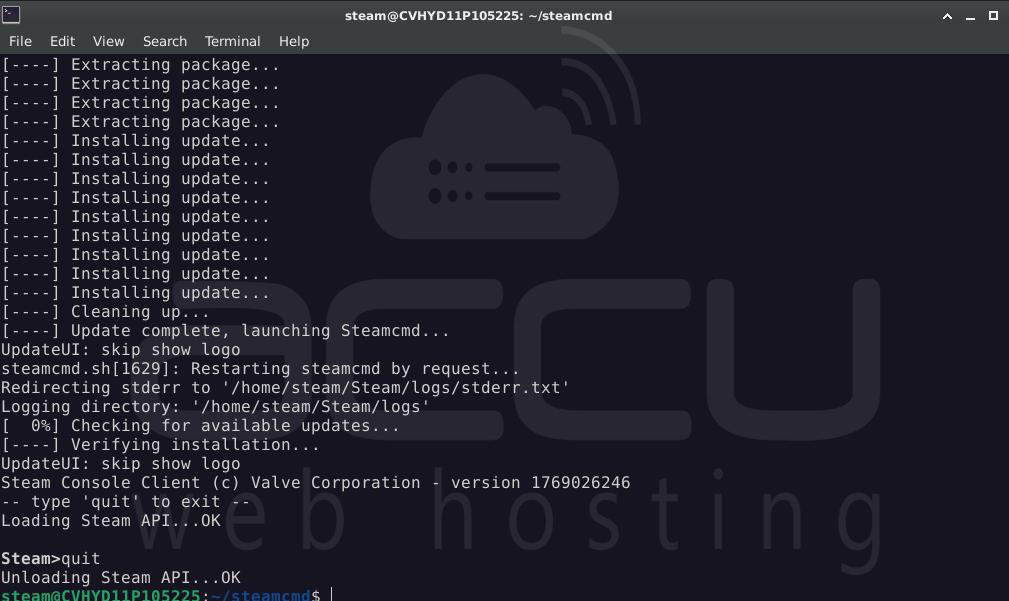
> ./steamcmd.sh
When you see the Steam> prompt, type: quit
Important Step: Verify DNS configurations
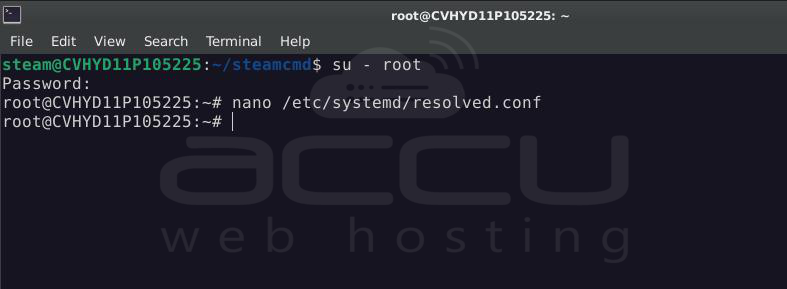
Switch to root:
> su - root
Edit resolved config:
> nano /etc/systemd/resolved.conf
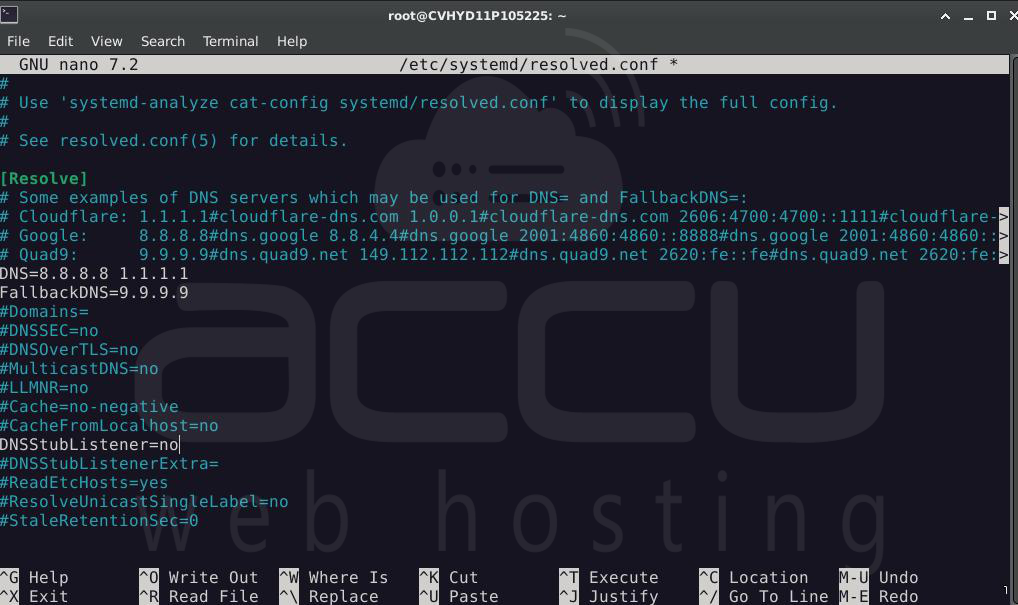
Set:
[Resolve]
DNS=8.8.8.8 1.1.1.1
FallbackDNS=9.9.9.9
DNSStubListener=no
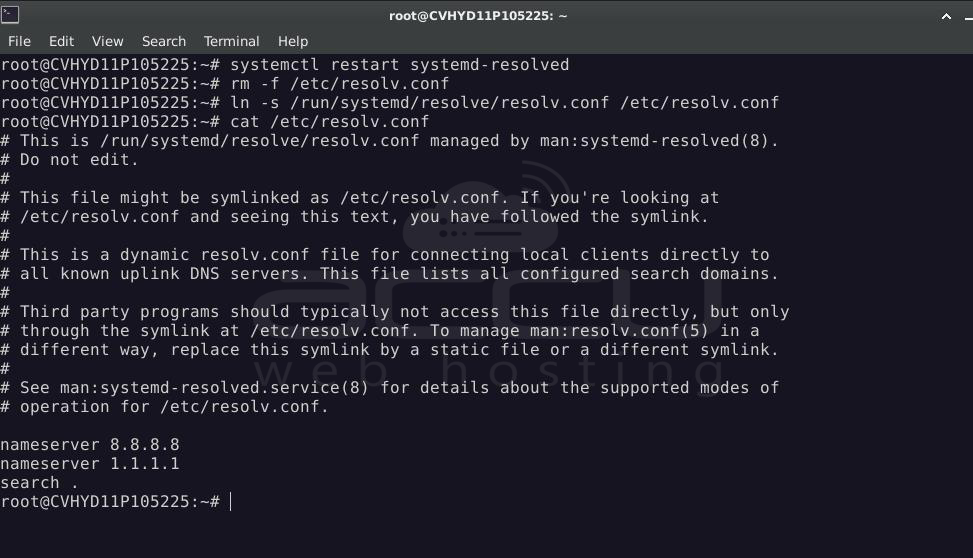
Apply:
> systemctl restart systemd-resolved
> rm -f /etc/resolv.conf
> ln -s /run/systemd/resolve/resolv.conf /etc/resolv.conf
Verify:
> cat /etc/resolv.conf
Step 6: Install 7 Days to Die
Switch back tothe Steam user
> su - Steam
Create the install directory:
> mkdir -p ~/7dtd
Install the server using SteamCMD:
> ~/steamcmd/steamcmd.sh \
+force_install_dir /home/steam/7dtd \
+login anonymous \
+app_update 294420 validate \
+quit

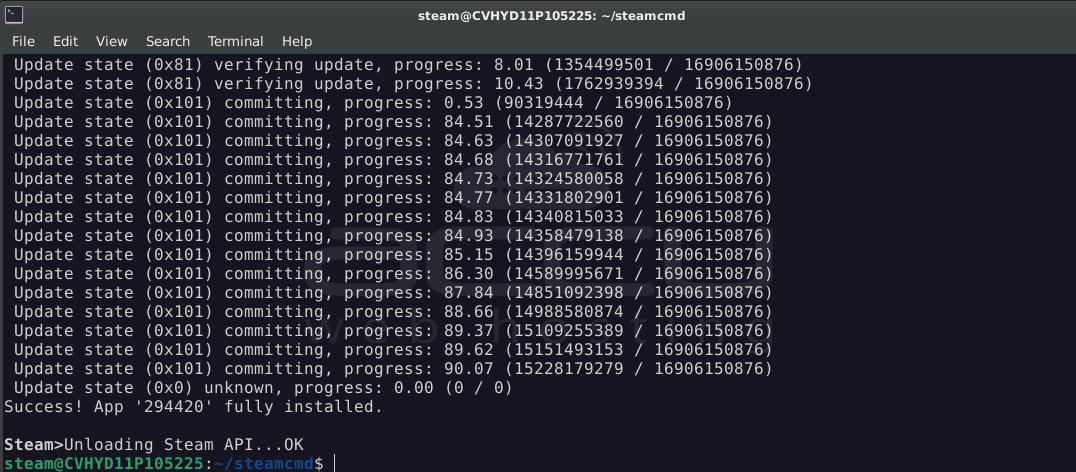
When successful, you will see:
Success! App '294420' fully installed.
Step 7: Configure the Application
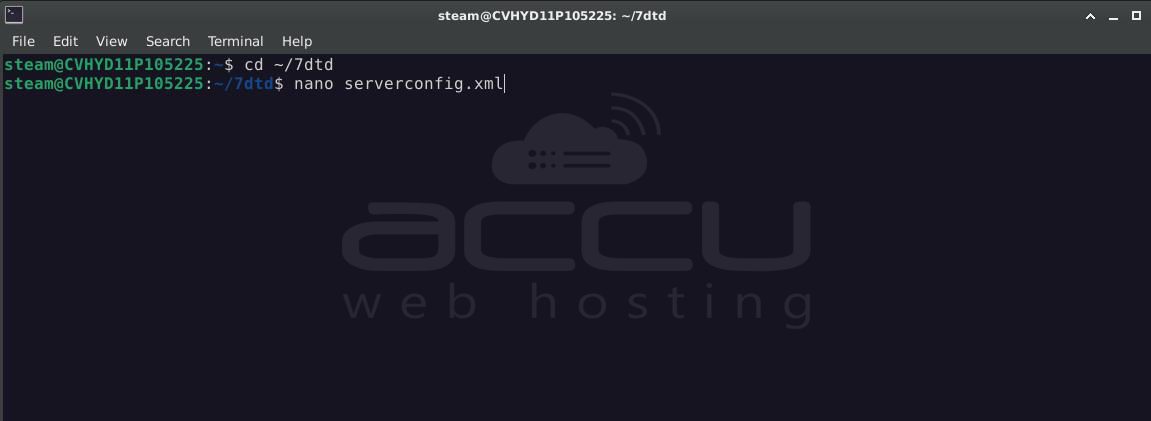
Edit the main configuration file:
> cd ~/7dtd
> nano serverconfig.xml
Common settings to update:
<property name="ServerName" value="My 7DTD Server"/>
<property name="ServerDescription" value="Hosted on Ubuntu 24.04"/>
<property name="ServerMaxPlayerCount" value="8"/>
<property name="GameWorld" value="Navezgane"/>
<property name="ServerPort" value="26900"/>
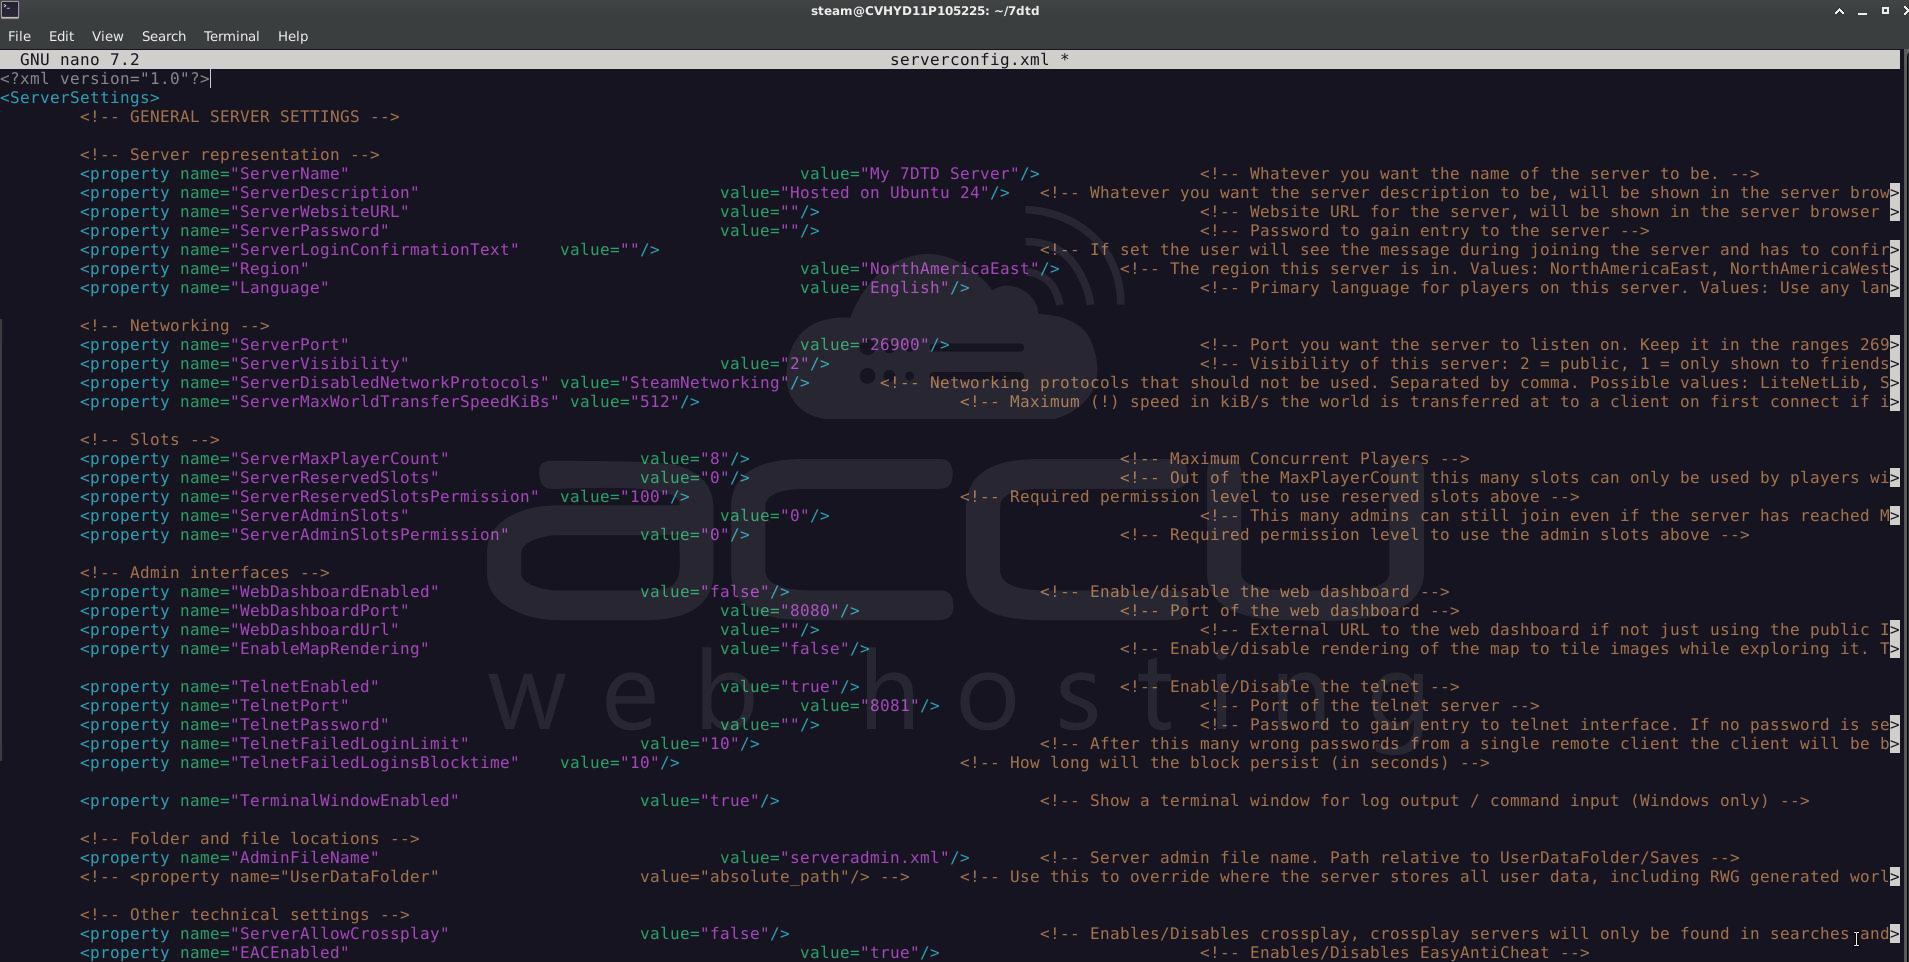
Save and exit.
Step 8: Open Firewall Ports
If UFW is enabled:
> sudo ufw allow 26900:26903/udp
> sudo ufw allow 26900/tcp
> sudo ufw allow 8080/tcp
> sudo ufw allow 8081/tcp
> sudo ufw reload
In our case, this is not enabled.
Step 9: Start the Server
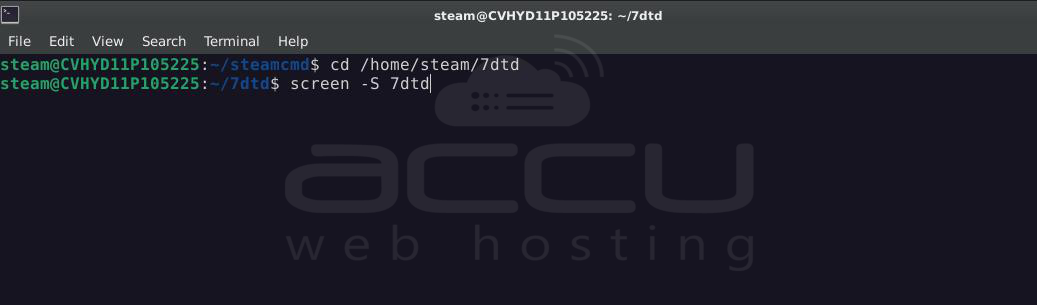
Run the server inside a screen session so it stays active after logout:
> cd ~/7dtd
> screen -S 7dtd
> ./startserver.sh -configfile=serverconfig.xml
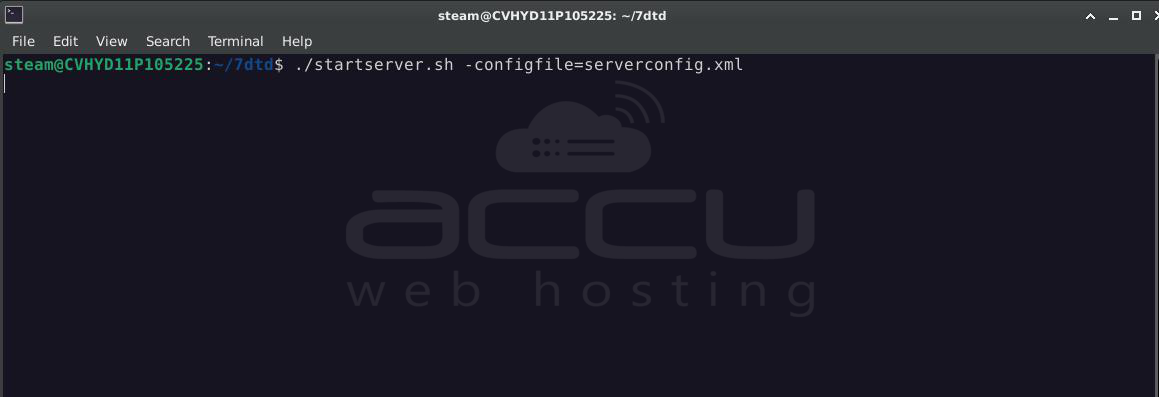
Detach from screen:
CTRL + A then D
Step 10: Connect to the Server (Players)
From the game client:
- Open 7 Days to Die
- Click Join Game -> Direct Connect
- Enter your server IP and port 26900
Players can now join your hosted world.
Conclusion:
Hosting your own 7 Days to Die server on Ubuntu 24.04 gives you flexibility, performance, and full administrative control. While the initial setup requires careful steps, once configured, the server is reliable and easy to manage.
With proper firewall rules, backups, and optional control panels, your server can support long-running worlds, modded gameplay, and a growing player base.
You now have a complete foundation to run and manage a professional 7DTD server.
