Install Jenkins on CentOS, Rocky Linux, and AlmaLinux
Jenkins is an open-source automation server that helps developers implement Continuous Integration (CI) and Continuous Deployment (CD) pipelines. CentOS, Rocky Linux, and AlmaLinux are popular Red Hat–based Linux operating systems commonly used on servers. Since they share the same package management system, Jenkins installation steps are almost identical on all three platforms. In this article, we will explain how to install Jenkins on CentOS, Rocky Linux, and AlmaLinux.
System Requirements
Before starting the installation, make sure your system meets these basic requirements.
Hardware Requirements: Minimum 1 GB RAM (2 GB or more recommended), At least 10 GB free disk space, Stable internet connection
Software Requirements: Root or sudo access, Java (OpenJDK 17 or 21 or 25)
Steps to Install Jenkins on CentOS, Rocky Linux, and AlmaLinux
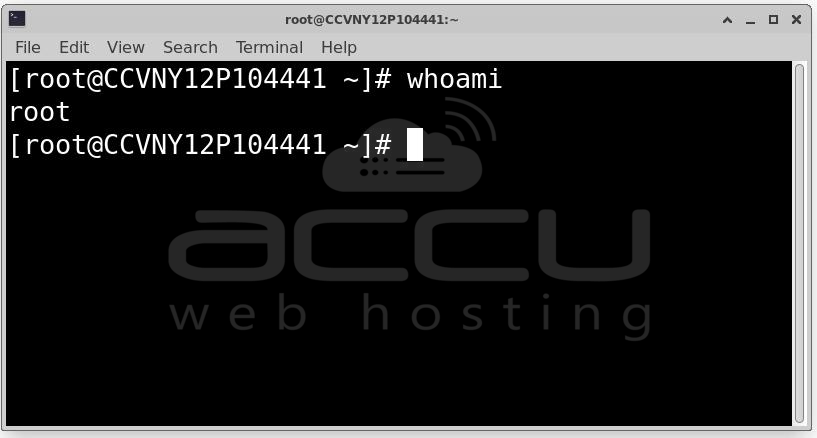
Step 1: First, log in to your Linux server using SSH or direct console access. You must have root access or a user with sudo privileges.
To check your current user, run: whoami
If needed, switch to root: sudo su -
Step 2: Updating the system is an important step. It ensures that all existing packages are up to date and prevents dependency issues during installation.
For CentOS 7: sudo yum update -y
For Rocky Linux, AlmaLinux, and CentOS Stream: sudo dnf update -y

If the system installs a new kernel, it is recommended to reboot the server.
Step 3: Jenkins is written in Java, so Java must be installed before installing Jenkins.
Supported Java Versions: Java 17, Java 21, or Java 25
Check If Java Is Already Installed by running the following command:
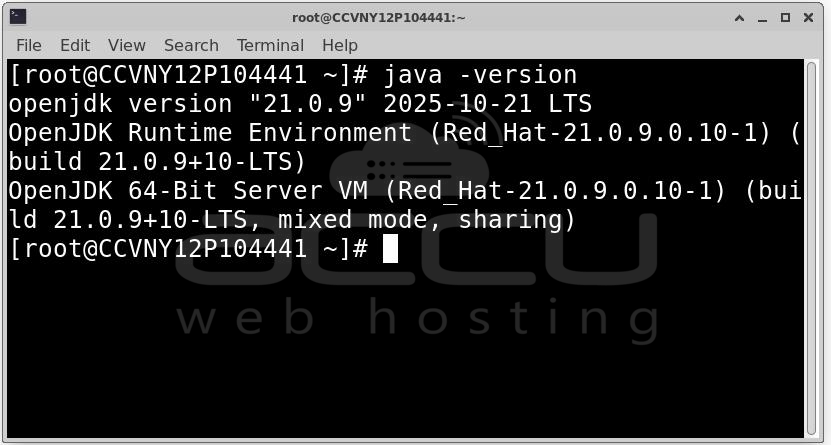
java -version
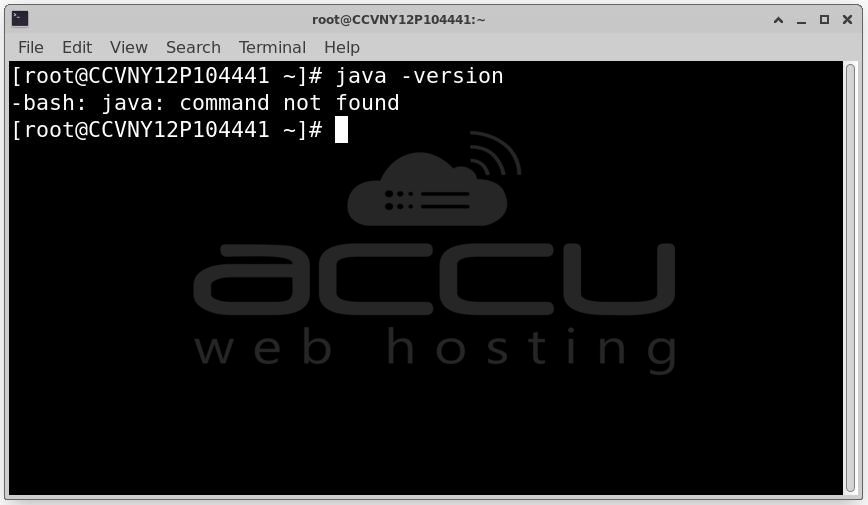
If Java is not installed, you will see an error message.
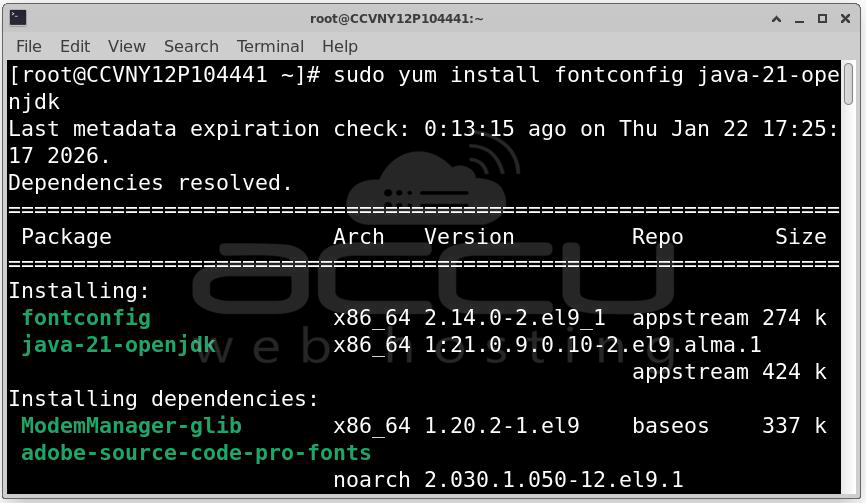
Install OpenJDK 21
For Rocky Linux, AlmaLinux, and CentOS Stream: sudo dnf install fontconfig java-21-openjdk
For CentOS 7: sudo yum install java-21-openjdk -y
After installation, verify Java:
java -version
Set JAVA_HOME (Optional): Setting JAVA_HOME is not mandatory, but it is considered a good practice.
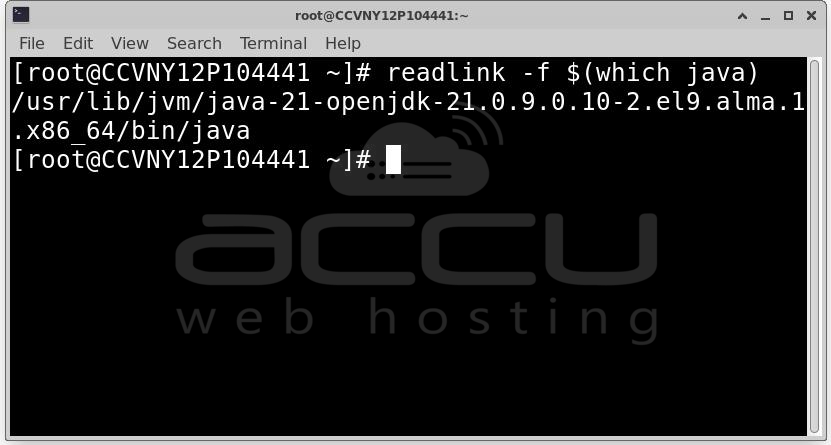
Find the Java path: readlink -f $(which java)
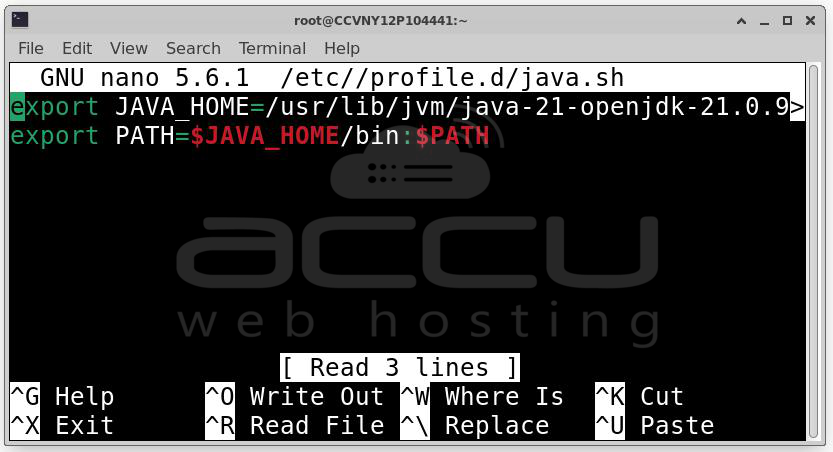
Create a Java environment file: sudo nano /etc/profile.d/java.sh
Add:
export JAVA_HOME=/usr/lib/jvm/java-11-openjdk
export PATH=$JAVA_HOME/bin:$PATH
Apply the changes:
source /etc/profile.d/java.sh
Method 1: Install Jenkins using the official Jenkins repository
Step 1: To install Jenkins using the package manager, we must first add the Jenkins repository.
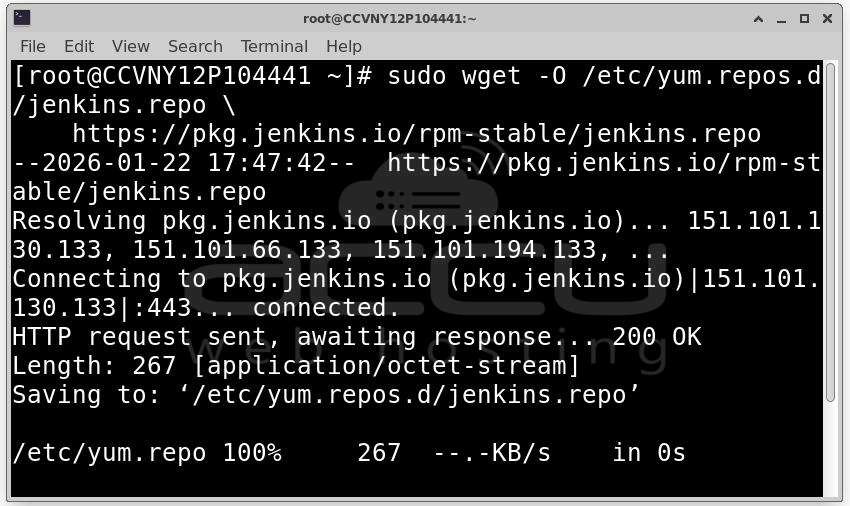
Download the Jenkins repository file:
sudo wget -O /etc/yum.repos.d/jenkins.repo \
https://pkg.jenkins.io/rpm-stable/jenkins.repo
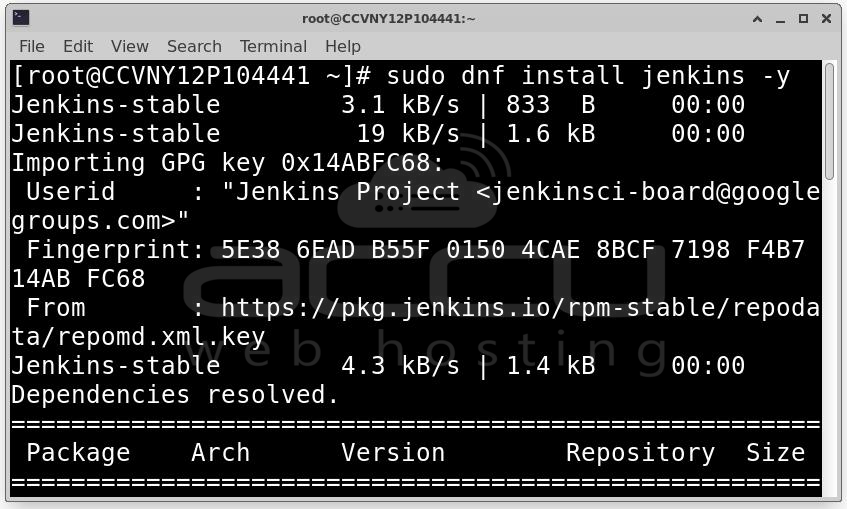
Step 2: Once the repository is added, Jenkins can be installed easily.
For Rocky Linux, AlmaLinux, and CentOS Stream:
sudo dnf install jenkins -y
For CentOS 7: sudo yum install jenkins -y
This command downloads Jenkins and installs it as a system service.
Step 3: After installation, Jenkins does not start automatically. We must start it manually.
Start Jenkins: sudo systemctl start jenkins
Enable Jenkins to start automatically on system boot:
sudo systemctl enable jenkins
Check Jenkins status:
sudo systemctl status jenkins
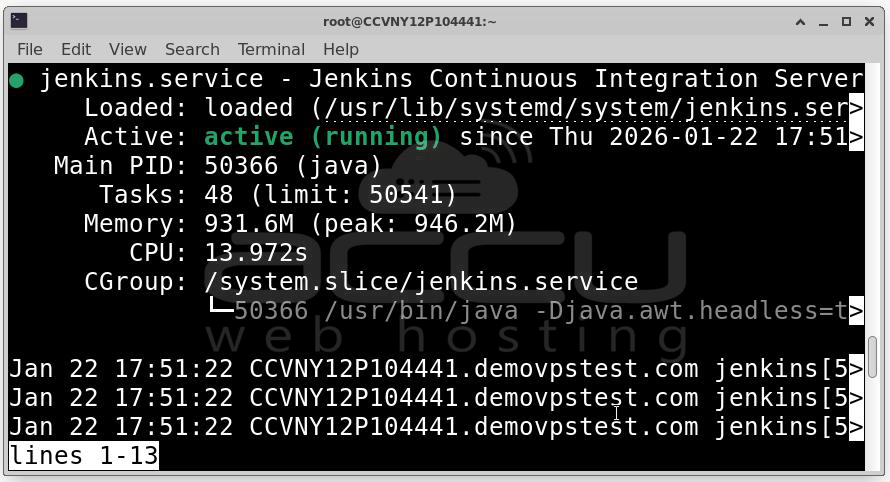
The status should show active (running).
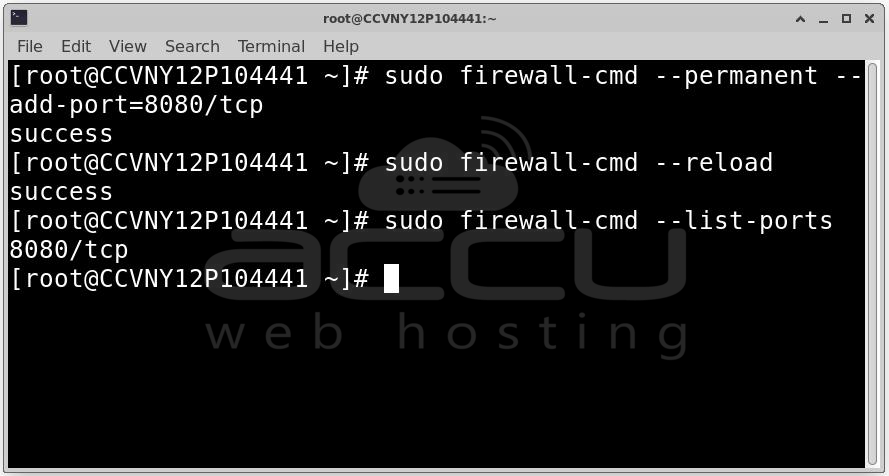
Step 4: By default, Jenkins runs on port 8080. If the firewall is enabled, this port must be opened.
Open port 8080:
sudo firewall-cmd --permanent --add-port=8080/tcp
sudo firewall-cmd --reload
Verify firewall rules: sudo firewall-cmd --list-ports
Step 5: SELinux may block Jenkins from accessing the network.
Check SELinux status: getenforce
If it is Enforcing, allow Jenkins to use port 8080.
Install required tools: sudo dnf install policycoreutils-python-utils -y
Allow port 8080: sudo semanage port -a -t http_port_t -p tcp 8080
Step 6: Access Jenkins Web Interface.
http://<server-ip>:8080
You will see the Unlock Jenkins page.

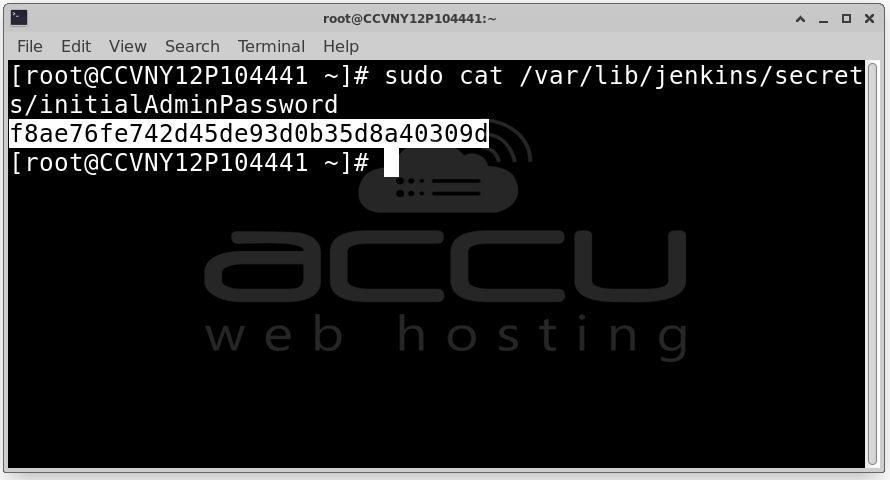
Step 7: Jenkins generates an initial admin password during installation.
Get the password using: sudo cat /var/lib/jenkins/secrets/initialAdminPassword
Copy the password and paste it into the browser.
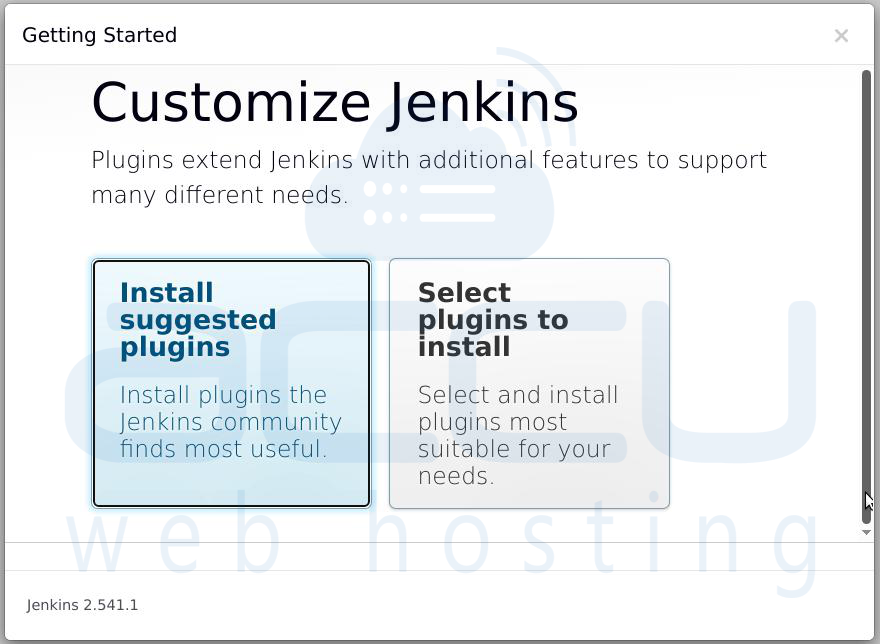
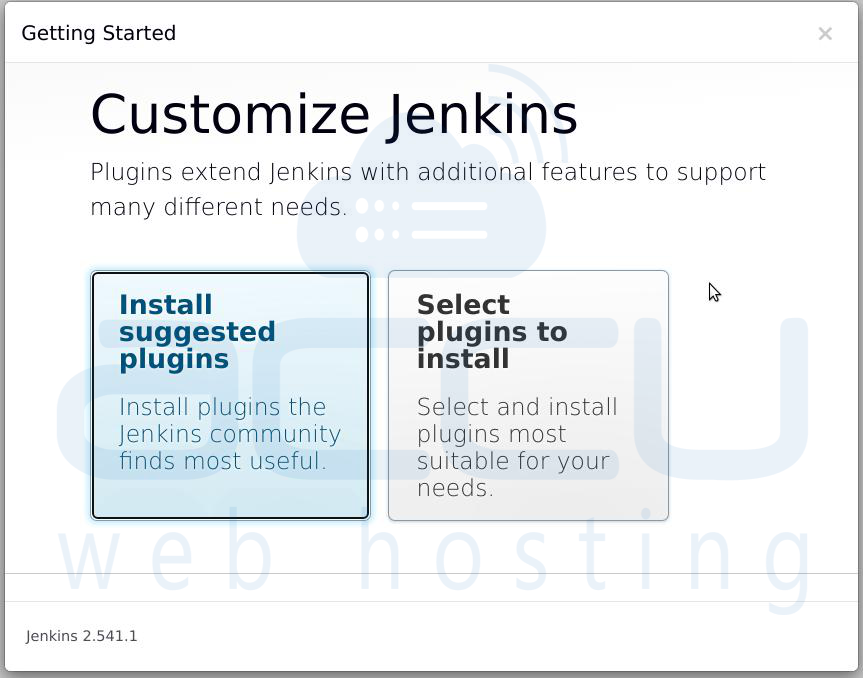
Step 8: Choose Install suggested plugins. Jenkins will automatically install commonly used plugins.
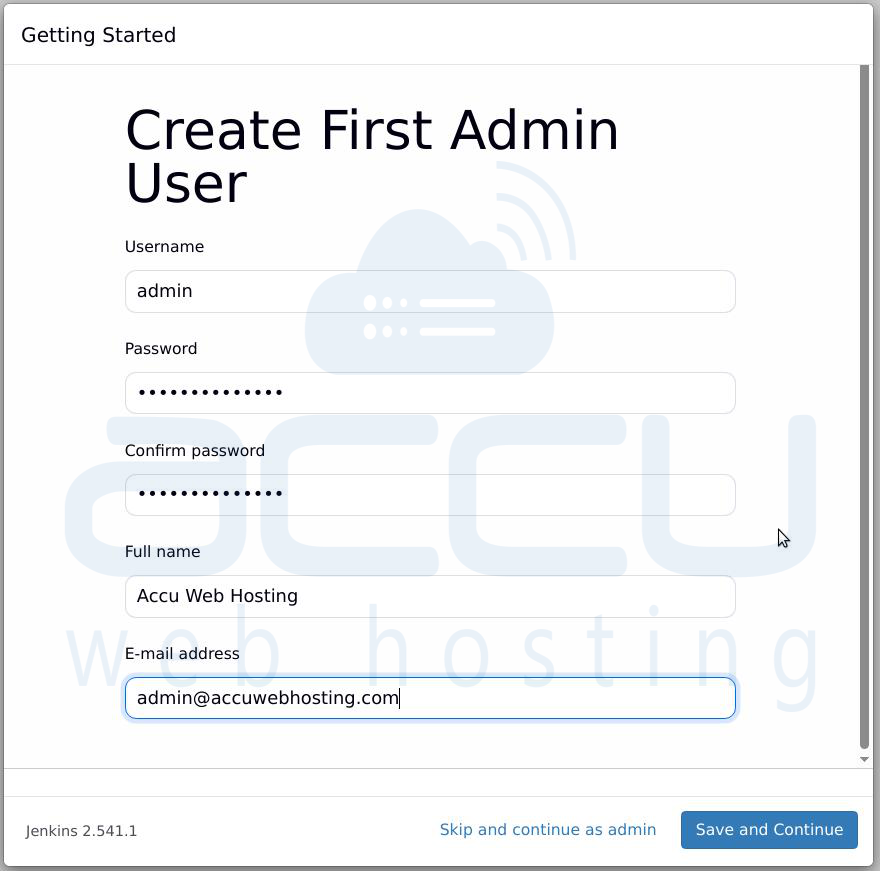
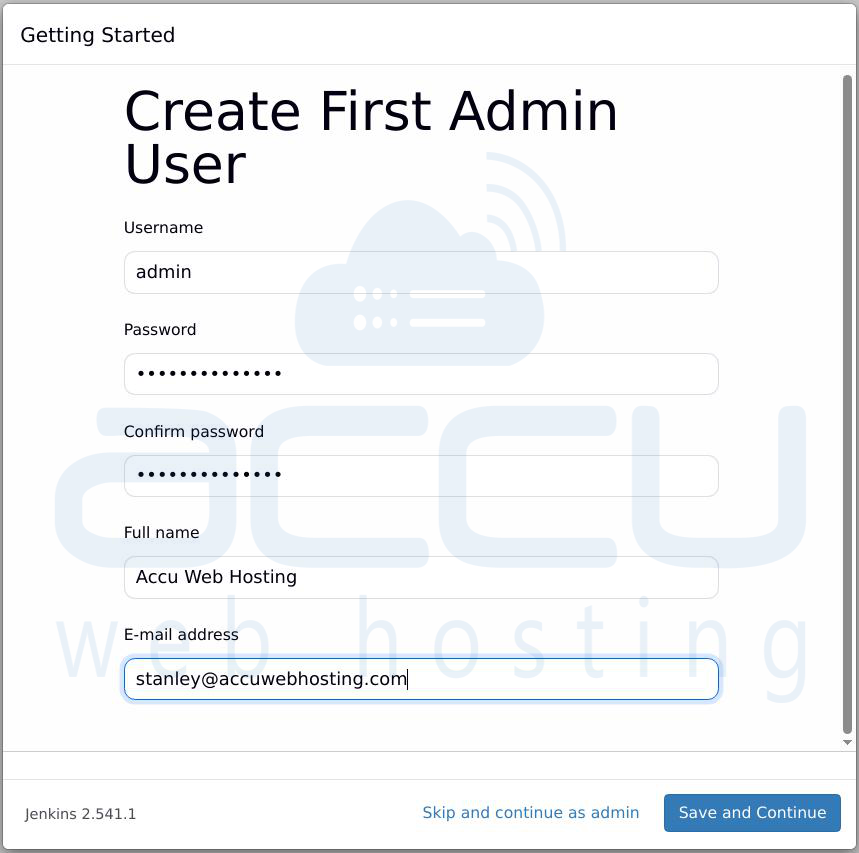
Step 9: Create your admin username and password.
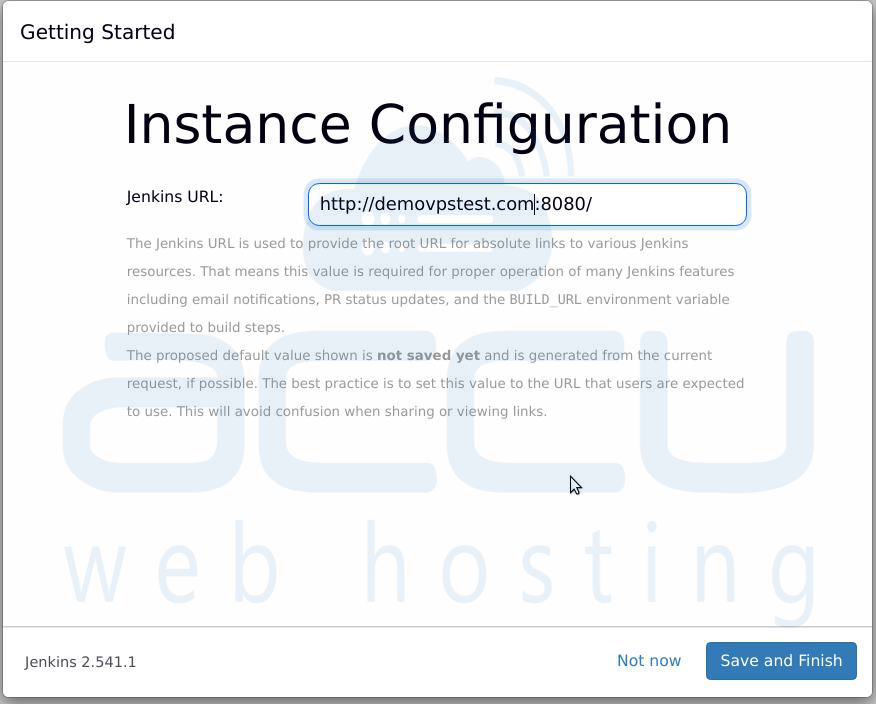
Step 10: Confirm Jenkins URL. Click Save and Finish.
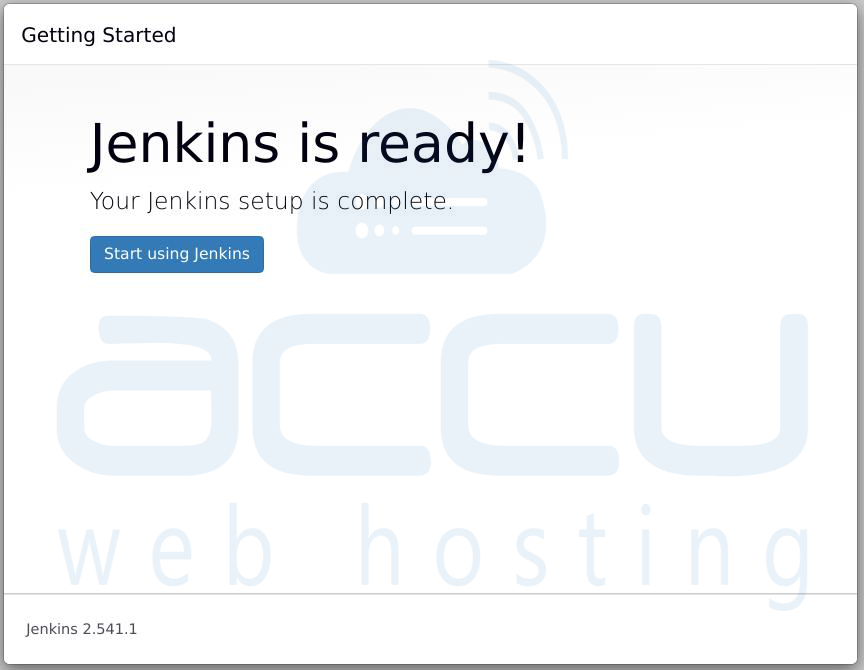
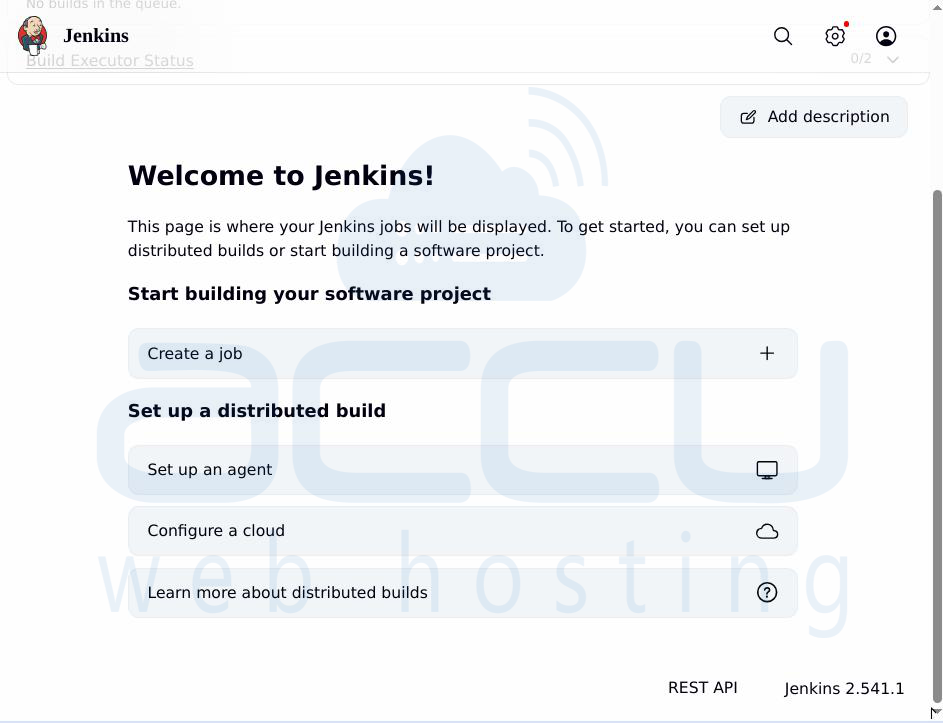
Jenkins is now ready to use.
Important Jenkins Directories
- /var/lib/jenkins – Jenkins home directory
- /var/log/jenkins – Jenkins log files
- /etc/sysconfig/jenkins – Jenkins configuration file
Method 2: Install Jenkins Using Docker
This method runs Jenkins inside a Docker container.
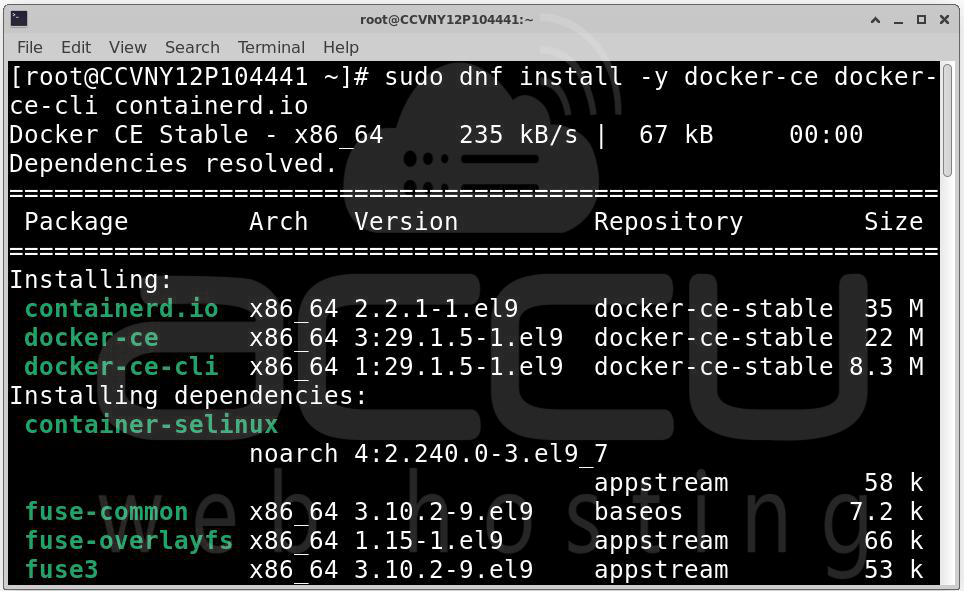
Step 1: Run the following command to install Docker:
sudo dnf install -y docker-ce docker-ce-cli containerd.io
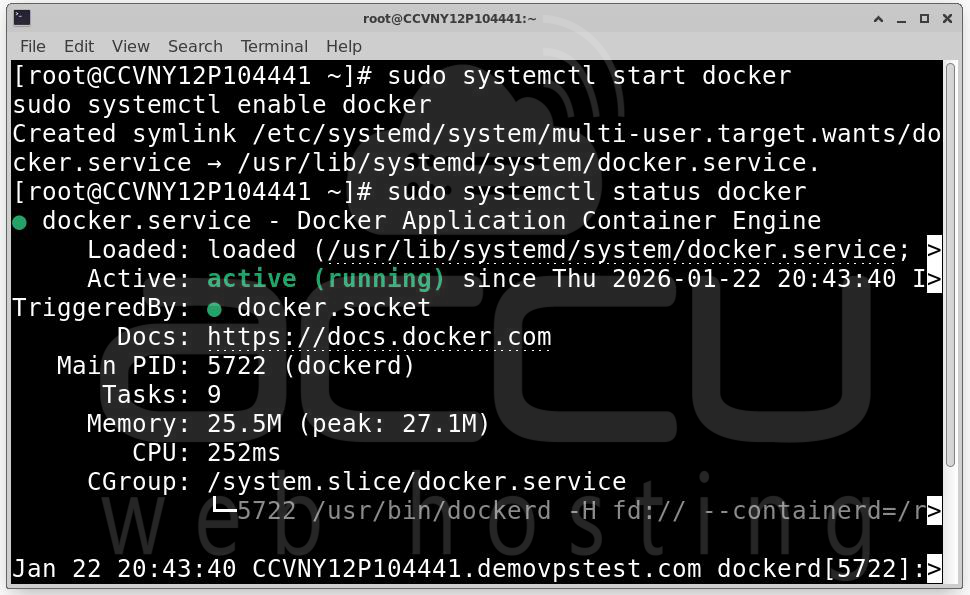
Step 2: After installation, Docker does not start automatically. Start it using:
sudo systemctl start docker
To ensure Docker starts automatically after a system reboot, run:
sudo systemctl enable docker
Step 3: Check Docker status:
sudo systemctl status docker
Check Docker version: docker --version
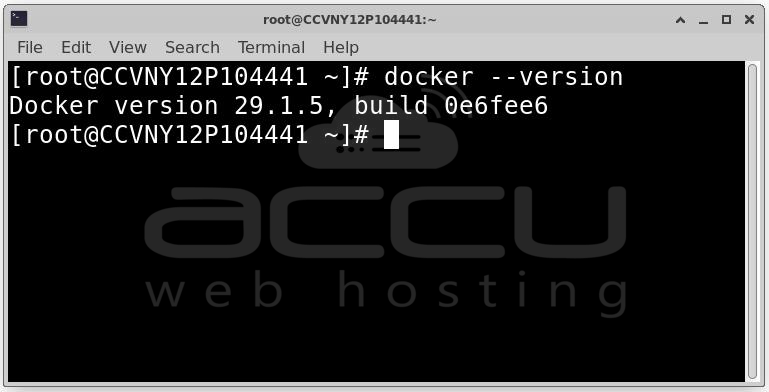
If Docker is running, you are ready for the next step.
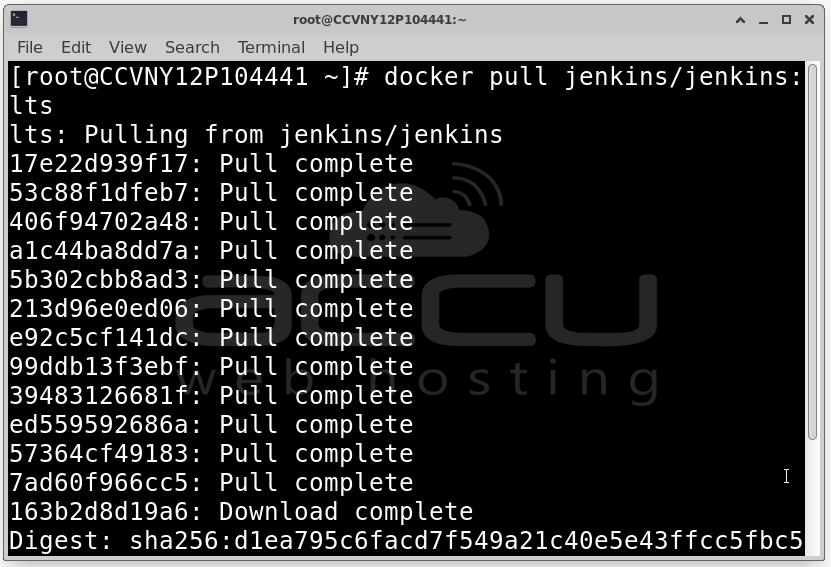
Step 4: Pull the Jenkins Docker Image. Docker images are pre-built templates used to create containers. Run the following command:
docker pull jenkins/jenkins:lts
Step 5: Once the image is downloaded, create and start a Jenkins container.
docker run -d \
-p 8080:8080 \
-p 50000:50000 \
--name jenkins \
jenkins/jenkins:lts
Step 6: Verify Jenkins Container Is Running:
docker ps
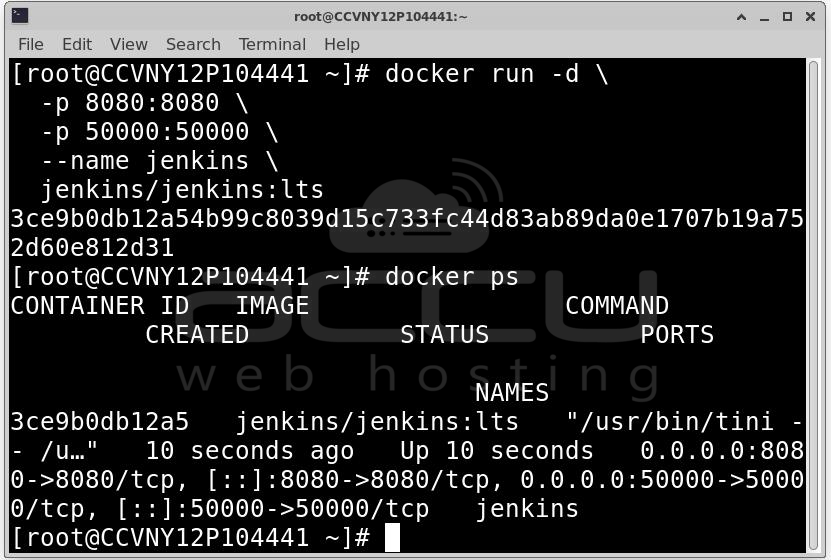
You should see a container named jenkins in the list.
Step 7: Once the container is running, Jenkins is accessible through a web browser.
Open your browser and go to: http://<server-ip>:8080
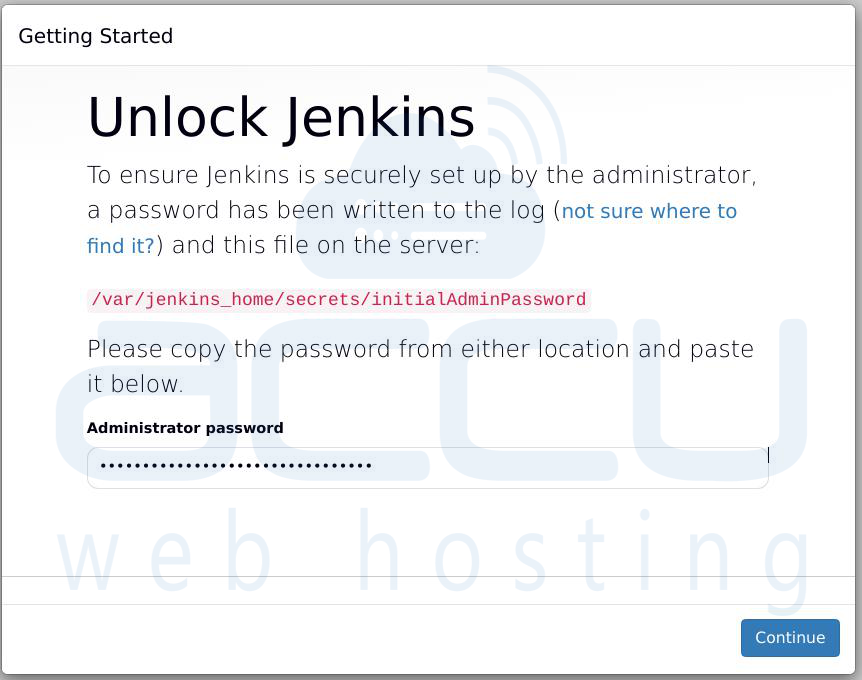
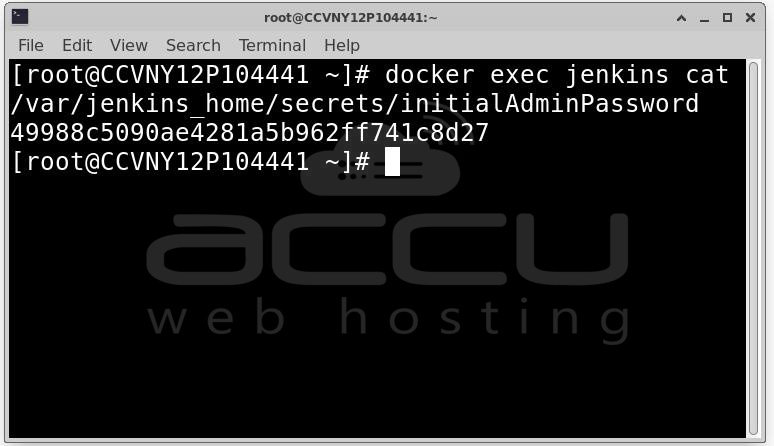
Step 8: Jenkins requires an initial admin password. Get the password using:
docker exec jenkins cat /var/jenkins_home/secrets/initialAdminPassword
Copy the password and paste it into the Jenkins web interface.
Step 9: Choose Install suggested plugins. Jenkins will automatically download and install essential plugins.
Step 10: Create Admin User. Enter Username, Password and Email address. This account will be used to manage Jenkins.
Step 11: Click Start using Jenkins.

Jenkins is now ready to use.
Conclusion
Installing Jenkins on CentOS, Rocky Linux, or AlmaLinux is a straightforward process when done step by step. The key steps include preparing the system, installing Java, adding the Jenkins repository, configuring the firewall, and completing the web-based setup. Once Jenkins is installed, it becomes a powerful tool for automating builds, tests, and deployments. It is widely used in DevOps environments and plays a critical role in modern software development.
