Introduction:
WordPress is one of the most popular content management systems, and installing it on a VPS gives you better performance, security, and control. One of the best ways to run WordPress efficiently is by using the LEMP stack, which includes Linux, Nginx, MariaDB (MySQL), and PHP.
In this article, we will explain to you the step-by-step process of installing WordPress using the LEMP stack on an AlmaLinux VPS.
Prerequisites:
Before you begin, make sure you have:
- An AlmaLinux VPS (AlmaLinux 8 or 9)
- Root or sudo access to the server
- A domain name pointed to your VPS IP address(Optional)
Step 1: Update the System
Connect to your VPS using SSH and update all system packages.
dnf update -y
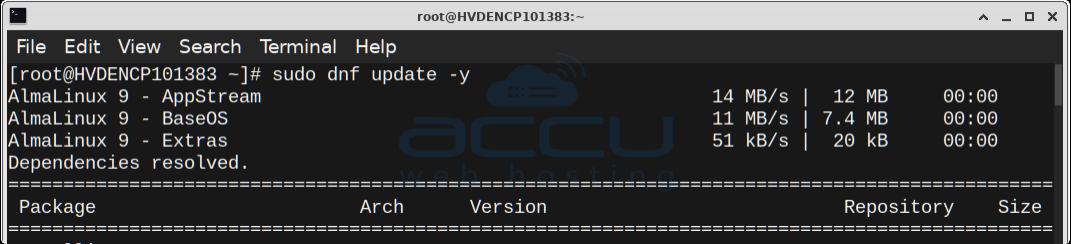
This ensures your server has the latest security patches and software updates.
Step 2: Install Nginx Web Server
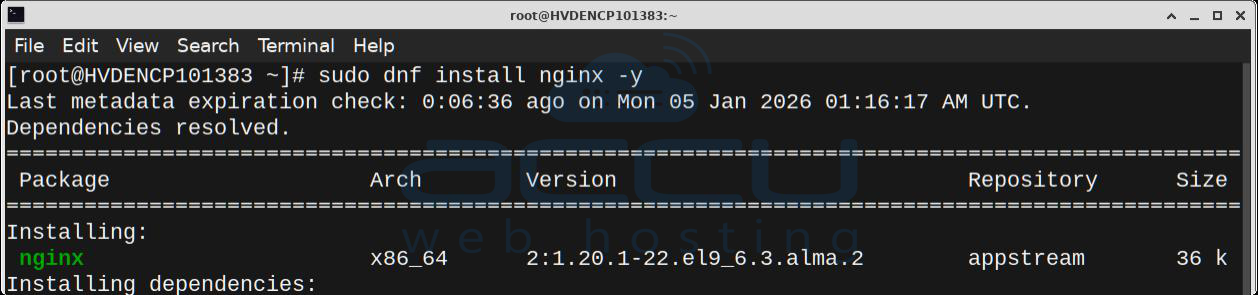
Nginx is a lightweight and high-performance web server.
1. Install Nginx:
dnf install nginx -y
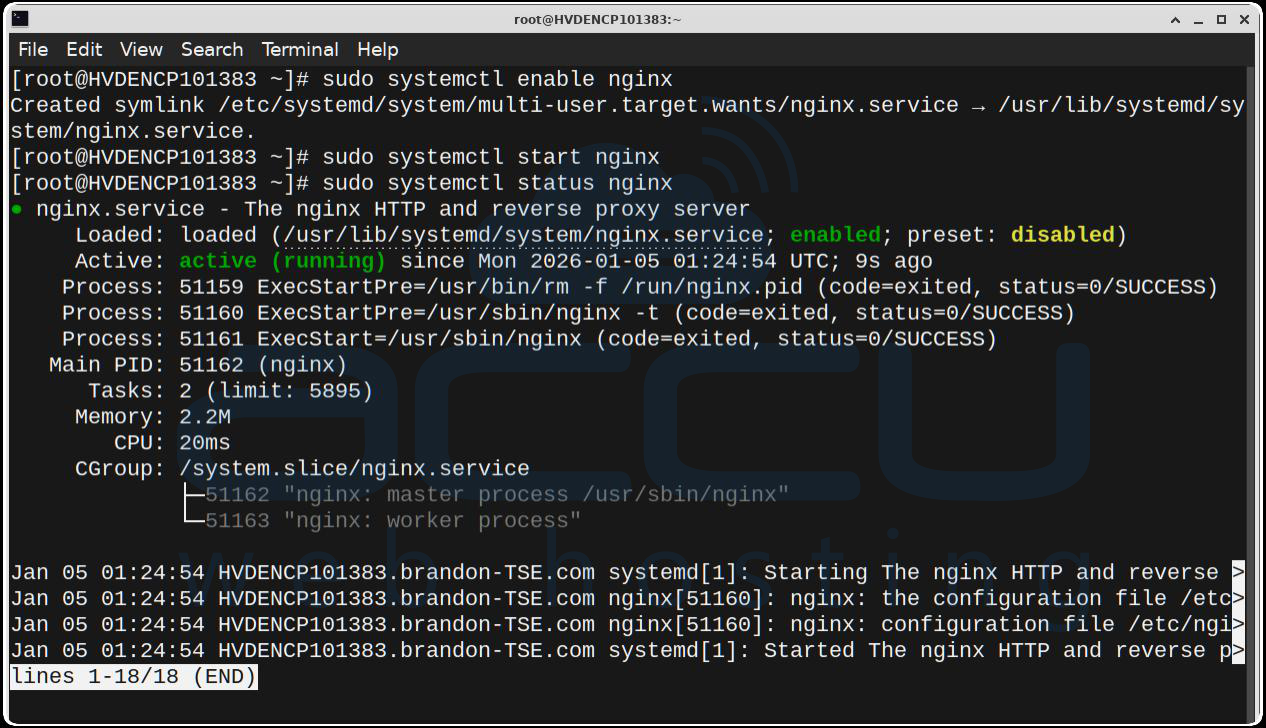
2. Start and enable Nginx to run on boot:
sudo systemctl start nginx sudo systemctl enable nginx
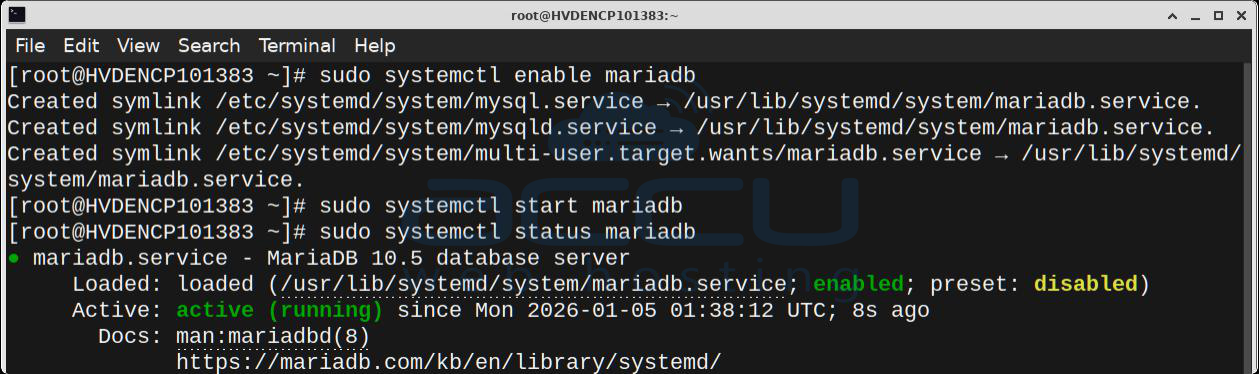
Step 3: Install MariaDB (Database Server)
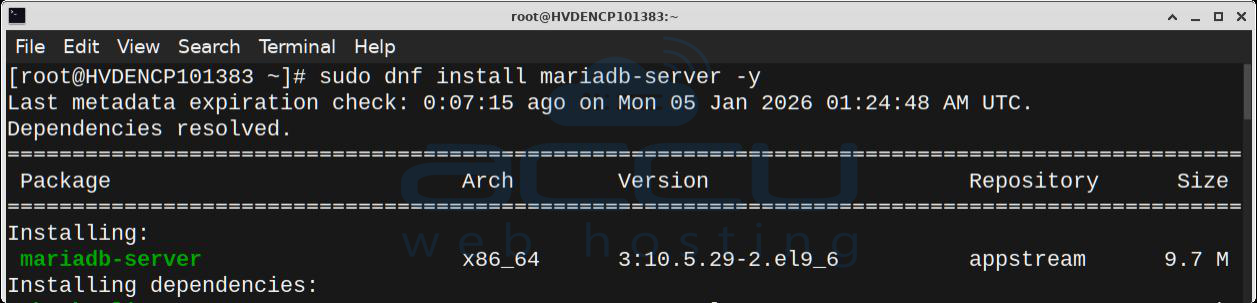
MariaDB is a reliable and fast replacement for MySQL.
1. Install MariaDB:
dnf install mariadb-server -y
2. Once the installation is complete, enable MariaDB to start automatically upon system boot, start MariaDB, and verify the status using the commands below:
sudo systemctl start mariadb sudo systemctl enable mariadb
systemctl status mariadb
3. Secure the MariaDB installation: mysql_secure_installation
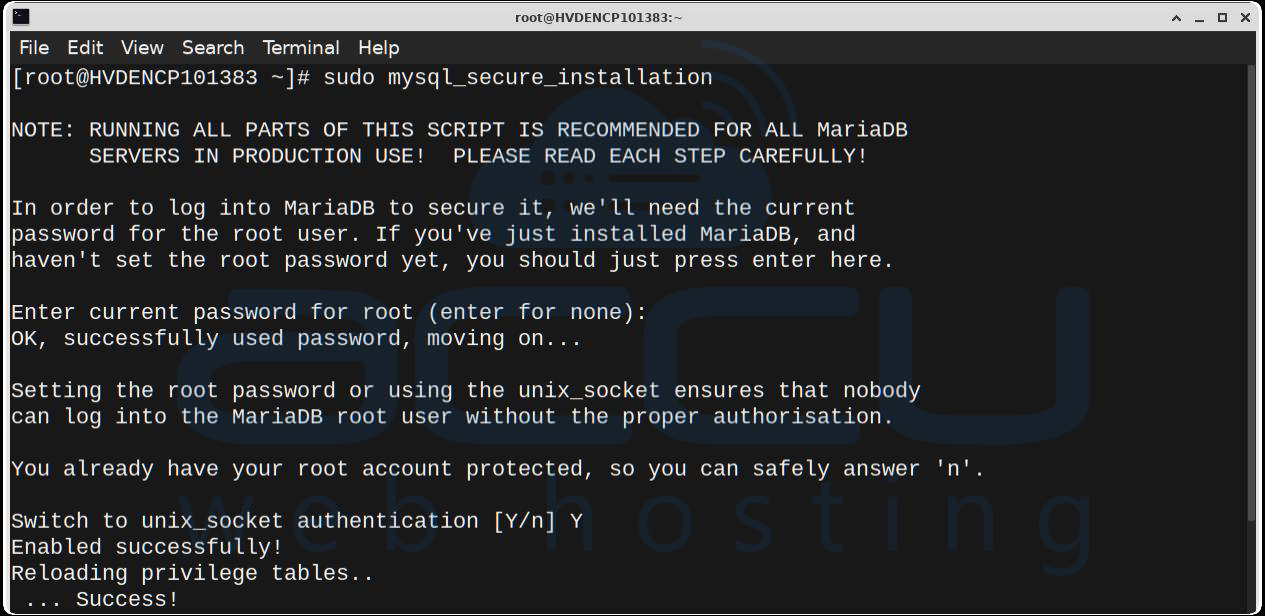
You will be prompted to enter a password for the MariaDB root user and answer a few questions to secure your installation.
During this process:
-
Set a root password
-
Remove anonymous users
-
Disallow remote root login
-
Remove the test database
-
Reload privilege tables
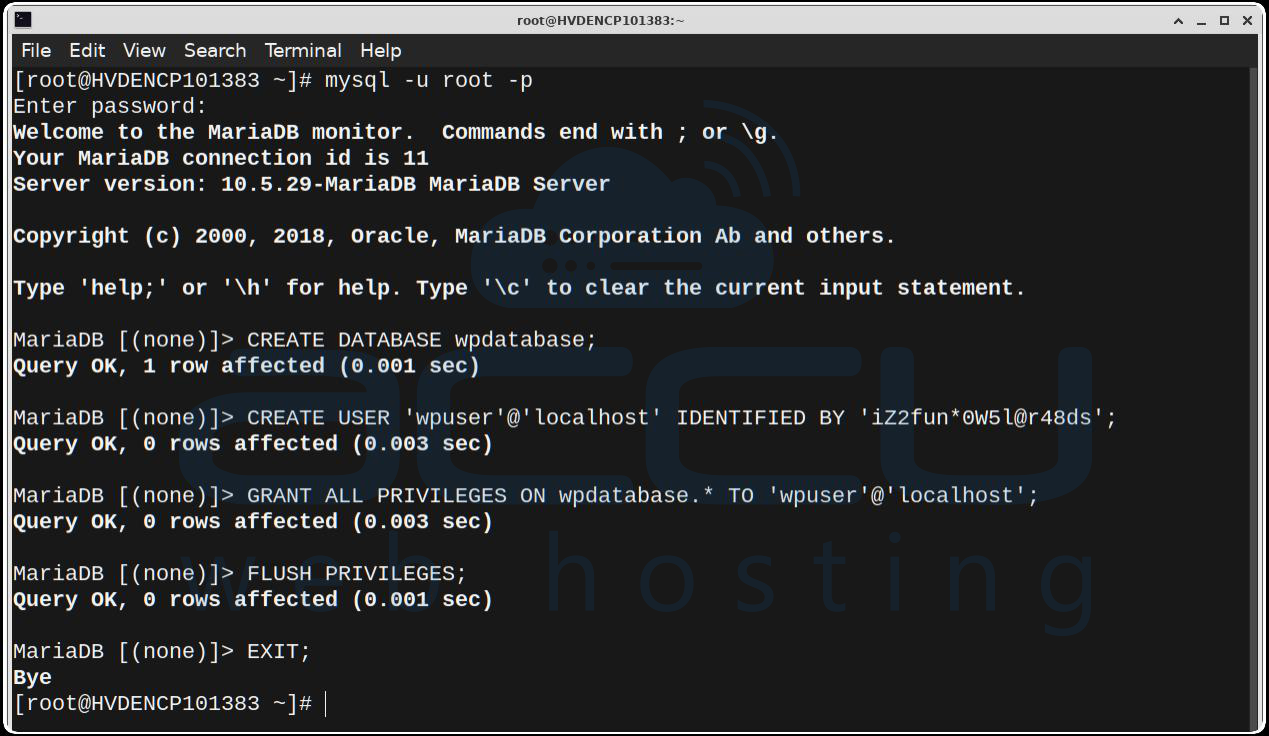
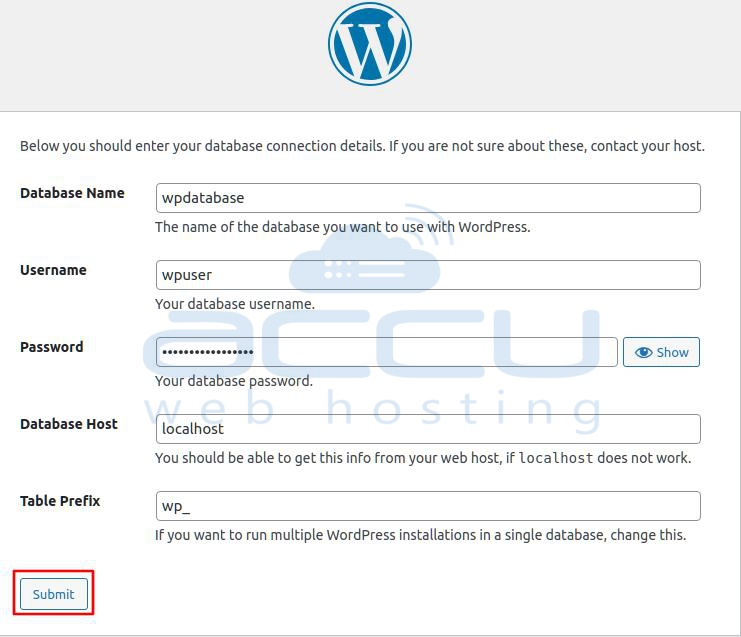
Step 4: Create a WordPress Database:
Log in to the MariaDB shell:
mysql -u root -p
Create the database for WordPress by executing the following command:
CREATE DATABASE wpdatabase;
Create a database user and grant them privileges for the newly created wordpress database, replacing wpuser and password with the username and password you wish to use:
CREATE USER'wpuser'@'localhost' IDENTIFIED BY 'strong_password';
GRANT ALL PRIVILEGES ON wpdatabase.* TO 'wp_ser'@'localhost';
FLUSH PRIVILEGES; EXIT;
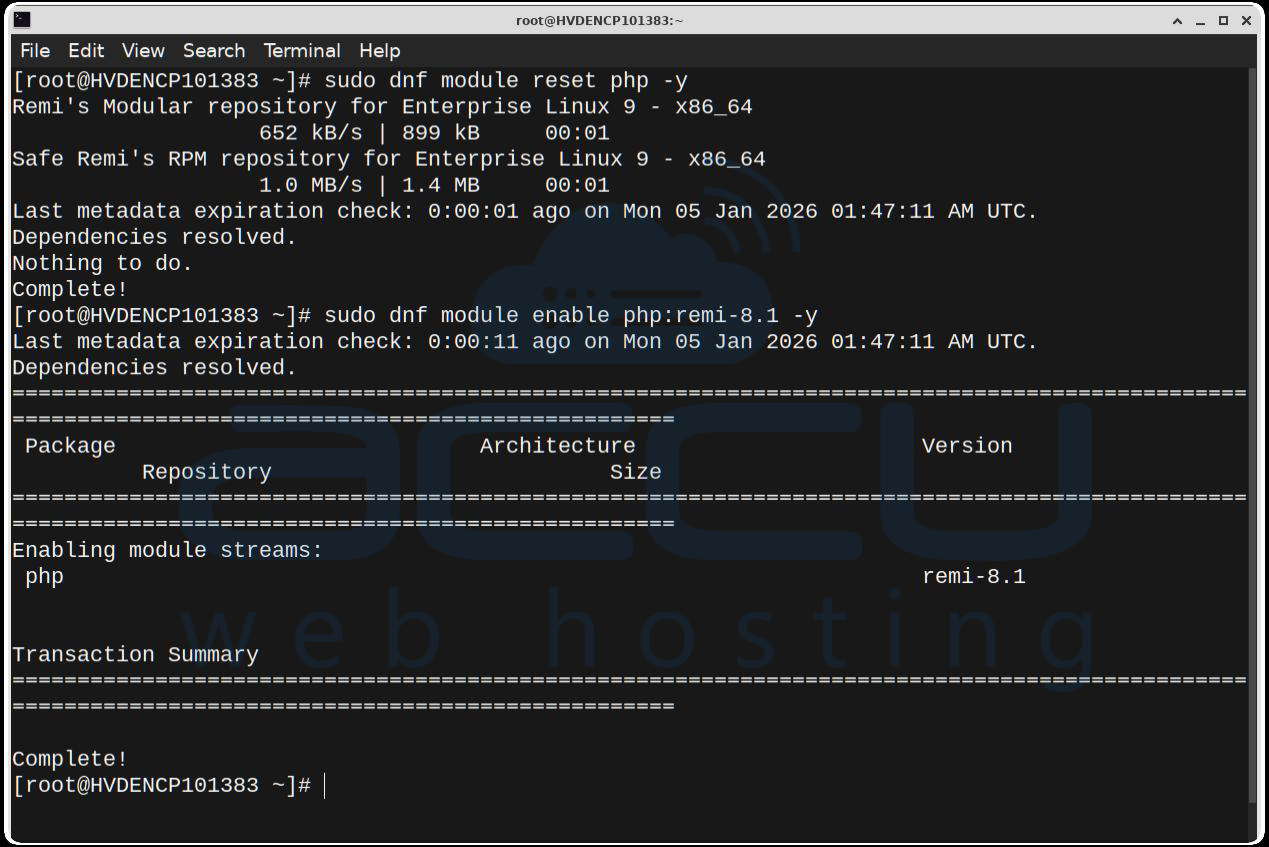
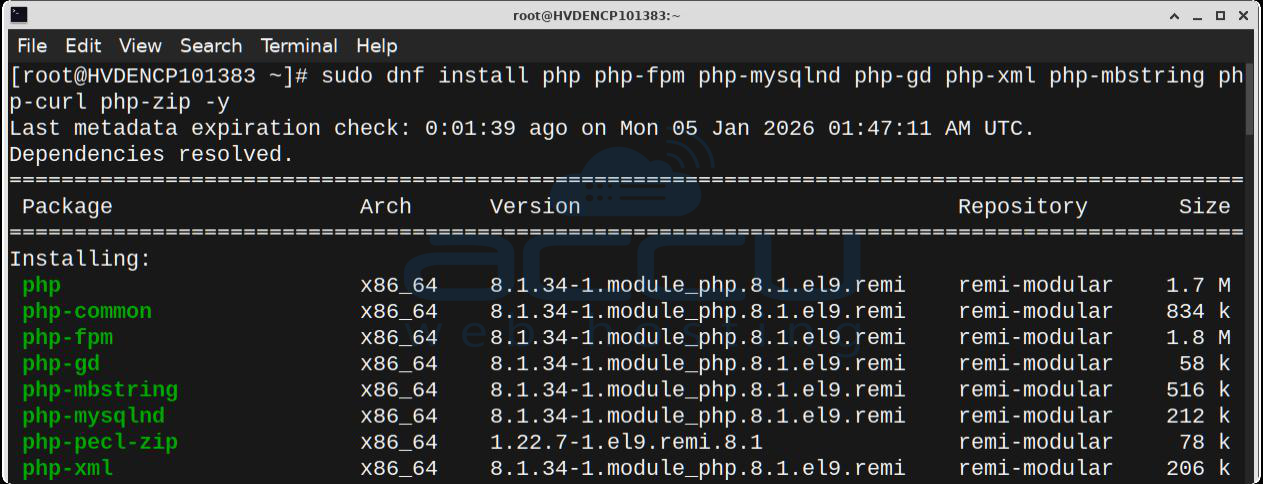
Step 5: Install PHP and Required Extensions
WordPress requires PHP and several extensions to work correctly.
1. Enable the PHP 8.0 module using the dnf module command:
dnf module reset php -y dnf module enable php:8.1 -y
2. Install PHP and required extensions:
sudo dnf install -y php php-cli php-fpm php-mysqlnd php-zip php-gd php-mbstring php-xml php-json php-curl php-opcache php-intl php-soap php-xmlrpc php-pecl-imagick
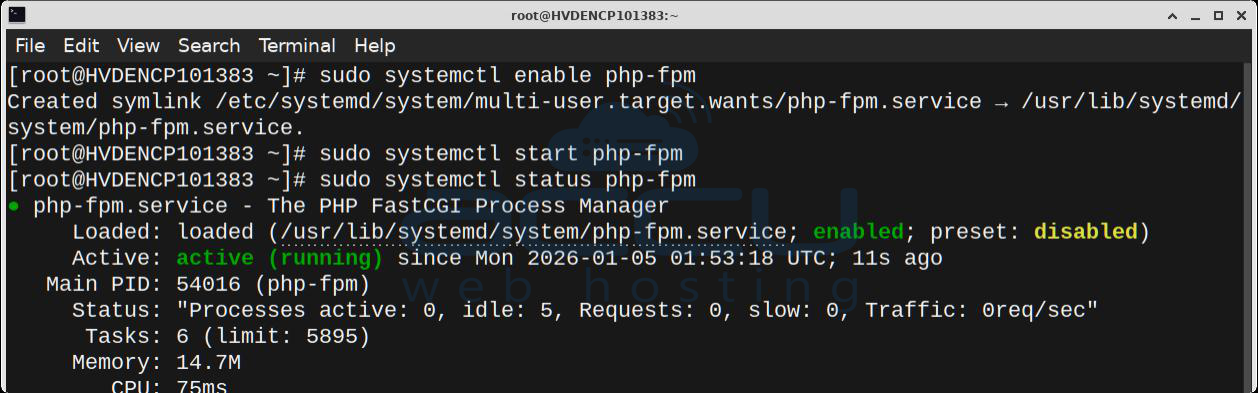
3. Start and enable PHP-FPM:
sudo systemctl enable php-fpm sudo systemctl start php-fpm sudo systemctl status php-fpm
Step 6: Download and Configure WordPress
1. Navigate to the web root directory:
cd /usr/share/nginx/html
2. Download WordPress:
sudo wget https://wordpress.org/latest.tar.gz
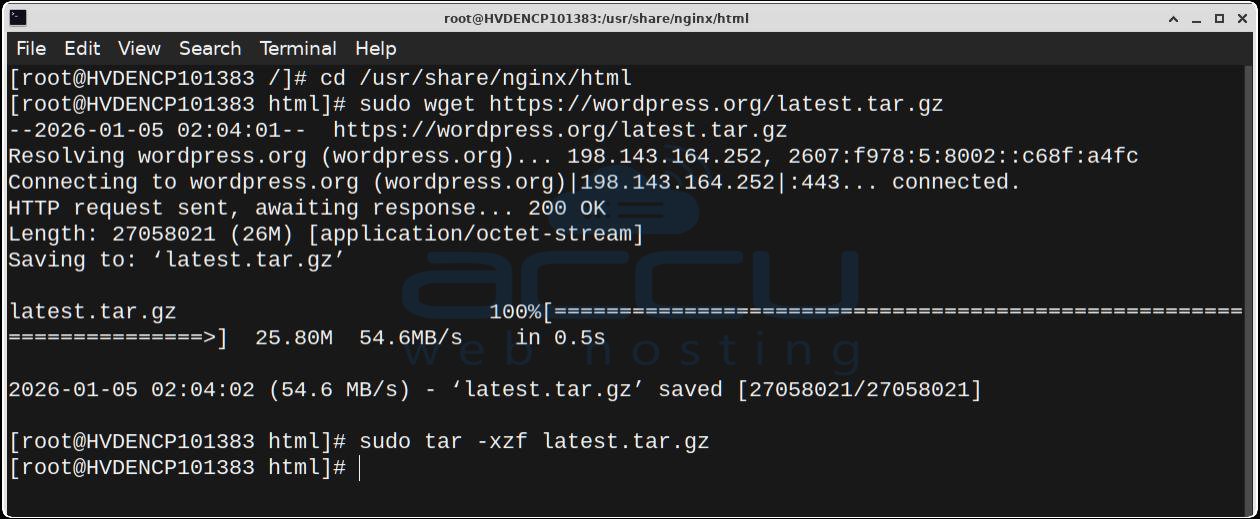
3. Extract the files:
sudo tar -xzf latest.tar.gz
4. Set proper permissions:
sudo chown -R nginx:nginx wordpress
sudo chmod -R 755 wordpress

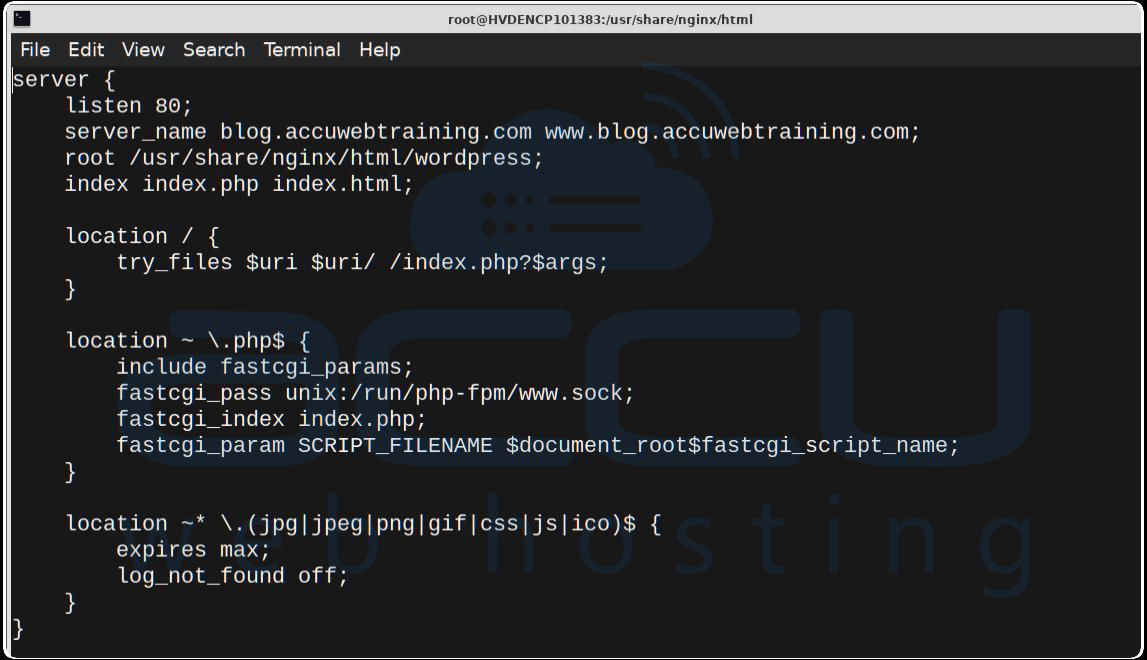
Step 7: Configure Nginx for WordPress
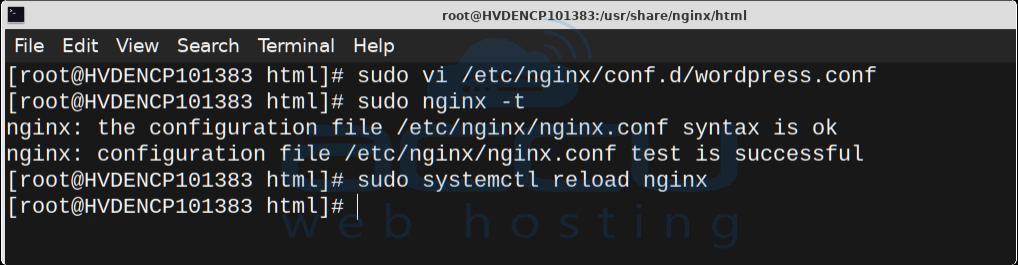
Create a new Nginx configuration file:
nano /etc/nginx/conf.d/wordpress.conf
Add the following configuration (replace yourdomain.com with your real domain name):
server {
listen 80;
server_name yourdomain.com www.yourdomain.com;
root /usr/share/nginx/html/wordpress;
index index.php index.html;
location / {
try_files $uri $uri/ /index.php?$args;
}
location ~ \.php$ {
include fastcgi_params;
fastcgi_pass unix:/run/php-fpm/www.sock;
fastcgi_index index.php;
fastcgi_param SCRIPT_FILENAME $document_root$fastcgi_script_name;
}
}
Save the file and test the Nginx configuration:
sudo nginx -t
sudo systemctl restart nginx
Step 8: Complete WordPress Installation via Browser
1. Open your browser and access your domain:
http://yourdomain.com
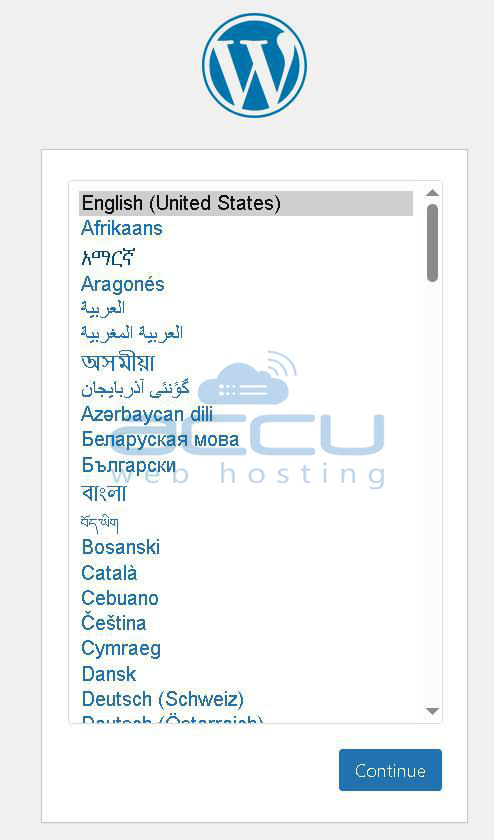
2. Select your preferred language.
3. Enter the database details created earlier.
4. Set your site title, admin username, password, and email.
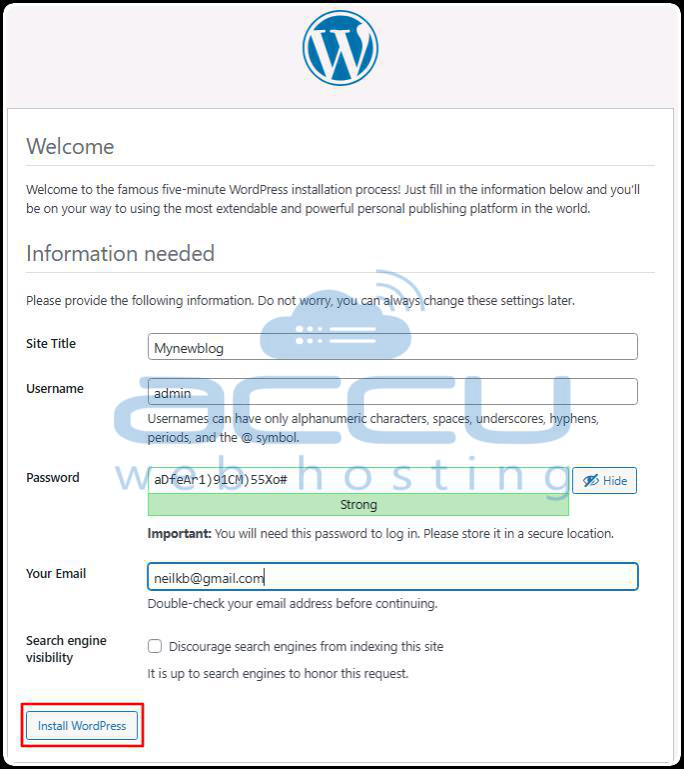
5. Click Install WordPress.
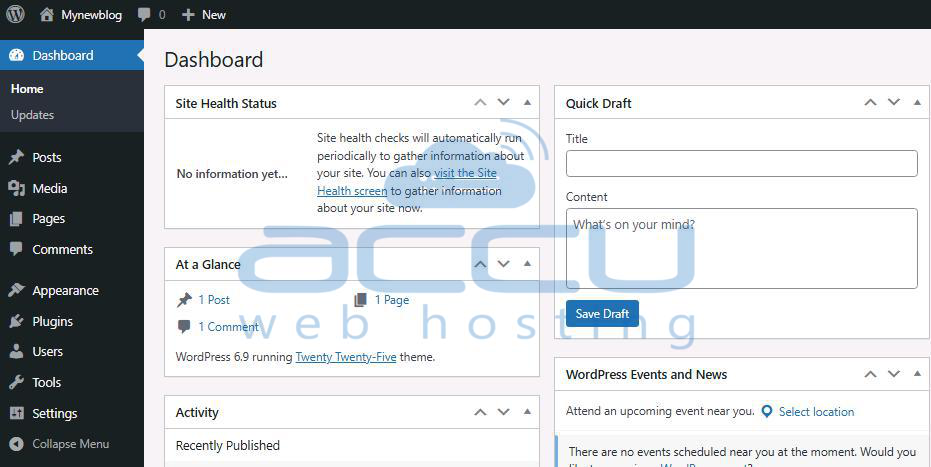
Once completed, you can log in to the WordPress admin dashboard.

Conclusion:
Installing WordPress using the LEMP stack on an AlmaLinux VPS is an easy and efficient method for hosting a website. By following the steps mentioned in this article, you can install WordPress and develop your website.
If you need any help with deploying WordPress on an AlmaLinux VPS using the LEMP stack, you can contact us via chat or ticket. Our support team will assist you.
