Introduction:
Managing a web server using only the command line can be difficult, especially for beginners. aaPanel is a free and open-source hosting control panel that provides a user-friendly web interface for easy server management.
With aaPanel, you can manage:
Websites
Databases
FTP accounts
Email services
Security settings
All from a single dashboard.
In this article, we will explain how to install and configure aaPanel on an AlmaLinux VPS step by step.
Prerequisites:
Before you begin, make sure you have:
- An AlmaLinux VPS (AlmaLinux 8 or 9 recommended)
- Root access or a user with sudo privileges
Step 1: Connect to Your VPS via SSH
Use an SSH client such as:
PuTTY (Windows)
Terminal (Linux/macOS)
Run the following command to connect your server:
ssh root@your_server_ip
Replace your_server_ip with your VPS IP address and enter the root password when prompted.
Step 2: Update the System
Before installing aaPanel, update your system to ensure all packages are up to date:
sudo yum update -y

This helps avoid compatibility issues and improves security.
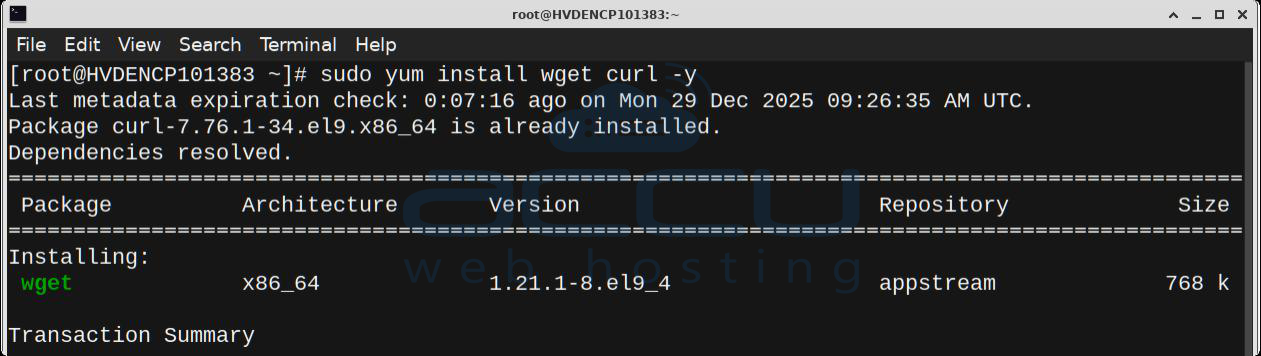
Step 3: Install Required Dependencies
Install the required tools needed for aaPanel installation:
sudo yum install wget curl -y
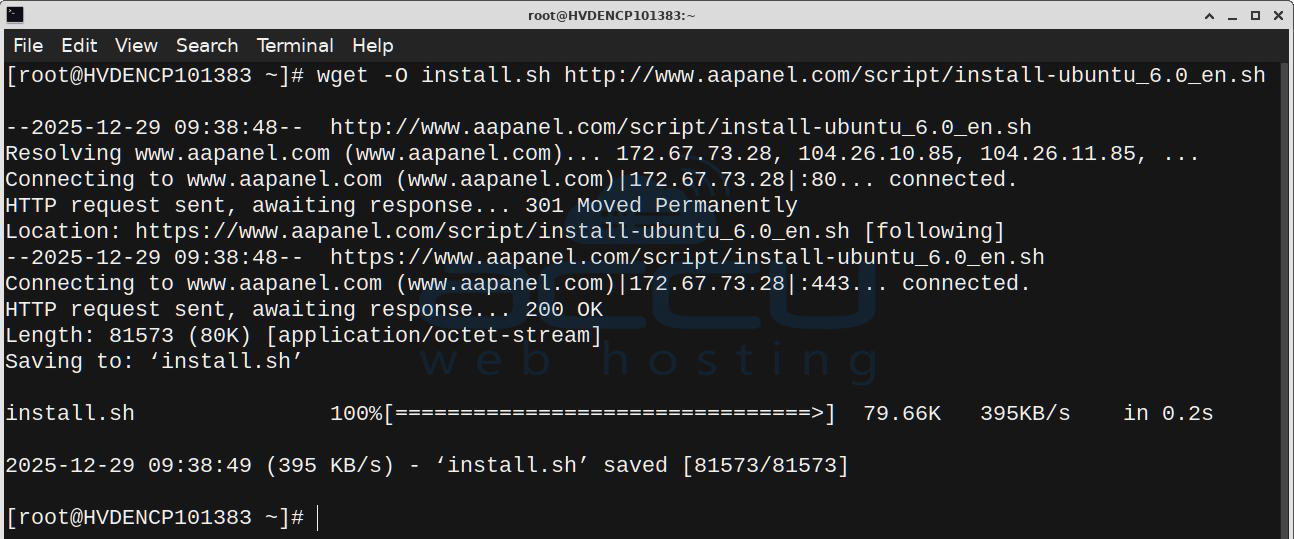
Step 4: Download and install aaPanel
Download the official aaPanel installation script for CentOS/AlmaLinux and start the installation:
wget -O install.sh http://www.aapanel.com/script/install_6.0_en.sh
Run the installer script:
sudo bash install.sh
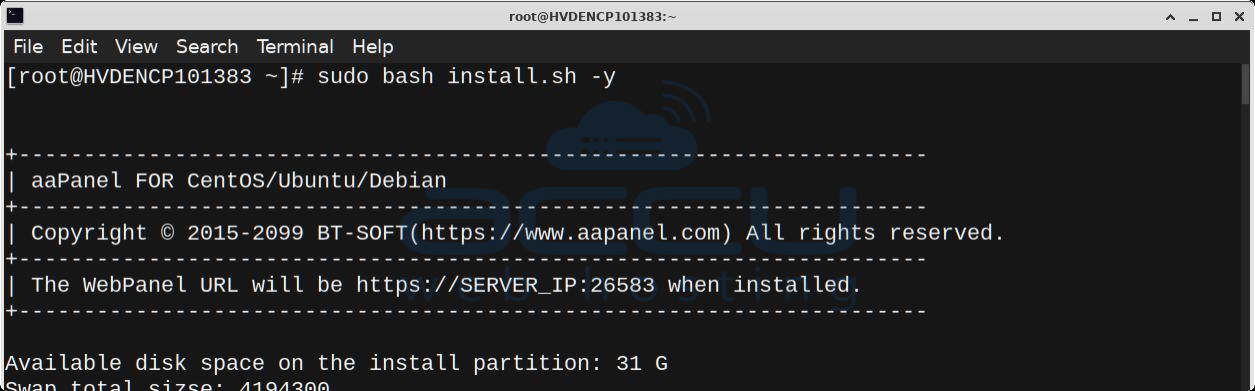
Follow the on-screen instructions and confirm when prompted.
The installation may take several minutes to complete.
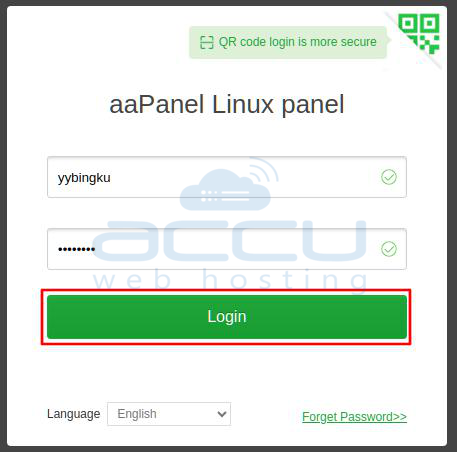
Step 5: Access the aaPanel Web Interface
Once the installation finishes, the system will display panel login details in the command prompt as below:
Panel URL (example: http://your_server_ip:26583)
Username
Password

Open the panel URL in your browser and log in using the provided credentials.

Step 6: Install Recommended Software (First Login)
On your first login, aaPanel will show a pop-up titled “Recommended Software Packages.
1. Select Web Server Mode
Choose:
Single WebServer Model
2. Select the Following Software
It is recommended to install:
Web Server: Apache 2.4
Database Server: MariaDB 10.11
Mail Server: Mail Server 6
FTP Server: Pure-Ftpd 1.0.49
Database Management: phpMyAdmin 5.2
PHP Version: PHP 8.3
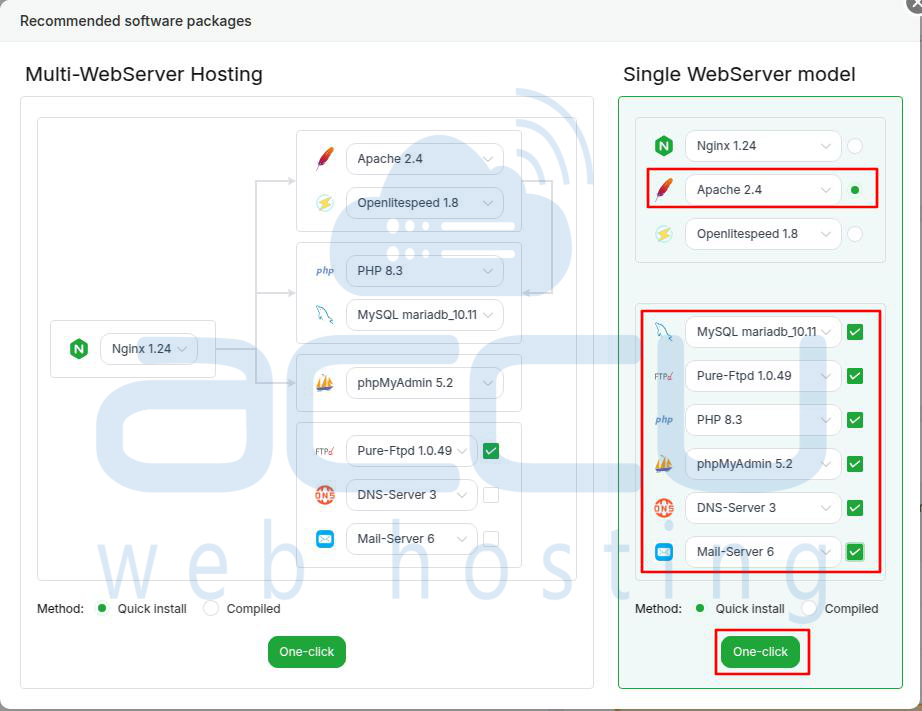
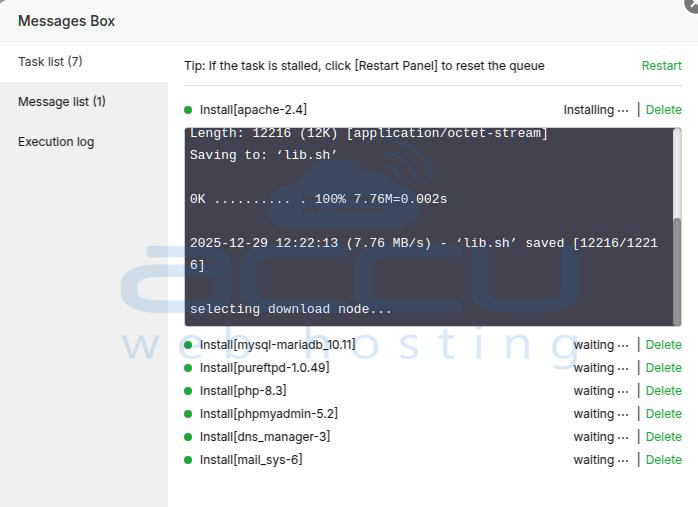
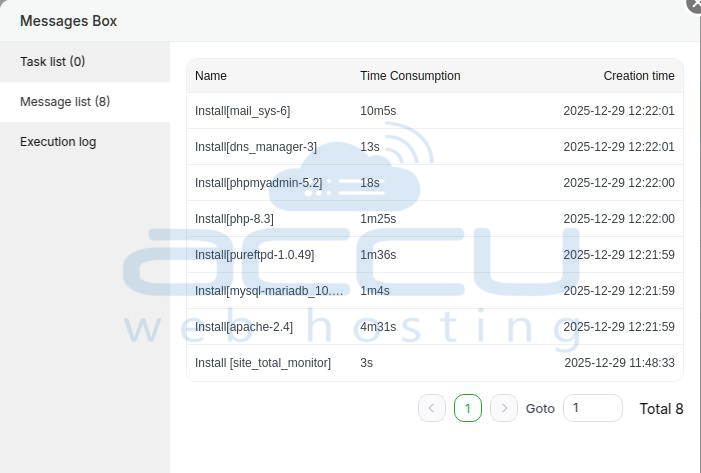
3. Start Installation
Click One-click and wait until all services are installed successfully.
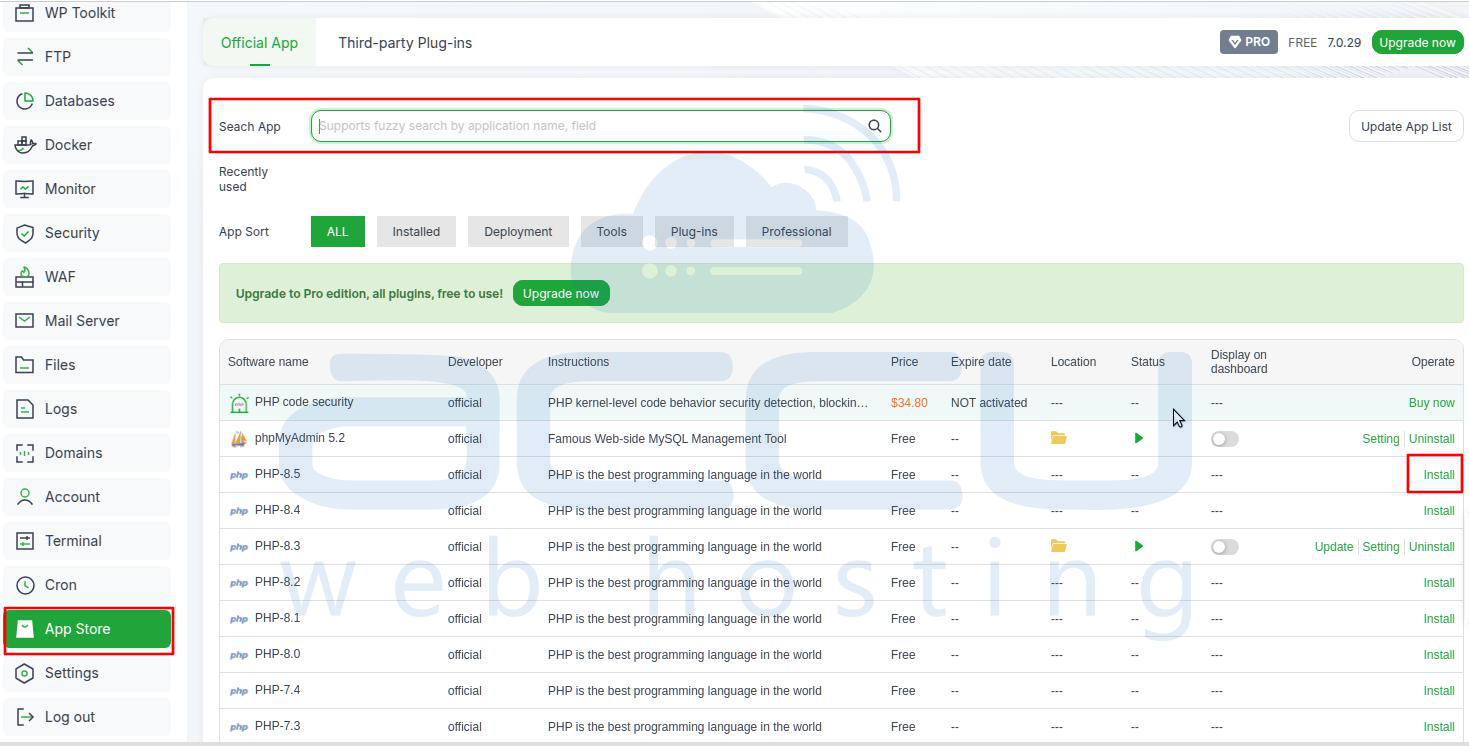
aaPanel also provides a one-click installer that allows you to easily install and manage essential components such as PHP, web servers, database servers, multiple PHP versions, and other related software.
You can access this feature from: aaPanel → App Store → Official App
You can also refer to the following article to know how to create websites,databse etc and install wordpress in aaPanel.
https://manage.accuwebhosting.com/knowledgebase/5389/How-to-Install-WordPress-Using-aaPanel-on-Linux-VPS.html
Conclusion
Installing aaPanel on an AlmaLinux VPS converts your server into a powerful and easy-to-manage hosting environment. With its intuitive dashboard, you can manage websites, databases, FTP accounts, and server security without deep command-line knowledge.
By following this article, your AlmaLinux VPS will be ready to host websites smoothly and efficiently.
