Install FastPanel Hosting Control Panel on Ubuntu OS
FastPanel is a modern, lightweight, and user friendly hosting control panel that allows you to manage websites, databases, email services, DNS, and server resources through a web-based interface. In this guide, we will guide you on how to install and activate FastPanel on Ubuntu 18.04, 20.04, 22.04, or 24.04.

Prerequisites
Before beginning the installation, ensure that your server meets the following requirements:
- Operating System: Ubuntu 18.04, 20.04, 22.04, or 24.04
- System State: Clean installation (no Apache, Nginx, PHP, MySQL, or other web services installed)
- RAM: Minimum 1 GB (2 GB recommended for better performance)
- Disk Space: Minimum 5 GB free
- CPU: At least 1 core
- Access: Full root SSH access
- Server Type: VPS or Dedicated Server
Note: FastPanel is designed to install on a fresh system. Existing web server services may conflict with the installation.
Steps to Install FastPanel Hosting Control Panel on Ubuntu OS
Step 1: Open a terminal on your local computer and connect to your server using SSH:
Replace your.server.ip with the public IP address of your server.Enter the root password when prompted. You must be logged in as root to install FastPanel successfully.
Step 2: Check that your server is running a supported Ubuntu version:
cat /etc/os-release
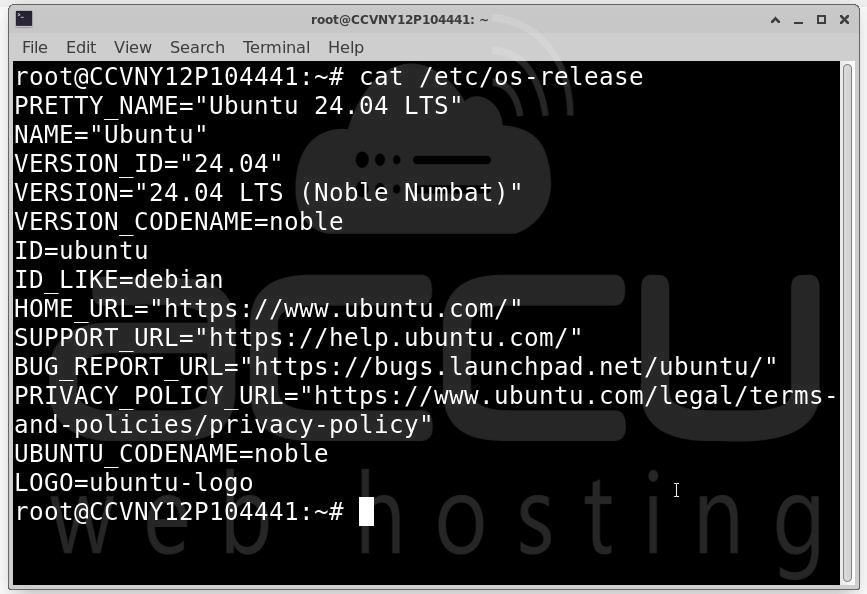
You should see output confirming the Ubuntu version (18.04, 20.04, 22.04, or 24.04).
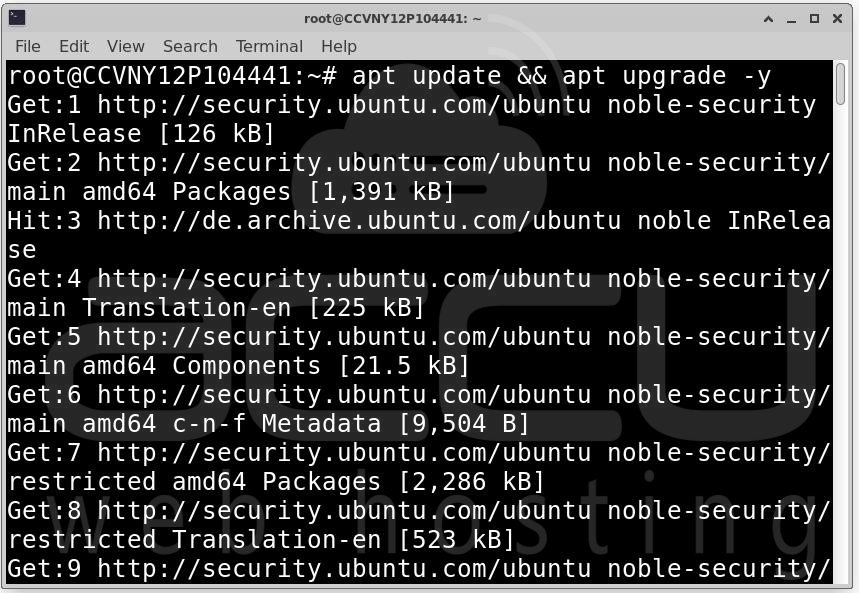
Step 3: Updating your system ensures compatibility with the FastPanel installer and installs the latest security patches:
apt update && apt upgrade -y
Step 4: FastPanel requires some essential tools to download and run the installer:
apt install -y ca-certificates wget
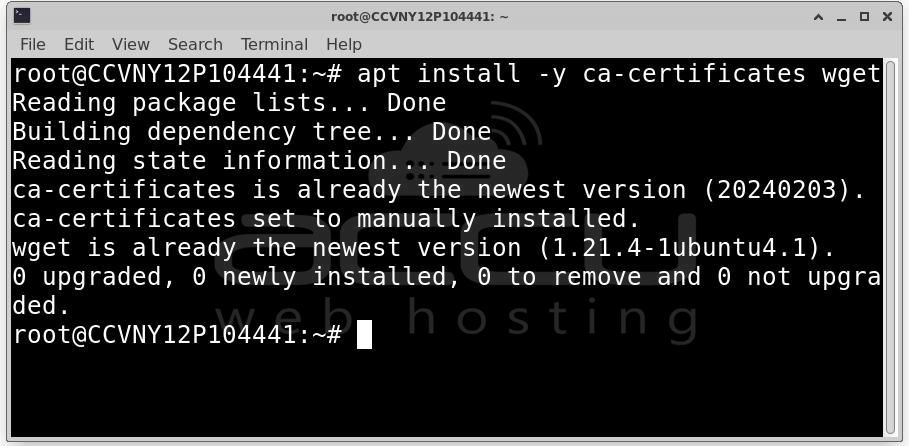
Ca-certificates are required for secure HTTPS downloads and wget is used to download the FastPanel installation script.
Step 5: After updating and installing dependencies, reboot the server to apply changes:
reboot
Reconnect via SSH after the server comes back online.
Step 6: Once logged in again as root, download and execute the FastPanel installation script:
wget https://repo.fastpanel.direct/install_fastpanel.sh -O - | bash -
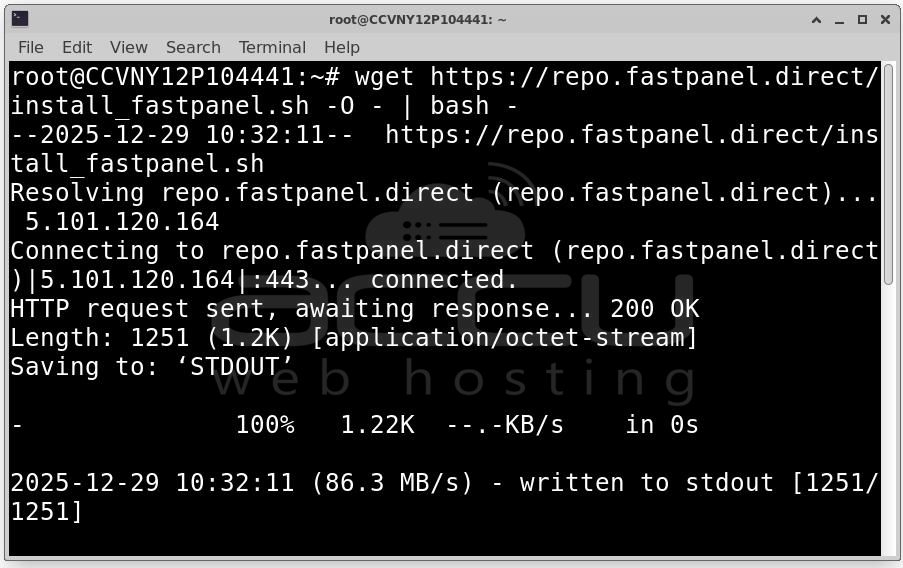
The installer automatically installs Web server components (Nginx or Apache), PHP and database servers (MariaDB/MySQL), Email services, Firewall rules and system dependencies. Installation may take 5–15 minutes depending on your server’s performance.
Step 7: After installation, you will see a message similar to:
Congratulations! FASTPANEL successfully installed and available at:
https://<your-server-ip>:8888
Login: fastuser
Password: <generated-password>
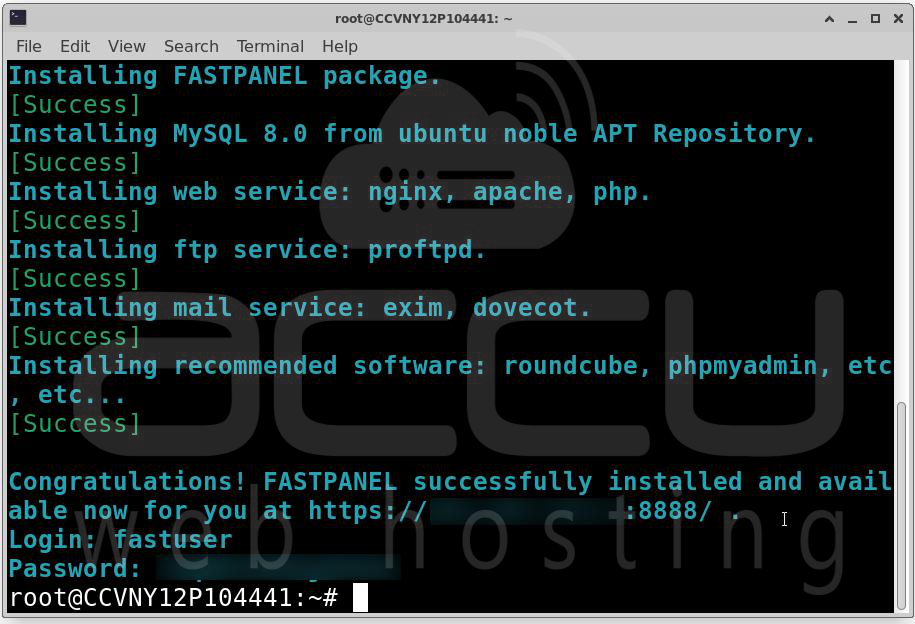
Important: Save the username and password. You will need these credentials to access the panel.
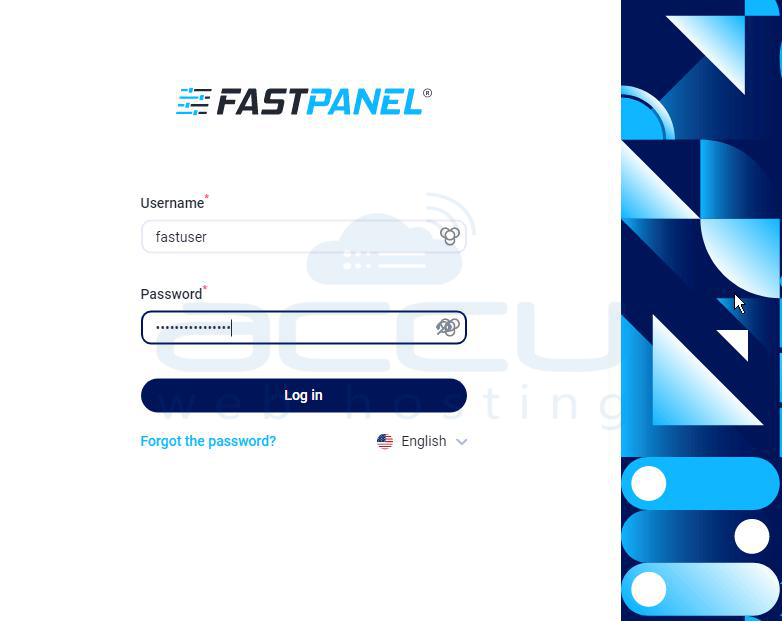
Step 8: Access the FastPanel Web Interface by https://<your-server-ip>:8888
Port 8888 is the default FastPanel access port. You may see a browser warning because of the self-signed SSL certificate. In Chrome: Click Advanced → Proceed to..

Step 9: Use the credentials provided during installation. Username is fastuser and Password Generated password by script. You can change the password later in the panel settings.
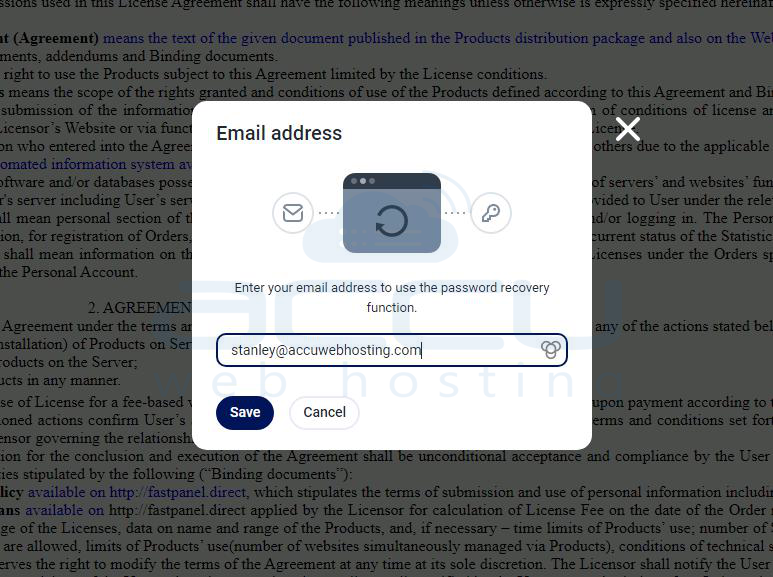
Step 10: After logging in, FastPanel will prompt you to activate a license. Enter a valid email address and click Request License.
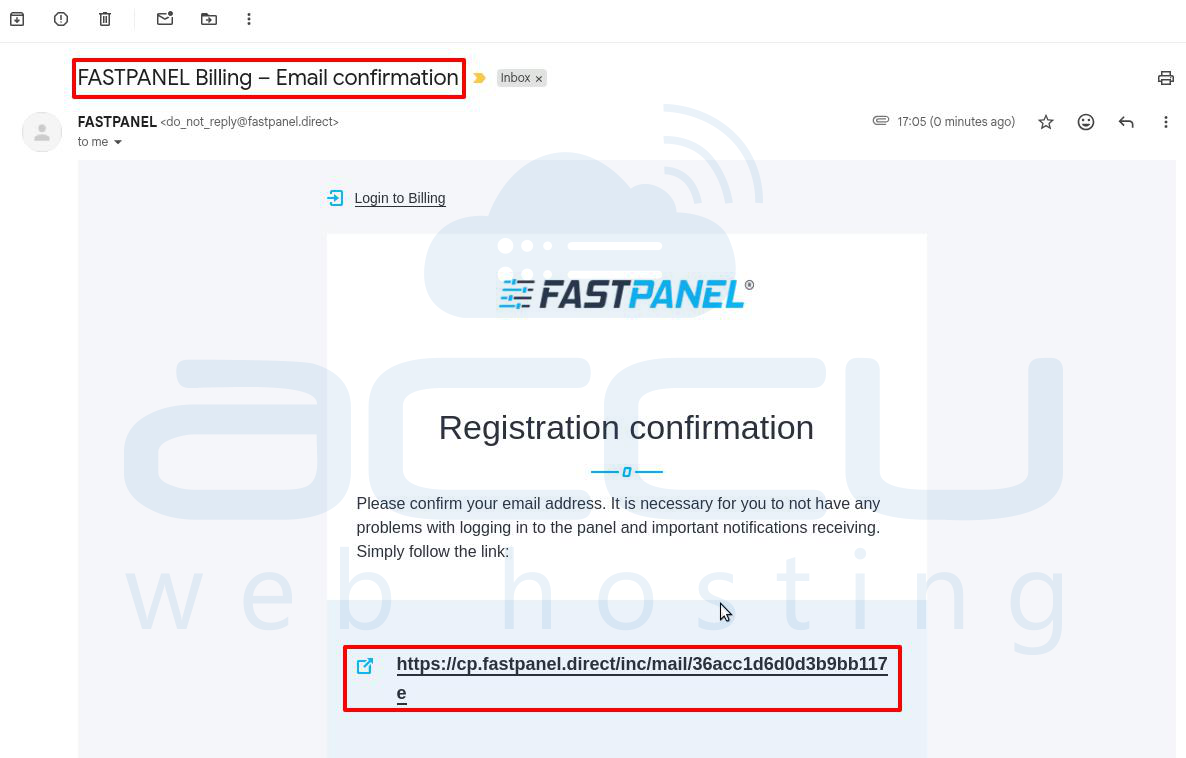
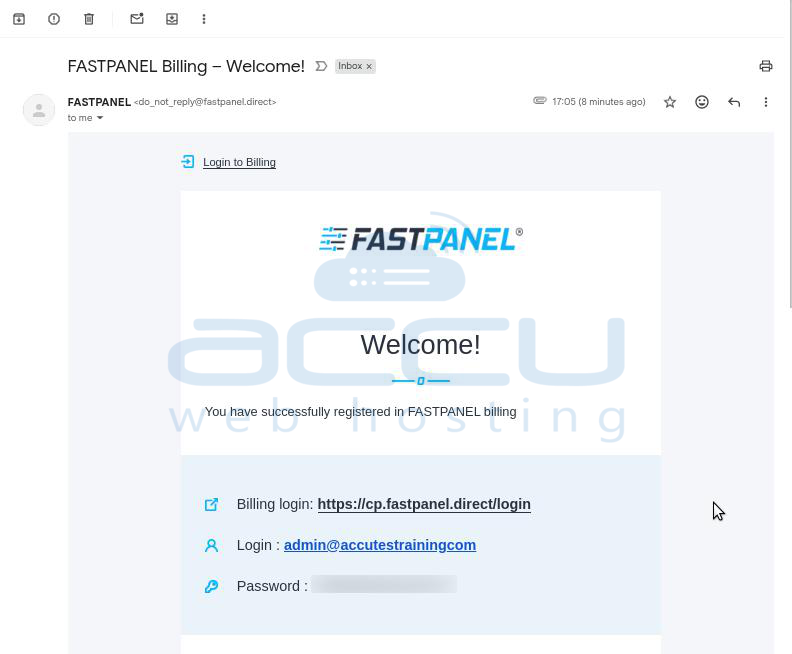
Step 11: Check your email inbox for a message from FastPanel. Click the confirmation/activation link to verify email ownership.
Step 12: FastPanel will send login credentials for the Billing Portal, which allows you to manage licenses and billing.
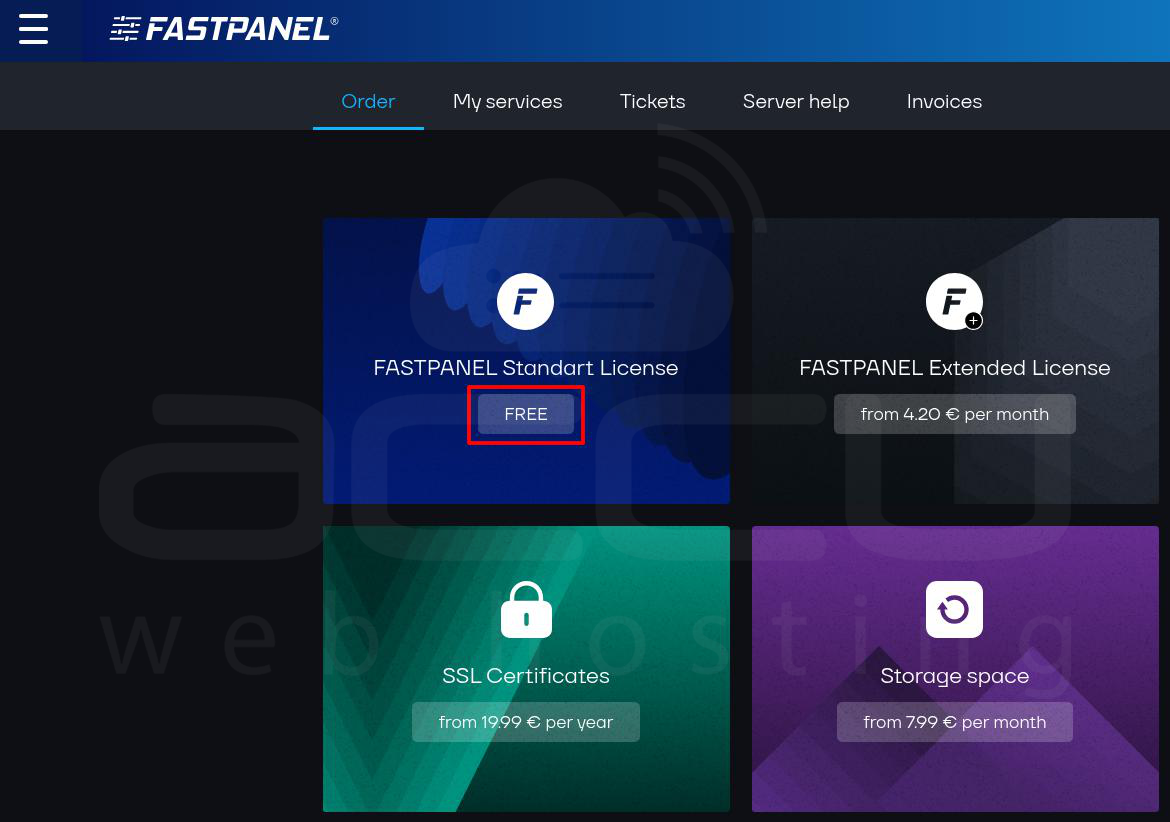
Step 13: To manage your license, log in to the Billing Portal using the provided credentials.

Step 14: Navigate to License Ordering. Choose Free License or Paid License and click Add to Cart.
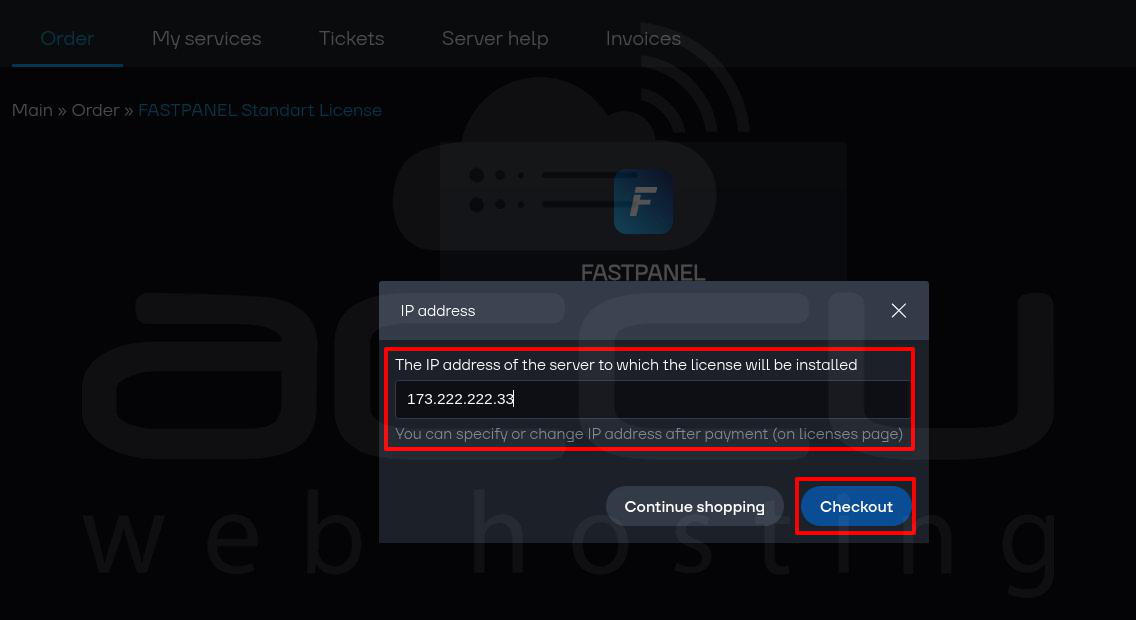
Step 15: Enter your server’s public IP address during license setup. The license will be bound to this IP address.
Step 16: Log in to FastPanel and go to Control Panel → Services. Ensure all services (web server, database, mail, DNS) show Running status.

Conclusion
By following this guide, you have successfully installed FastPanel on Ubuntu OS, activated your license, and verified all services. FastPanel provides a powerful and user friendly interface to manage websites, databases, email accounts, and DNS records efficiently. This setup ensures a clean and secure hosting environment while saving time and simplifying server management.
