Introduction:
Securing your website with an SSL certificate is important. It keeps user data safe, builds trust with visitors, and helps improve your website’s SEO ranking. FastPanel Hosting Control Panel makes it easy to install a free Let’s Encrypt SSL certificate, even if you don’t have technical knowledge.
In this article, we will explain step-by-step how to install Let’s Encrypt SSL for your website using FastPanel.
Prerequisites:
Your domain name is pointing to the server IP where FastPanel is installed.
The website is already created in FastPanel.
Port 80 (HTTP) and 443 (HTTPS) are open on the server firewall.
Step-by-Step Guide to Install Let’s Encrypt SSL in FastPanel:
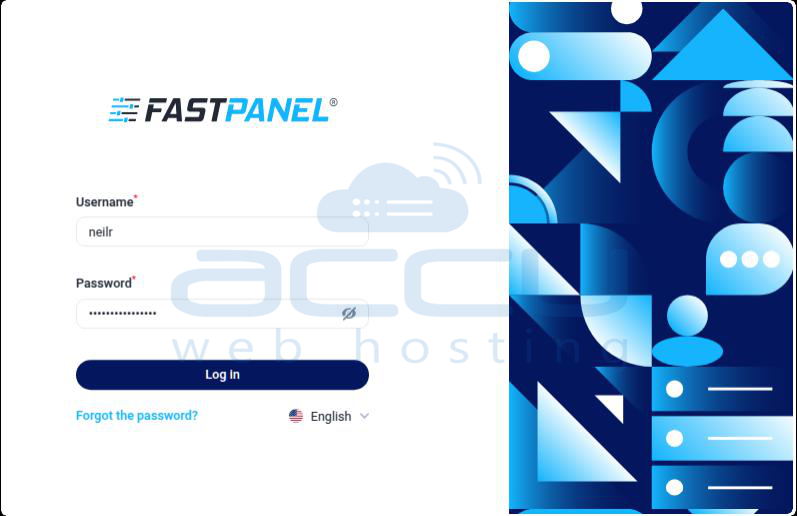
Step 1: Log in to FastPanel
1. Open your web browser.
2. Go to your FastPanel login URL: https://your-server-ip:8888
3. Log in using your FastPanel username and password.
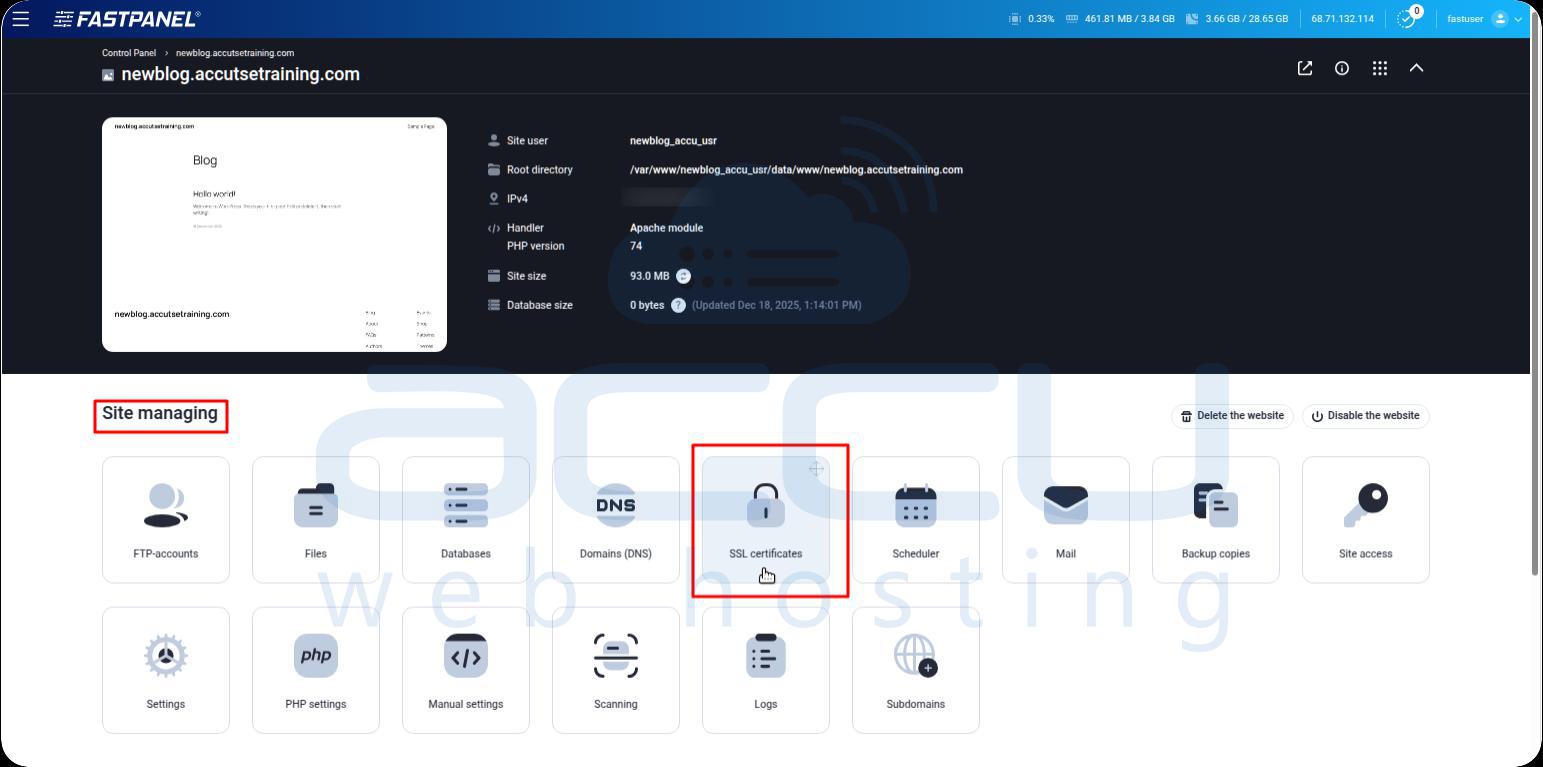
Step 2: Open the Website Management Section
1. From the FastPanel dashboard, locate your website.
2. Click on the “Site card” above the website name, as shown in the image below.

3. Inside the website management page, find the Site managing section.
4. Click on SSL certificates.
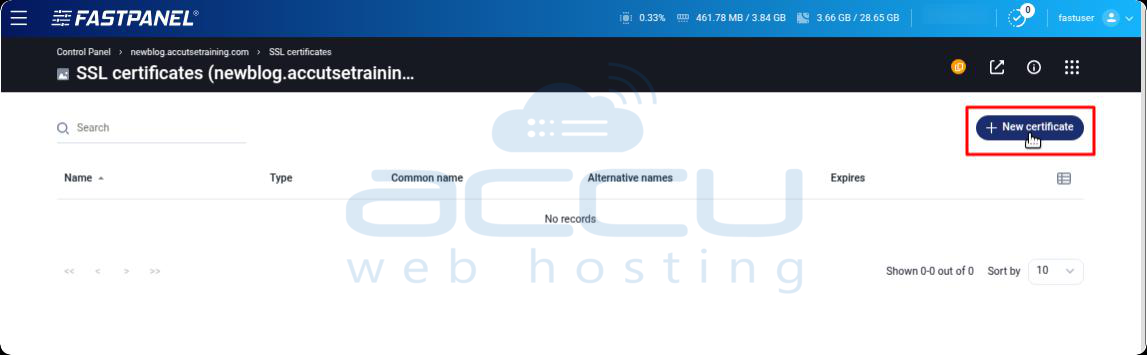
Step 3: Create a New Let’s Encrypt SSL Certificate
1. Click on the New certificate button.
2. In the newly opened window, enter or select the following details:
Certificate type: Let’s Encrypt SSL
Key length: 2048
Common name *: Your primary domain (example.com)
Alternative names:
Add the www version (www.example.com), if required
Forced use of DNS validation: Enable the toggle
Email *: Enter your valid email address
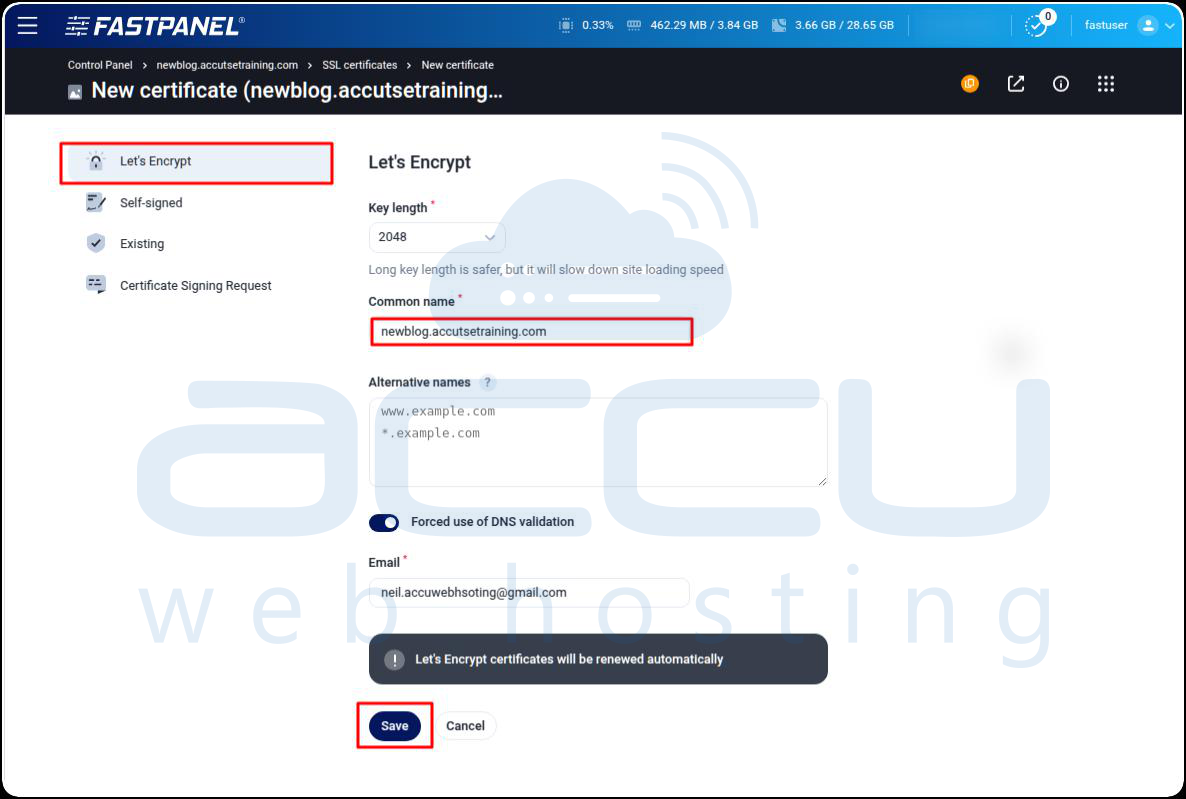
3. Click on the Save button to start the SSL installation process.
FastPanel will automatically issue and install the Let’s Encrypt SSL certificate for your website.
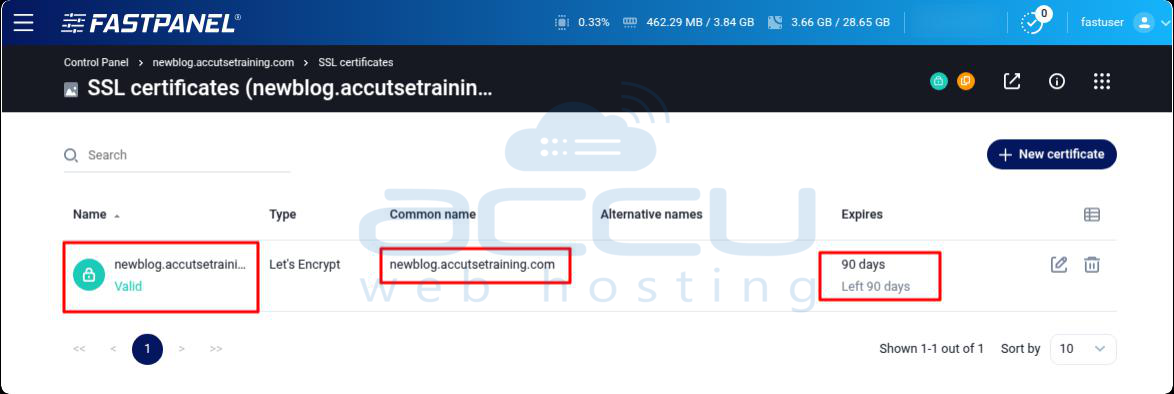
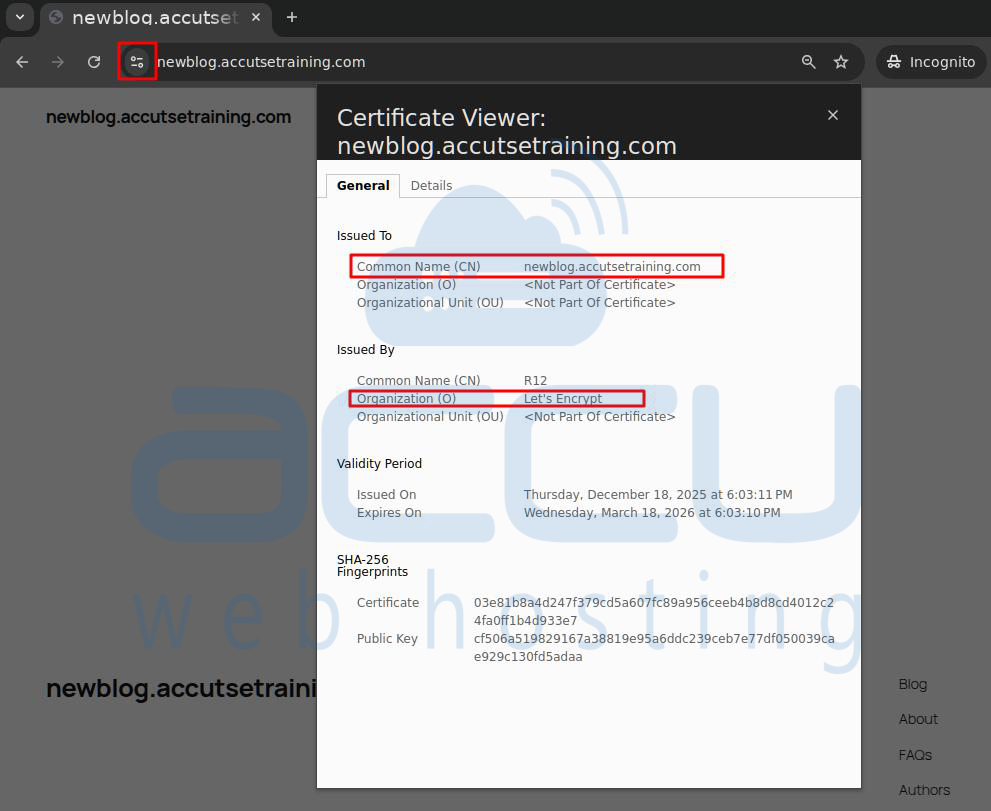
Now, open your website in a web browser and verify the SSL.
How to Enable HTTP → HTTPS Redirection in FastPanel
Follow the steps below to enable automatic redirection from HTTP to HTTPS in FastPanel:
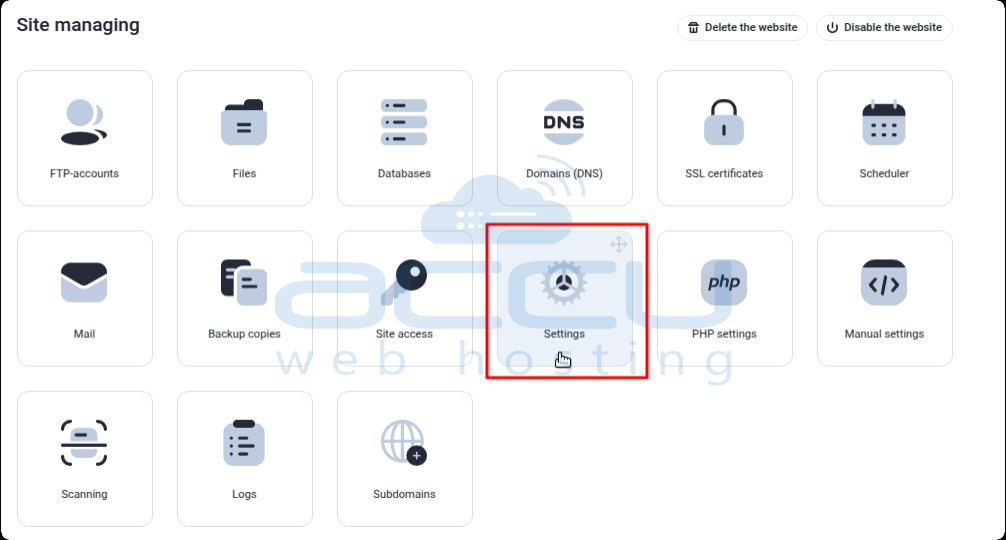
Step 1: Navigate to the Site managing section.
Step 2: Click on the Settings (gear) icon.
Step 3: In the Settings menu, click on HTTPS from the left sidebar.
Step 4: Enable the option “Redirecting to HTTPS” by checking the corresponding checkbox.
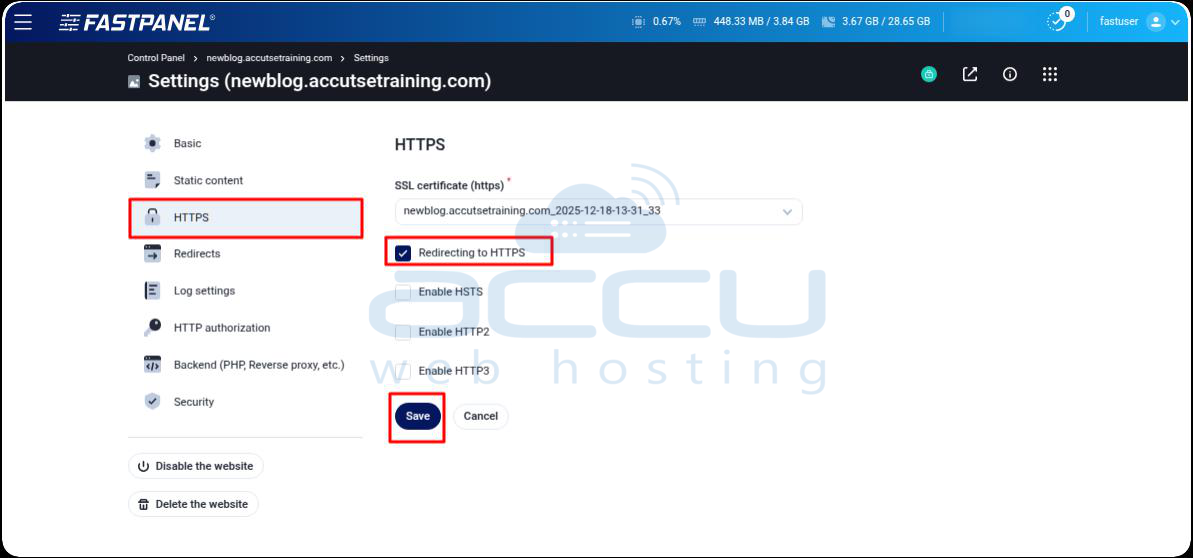
Step 5: Click the Save button to apply and save the changes.
Once completed, all HTTP traffic will be automatically redirected to HTTPS for the selected website.
Enabling HTTP to HTTPS redirection ensures that all visitors are automatically redirected to the secure version of your website. It stops users from opening the unsafe HTTP version and helps prevent security warnings in web browsers.
Conclusion:
Installing a Let’s Encrypt SSL certificate in FastPanel is a simple and quick process. It helps to secure your website and keeps user data safe. By following the steps in this article, you can enable HTTPS with just a few steps and improve website security, trust, and search engine rankings.
If you need any help with SSL installation in the FastPanel hosting control panel, you can contact us via chat or ticket. Our support team will assist you with installing SSL and enabling HTTPS redirection.
