CentOS Web Panel (CWP) is a free and powerful web hosting control panel designed for RPM-based Linux distributions. It provides a graphical interface to manage web hosting services, DNS, databases, and most importantly, a complete mail server stack. CWP integrates widely used enterprise mail components such as Postfix, Dovecot, SpamAssassin, ClamAV, DKIM, SPF, and Roundcube Webmail. This guide explains how to install CentOS Web Panel on AlmaLinux 8 or 9 and configure a fully functional email server.

System Requirements
- Architecture: 64-bit only
- Operating System: AlmaLinux 8 or AlmaLinux 9
- Minimum RAM: 2 GB
- Recommended RAM: 4 GB or more
Additional memory is strongly recommended when using SpamAssassin and ClamAV for email scanning, as these services are memory intensive.
Steps to Install and Configure an Email Server Using CWP (CentOS Web Panel)
Step 1: The CWP installer is downloaded using wget, which may not be installed by default on minimal systems. Run the following command:
yum -y install wget
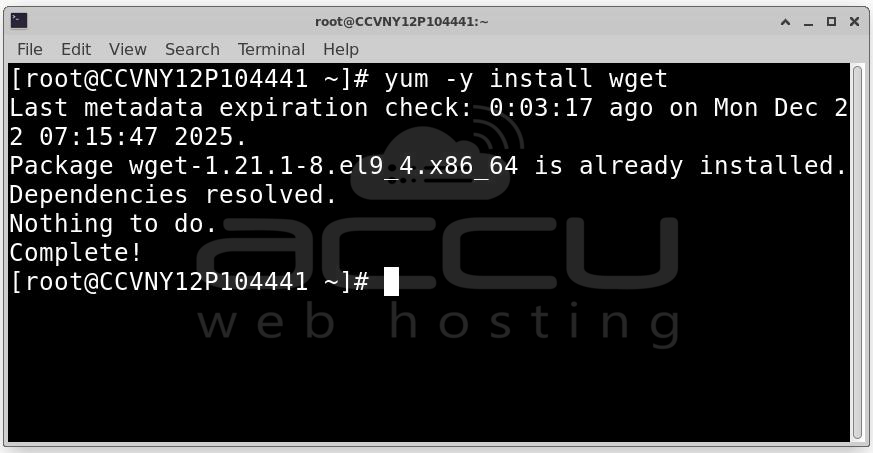
This installs the required package without user interaction.
Step 2: Updating the operating system ensures that all system libraries, kernels, and dependencies are current. Run:
yum -y update
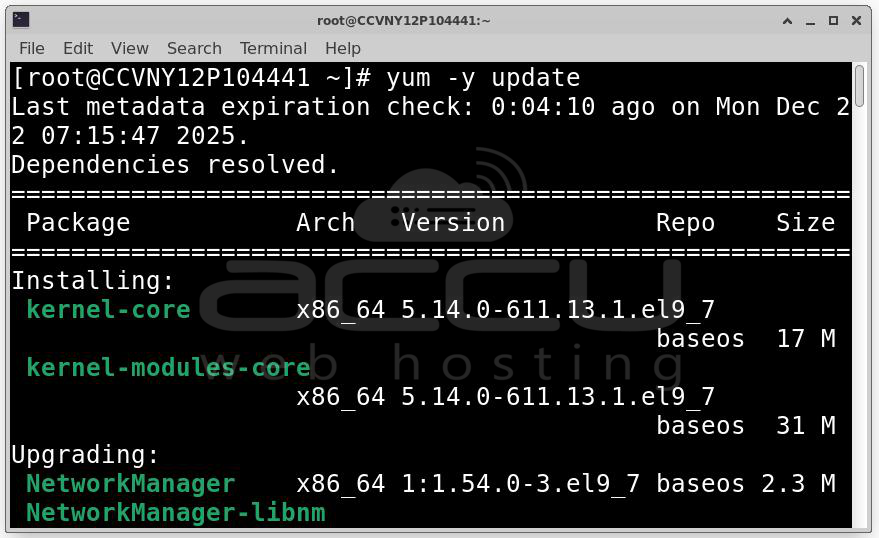
This step is essential to avoid conflicts with outdated packages during CWP installation.
Step 3: After updates are applied, reboot the server to load the latest kernel and system changes.
reboot
Wait for the server to restart, then log in again as the root user.
Installing CentOS Web Panel (CWP)
The CWP installation process compiles Apache and PHP from source. This provides better performance and flexibility but increases installation time.
Installation duration: 30 minutes or longer, depending on server speed and resources.
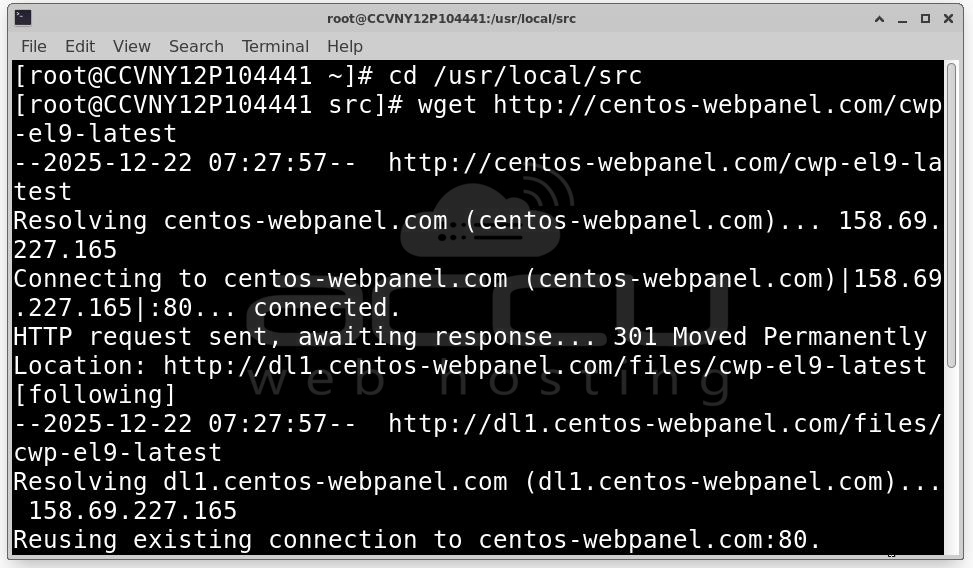
Step 4: Download and Run the CWP Installer. After logging in post-reboot, navigate to the source directory:
cd /usr/local/src
Download the installer for AlmaLinux 9:
wget http://centos-webpanel.com/cwp-el9-latest
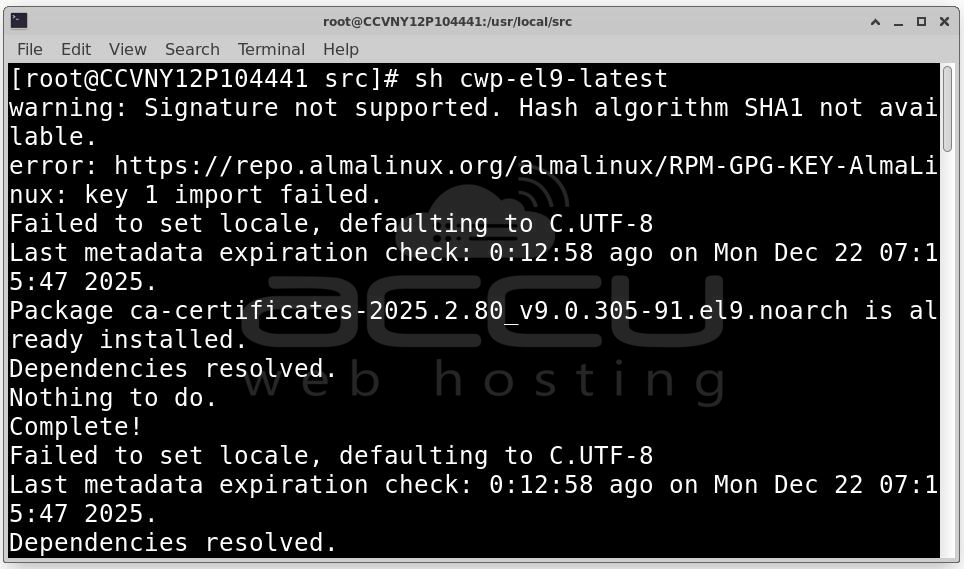
Make the script executable and run it: sh cwp-el9-latest
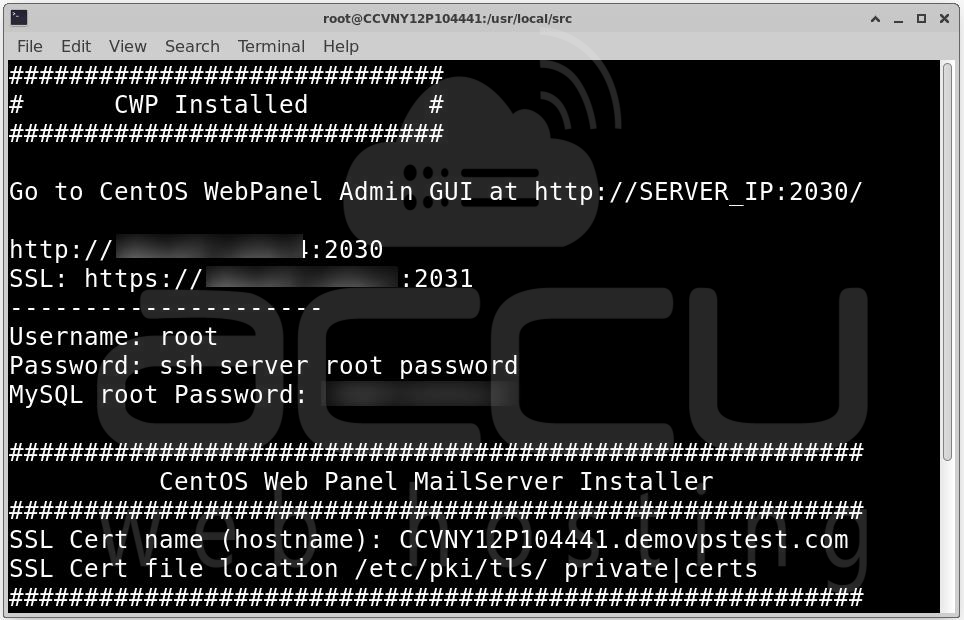
Step 5: Once installation is complete, the installer will display important information, including Admin panel URL, User name, password and MySQL/MariaDB details. Save this information securely.
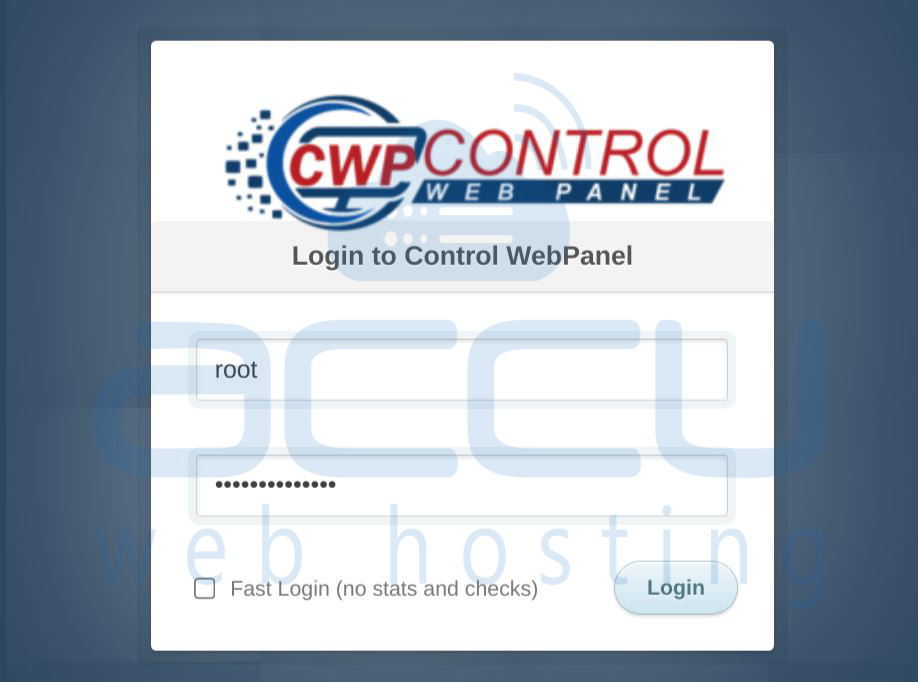
Accessing the CWP Admin Panel
After installation, you can access the CWP administrative interface using a web browser.
Login Details:
- URL: http://SERVER-IP:2030/
- Username: root
- Password: Root password of the server
Log in to continue configuration.
Email Server Configuration in CWP
CWP provides a complete email management system. However, email services must be properly initialized before creating email accounts.
DNS Configuration Requirements
DNS plays a critical role in email delivery. Incorrect DNS settings will cause mail failures. Add your domain name and required DNS records in the DNS zone.
Required A Record
Create the following DNS record:
- Hostname: mail.yourdomain.com
- Type: A
- Value: Server’s public IP address
This record ensures proper mail routing and hostname resolution.
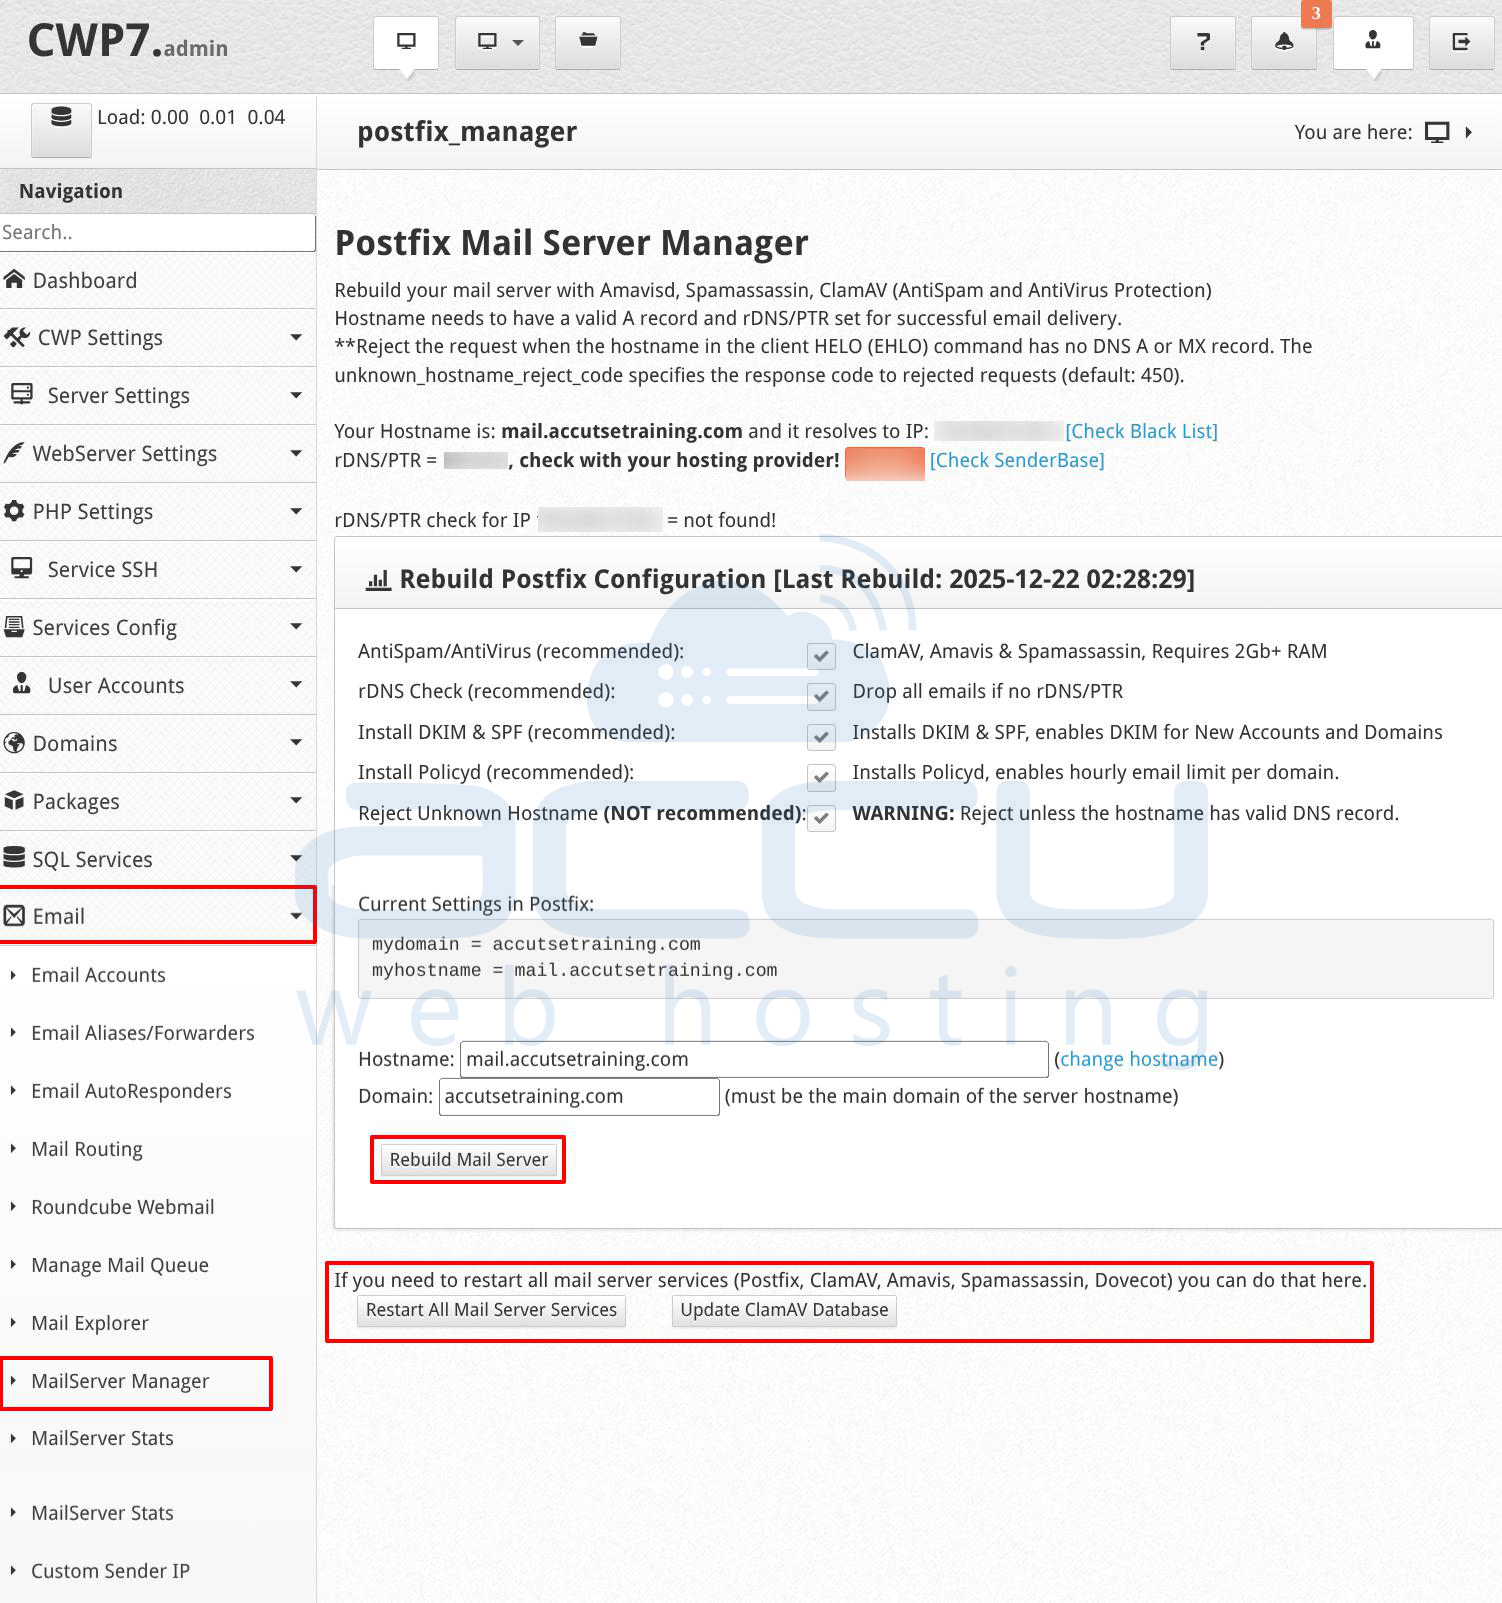
Step 1: Initialize the Mail Server Configuration. This step prepares Postfix, Dovecot, SpamAssassin, and ClamAV for use. Log in to the CWP Admin Panel and navigate to Email → MailServer Manager
Ensure the following values are correct:
- Hostname: Must match the server hostname
- Primary Domain: Correct domain name
Enable Recommended Options
Check and enable: AntiSpam / AntiVirus. rDNS Check and Install DKIM & SPF.
These options are critical for security and deliverability. Click Rebuild Mail Server. If services are already installed, scroll down and click: Restart All Mail Server Services. This ensures all mail components are running correctly.
Step 2: Email authentication is mandatory for modern email delivery. DKIM and SPF help receiving servers verify that emails are legitimate. Navigate to Email → DKIM Manager.
Select your domain from the dropdown list, ensure Enable SPF is checked and click Add DKIM
CWP will generate cryptographic keys used to sign outgoing emails. After generation, CWP will display DNS records.

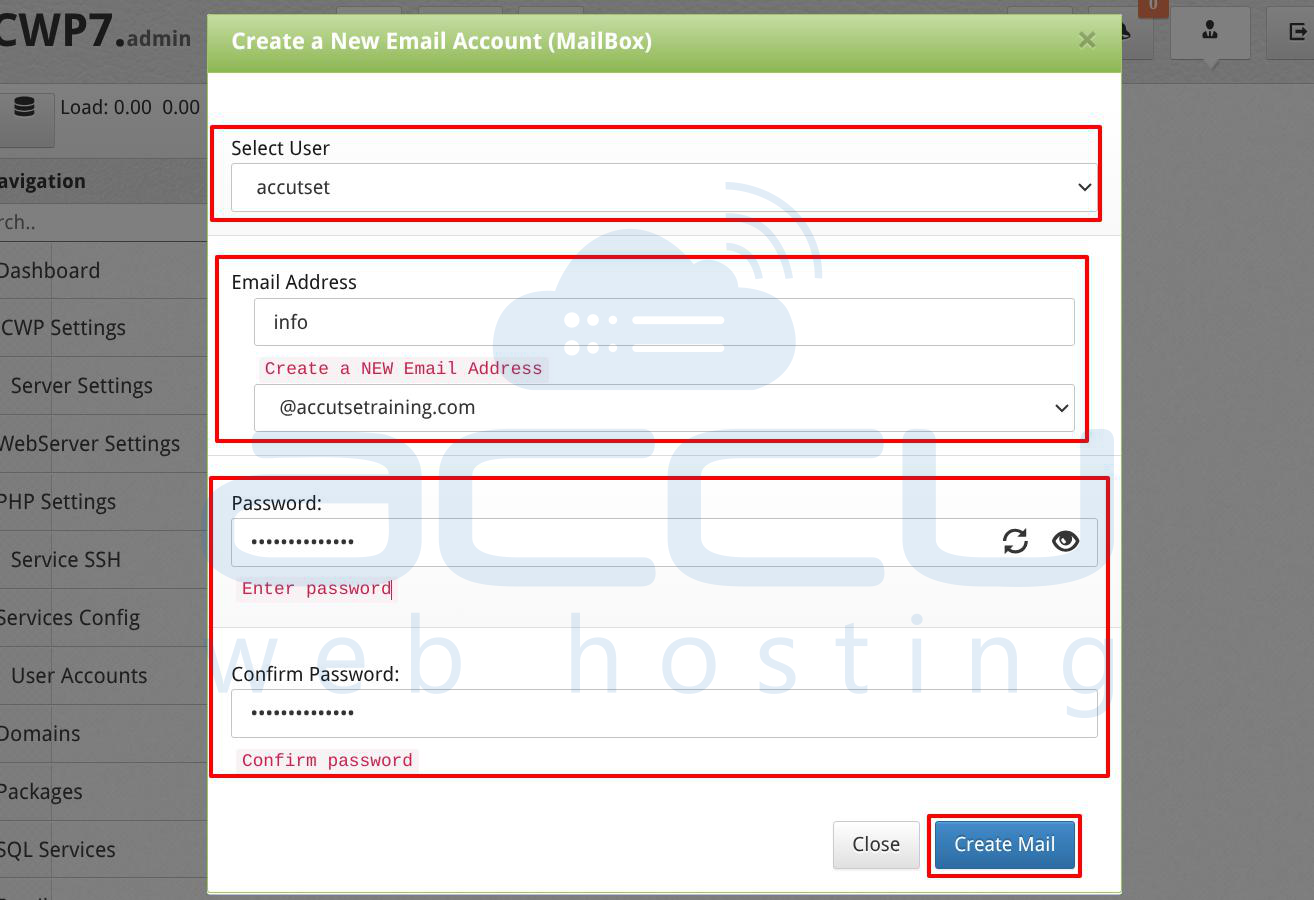
Step 3: Once mail services are configured, you can create user mailboxes. Navigate to Email → Email Accounts.
Under Create a New Email Account, fill in:
- Select User: System user linked to the domain
- Email Address: Email prefix (e.g., info)
- Domain: Select the domain
- Password: Strong password
Click Create Mail. The mailbox is created instantly.
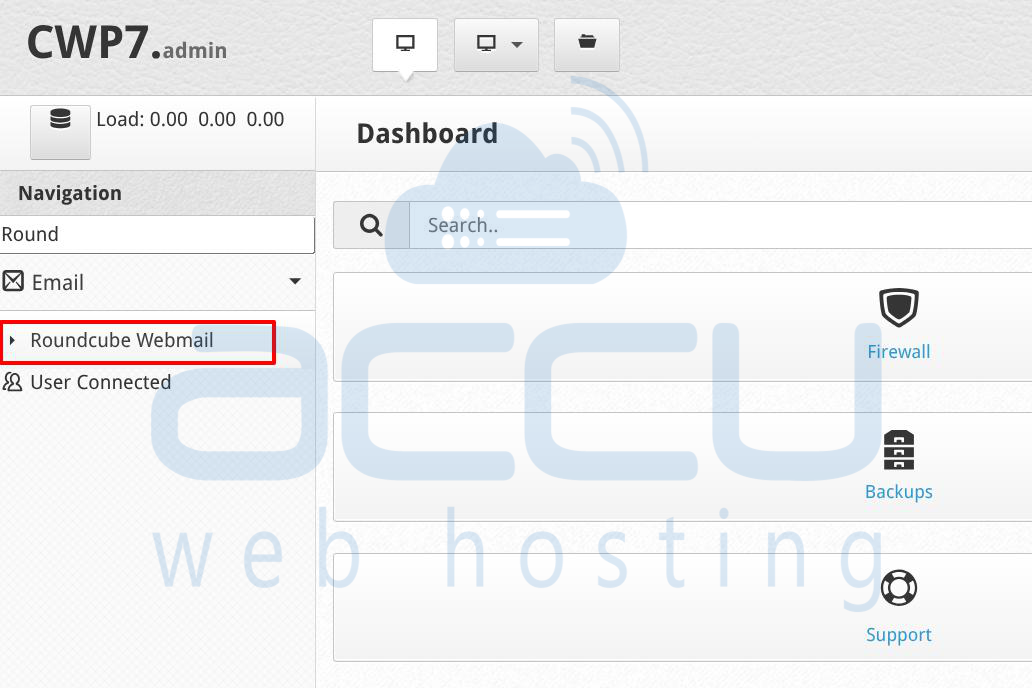
Step 4: CWP includes Roundcube Webmail, a browser-based email client. To access Roundcube navigate to Email → Roundcube Webmail
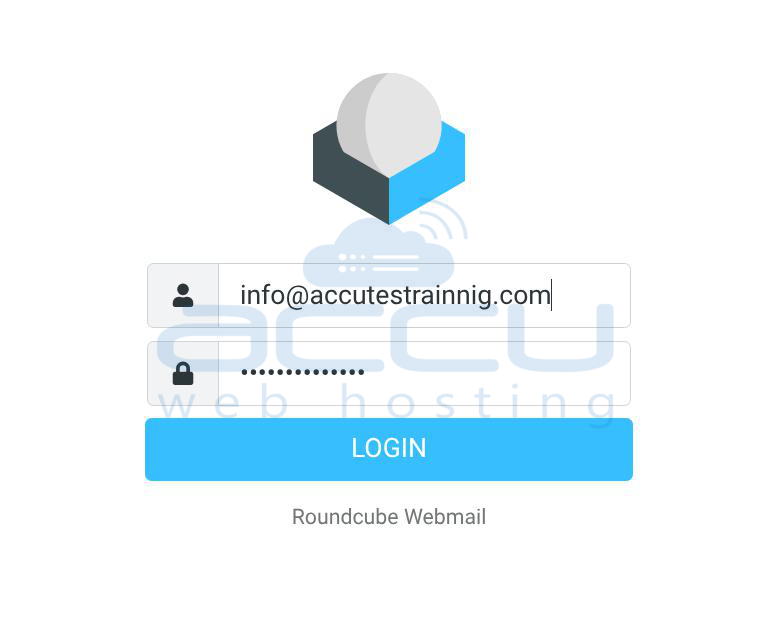
Enter login details: Username: Full email address (example: [email protected]) and Password: Email account password. Click Login. You now have full access to the mailbox.
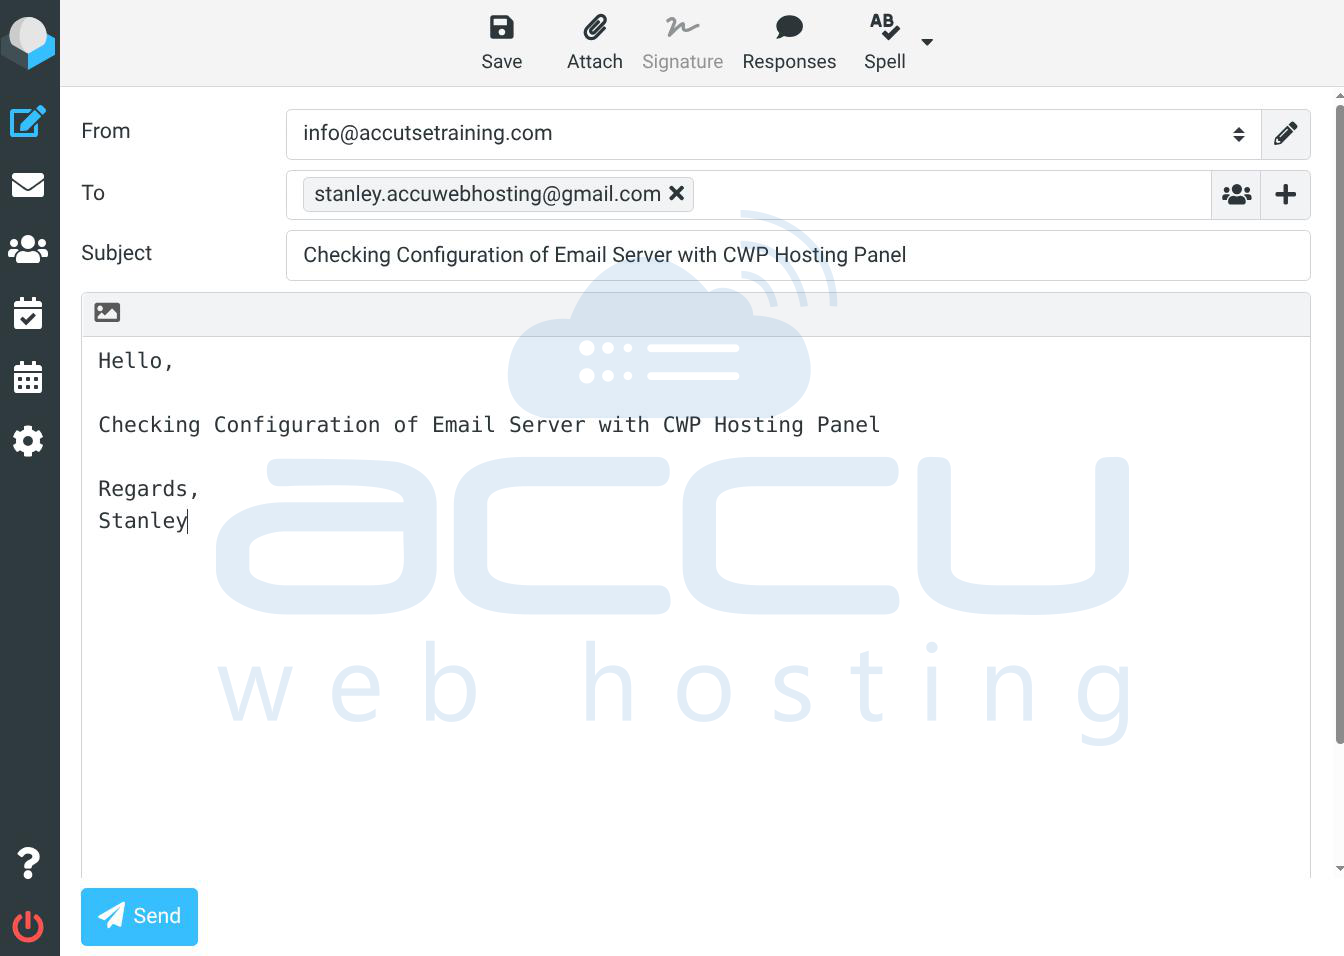
Step 5: Testing confirms that the email server is functioning correctly and delivering emails properly. In Roundcube, click Compose. Send a test email to an external provider Gmail, Outlook, Yahoo, Add subject and message and Click Send.
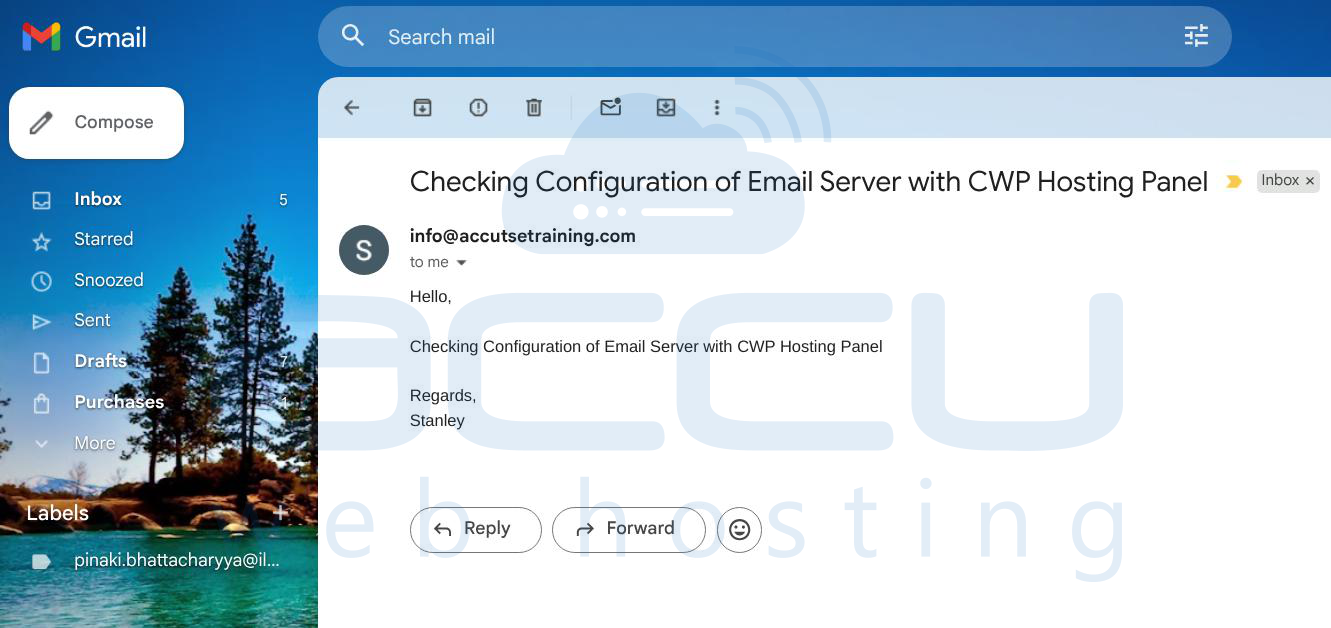
Verify Results, Email should arrive in the Inbox, It should not be marked as spam, Email headers should show DKIM: Pass and SPF: Pass. Successful results confirm correct configuration.
Conclusion
By following this guide, you have successfully installed and configured a complete email server using CentOS Web Panel. A correctly configured CWP email server provides enterprise-level control, security, and performance for personal or business use. By carefully following each step from system preparation and CWP installation to mail server initialization and DNS authentication, you have built a complete mail infrastructure suitable for real-world production use.
