ISPmanager is a powerful and user-friendly hosting control panel that allows server administrators to manage websites, email accounts, databases, DNS, and other hosting services from a web-based interface. It is widely used on VPS and dedicated servers for its stability and ease of use.
This article explains how to install ISPmanager on Ubuntu OS using the official installer, including firewall configuration and initial setup. Screenshots can be added at key steps to help users follow along visually.
Prerequisites
Before starting, ensure the following:
- Ubuntu 20.04 / 22.04/ 24.04 (fresh installation recommended)
- Root SSH access or sudo privileges
- Minimum 1 GB RAM (2 GB recommended)
- Static IP address
- A valid ISPmanager license or trial license

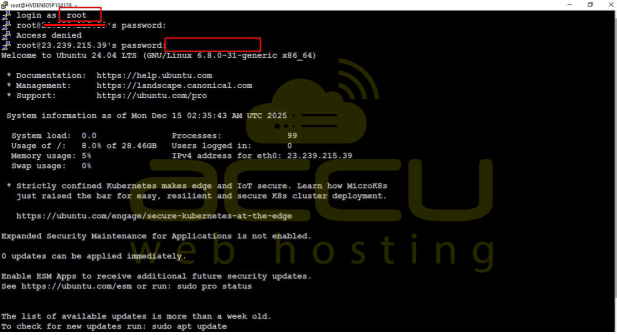
Step 1: Connect to Your Server via SSH
Use an SSH client to connect:
ssh root@your_server_ip
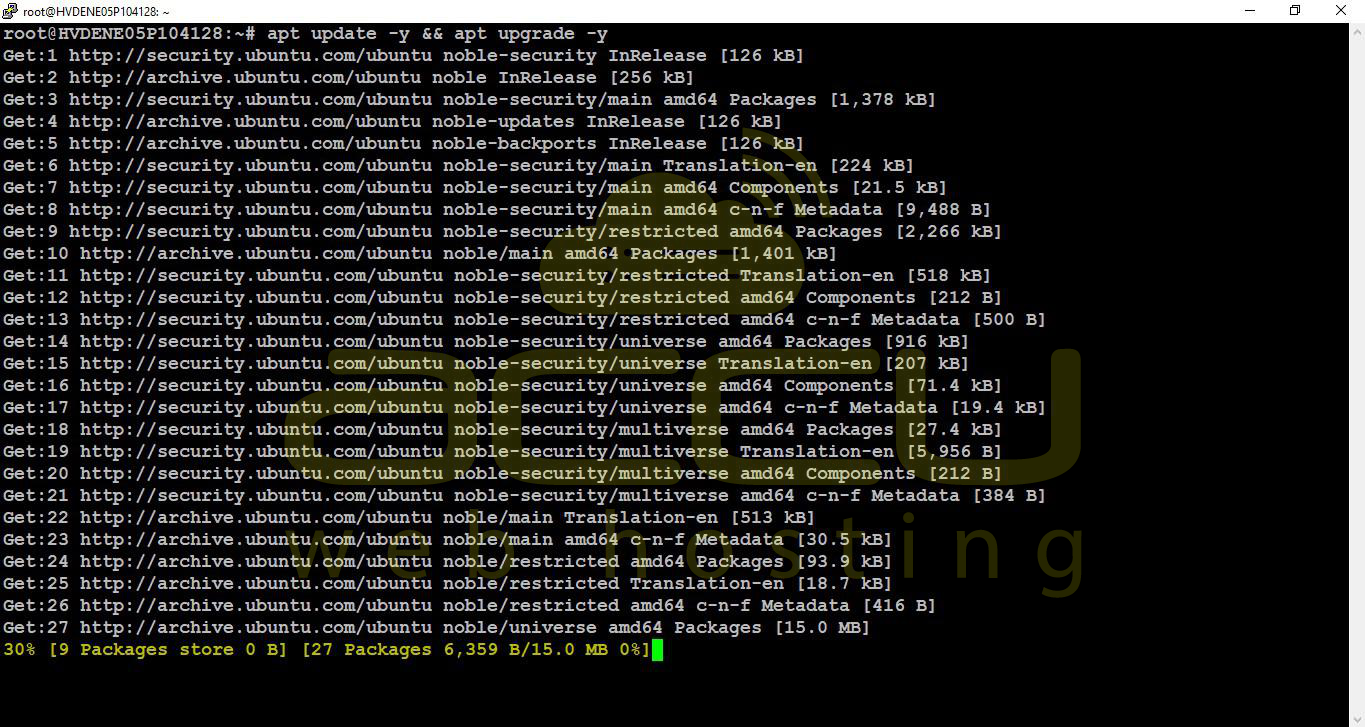
Step 2: Update Server Packages
Update package lists and upgrade installed packages:
apt update -y && apt upgrade -y
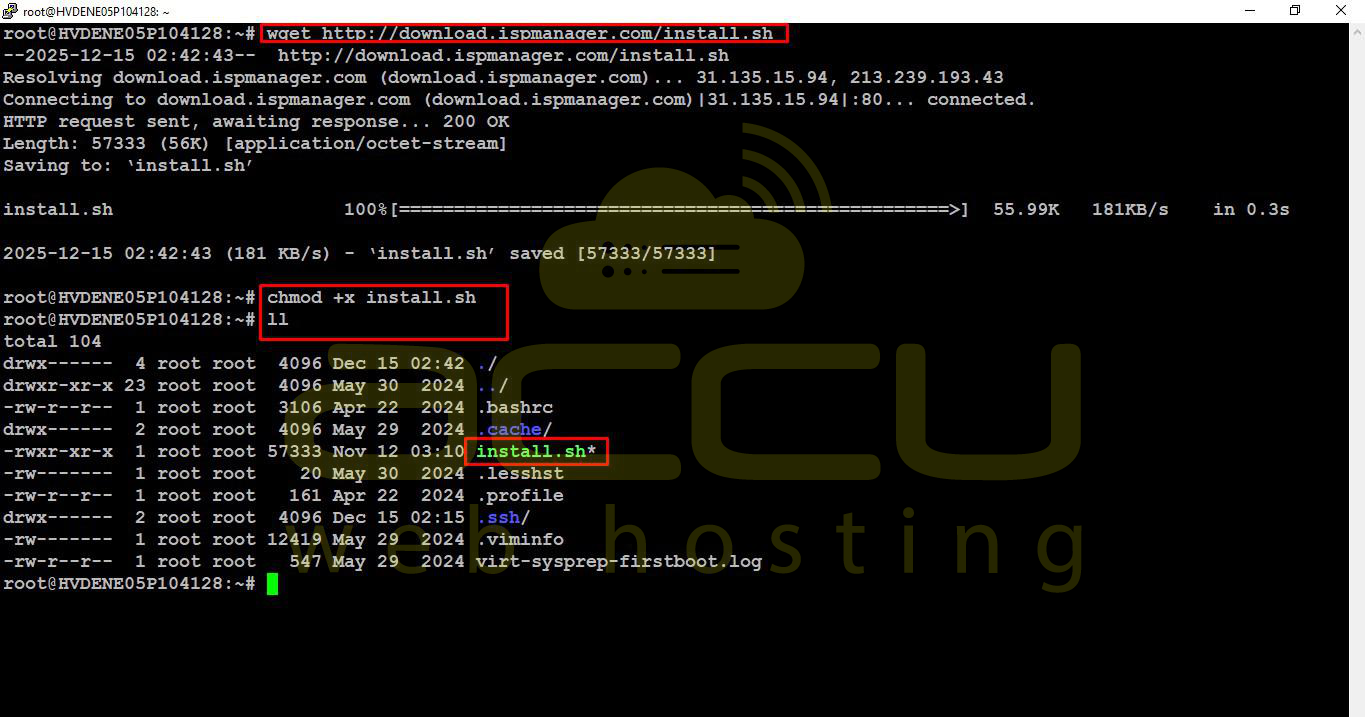
Step 3: Download the ISPmanager Installer Script
Download the official installer:
wget http://download.ispmanager.com/install.sh
Make it executable:
chmod +x install.sh
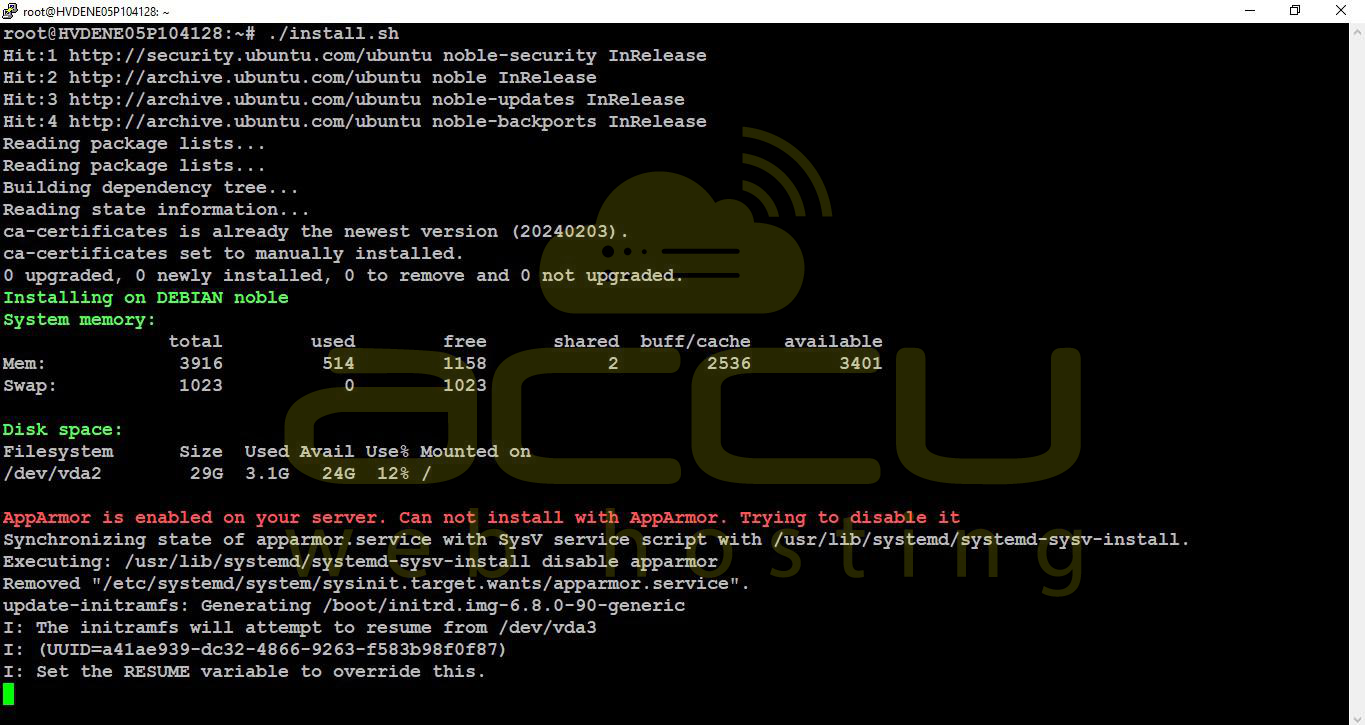
Step 4: Start the Installation
Run the installer:
./install.sh
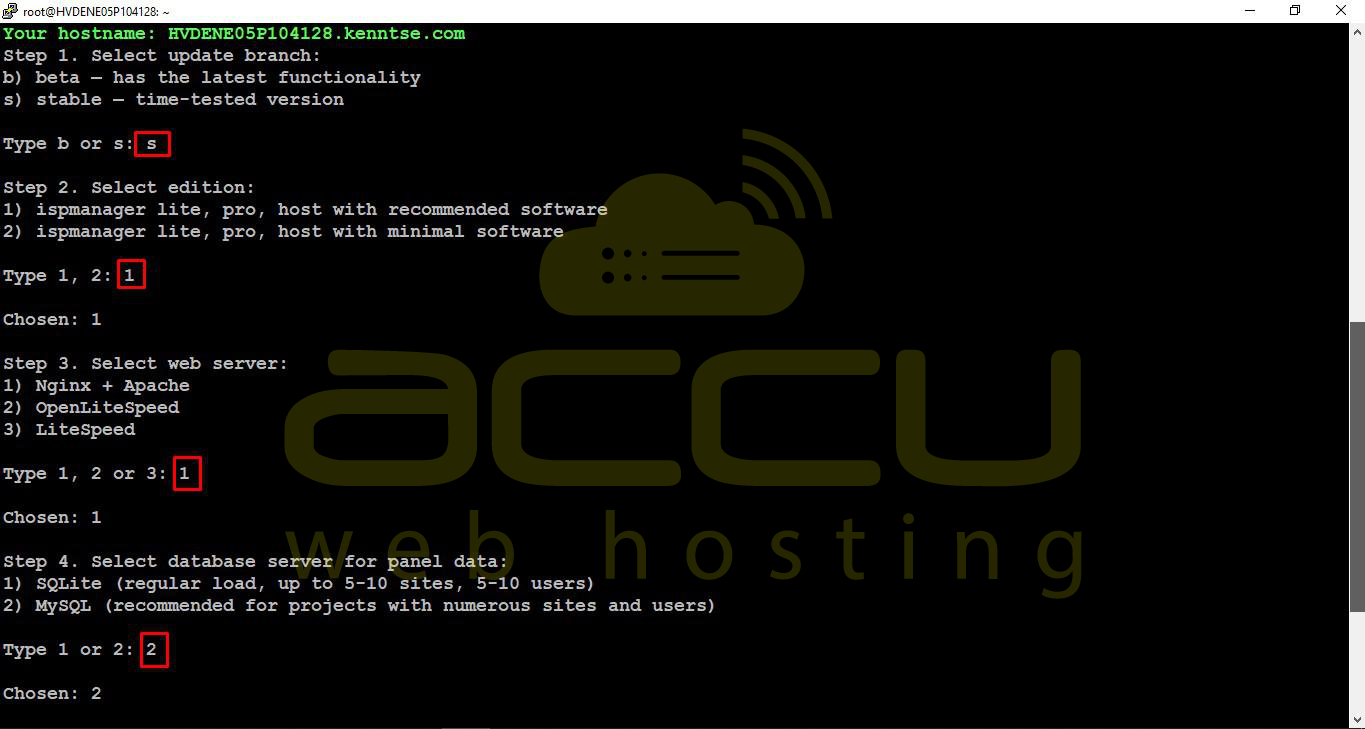
- When prompted, select s for the stable version
- Select 1 to install ISPmanager with recommended software
- Choose 1 to install Nginx + Apache, and 2 to install MySQL
- Installation will begin and may take several minutes
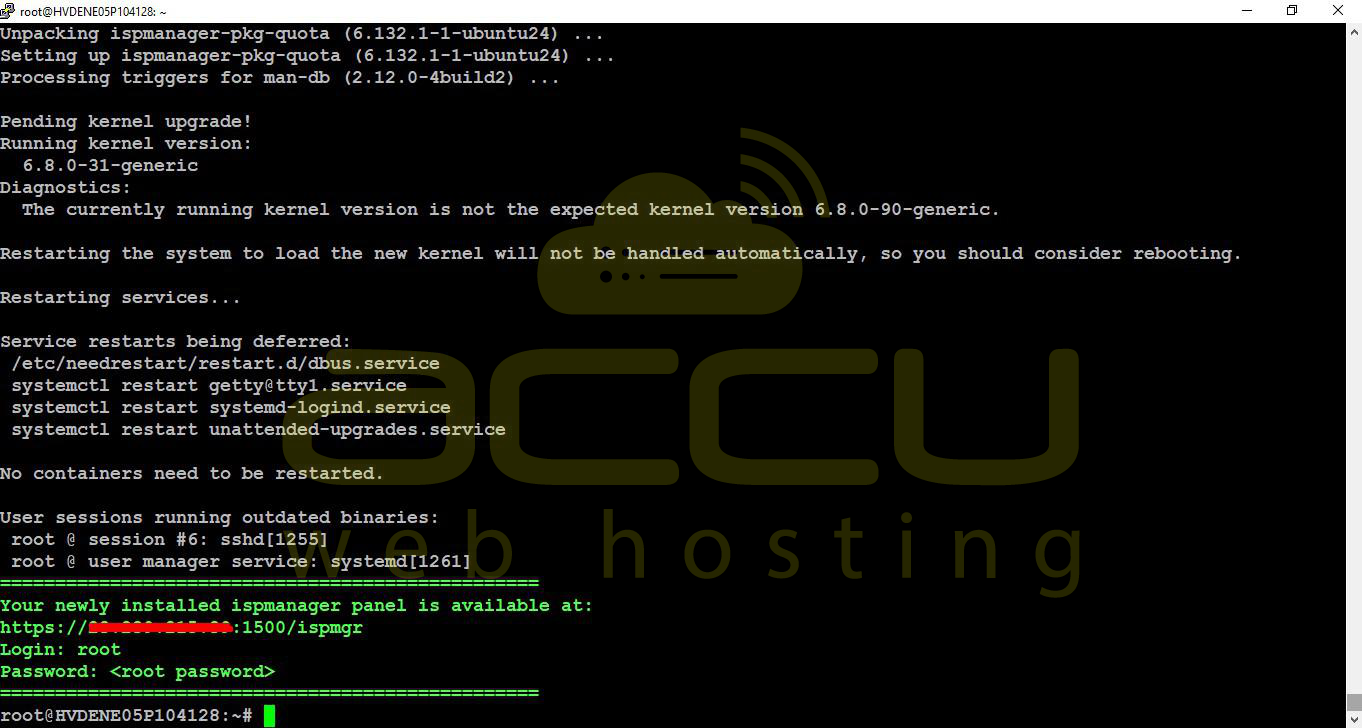
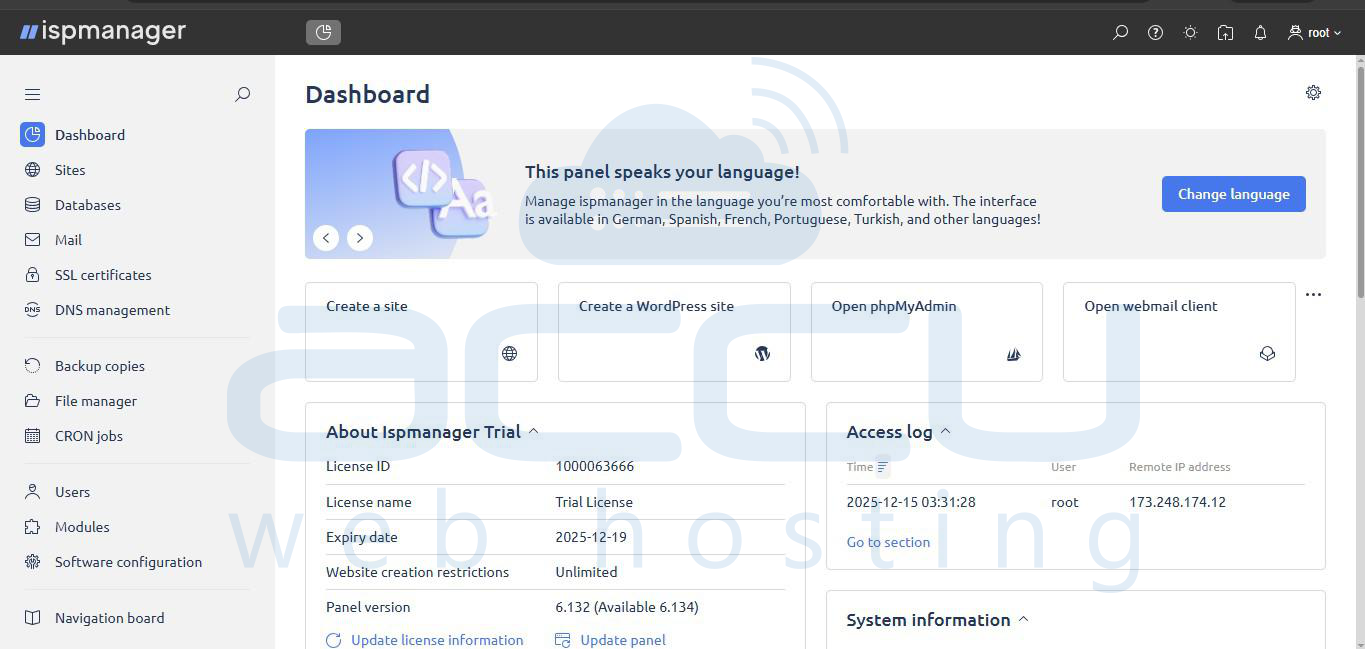
Step 5: Access ISPmanager in Browser
After installation, the installer will display the login URL:
https://YOUR_SERVER_IP:1500
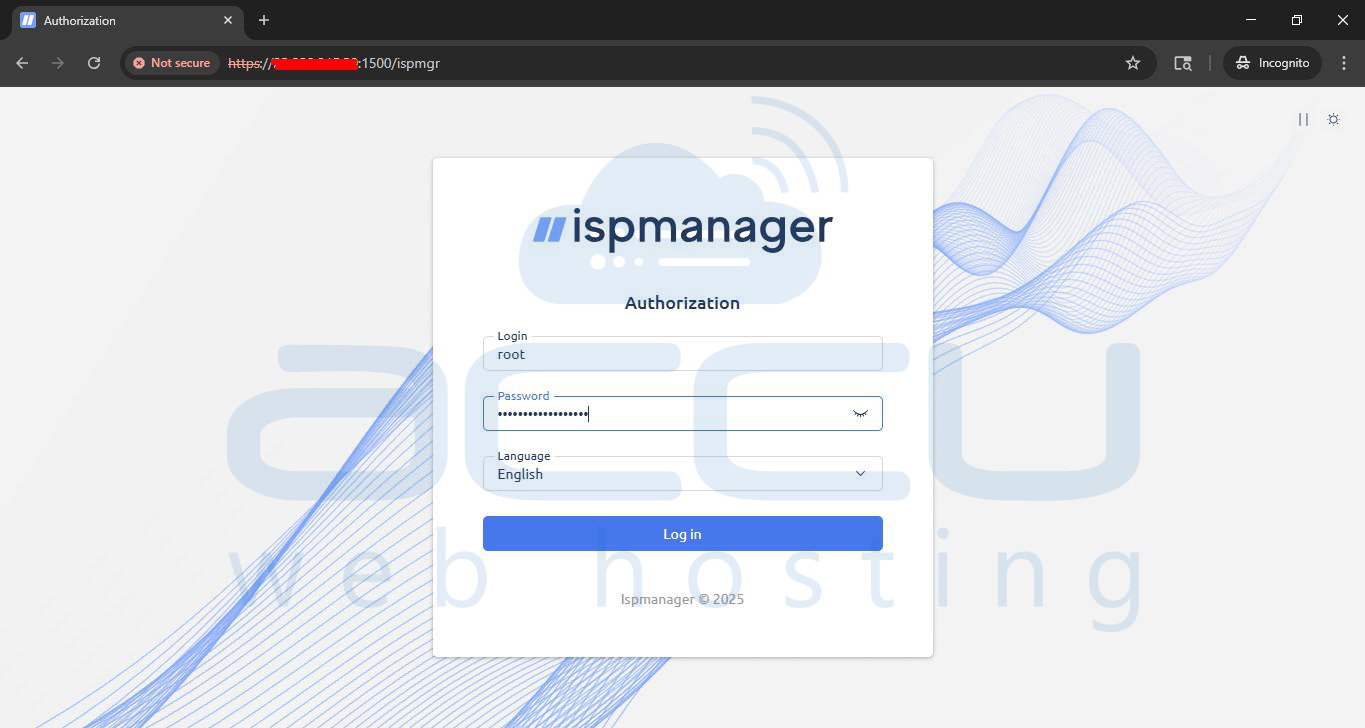
Open it in a browser and ignore the SSL warning (self-signed certificate).
Login credentials:
- Username: root
- Password: server’s root password
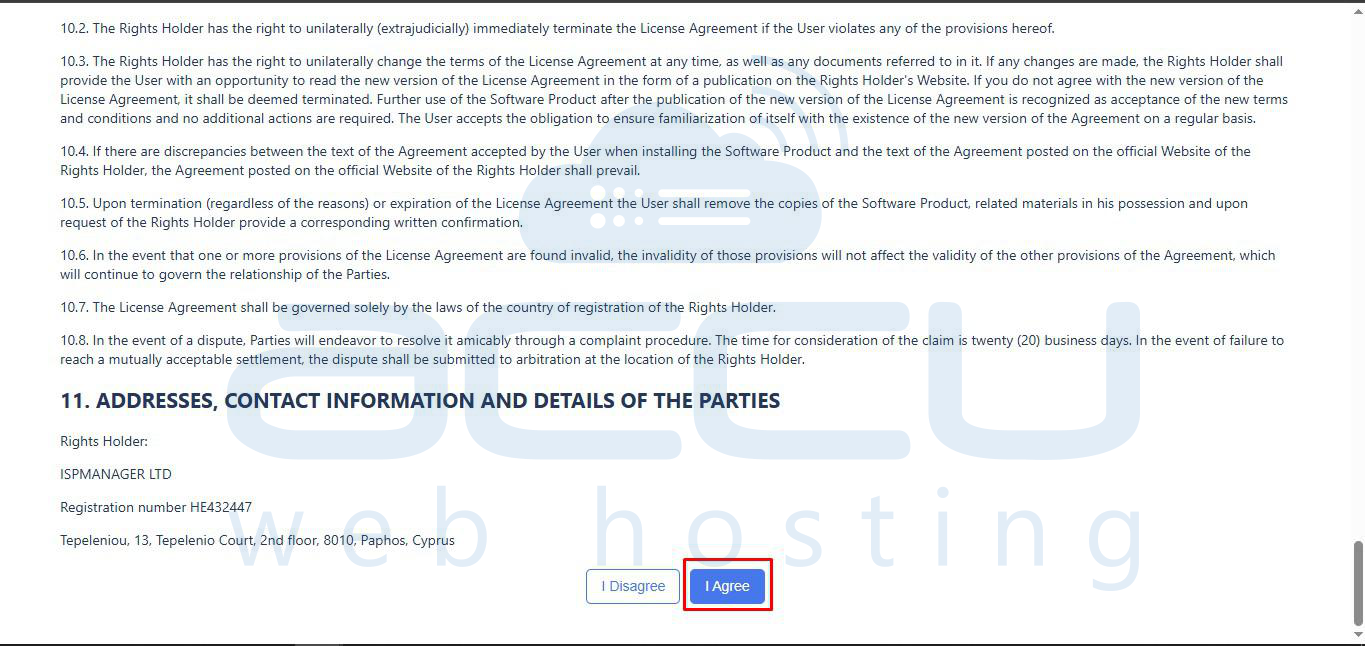
To continue with the ISPmanager installation, you must read and accept the license agreement by clicking the ‘I Agree’ button.
Step 6: Initial ISPmanager Setup
If prompted, complete the setup wizard:
- Configure time zone
- Verify network settings
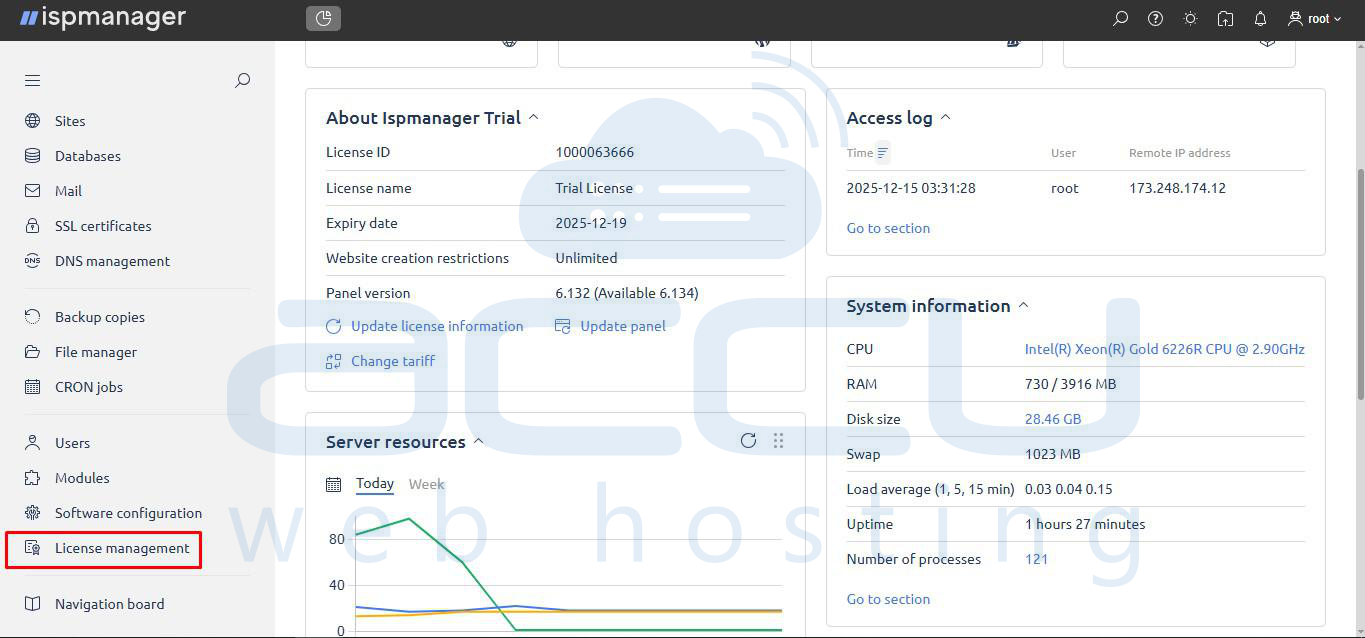
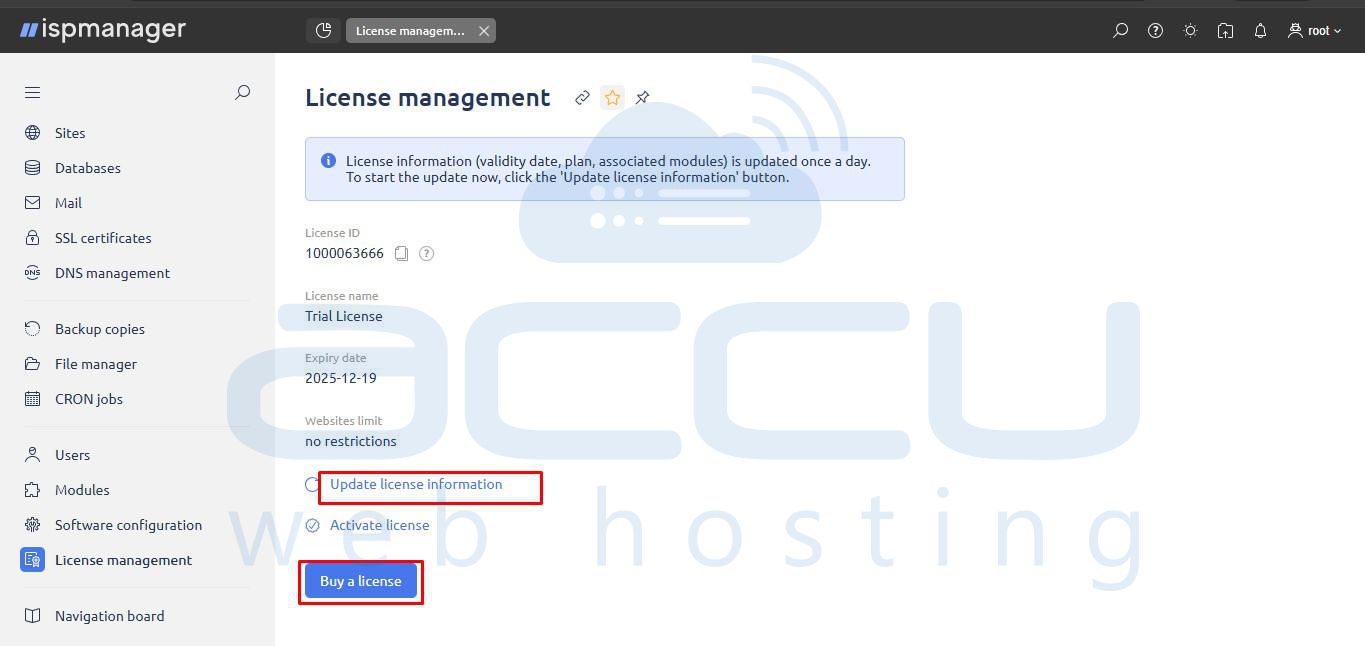
- A valid license is required to use ISPmanager. For License key, click on License management on dashboard in order to add the already purchased license or to Buy new license
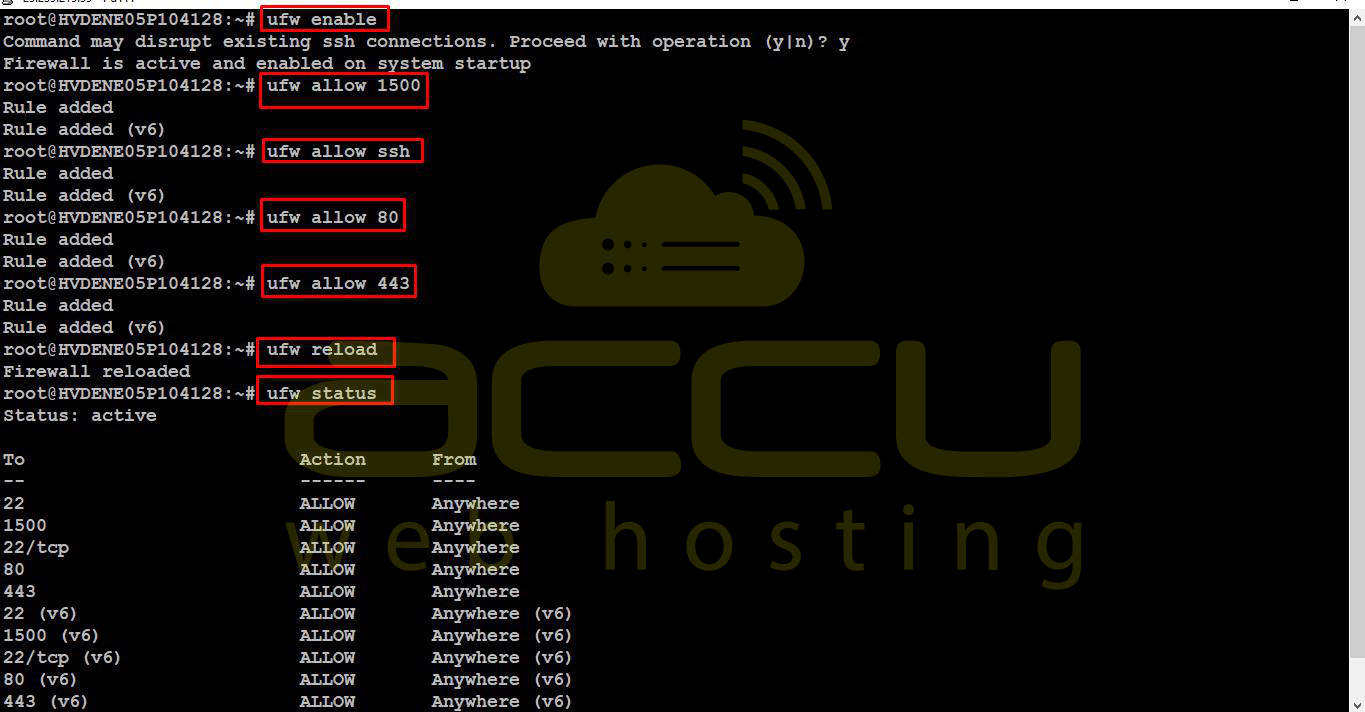
Step 7: Configure UFW Firewall (Important)
If UFW firewall is enabled:
ufw enable
ufw allow 1500 # ISPmanager port
ufw allow ssh # SSH
ufw allow 80 # HTTP
ufw allow 443 # HTTPS
ufw reload
Conclusion
Installing ISPmanager on Ubuntu OS is straightforward with the official installer. By following the steps above—including SSH connection, package updates, installer execution, and firewall configuration—you can have a secure, fully functional hosting control panel ready in minutes. Adding screenshots at key steps makes this guide easier to follow for end users or for documentation portals.
