Introduction:
ISPmanager is a user-friendly web hosting control panel that helps you easily manage domains, web servers, email accounts, and databases. In this article, we will walk you through the full process of installing the ISPmanager Hosting Control Panel on an AlmaLinux server.
Installing ISPmanager Hosting Control Panel:
Step 1: Connect to your server using SSH
Step 2: Download the ISPmanager installer script
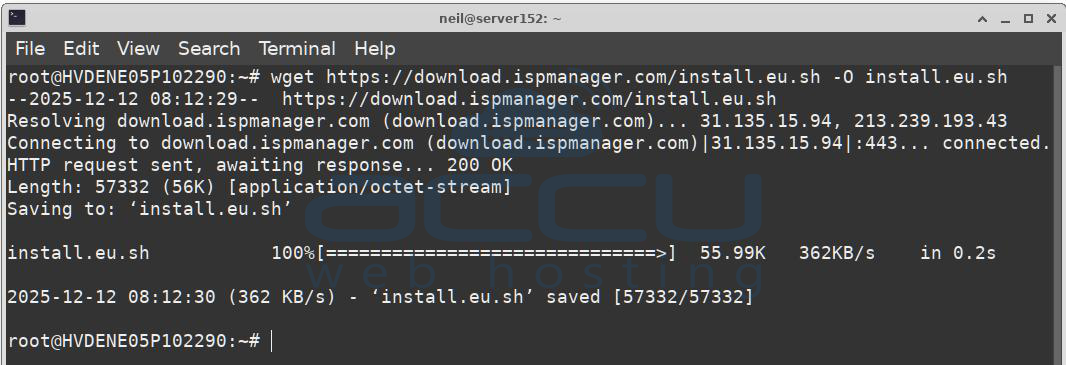
Run the following command to download the installer:
wget https://download.ispmanager.com/install.eu.sh -O install.eu.sh
Step 3: Run the installer script
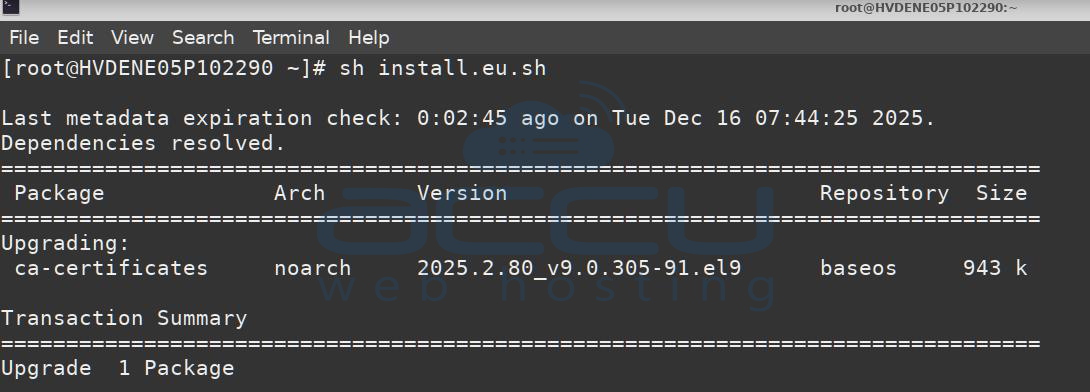
Start the installation by running:
sh install.eu.sh
Step 4: Follow the On-Screen Prompts
The script will ask you a few setup questions.
Select Update Branch:
You will be asked to choose:
b) beta – latest updates, but may be unstable
s) stable – recommended for production use
Type s to select the stable branch.

Select ISPmanager Edition:
Two options will appear:
1. ispmanager lite, pro, host with recommended software (includes web server, mail server, database server)
2. ispmanager lite, pro, host with minimal software (only installs the control panel)
Type 1 to install the recommended full package.
Software Configuration (only if you selected option 1):
Web Server Selection:
Choose the web server by typing 1, 2, or 3:
1. Nginx + Apache (MPMITK)
2. OpenLiteSpeed
3. LiteSpeed
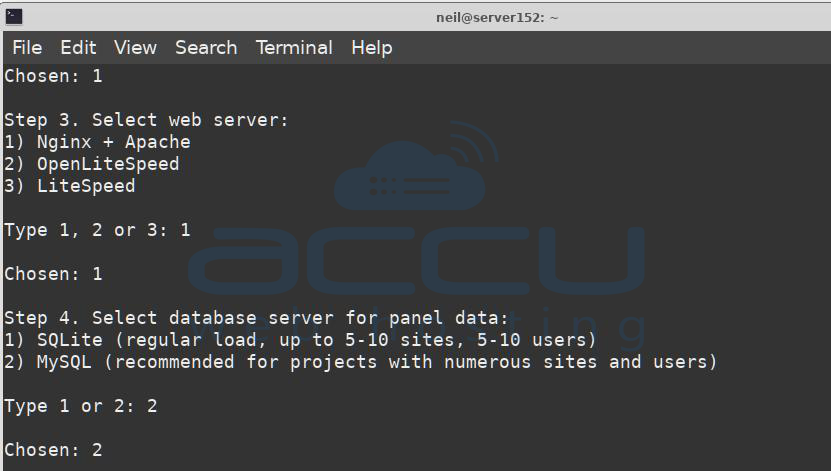
Panel Database Selection:
Choose the database for the panel’s internal operations:
1. SQLite – recommended for small projects (up to 5–10 sites/users)
2. MySQL – recommended for larger projects needing better performance
Type 1 or 2 as per your requirement.
After your selections, the script will automatically install and configure all components. Wait until the installation finishes.
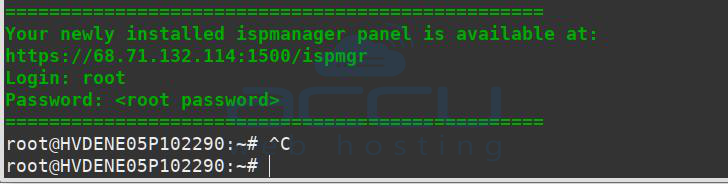
Step 5: Complete the Installation
When done, you can access ISPmanager in your browser using:
URL: https://<IP address>:1500/ispmgr
Login: root
Password: your root password
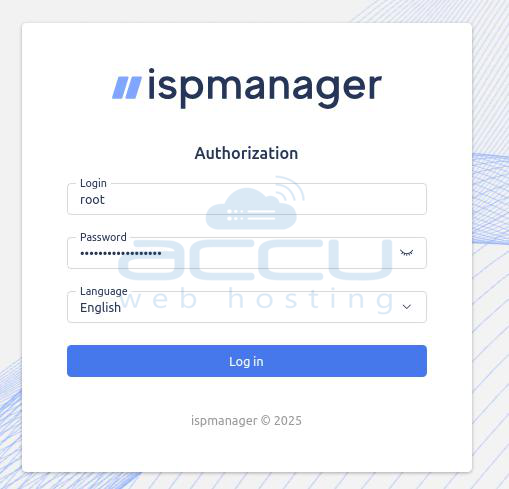
Log in to ISPmanager and Activate the License
Step 1:
Log in to ISPmanager using:
https://<server IP address>:1500
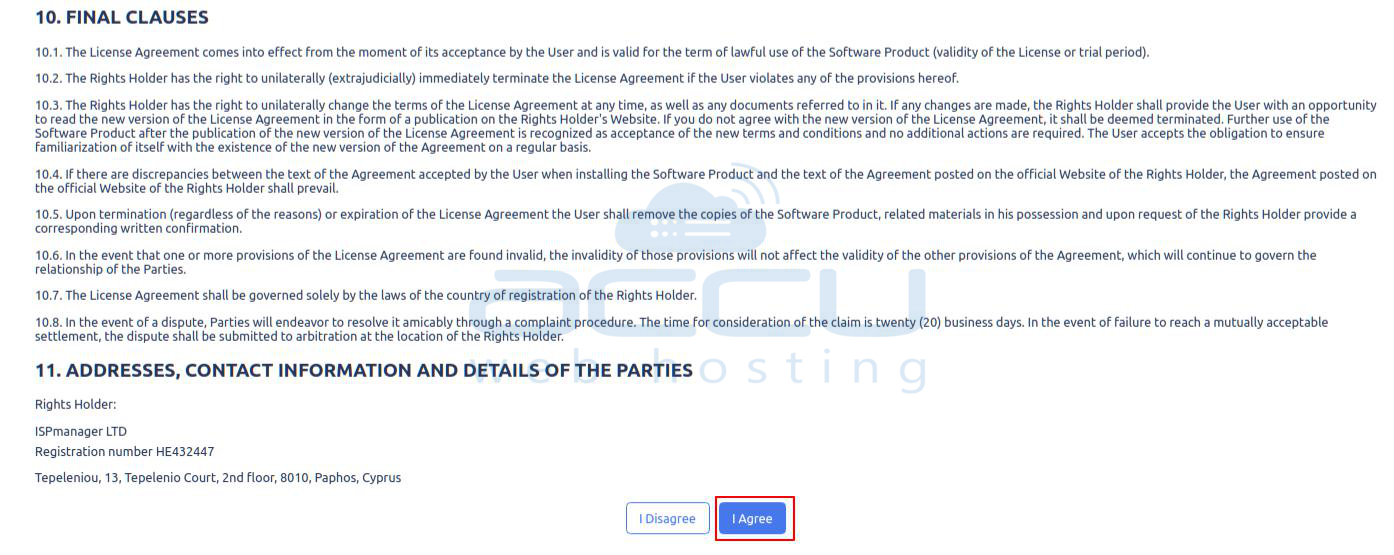
Step 2:
On your first login, or under License management, you will see the Terms and Conditions. Review and accept them.
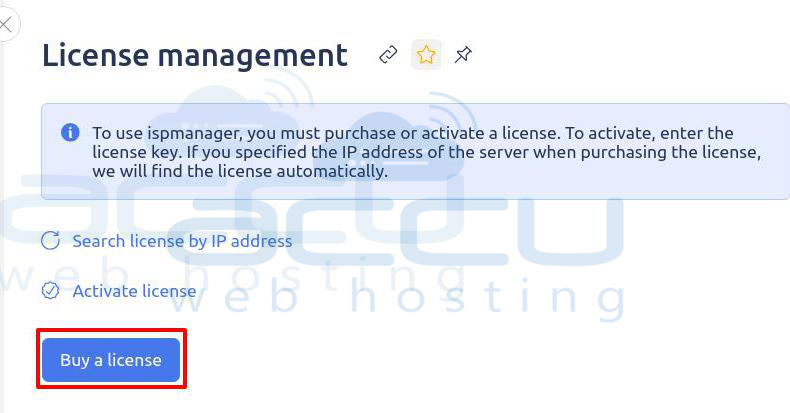
Step 3:
You will be taken to the License management page. Click Buy License.
Step 4:
Choose your preferred license plan (Free, Lite, Pro, Host) and select the billing period (1 month, 1 year, etc.).

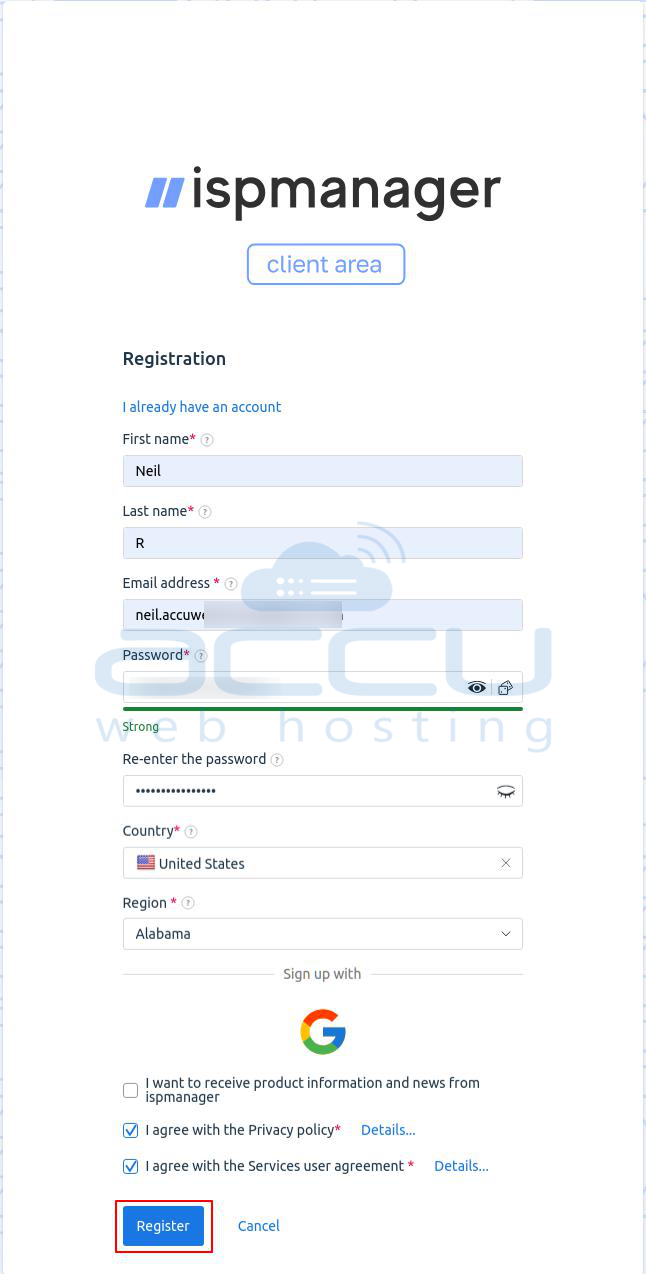
Step 5:
If you are a new user, create an ISPmanager account by entering your email, password, and other required details.
Existing users can simply log in.
Step 6:
Enter the public IP address of the server where ISPManager is installed. Add any additional required information, such as server name or location.
Step 7:
Review your order (plan, price, duration) and complete the payment.
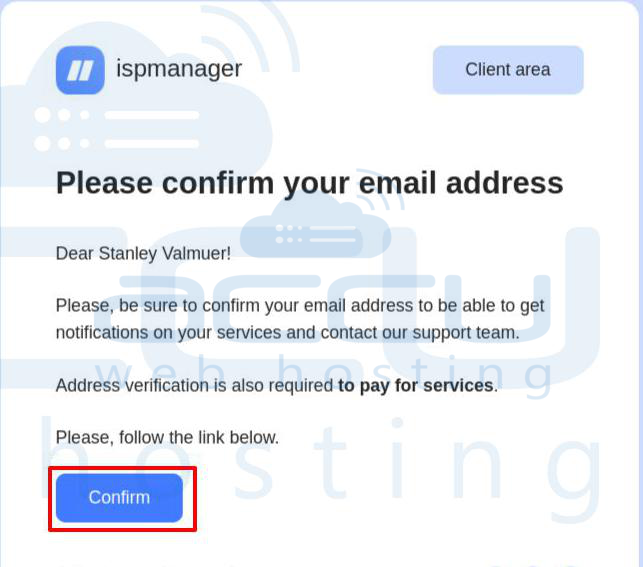
Step 8:
Check your email for a message from ISPmanager. Click the confirmation link to verify your email address.
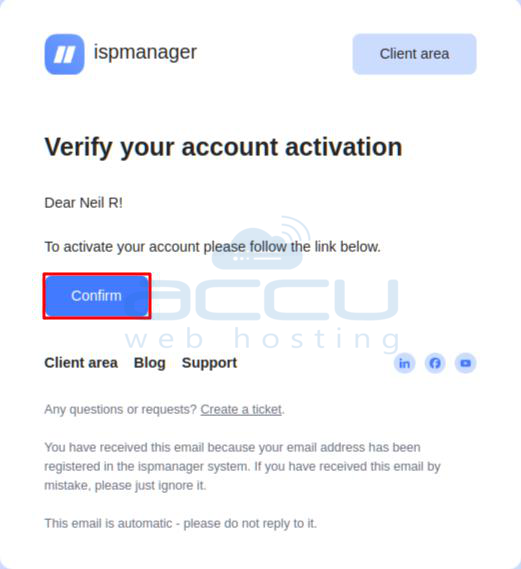
Step 9:
You will receive another email to complete account activation. Click the confirmation link.
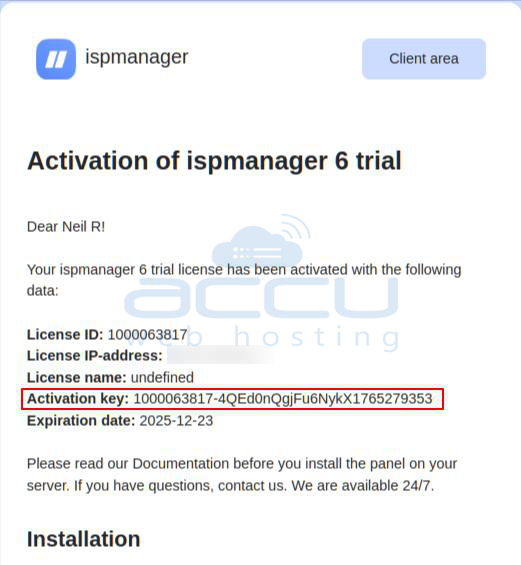
Step 10:
After payment, your license details—including the Activation Key—will be available in your Client Area under the order section.
Steps to Activate the License:
Option 1: Automatic Activation (Recommended)
If you entered the correct public IP during purchase, the license will activate automatically.
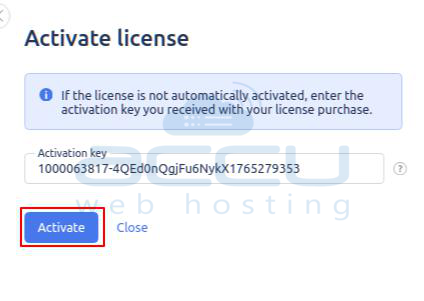
Option 2: Manual Activation (if automatic activation fails)
1. Log in to ISPmanager.
2. Go to License management.
3. Click Activate license.
4. Paste your Activation Key from the Client Area.
5. Click Activate.
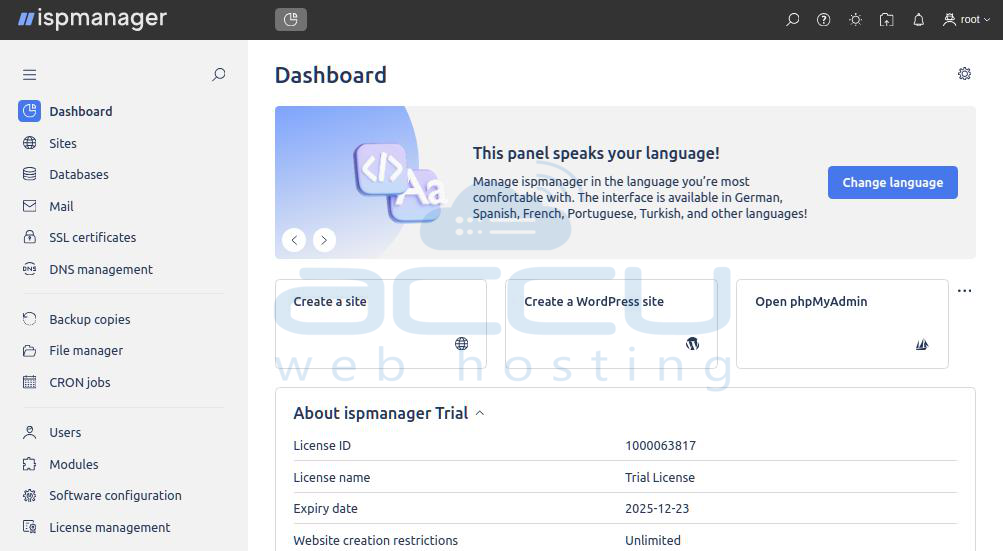
Once activated, the panel will display the license status as Active with the correct expiration date.
Conclusion
ISPmanager provides a powerful and user-friendly control panel for managing hosting services efficiently. By following the above steps, you can easily install ISPmanager, configure the required components, and activate the license without complications. Once activated, ISPmanager allows you to manage websites, email services, databases, and server resources from a single, centralized interface, making server administration simpler and more reliable.
