ERPNext is an open-source ERP system designed to streamline business operations such as accounting, manufacturing, sales, and customer support. It’s built on the Frappe framework and is ideal for small to medium-sized businesses due to its scalability and customization capabilities. In this guide, we will walk through the complete process of installing ERPNext v15 on an Ubuntu Linux server, as well as securing your installation with SSL using Let's Encrypt.
Prerequisites
Before proceeding, ensure you have the following:
- A fresh Ubuntu 22.04+ server
- A non-root user with sudo permissions
- Optional but strongly recommended: a domain name (e.g., erpnext.yourdomain.com)
Steps to Install ERPNext v15 on Ubuntu Linux with Docker
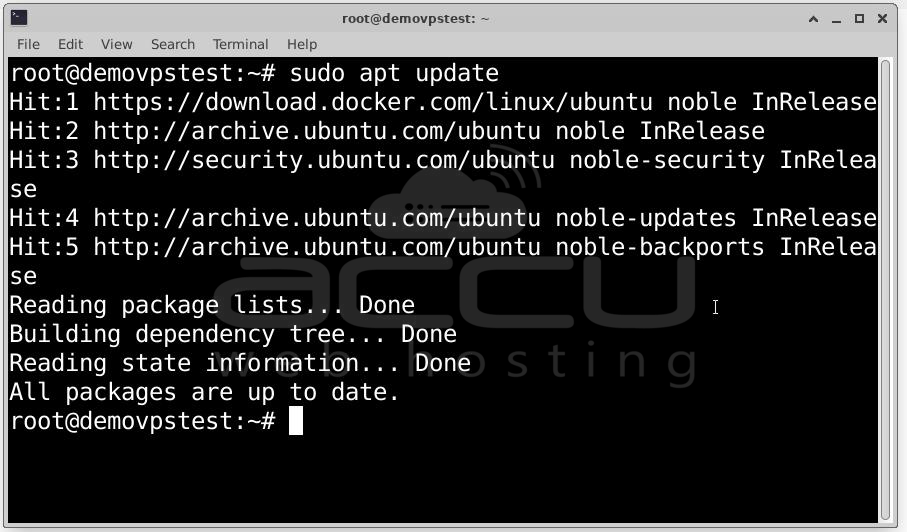
Step 1: Start by logging into your server via SSH. Once connected, update all packages to their latest stable versions.
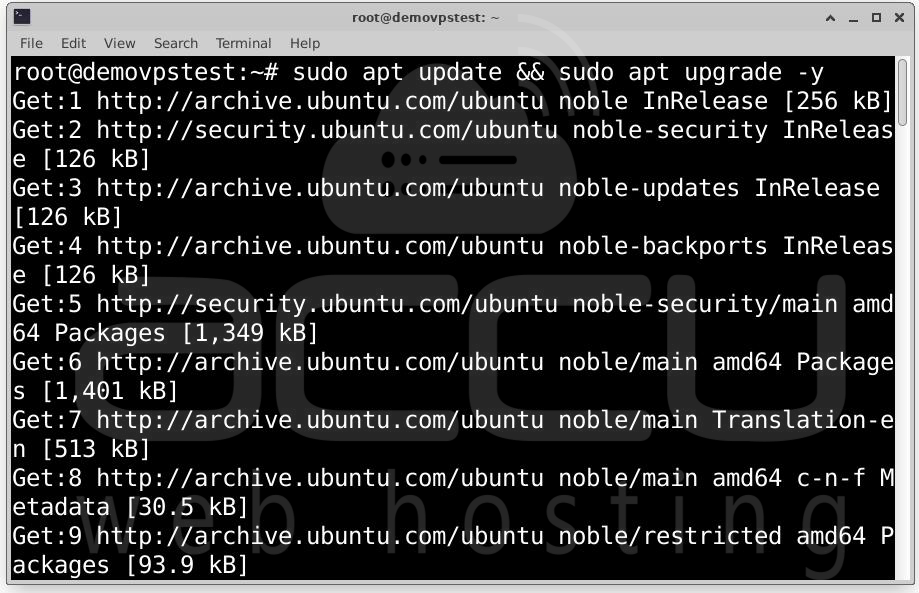
This ensures that your server is using the most recent patches and package versions, reducing the chances of compatibility issues during installation.
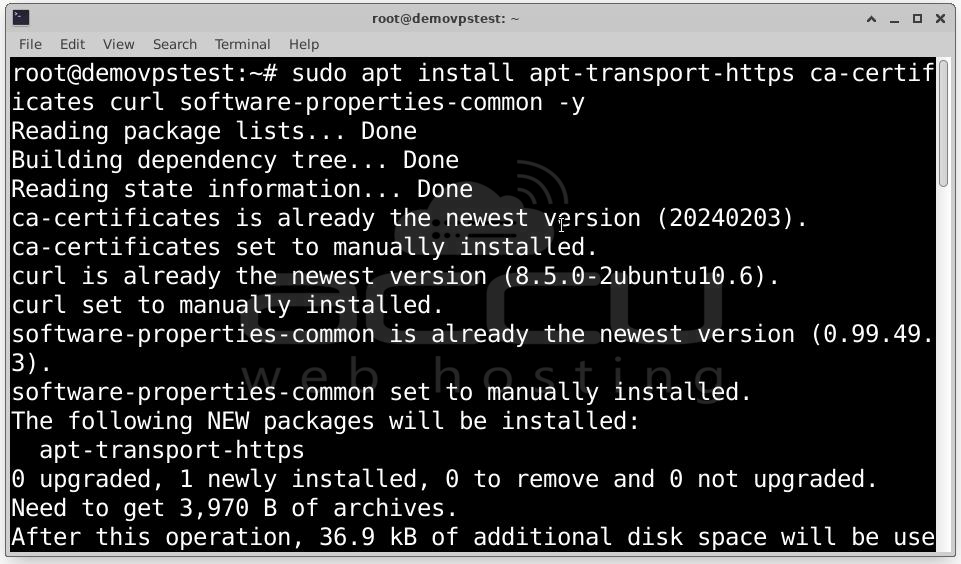
Step 2: ERPNext relies on several components working together with Node.js, Python, MariaDB, Redis, Nginx, and others. Docker helps encapsulate these services, eliminating complex system dependencies.
Install Required Dependencies:
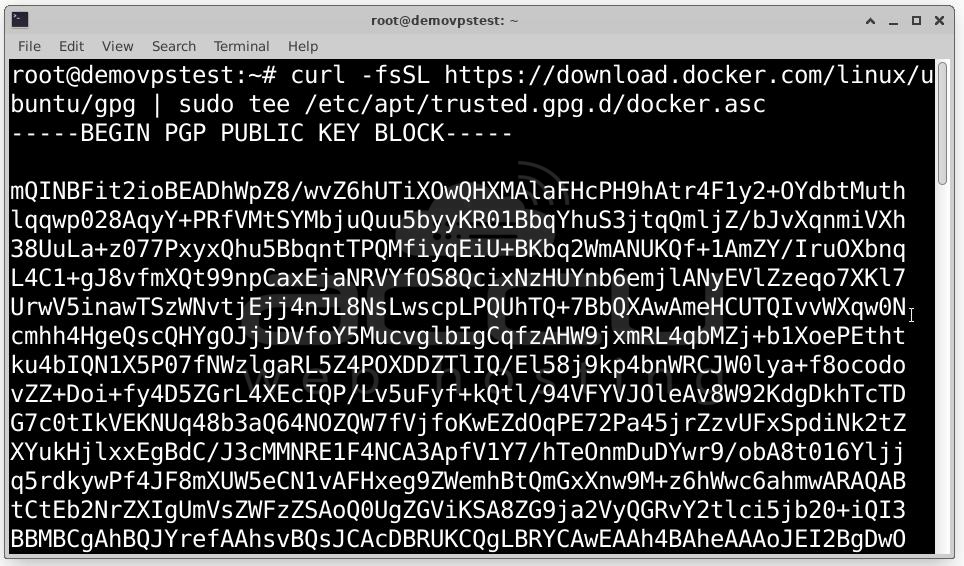
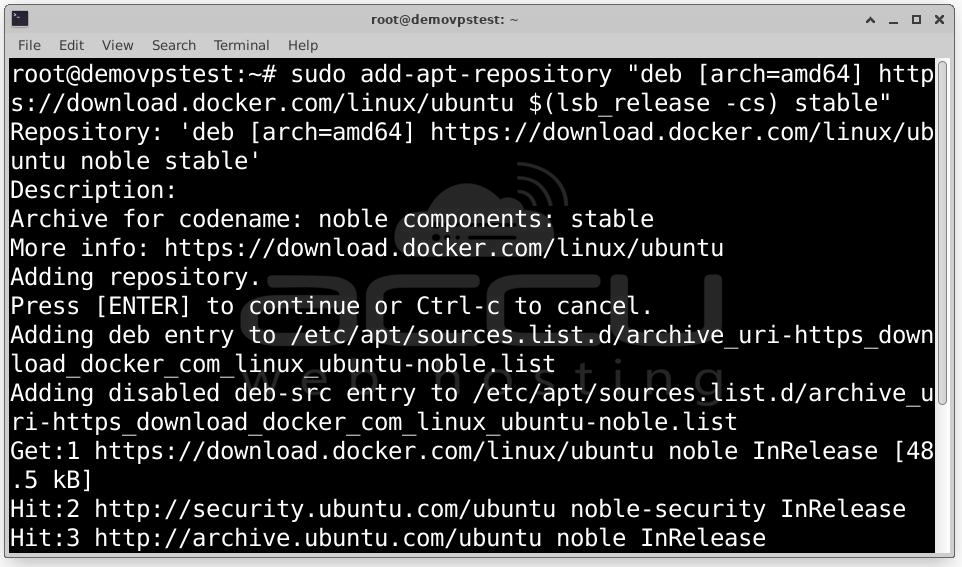
Add Docker’s GPG Key:
Add the Docker Repository:
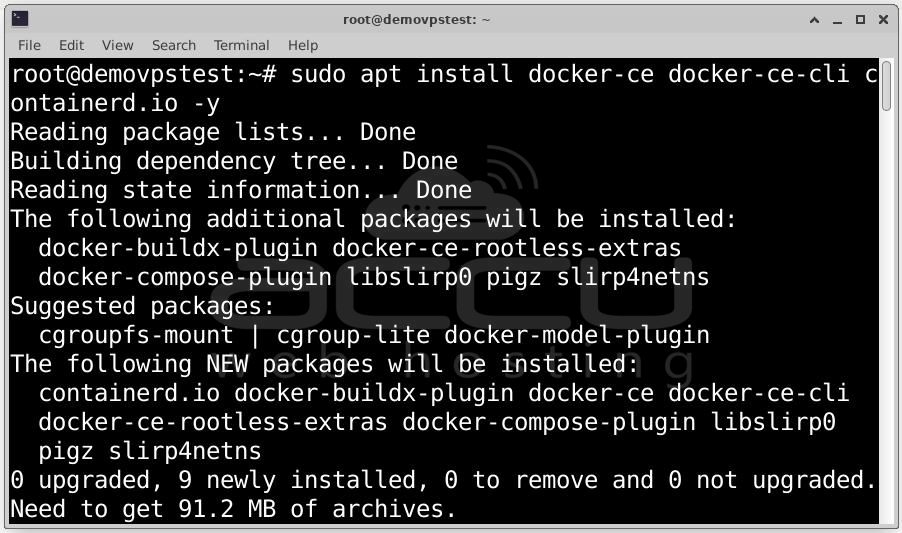
Install Docker Engine
Verify Docker Installation
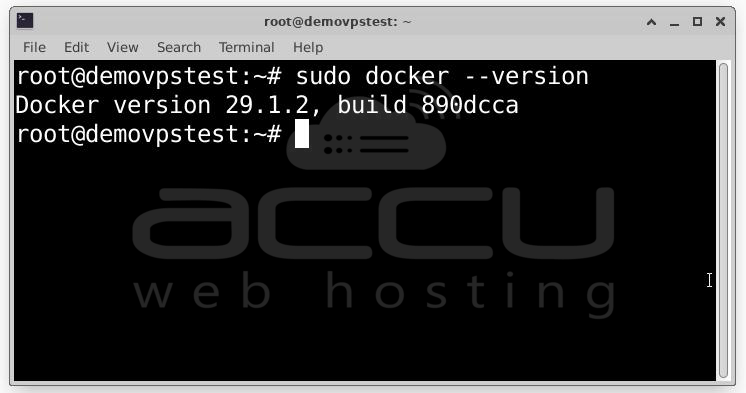
If you see a version number, Docker installed successfully.
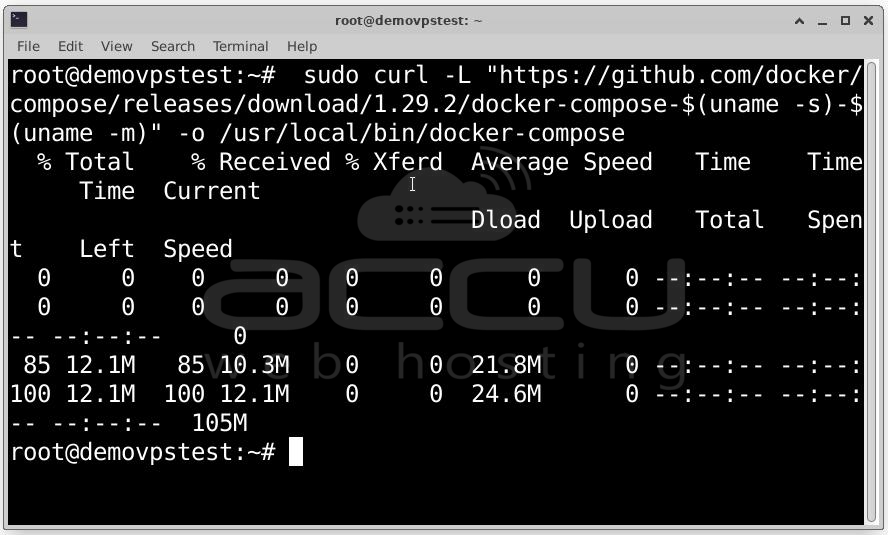
Install Docker Compose: Docker Compose will allow you to run ERPNext’s multi-container setup with a single file.
Download Docker Compose:
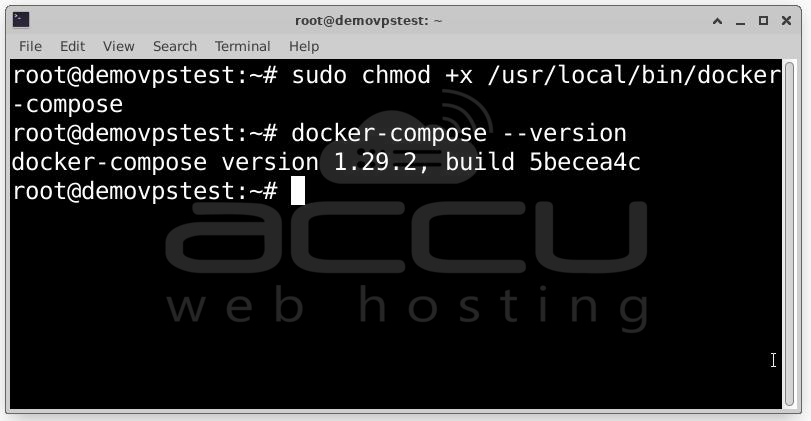
Apply Execute Permissions:
sudo chmod +x /usr/local/bin/docker-compose
Verify Docker Compose Installation: docker-compose --version
You should now see the version printed.
Step 3: Organizing your ERPNext setup in its own directory keeps things cleaner.
Create a Folder: mkdir erpnext
Navigate into It: cd erpnext
This folder will hold the Docker Compose file and any related configurations.
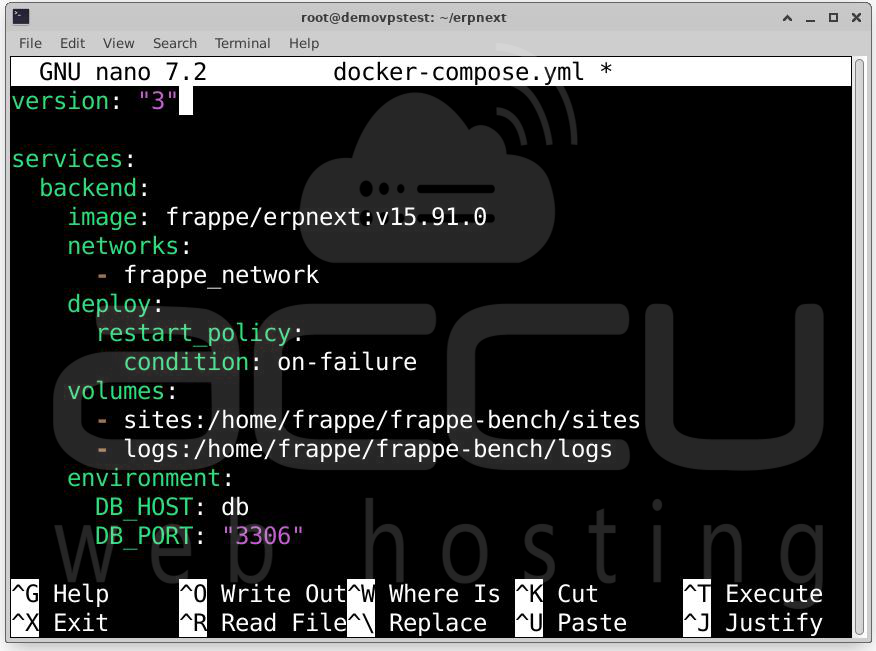
Step 4: ERPNext provides an official Docker configuration repository. For this setup, you will use their pwd.yml file as the base.
Create a New File: nano docker-compose.yml
Fill the File with ERPNext’s Compose Template
Visit: https://github.com/frappe/frappe_docker/blob/main/pwd.yml
Copy the full content and paste it into your editor.
After pasting, press Ctrl + O to save and press Ctrl + X to exit.
Your ERPNext deployment structure is now ready.
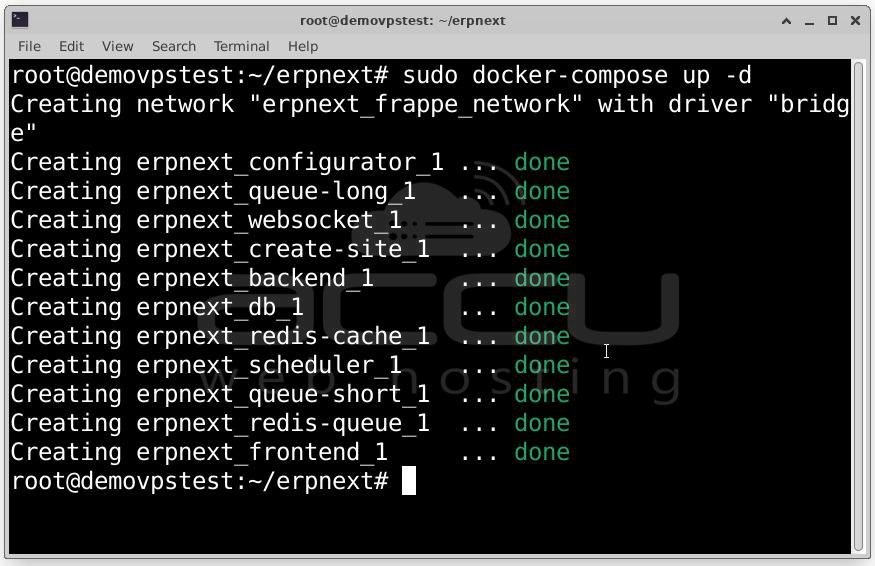
Step 5: Now you can bring ERPNext online. Run the ERPNext Containers
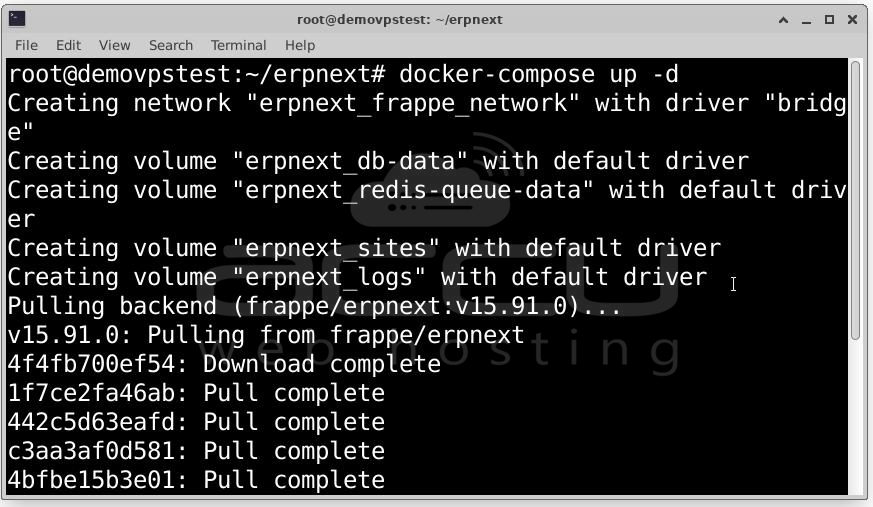
Running in detached mode (-d) allows your containers to start in the background.
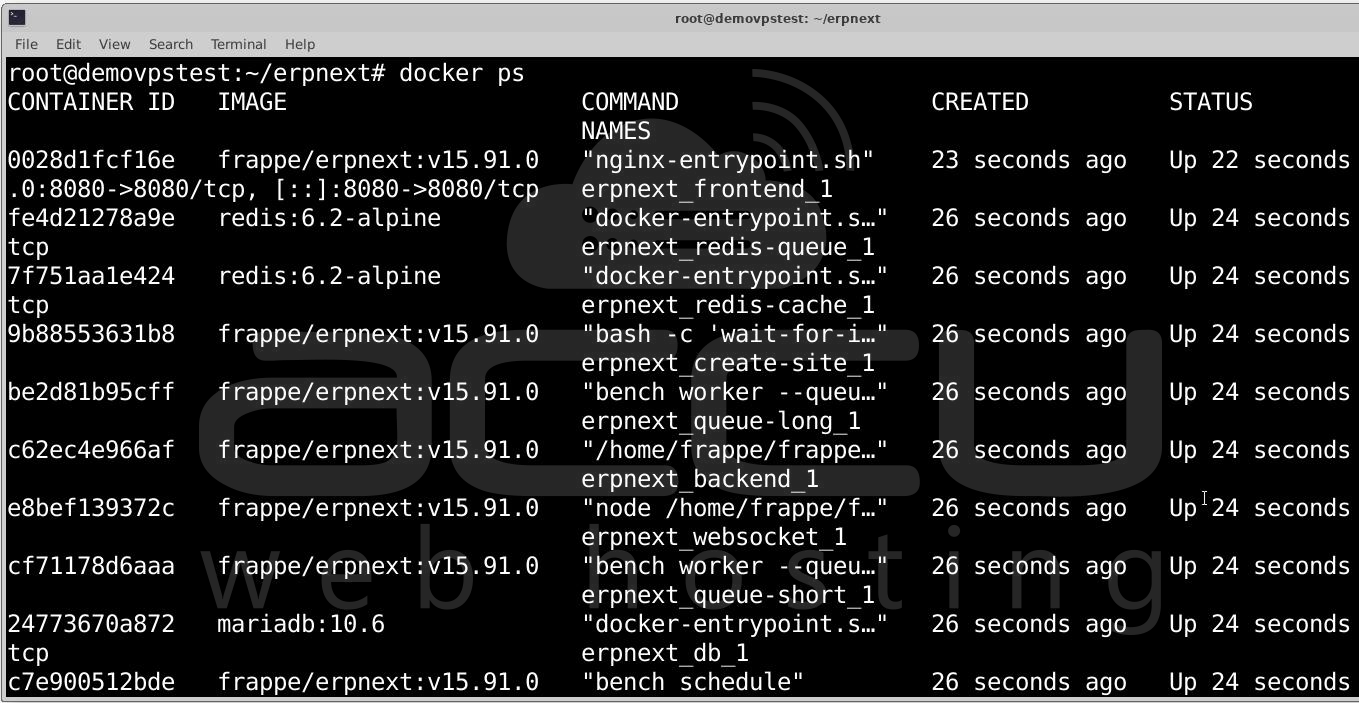
You can verify services using: docker ps
Or through Docker Compose: docker-compose ps
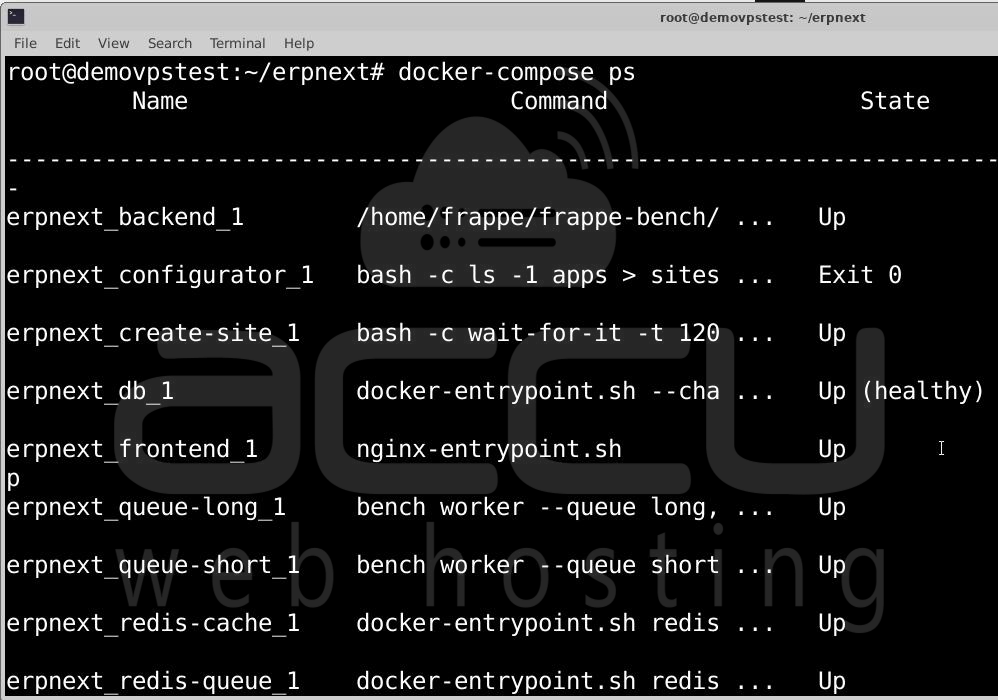
You should see services such as backend, frontend, database, worker processes, and others listed with a status of Up.
Step 6: Once containers are active, open your web browser and go to:
http://localhost:8080
If ERPNext is installed on a remote server, replace localhost with your server’s public IP:
http://YOUR_SERVER_IP:8080
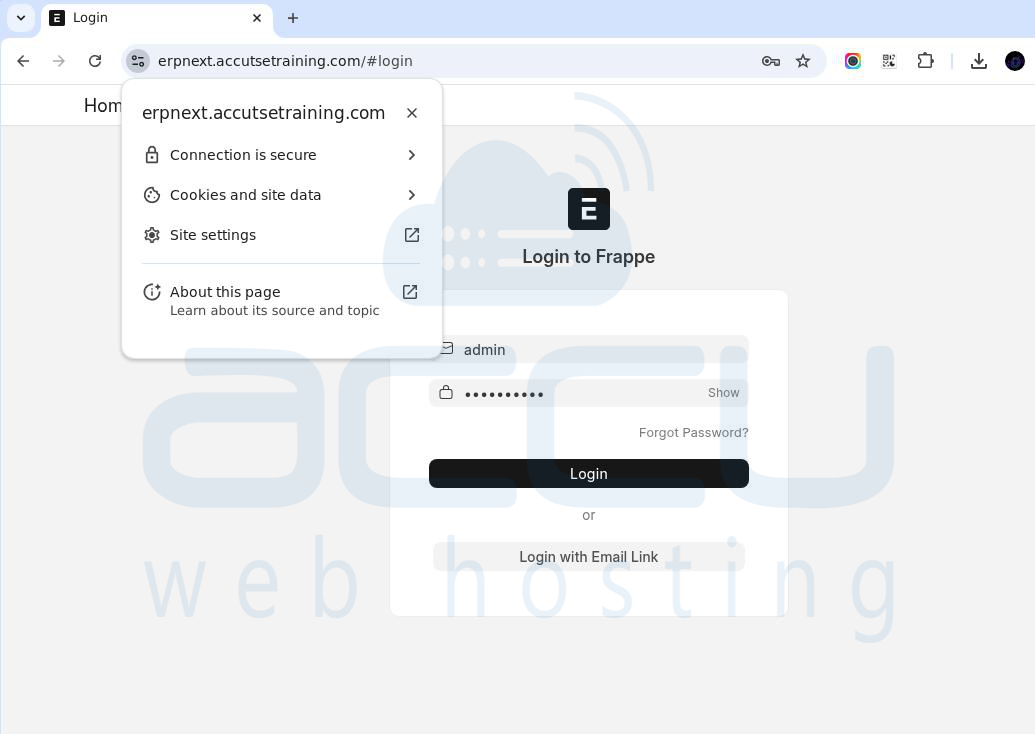
You should land on the ERPNext login screen.
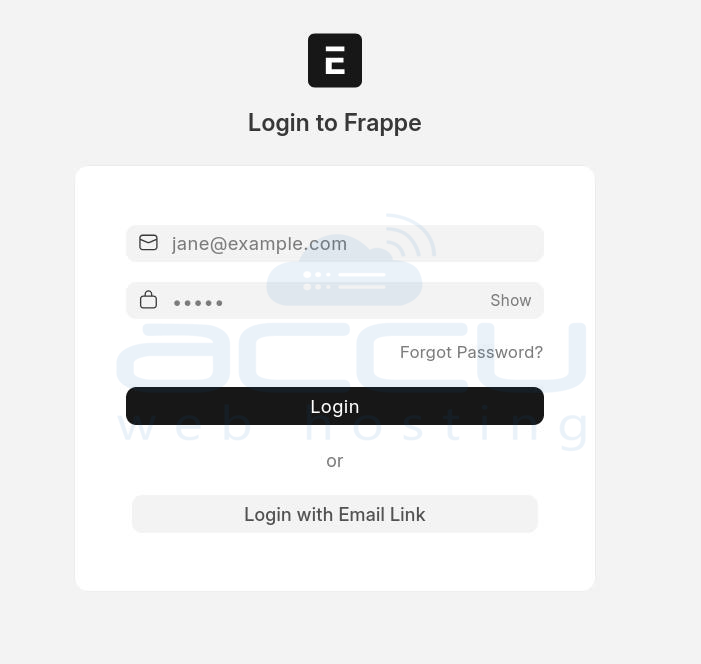
Default ERPNext Login:
- Username: Administrator
- Password: admin

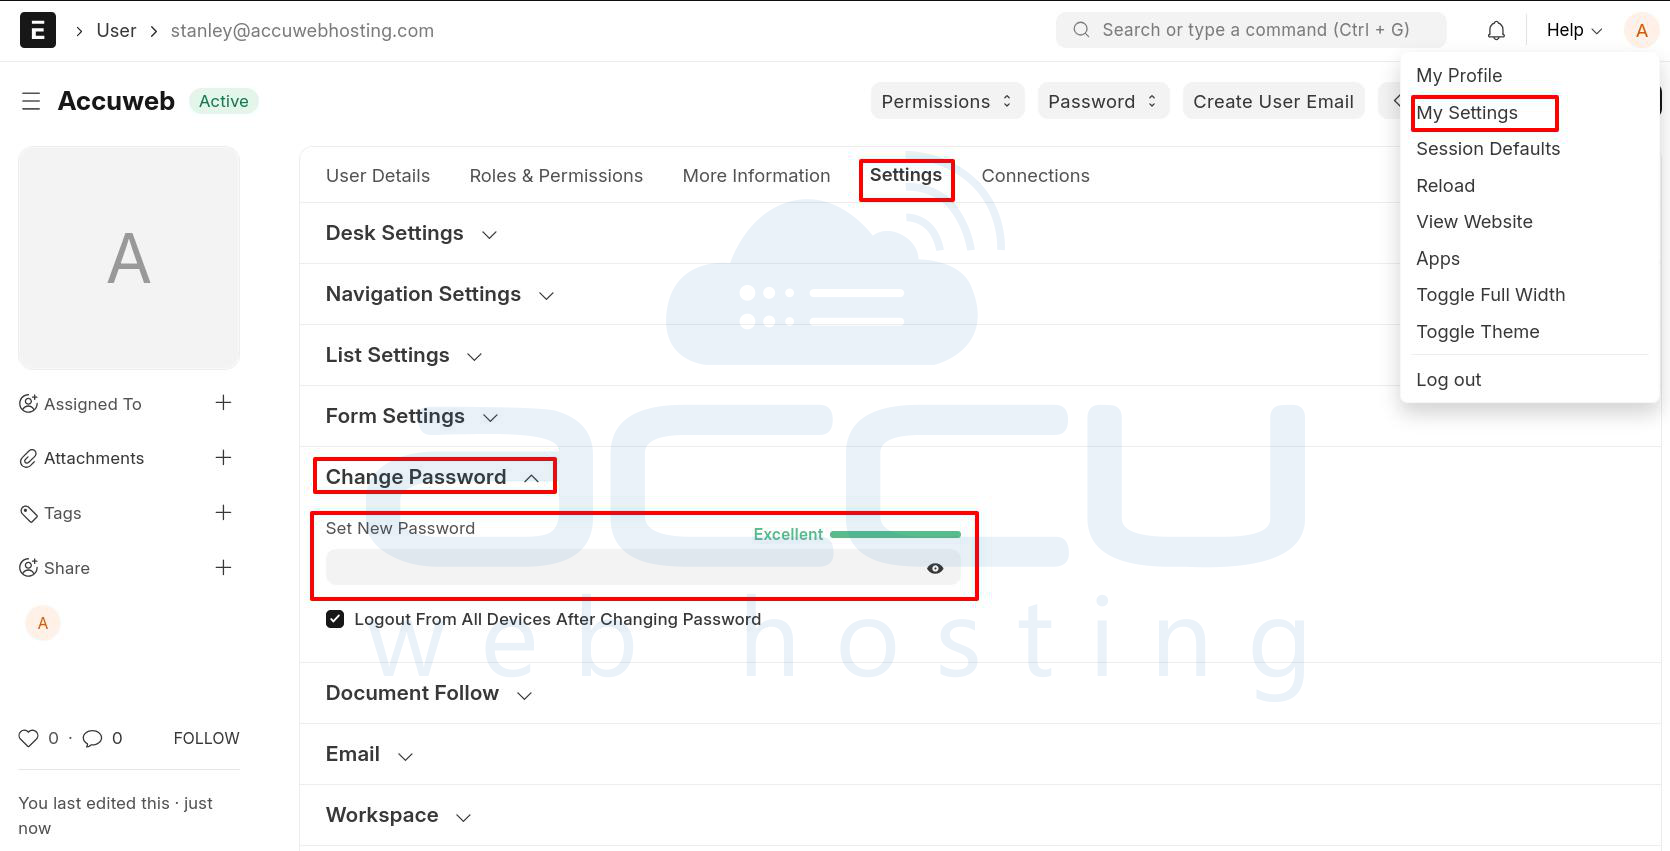
Once logged in, navigate to My Settings → Settings and change your administrator password for security.
Step 7: Configure ERPNext for Domain Access. Many organizations want ERPNext to be accessible via a URL like:
https://erpnext.example.com rather than: http://SERVER_IP:8080
To achieve this, you will update the configuration, set up a reverse proxy, and apply SSL.
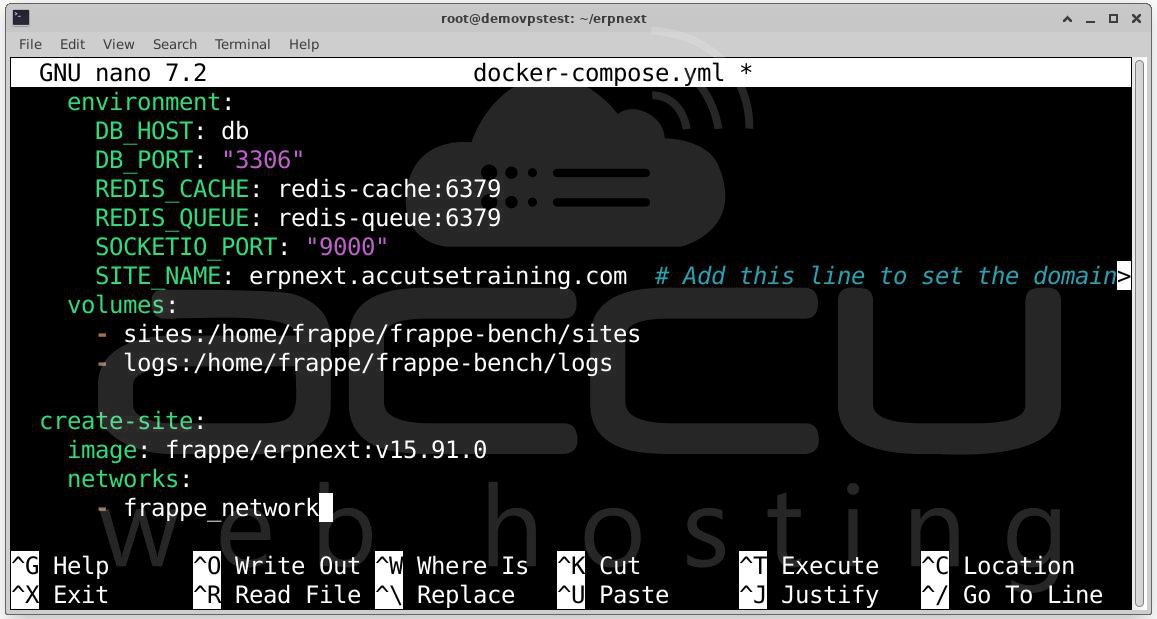
Update SITE_NAME in docker-compose.yml
Open your compose file: nano docker-compose.yml
In the frontend service section, modify the environment variables to include your domain:
environment:
BACKEND: backend:8000
FRAPPE_SITE_NAME_HEADER: frontend
SOCKETIO: websocket:9000
SITE_NAME: erpnext.example.com
UPSTREAM_REAL_IP_ADDRESS: 127.0.0.1
UPSTREAM_REAL_IP_HEADER: X-Forwarded-For
UPSTREAM_REAL_IP_RECURSIVE: "off"
PROXY_READ_TIMEOUT: 120
CLIENT_MAX_BODY_SIZE: 50m
Replace erpnext.example.com with your actual domain name.
Bring the stack down:

Bring the stack back up:
Your containers are now configured to recognize your domain name.
Step 8: Install and Configure Nginx. Nginx will act as a reverse proxy, forwarding traffic from your domain to the ERPNext frontend running on port 8080.
Install Nginx
sudo systemctl start nginx
sudo systemctl enable nginx
sudo systemctl status nginx

Create a New Nginx Configuration File: sudo nano /etc/nginx/sites-available/erpnext
Paste:
server {
listen 80;
server_name erpnext.example.com;
location / {
proxy_pass http://localhost:8080;
proxy_set_header Host $host;
proxy_set_header X-Real-IP $remote_addr;
proxy_set_header X-Forwarded-For $proxy_add_x_forwarded_for;
proxy_set_header X-Forwarded-Proto $scheme;
}
}

Enable the Site: sudo ln -s /etc/nginx/sites-available/erpnext /etc/nginx/sites-enabled/
Test Nginx Configuration: sudo nginx -t
If no errors are reported, restart Nginx: sudo systemctl restart nginx
Your domain should now load ERPNext over port 80 (HTTP).
Step 9: A secure ERP system is critical for protecting credentials, customer data, and operational information. Let’s Encrypt makes this easy by issuing free certificates.
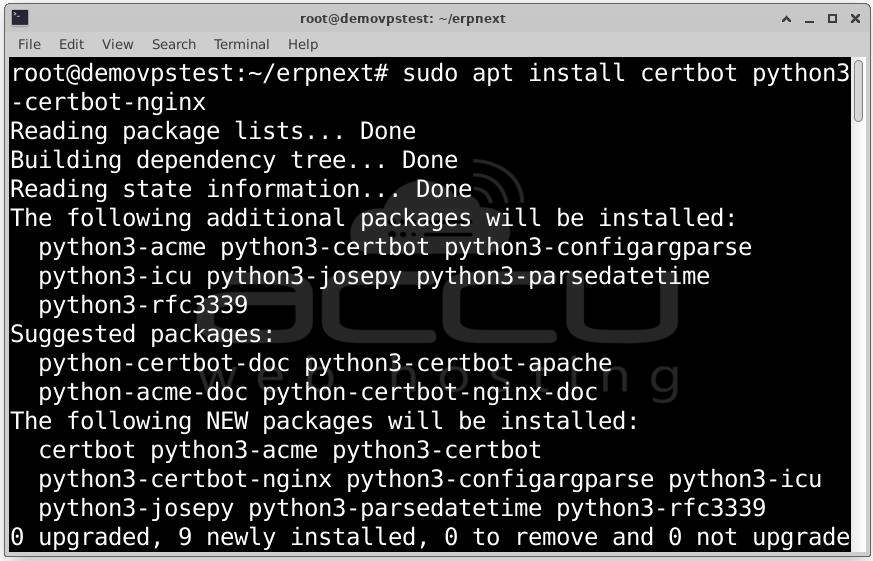
Install Certbot:
Run Certbot:
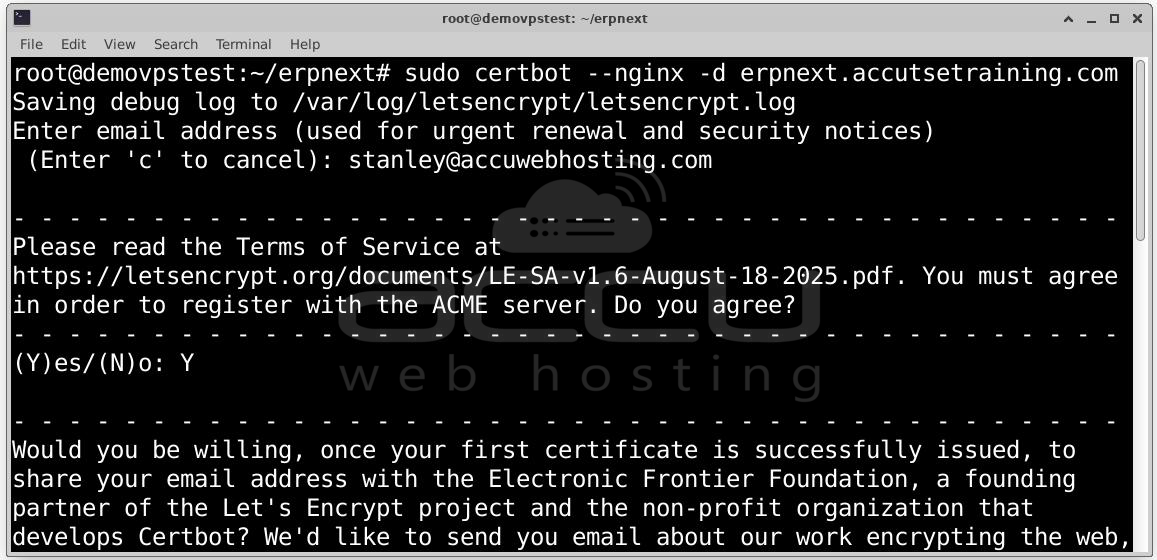
Certbot will automatically validate domain ownership, configure Nginx for SSL, create a redirect from HTTP to HTTPS, Install the certificate and schedule automated renewals. Once complete, you can visit:
https://erpnext.example.com
Your ERPNext interface is now protected and accessible over a secure encrypted connection.
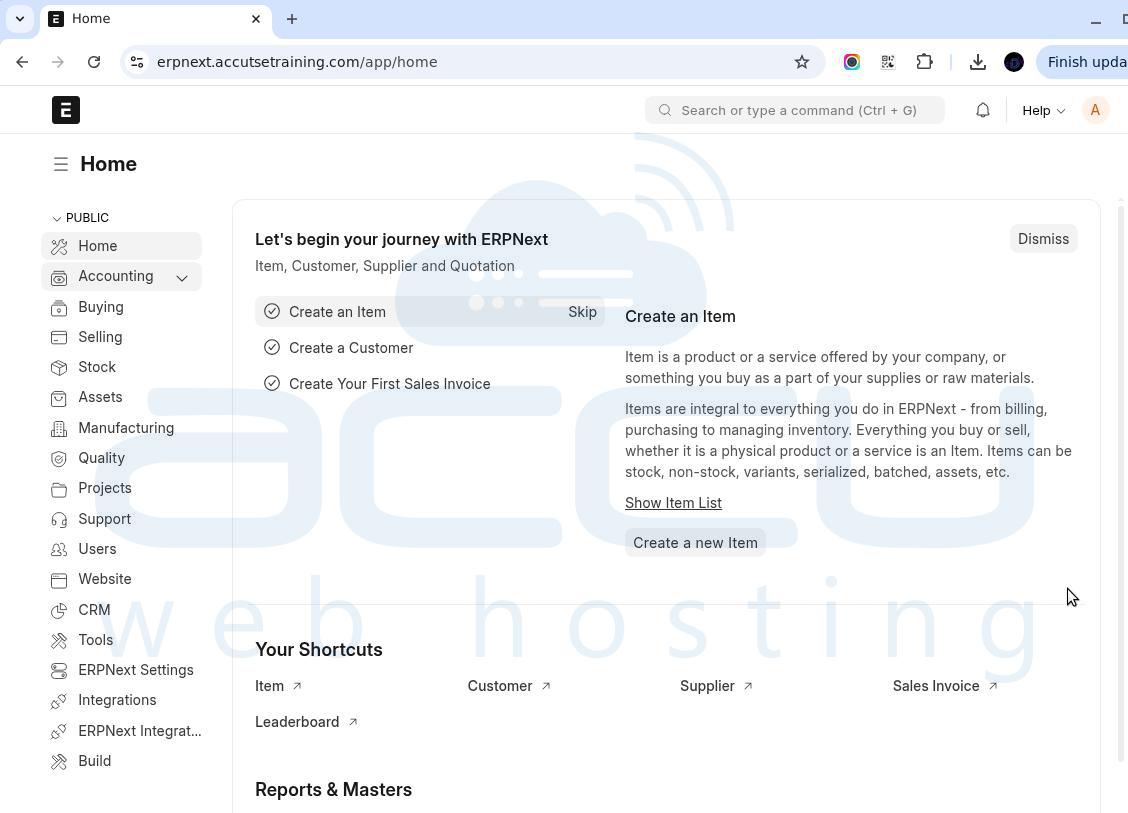
At this point, your ERPNext system should be fully accessible using your domain name, secure HTTPS, the correct administrative login. You can explore the modules, customize settings, create accounts, configure notifications, and begin adapting the system to your organization’s workflow.
Conclusion
ERPNext is a powerful platform, and with this installation, your organization is equipped with a robust ERP foundation that can evolve with your operational needs. You’ve completed a full, production grade installation of ERPNext v15 on an Ubuntu server using Docker. From updating the OS and installing dependencies, to launching containers, configuring a domain, creating an Nginx reverse proxy, and securing everything with Let’s Encrypt SSL your ERP system is now ready for real-world use.


