Introduction
WordPress is the most popular CMS for creating websites and blogs. If you are using ISPManager as your hosting control panel, installing WordPress becomes simple thanks to its built-in auto-installer.
This guide will walk you through each step of the installation process, along with suggested locations to insert screenshots for clarity.
Step 1: Log in to ISPManager
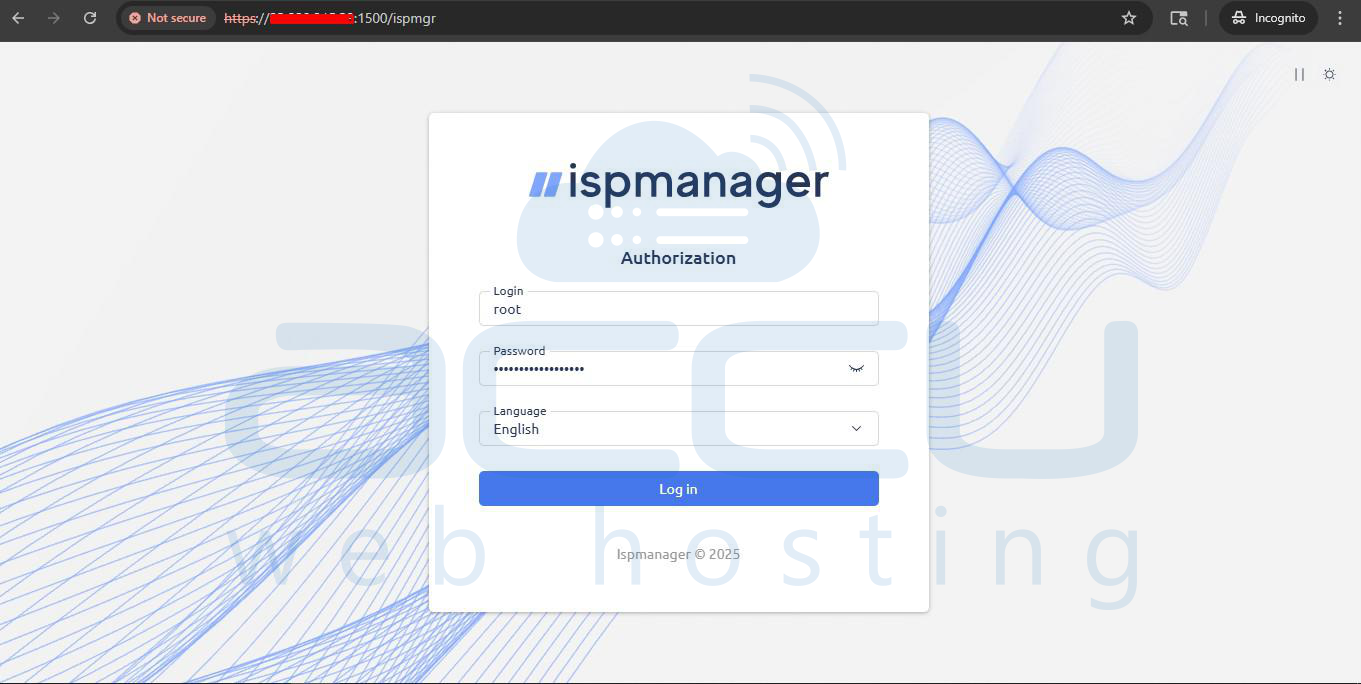
1. Open your browser and navigate to your ISPManager login URL.
2. Enter your username and password, then click Log In.
Step 2: Navigate to the CMS Auto-Installer
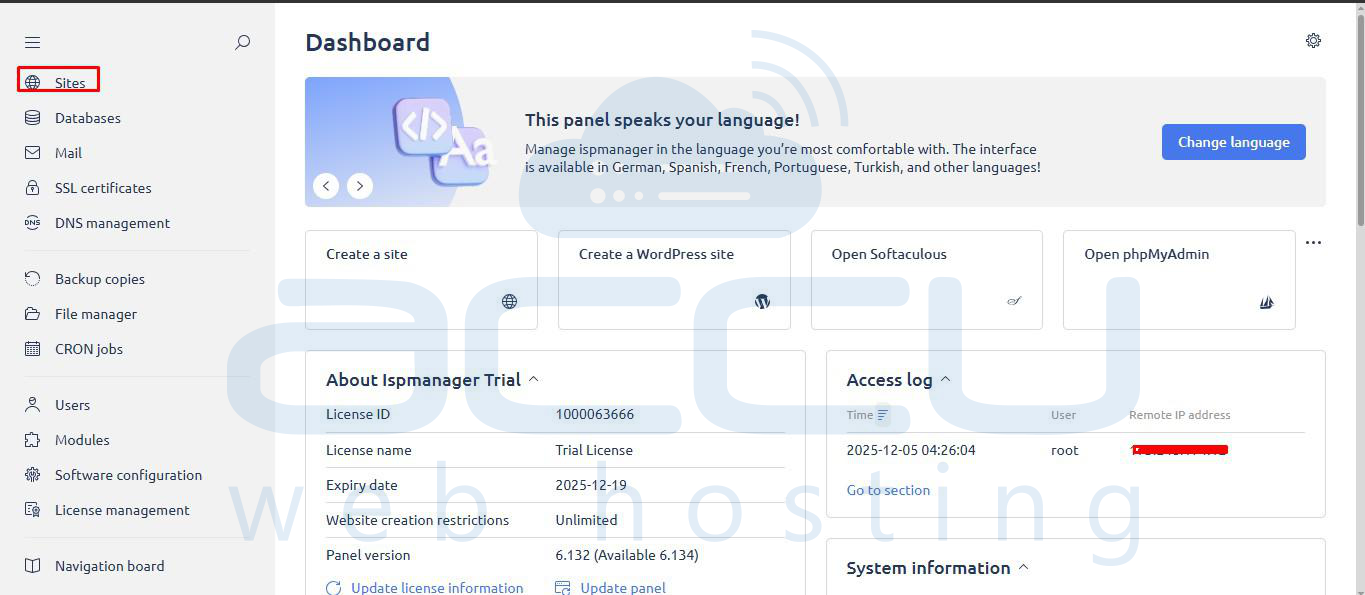
1. Go to Sites from the left-hand menu.
2. Locate the website where you want to install WordPress, click the three dots on the main menu bar, and select CMS from the dropdown panel.
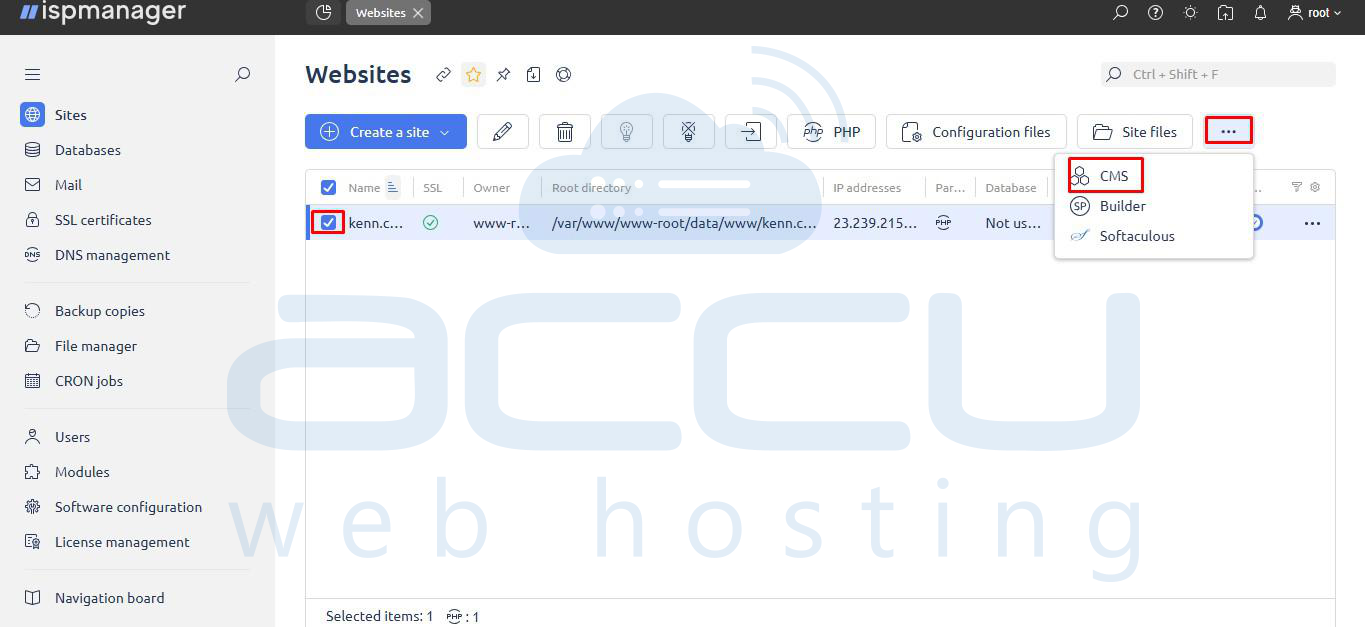
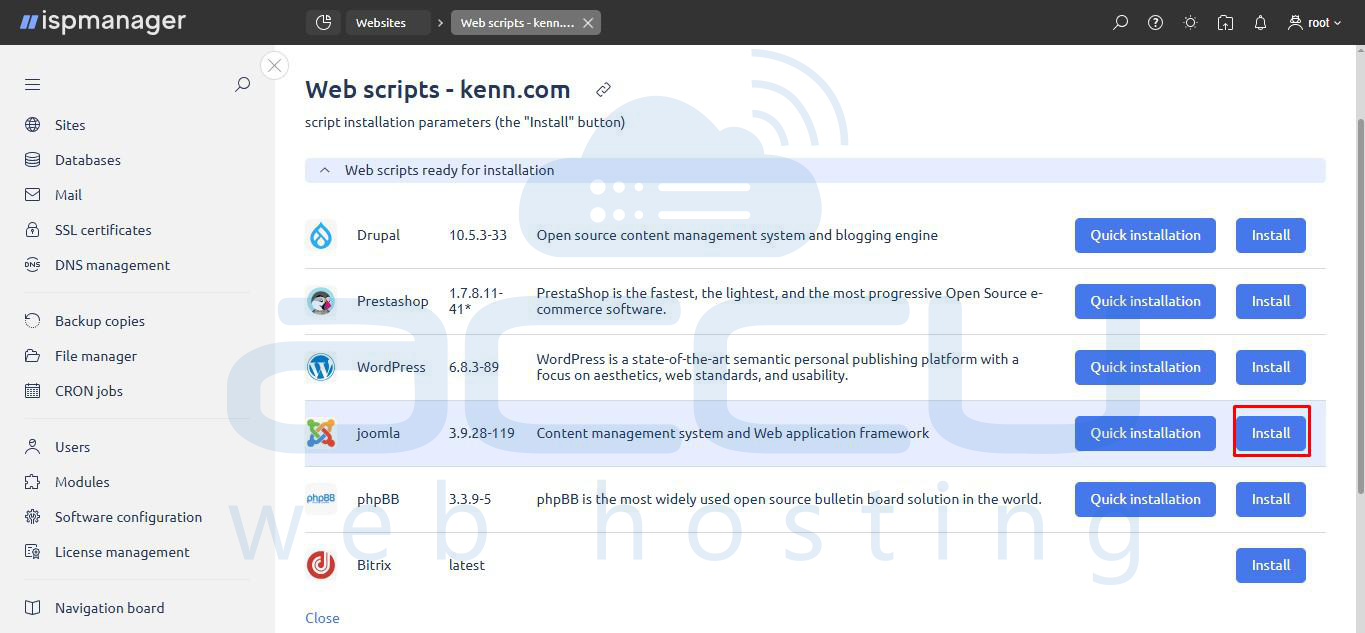
3. You will see all available CMS options on the Web scripts page.
Step 3: Start the WordPress Installation
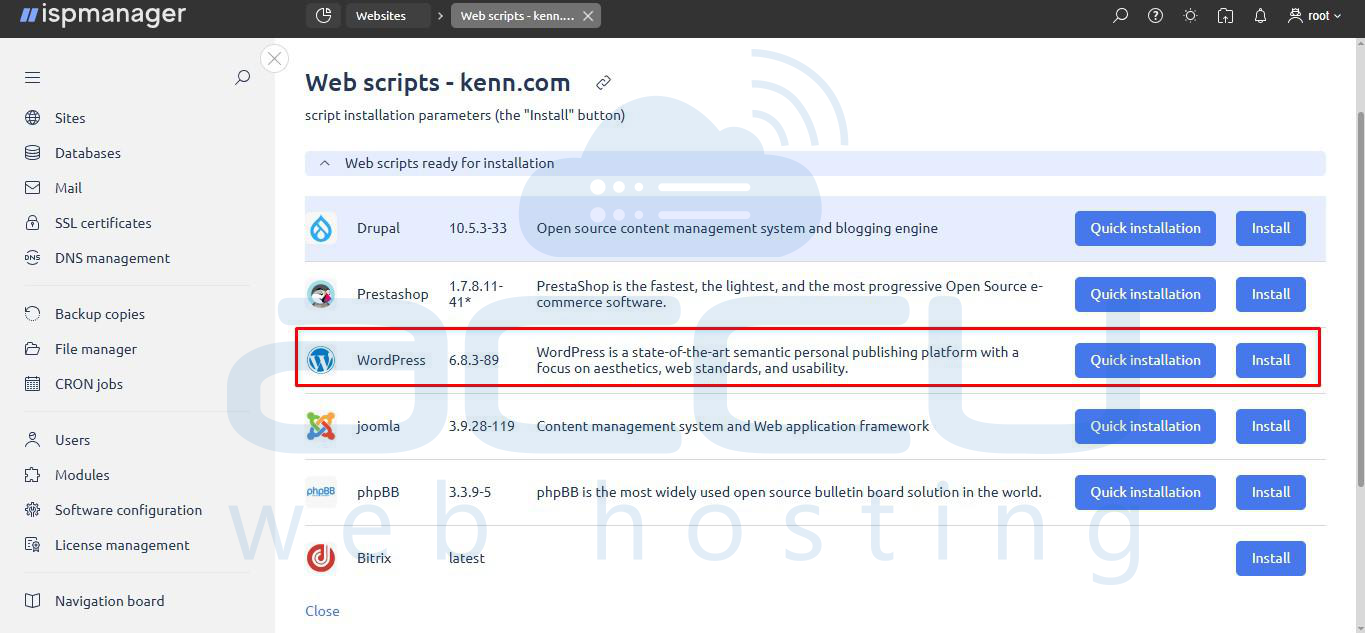
1. Locate WordPress from the list of available applications.
2. Click the Install button next to WordPress.
Step 4: Configure Installation Settings.
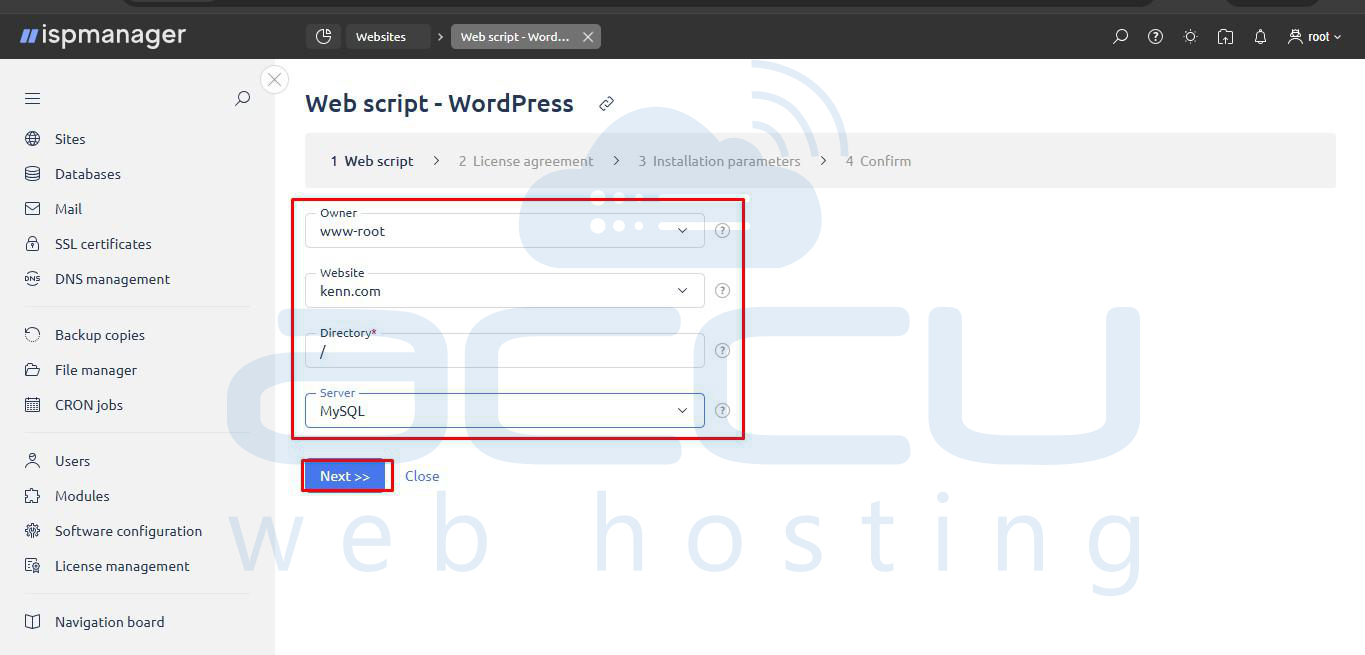
1. Web Script Parameters:
- Owner: Verify the owner (e.g., www-root).
- Website: Select the domain.
- Directory: Specify the installation directory (e.g., /).
- Server: Select MySQL.
2. License Agreement:
- Check the box I accept the terms of the License agreement Click on Next.

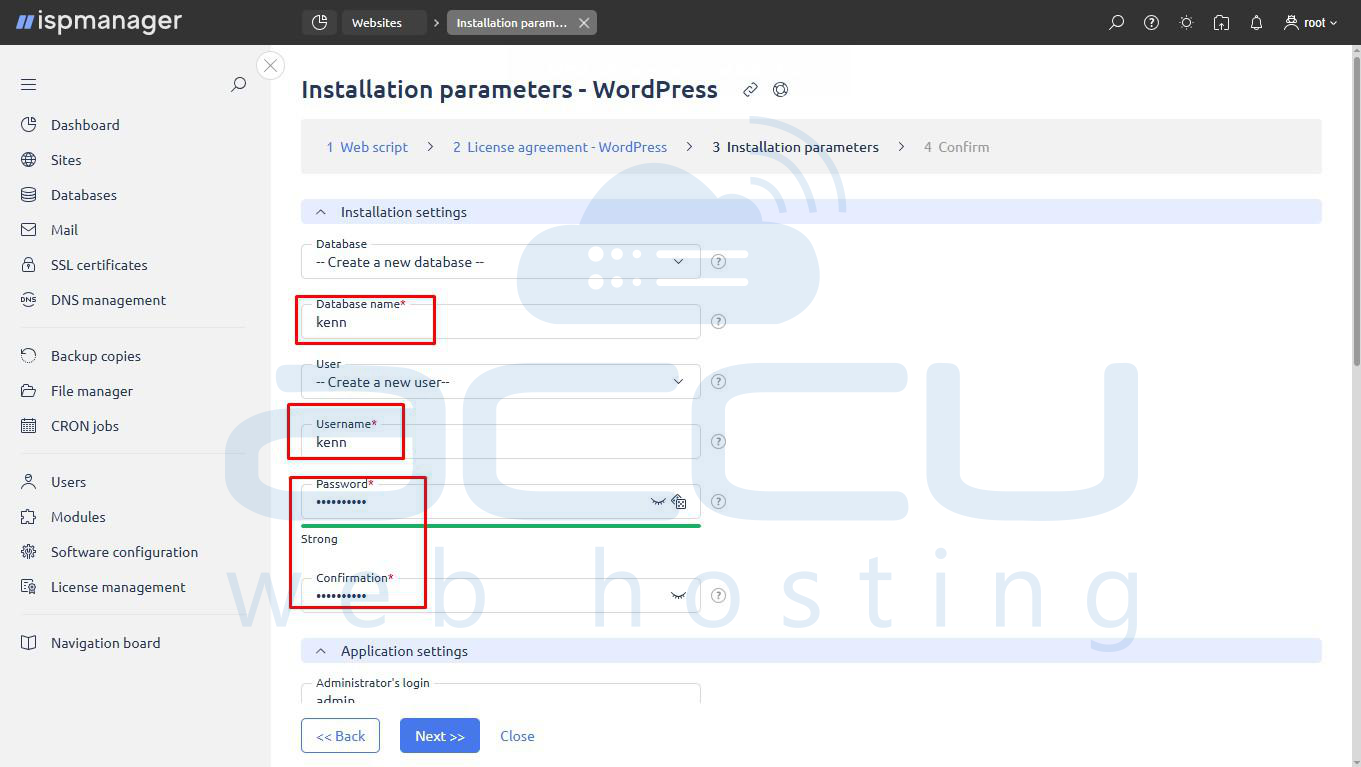
3. Installation Parameters (Database):
- Database name: Enter the desired database name.
- Username: Enter the database username.
- Password & Confirmation: Create and confirm a password for the database user.
4. Installation Parameters (Application Settings):
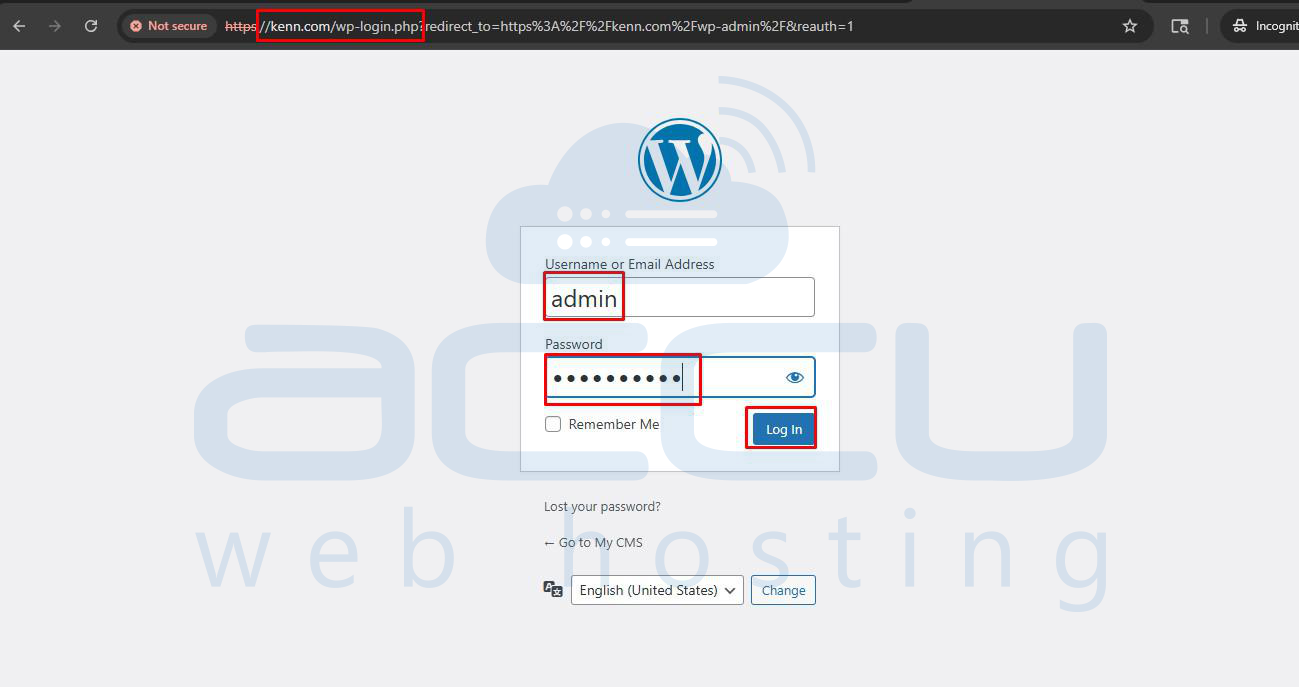
- Administrator's login and Password & Confirmation: Create login credentials for your WordPress dashboard (e.g., admin).
- Administrator's email: Provide an active email.
- Site name: Your website title (e.g., My CMS).
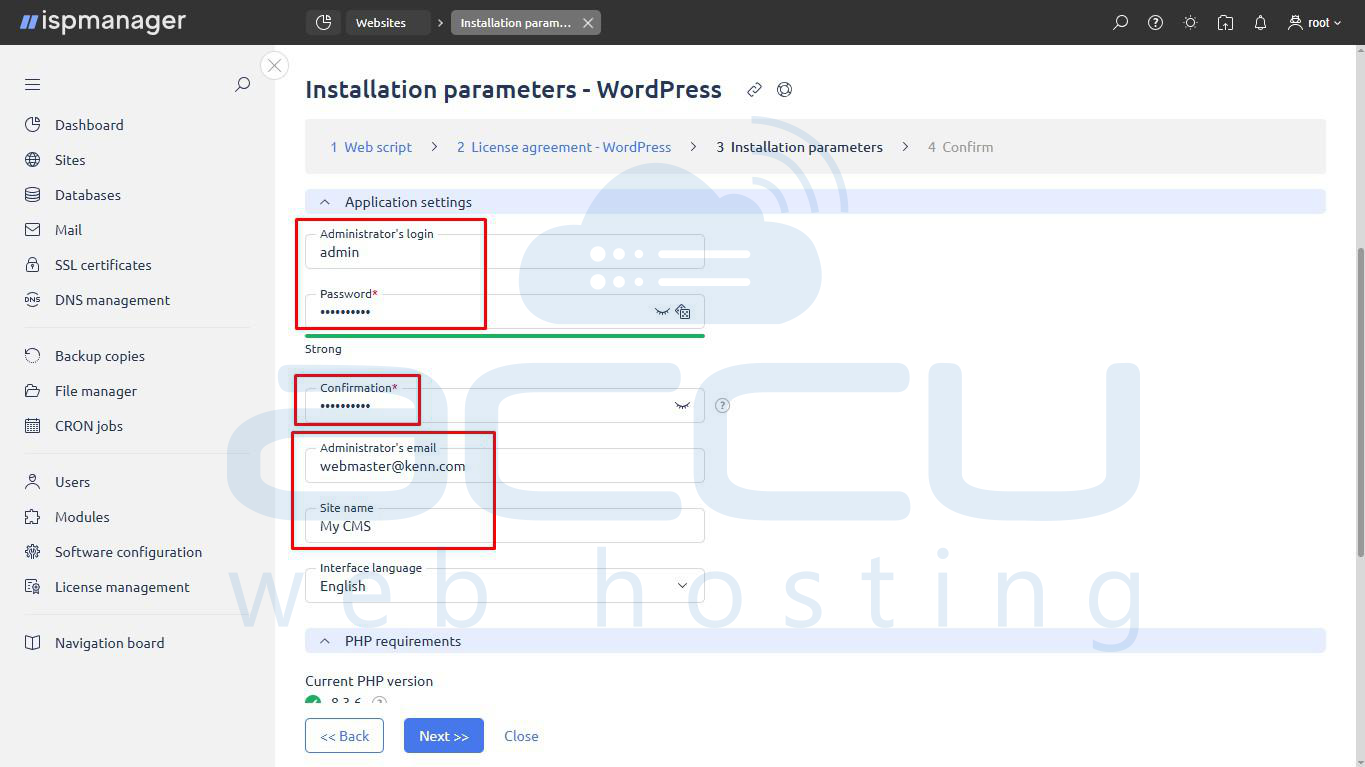
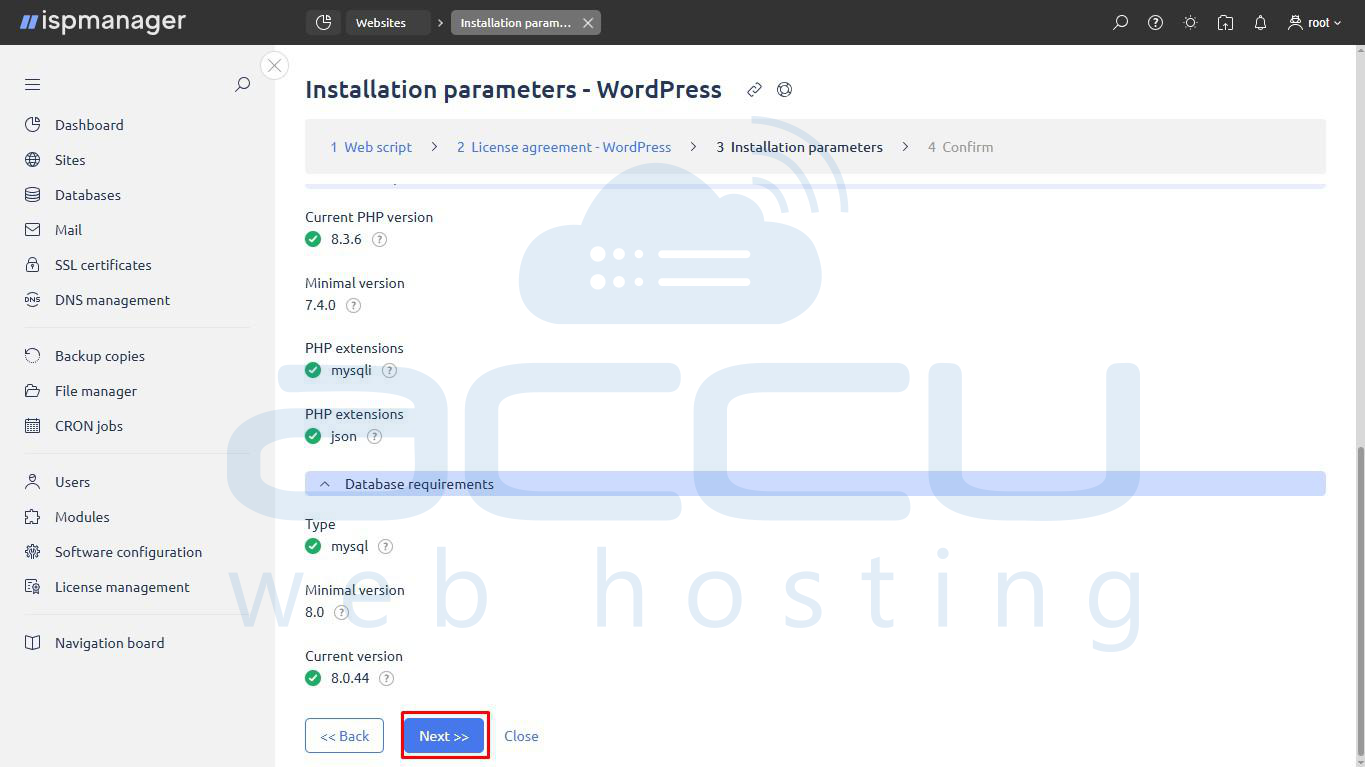
5. Proceed: Review PHP/Database requirements and click Next >>.
Step 5: Complete the Installation
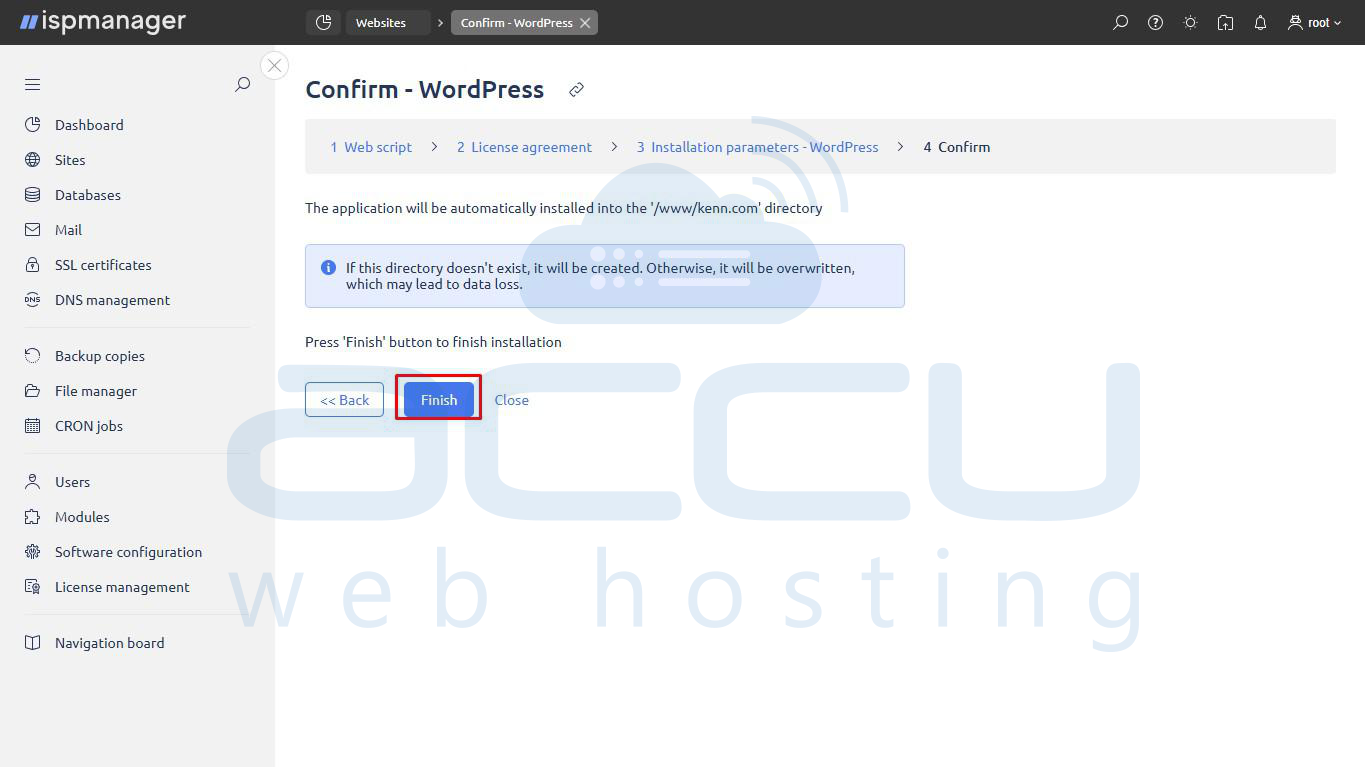
1. After setting the final configuration details (Step 4), you will arrive at the Confirm - WordPress screen.
2. Review the details, ensuring the application will be installed into the correct directory (/www/domain.com in the example).
3. Click Finish to start the installation.
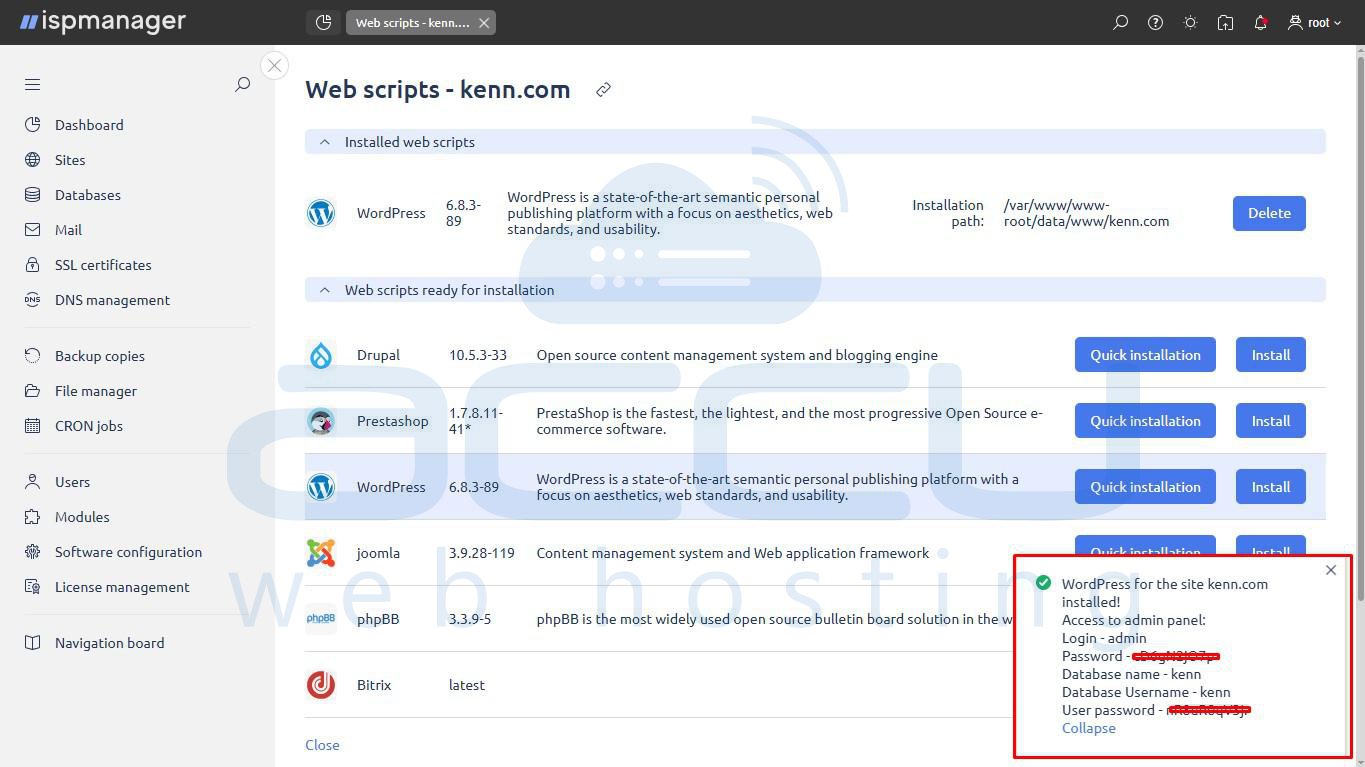
4. Wait for the installation process to complete (usually a few seconds).
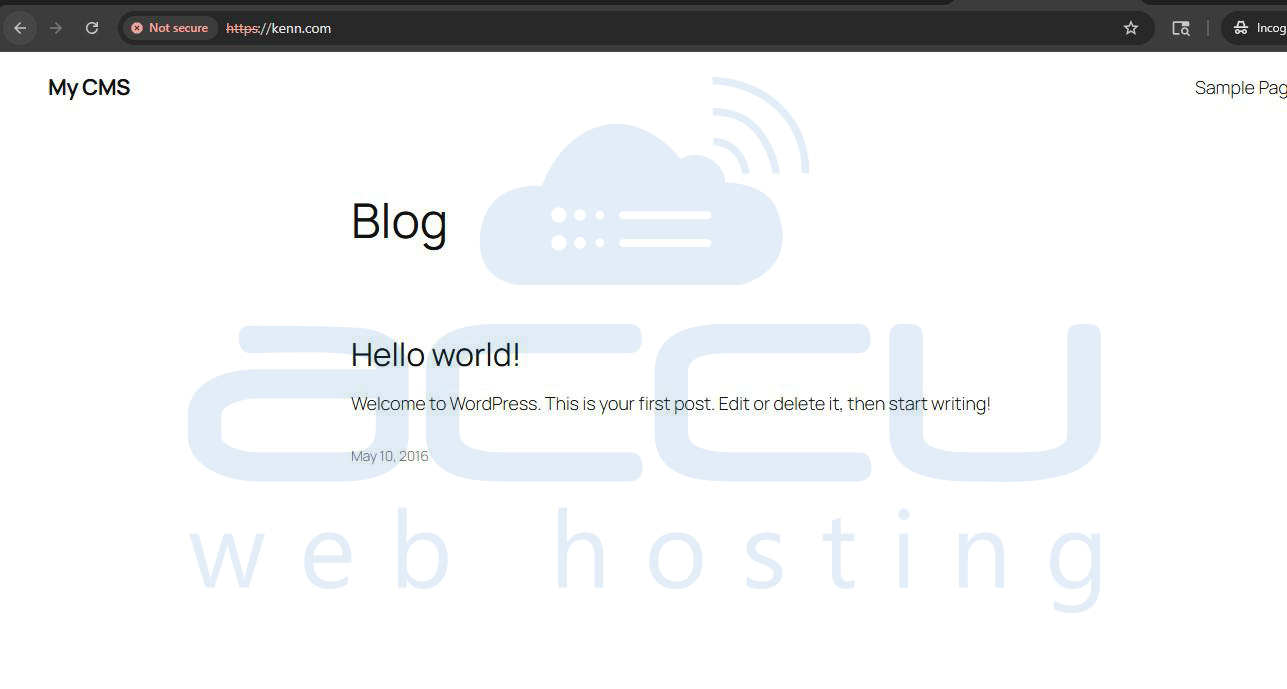
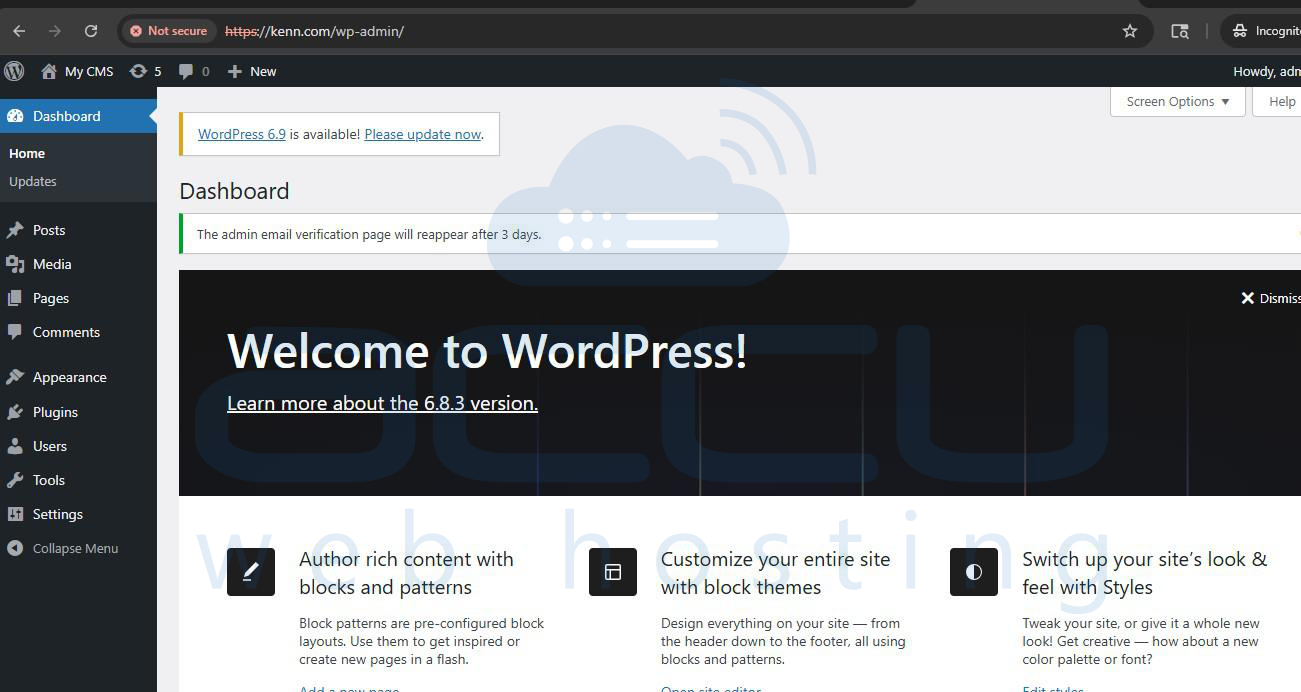
5. Once the installation is complete, a success message will appear confirming that WordPress has been installed. You can now visit your website using your domain (e.g., https://domain.com) and access the WordPress Admin Dashboard at https://domain.com/wp-admin.
Post-Installation Tips
- Update WordPress themes and plugins immediately after installation.
- Enable automatic backups if available in ISPManager.
- Install a security plugin like Wordfence or iThemes Security.
Conclusion
Installing WordPress through ISPManager is fast and user-friendly thanks to the integrated CMS installer. By following the steps above and customizing your settings, you can launch a fully functional WordPress website within minutes. Add the screenshots in the suggested sections to make this guide even more useful for end users.
