Sometimes you must upload and install a WordPress theme manually, especially when using a commercial/ premium/ customized theme for your website. In this case, you will need to upload the theme from the WordPress dashboard and install it.
Installing the WordPress Theme via WP Admin
- Assuming you have already downloaded the WordPress premium theme on your local computer.
If not, first download the .ZIP file of the theme from a marketplace or any theme provider. - Log in to the WordPress admin area (dashboard) and navigate Appearance » Themes.

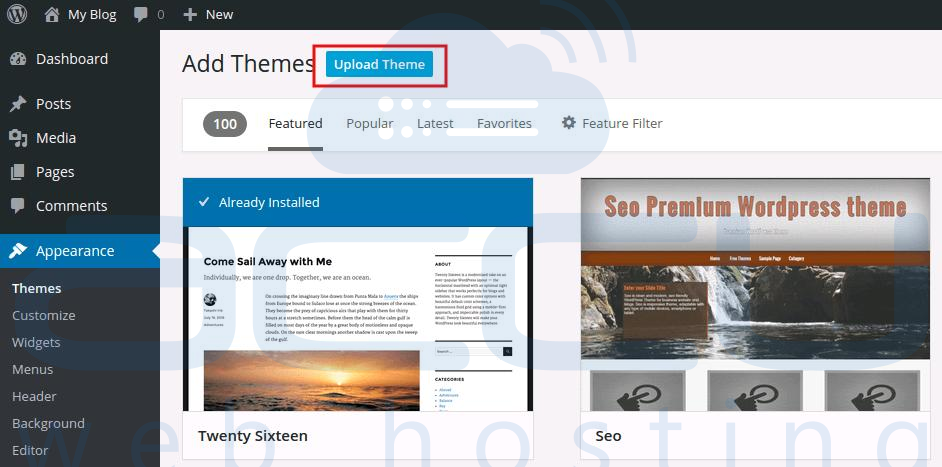
3. On the Themes page, click the Add New button at the top.

4. On the next screen, click on the Upload Theme button.

5. Select the theme's ZIP file from your local computer and click Install Now.
You will receive a success message and links to activate and preview the theme.

6. Click on the Activate button to activate the theme.
Installing the WordPress Theme via FTP
We may often face the issue of uploading the WordPress theme from the WordPress admin area due to the upload limit/ restriction on the shared environment.
In this case, you will need to upload it via FTP.
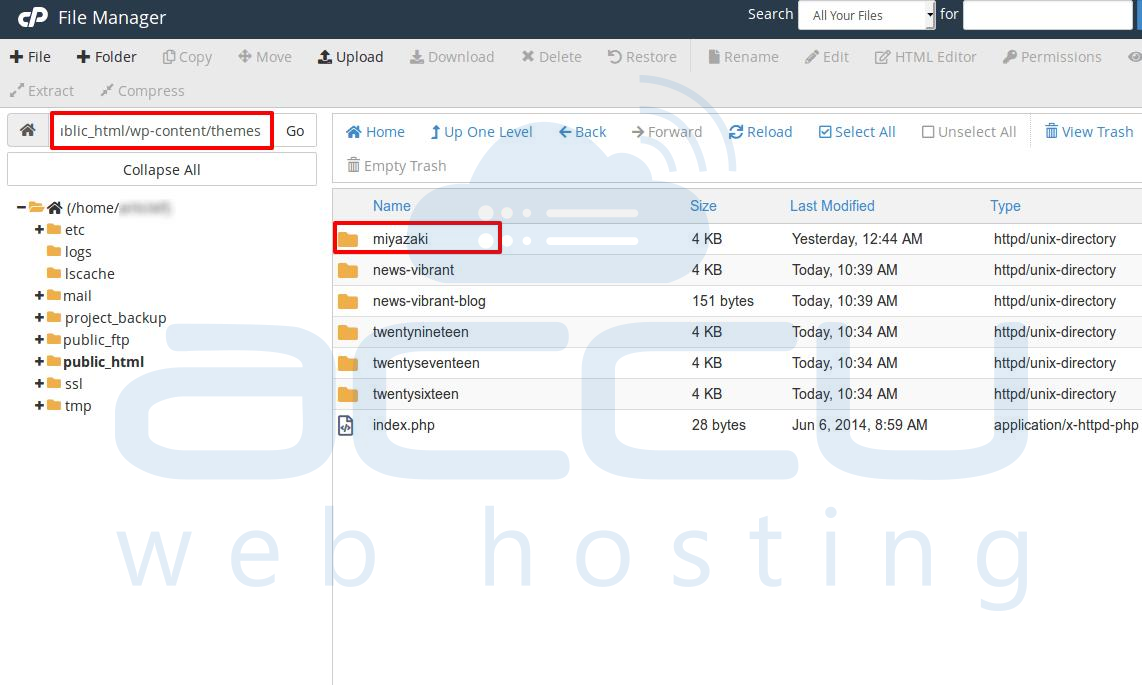
- You must access your website via FTP and browse the wp-content/themes folder.
- Unzip and upload the extracted theme folder to the mentioned path at wp-content/themes.
Here, we have uploaded the miyazaki theme, as shown in the screenshot below.

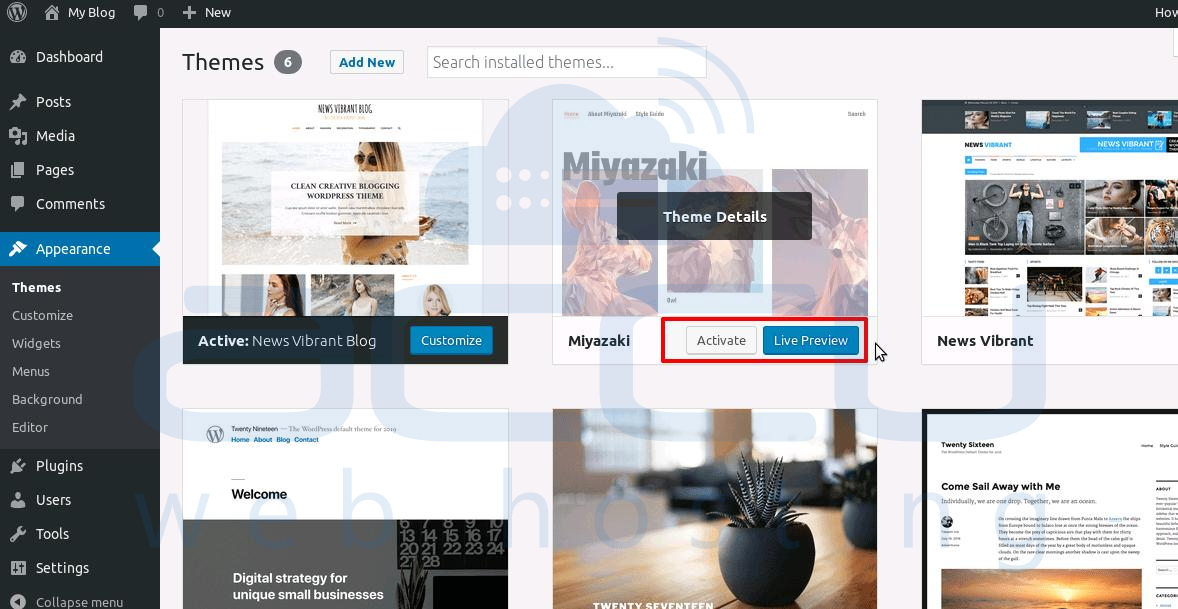
3. Once the upload is done, log in to the WordPress admin and navigate to Appearance » Themes.
Here, you will find the uploaded theme.

4. Click on the Active button to activate the uploaded theme.
Following these steps will enable you to upload the WordPress theme with ease.


