Just updating WordPress core will not make your WordPress fully secure. Updating a plugin installation is equally vital as updating the WordPress core because a vulnerability in one of these plugins can end up on hacked websites.
There are various methods to upgrade plugins, and you can apply any of these methods that have been described below:
One-Click Plugin Update
Step 1: Log in to the WordPress dashboard.
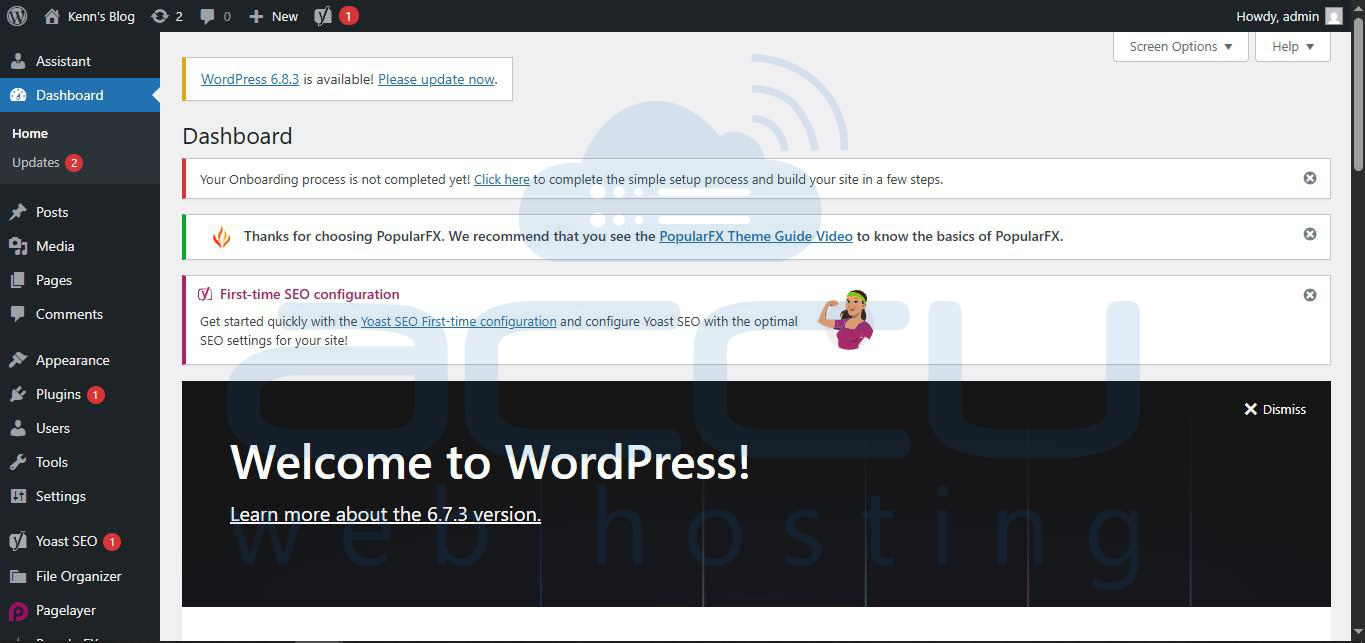
Step 2: Go to the Plugins section.

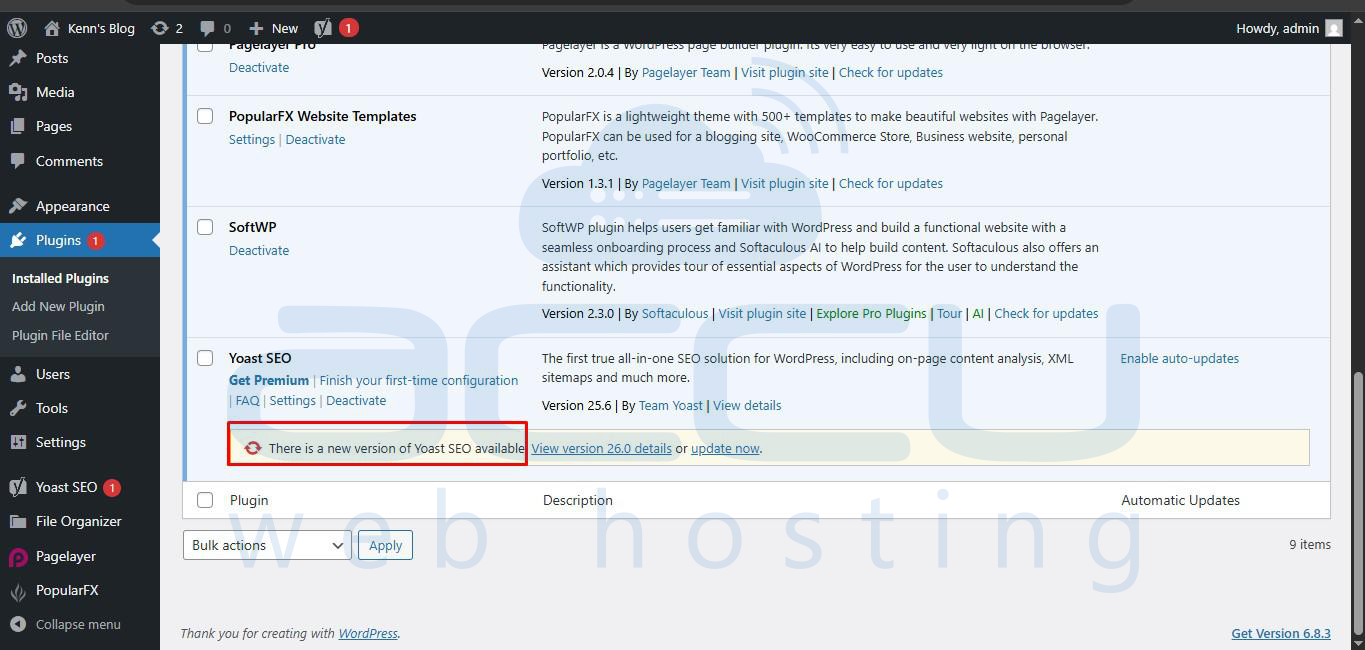
Step 3: If there are plugins to be updated, they will appear here.
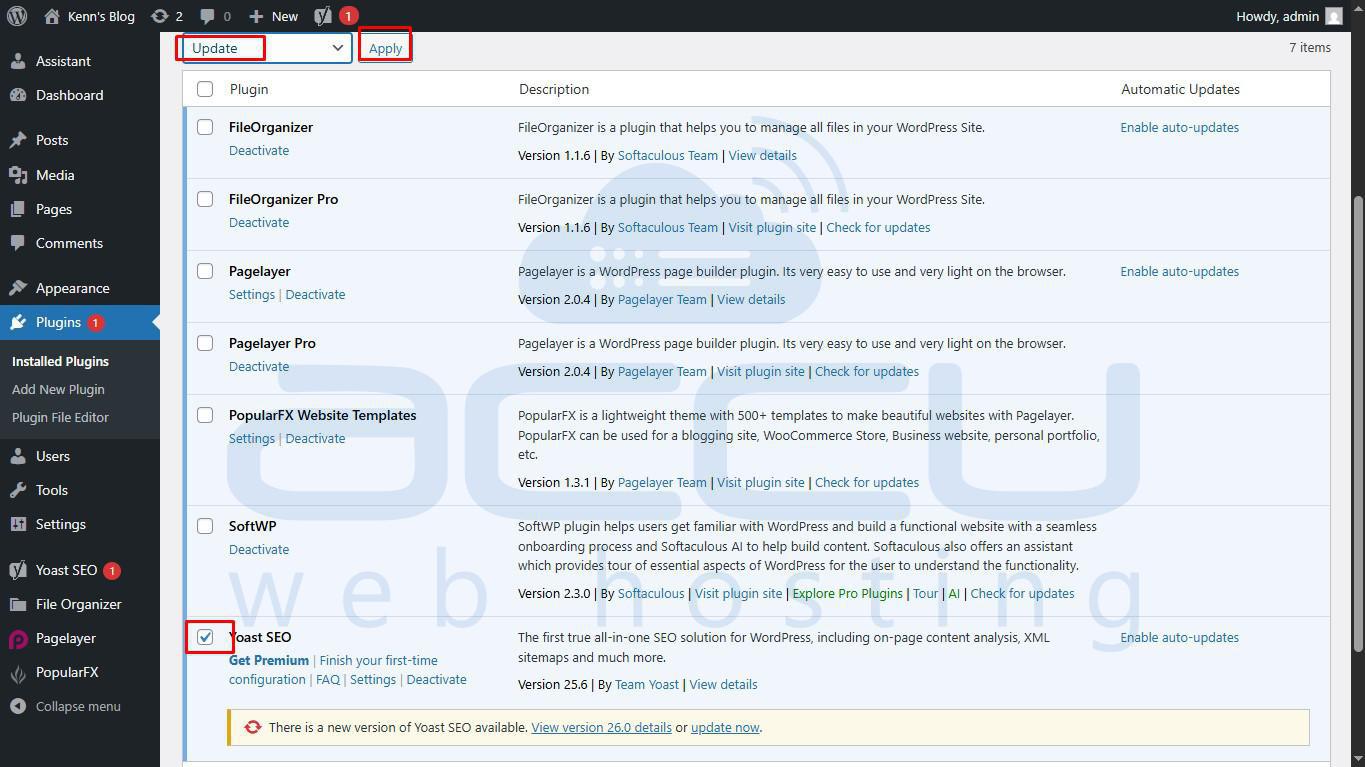
Step 4: Select the plugins and click on the Update Plugins button to update your plugins.
Automatic Updates
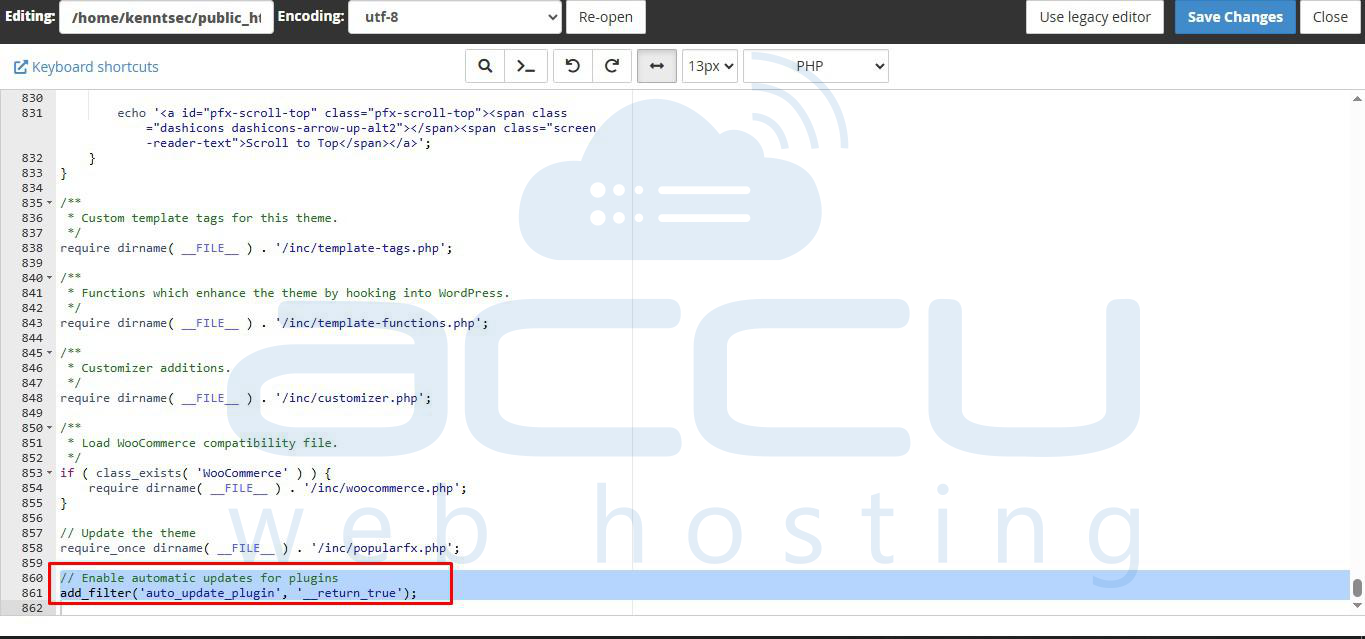
You can also set WordPress to update plugins and themes automatically if you wish. Automatic updates for plugins are disabled by default. Still, to enable automatic plugin updates, you will have to add a filter to the functions.php file of your theme or in a plugin.
// Enable automatic updates for plugins
add_filter('auto_update_plugin', '__return_true');
WordPress Plugin Update through FTP
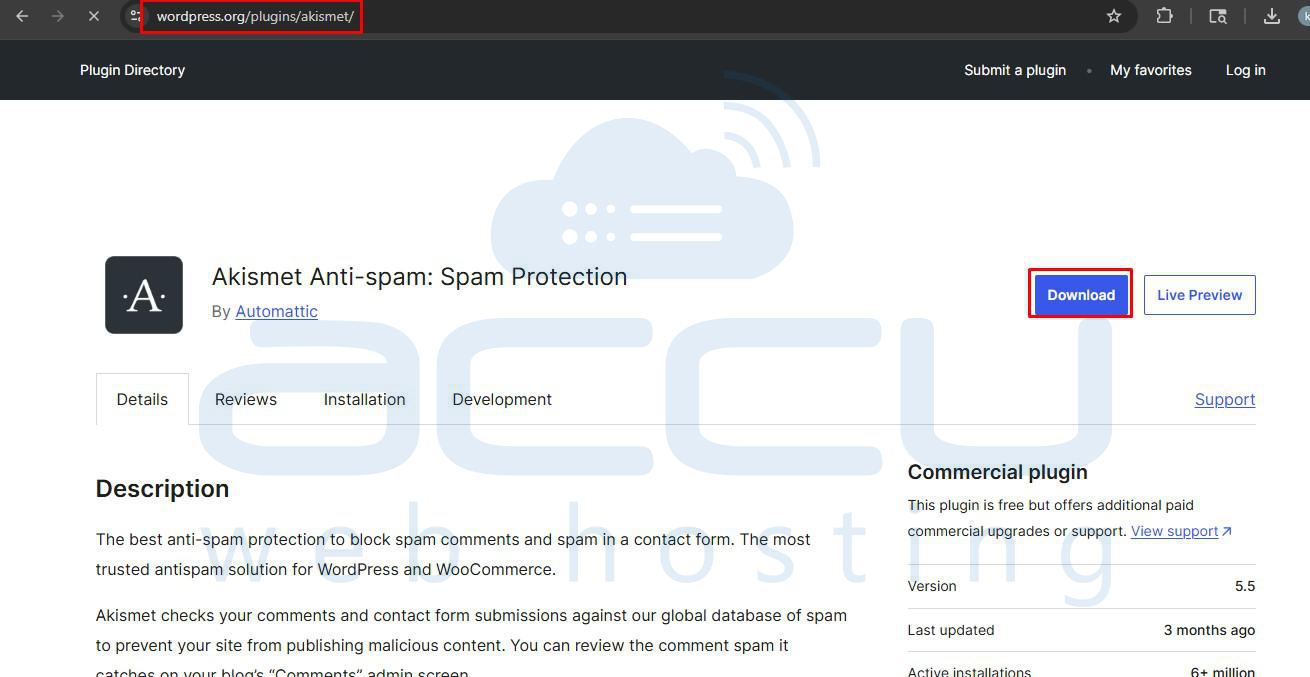
Step 1: Go to the WordPress.org website and download the latest version of the plugin on your computer in the .zip format.
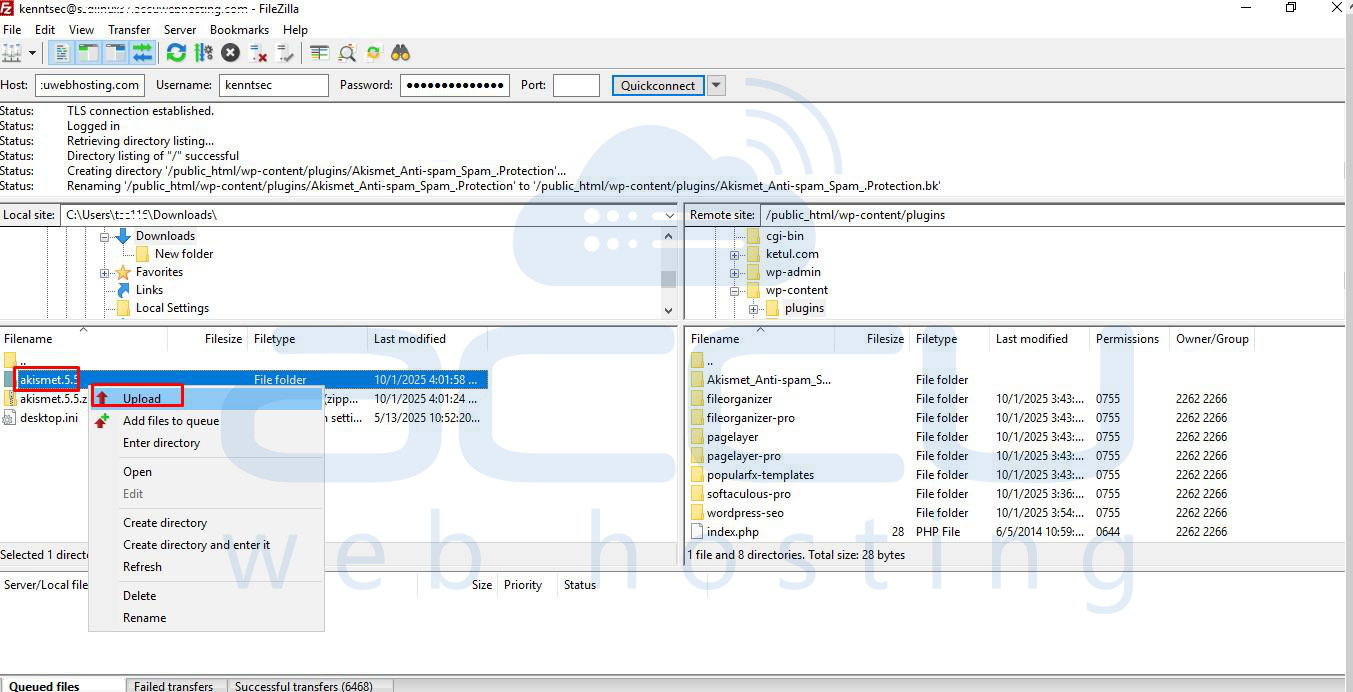
Step 2: Unzip the plugin package. Log in to your Web Host server through FTP login details. Navigate to the /wp-content/plugins directory of the WordPress website.
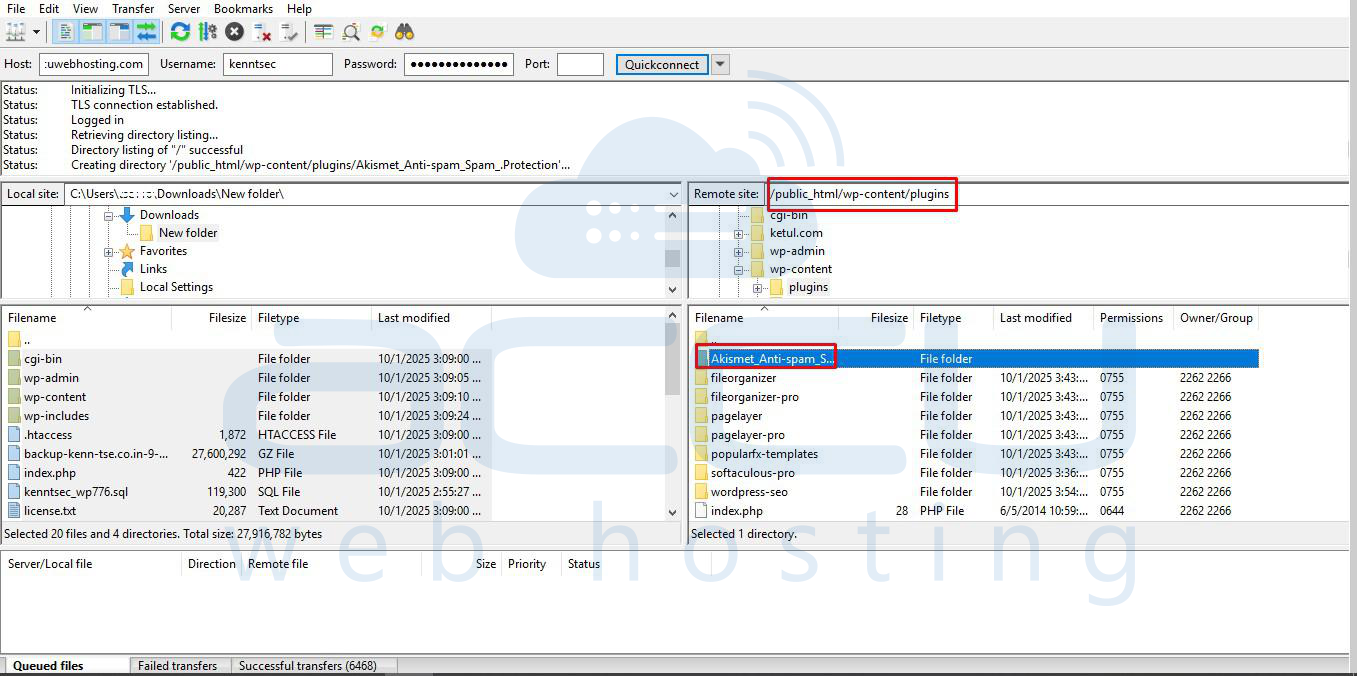
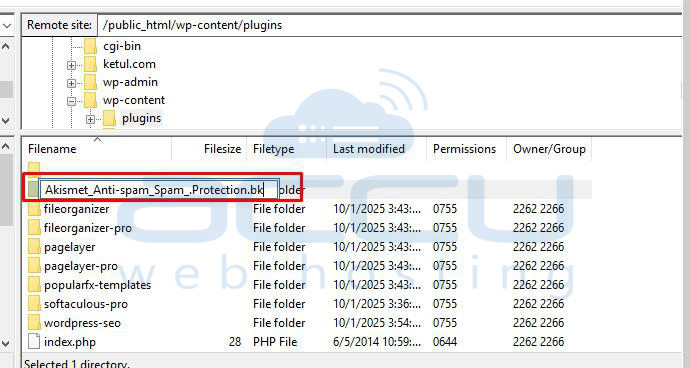
Step 3: Here, you will find all your installed plugin packages by their names. Select the plugin directory that you want to update. Rename or delete that outdated version of the plugin directory.
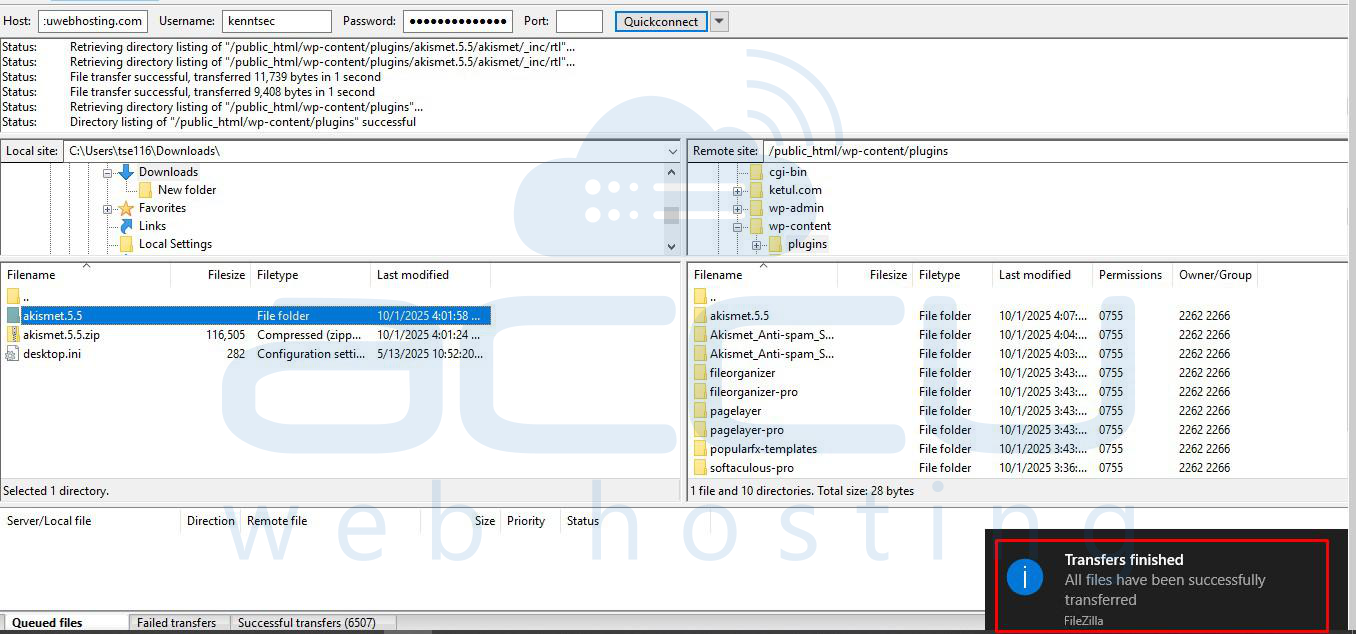
Step 4: Now, select and upload the latest version of the plugin package to the /wp-content/plugins/ directory.
Step 5: Log in to the WordPress dashboard. Visit the installed plugins page and refresh the browser window.
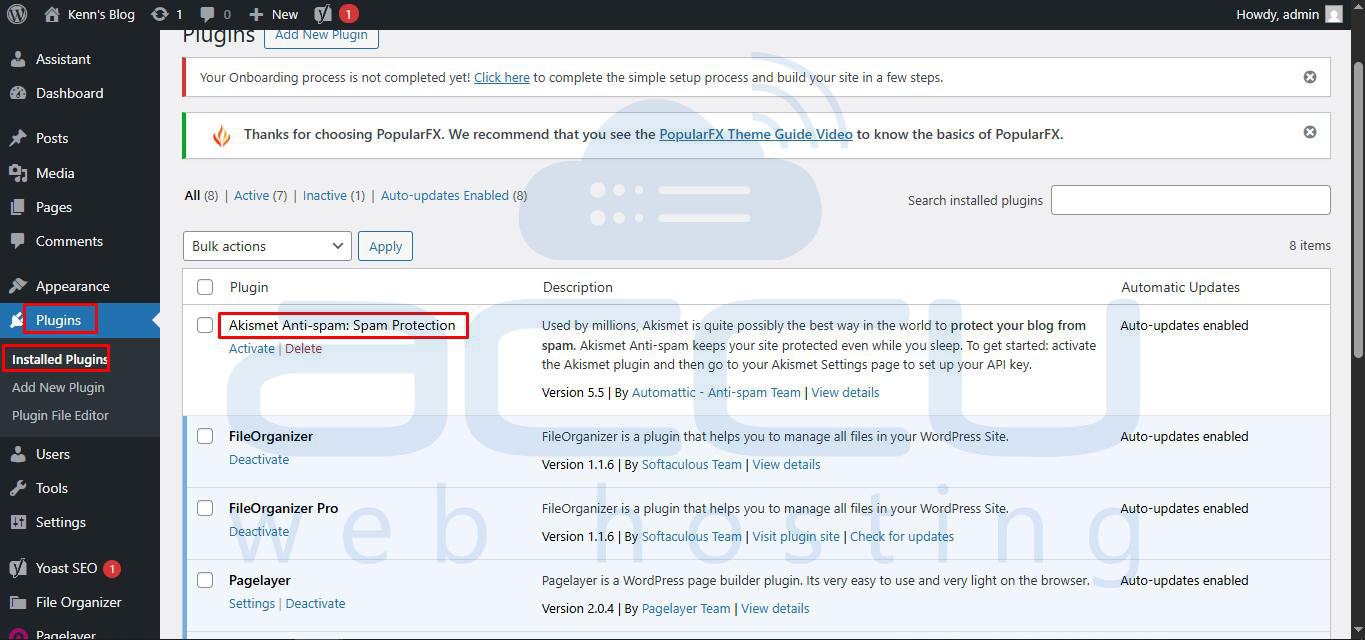
Step 6: Activate the newly updated plugin if the Activate button is displayed instead of the Deactivate button.
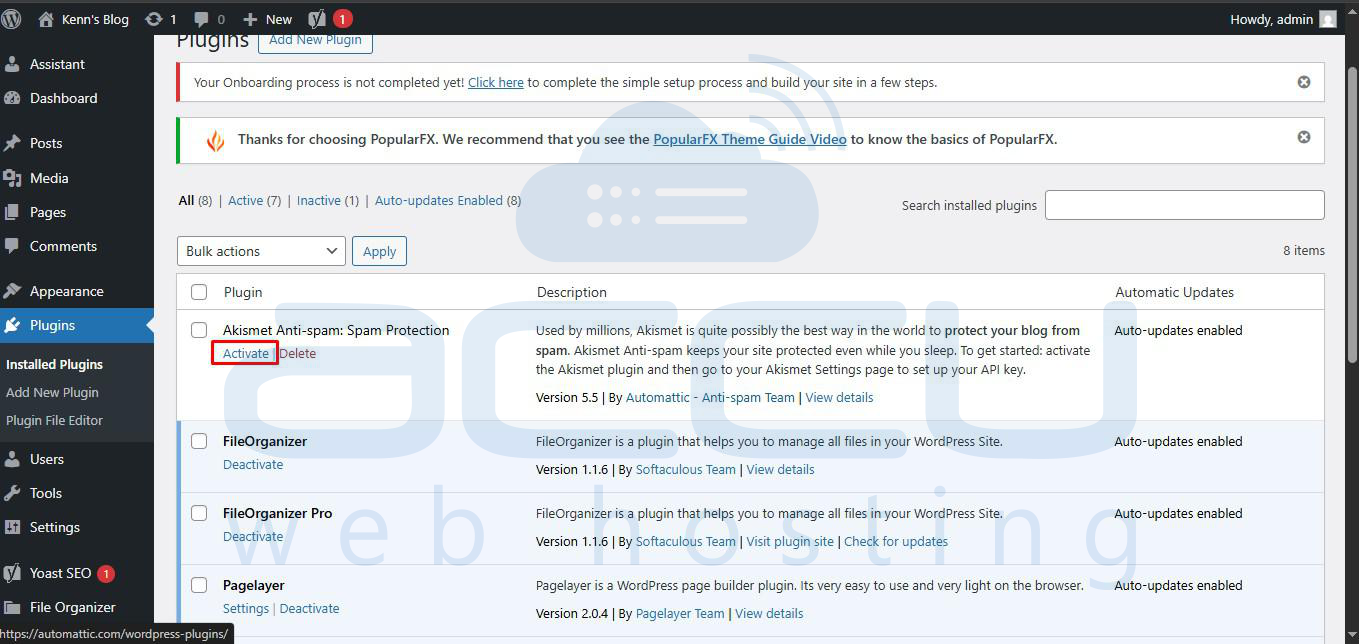

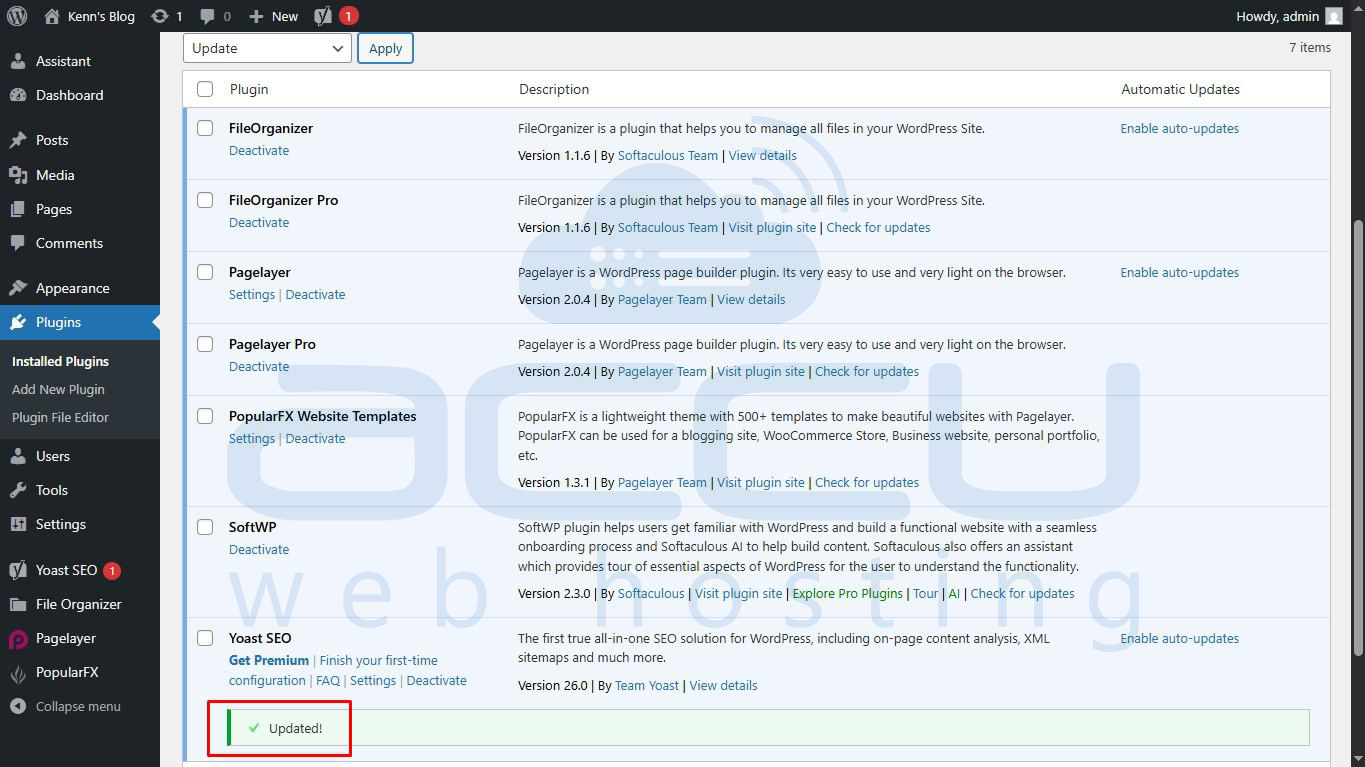
Your plugin is now up-to-date and will work correctly.
