FASTPANEL is a lightweight, secure, and feature-rich hosting control panel designed to simplify server administration for websites, databases, FTP, email, and more. This guide walks through the full installation process for FASTPANEL and configuring FQDN access.

System Requirements of FASTPANEL
1. Before installing FASTPANEL, it is critically important to understand that the panel must be installed on a completely clean operating system.
2. Server Requirements: Minimum 1 GB RAM, 5GB Storage, 1 core, 1 GHz minimum CPU. For production environments, consider higher specifications, particularly if hosting multiple websites or running resource-heavy applications.
3. Supported Operating Systems:
- Debian: 9, 10, 11, 12
- Ubuntu: 18.04, 20.04, 22.04, 24.04
- CentOS 7, AlmaLinux 8, Rocky Linux 8
4. FASTPANEL requires full administrative privileges. Therefore, you must have root access to your server, whether it is a virtual private server (VPS) or a dedicated server.
Installation of FastPanel Hosting Control Panel
Step 1: To access your server, use SSH from a terminal (Linux/Mac) or SSH client (Windows) such as PuTTY. Replace your.server with your server’s public IP address.
Step 2: FASTPANEL installation requires the presence of the wget package, which downloads the installation script from the official repository. Run the following commands:
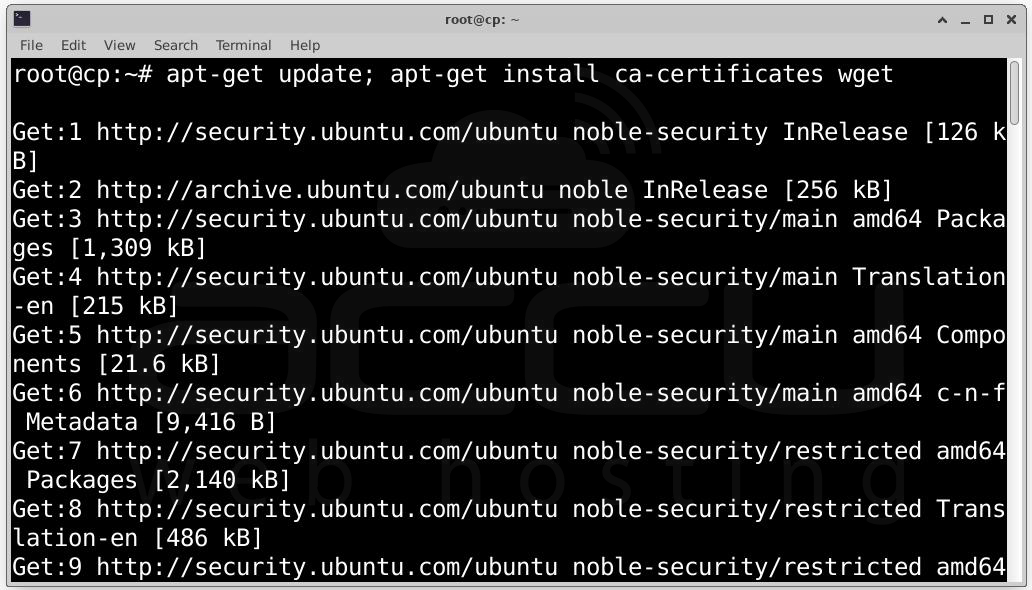
This ensures the package list is updated and all required certificates are installed.
Installing wget on CentOS, AlmaLinux, Rocky Linux: yum makecache; yum install ca-certificates wget
Step 3: FASTPANEL provides an automated installation script that configures everything for you. This script installs: NGINX, MySQL/MariaDB, PHP, PHP-FPM, Supporting system services, and Required dependencies. Run the installation script using the following command:
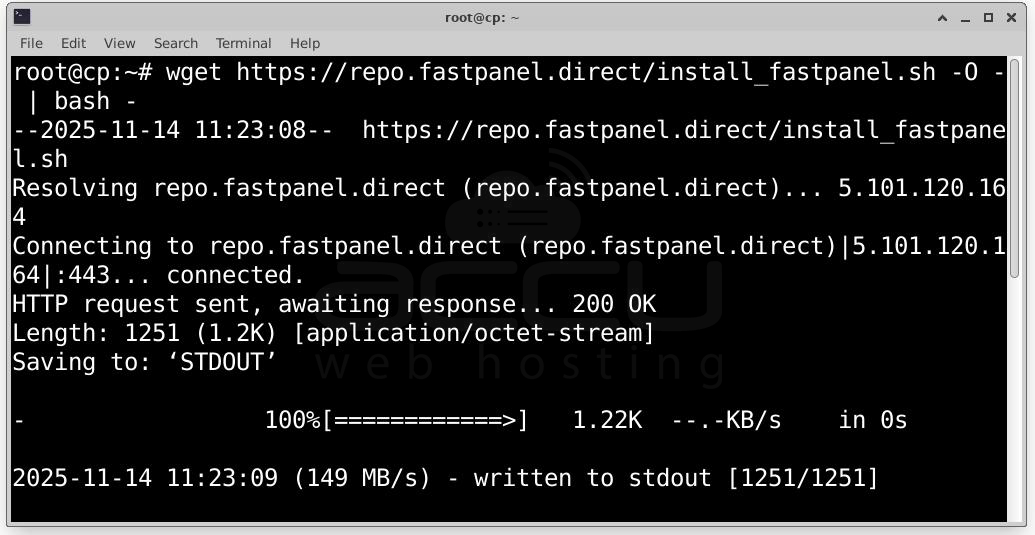
This downloads the script and pipes it directly to the shell for execution.
Step 4: After installation finishes, the system will display your FASTPANEL login URL and credentials, for example: Congratulations! FASTPANEL successfully installed and available for you at https://1.2.3.4:8888
Login: fastuser
Password: password
Save these details securely. You will need them to access the panel.

Step 5: Logging Into FASTPANEL for the First Time by visiting:
https://your.server.ip:8888
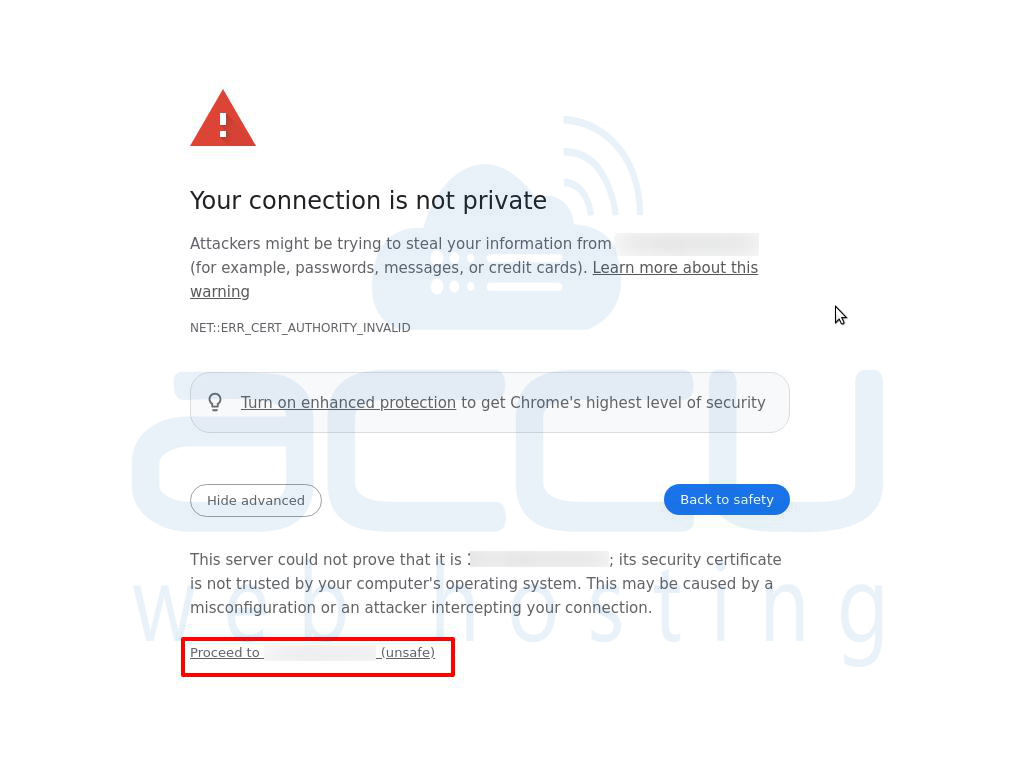
Because FASTPANEL is initially accessed with an IP address, your browser may display a warning such as "Your connection is not private". Click Advanced

You will see the option Proceed to (unsafe). Click on it.
You will then be redirected to the login page. Enter the username and password provided at installation.
Step 6: Upon the first login, FASTPANEL requires a license. The system will automatically redirect you to the license request screen.
Requesting a Free License: Enter your email address in the license request field. Click Request the license.

You will receive an email containing an activation link. The email must be valid to avoid delays. If your server uses a NAT configuration, license activation is required. If your server has a public IP address, activation is simpler, you only need to order a new license from the FASTPANEL billing system.
Completing the License Activation Process
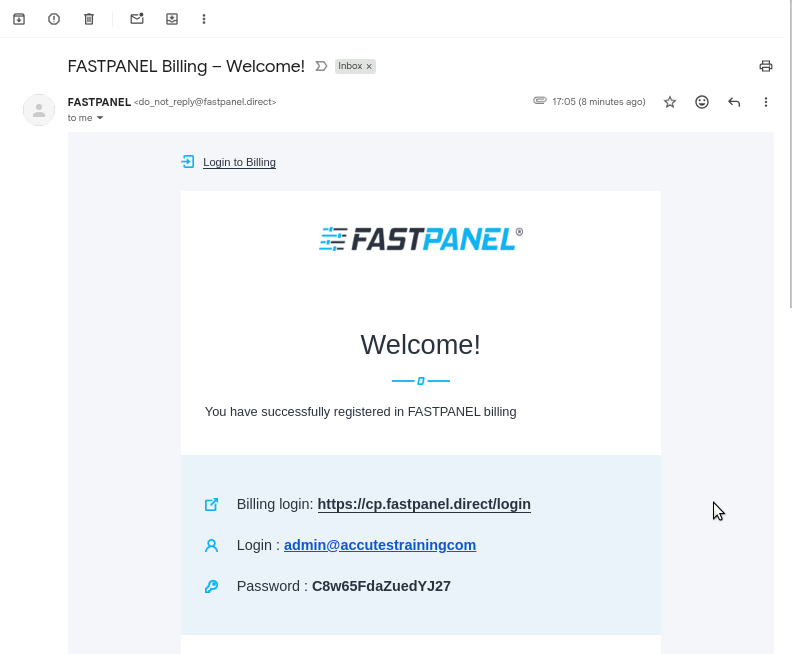
Step 7: After submitting your email, a notification will appear confirming that license instructions have been sent. Open your email inbox and click the activation link. This confirms your ownership and activates your user billing account.

Step 8: You will receive billing account details from FASTPANEL.
Step 9: Once activation is confirmed, log into your FASTPANEL billing account.

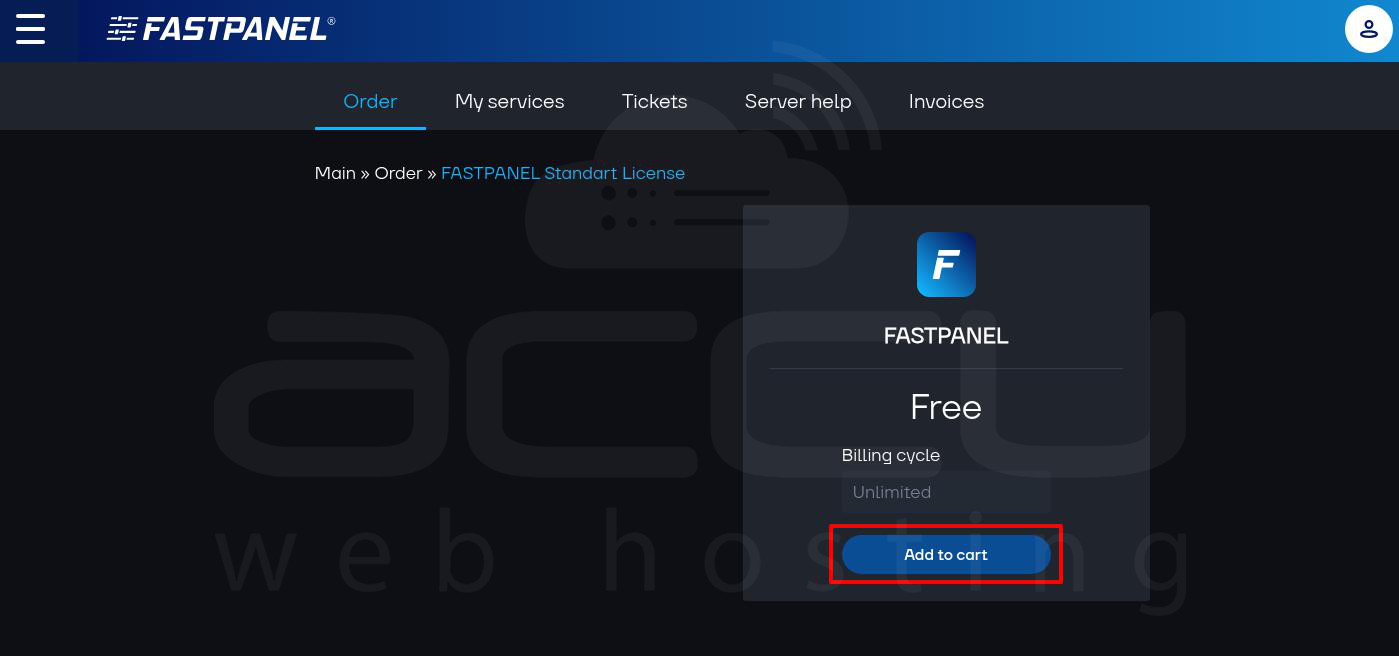
Step 10: Navigate to the license ordering page. Choose the license type (Free or Paid).

Step 11: Click Add to Cart.
Step 12: Assign your server’s IP address to activate the license.

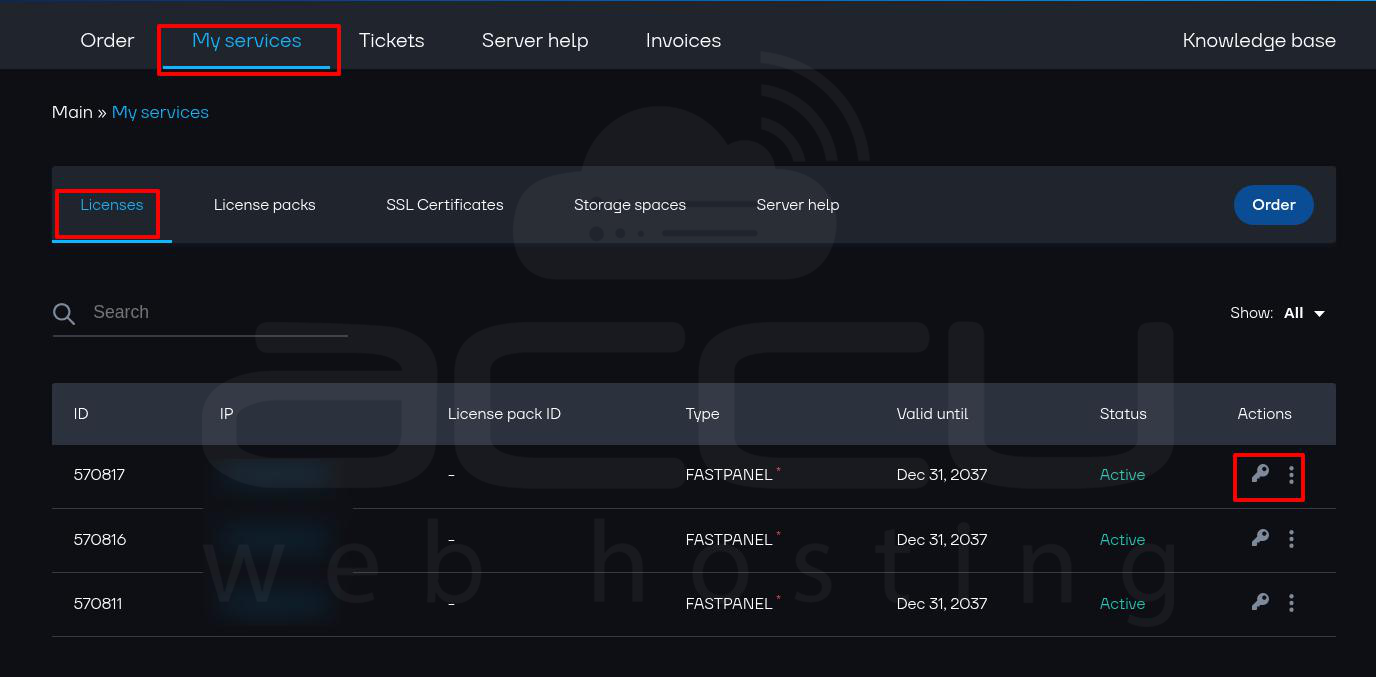
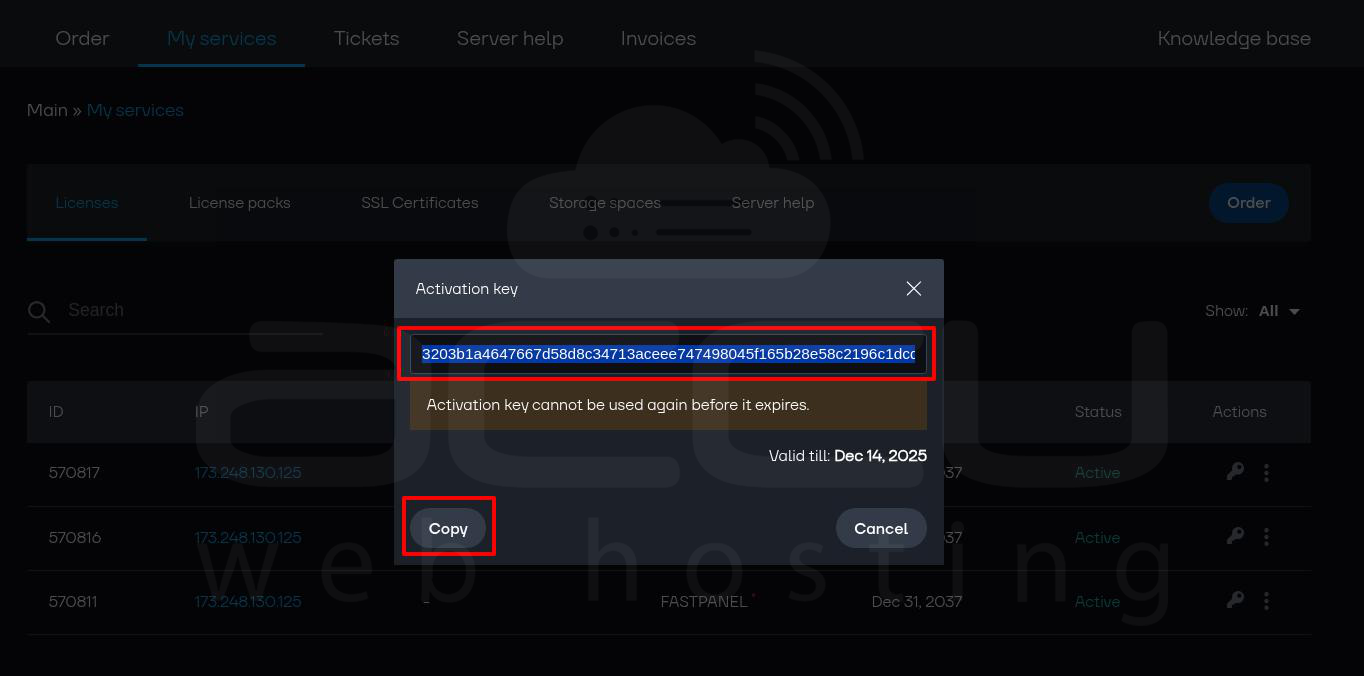
If automatic activation fails,Go to My Services in the billing portal. Click the Key button to display your activation key.
Copy the key and Paste the key in the activation panel.
Once activated, your FASTPANEL dashboard will be fully accessible.

Configuring Access via FQDN
While accessing FASTPANEL via your server’s IP address works, using a fully qualified domain name (FQDN) is far more professional and secure. It also allows you to install valid SSL certificates.
Step 13: In your domain registrar's DNS management panel, create An A Record e.g., cp.yourdomain.com and points to Your server’s public IP address. DNS propagation may take a few minutes to several hours.
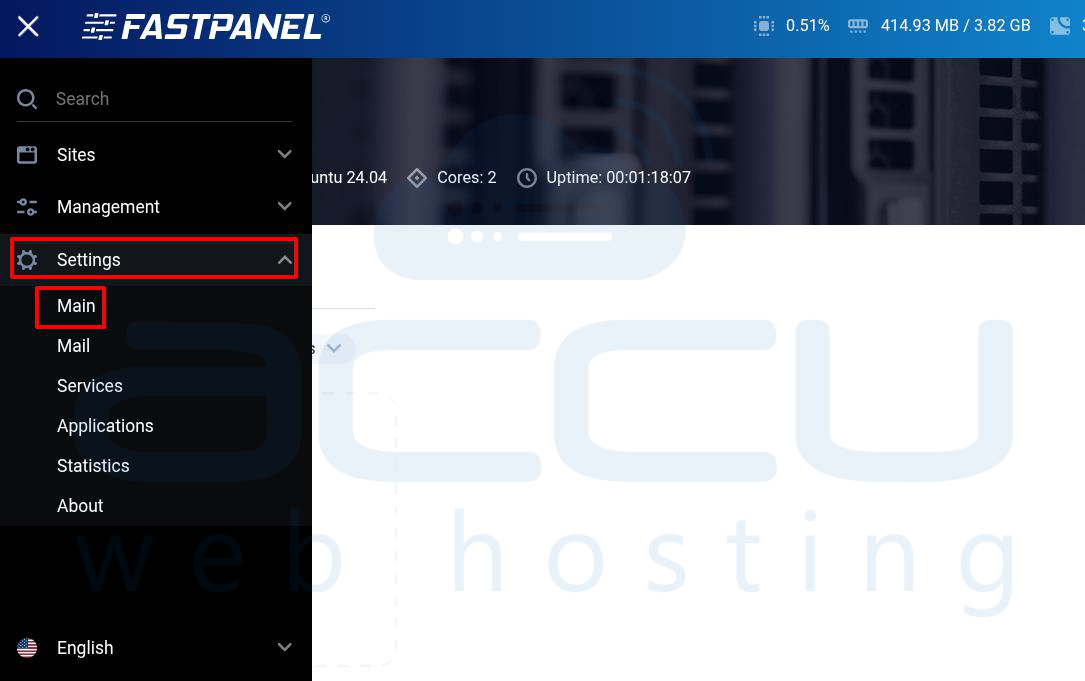
Step 14: Once DNS is propagated, Log into FASTPANEL and Go to Settings → Main.
Step 15: Navigate to Panel Address and Click Add Address.
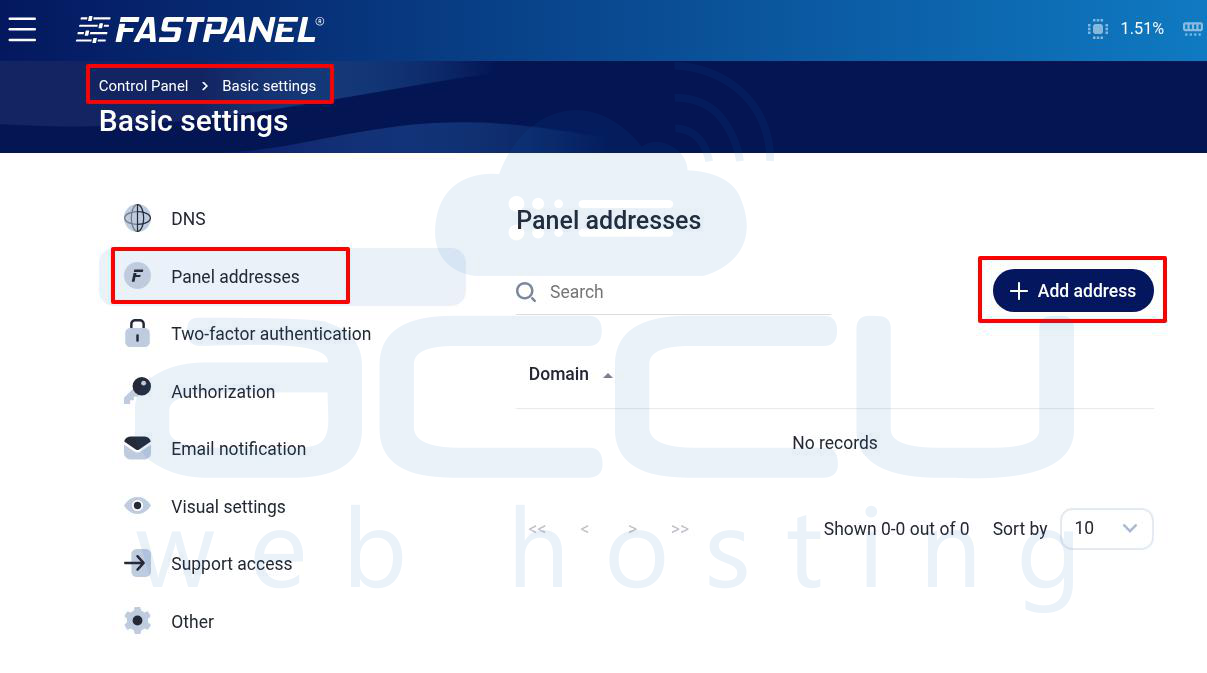
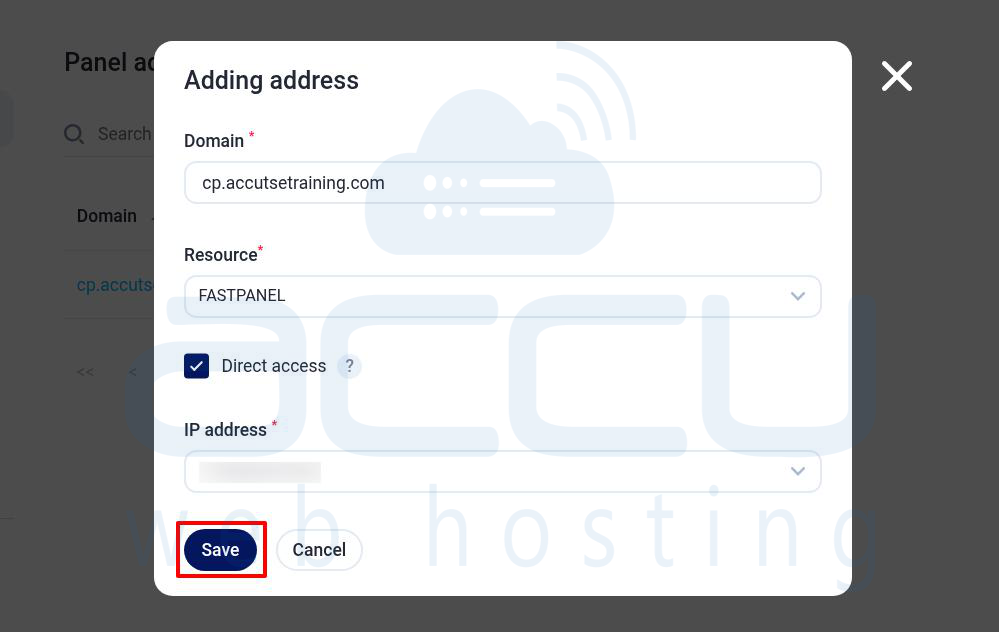
Step 16: Enter domain: cp.yourdomain.com, Resources: FASTPANEL, Tick Direct Access and select your server’s IP address. Click Save.
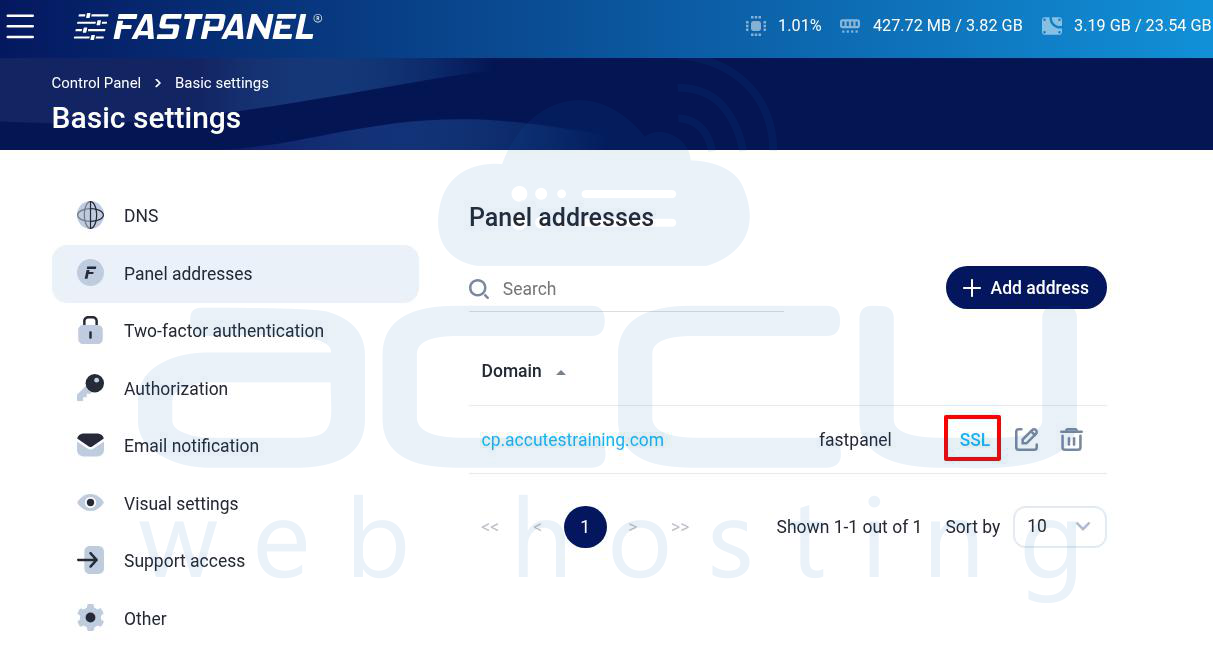
Step 17: To secure your domain access, click on the SSL option next to the panel address.
Step 18: Select the certificate type, Let's Encrypt SSL and click Save.
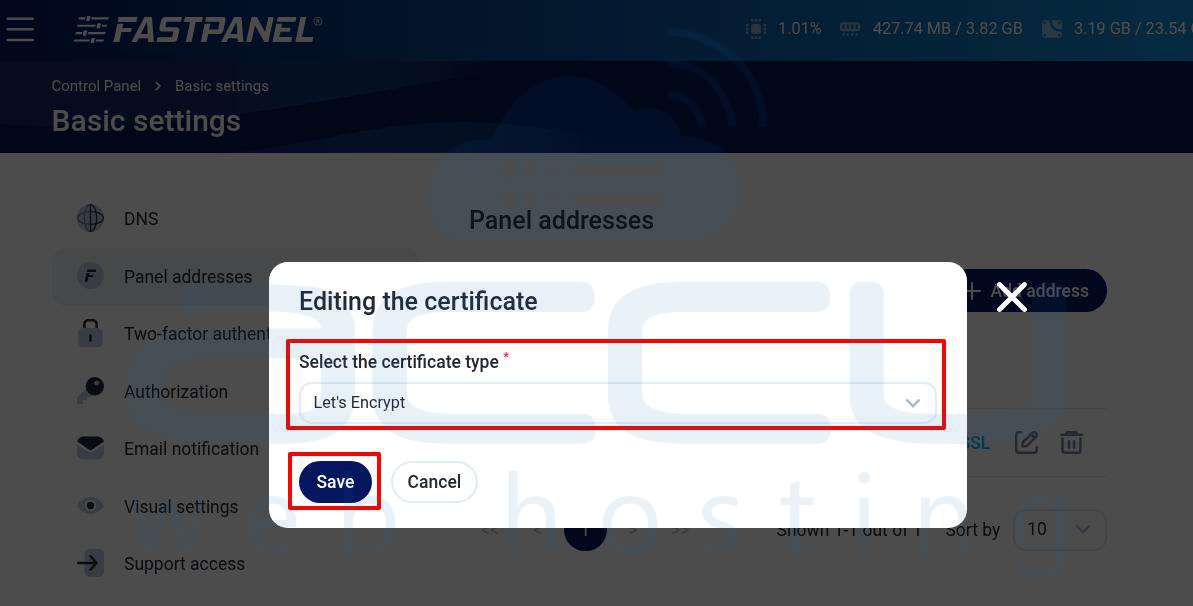
FASTPANEL will obtain and install the certificate automatically. After installation, you can access FASTPANEL securely using: https://cp.yourdomain.com
Step 19: After completing all steps, ensure, the panel address loads correctly and SSL certificate is active.

Conclusion
FASTPANEL is a powerful yet lightweight control panel suitable for anyone who wants an intuitive and efficient way to manage web hosting environments. By following these detailed instructions, you will have a fully operational FASTPANEL setup capable of hosting websites, managing databases, configuring DNS, and much more.
