Managing a web server can sometimes be complex, especially if you’re not comfortable with command-line operations. aaPanel is a free, open-source hosting control panel that simplifies server management through a user-friendly web interface. It allows you to manage websites, databases, FTP accounts, and more, all from one place. This guide will walk you through installing and configuring aaPanel on a Debian VPS step by step.
Prerequisites
Before you start, ensure you have:
- A Debian VPS (Debian 10 or 11 recommended).
- Root access to your VPS or a user with sudo privileges.
- Basic knowledge of using the terminal and SSH.
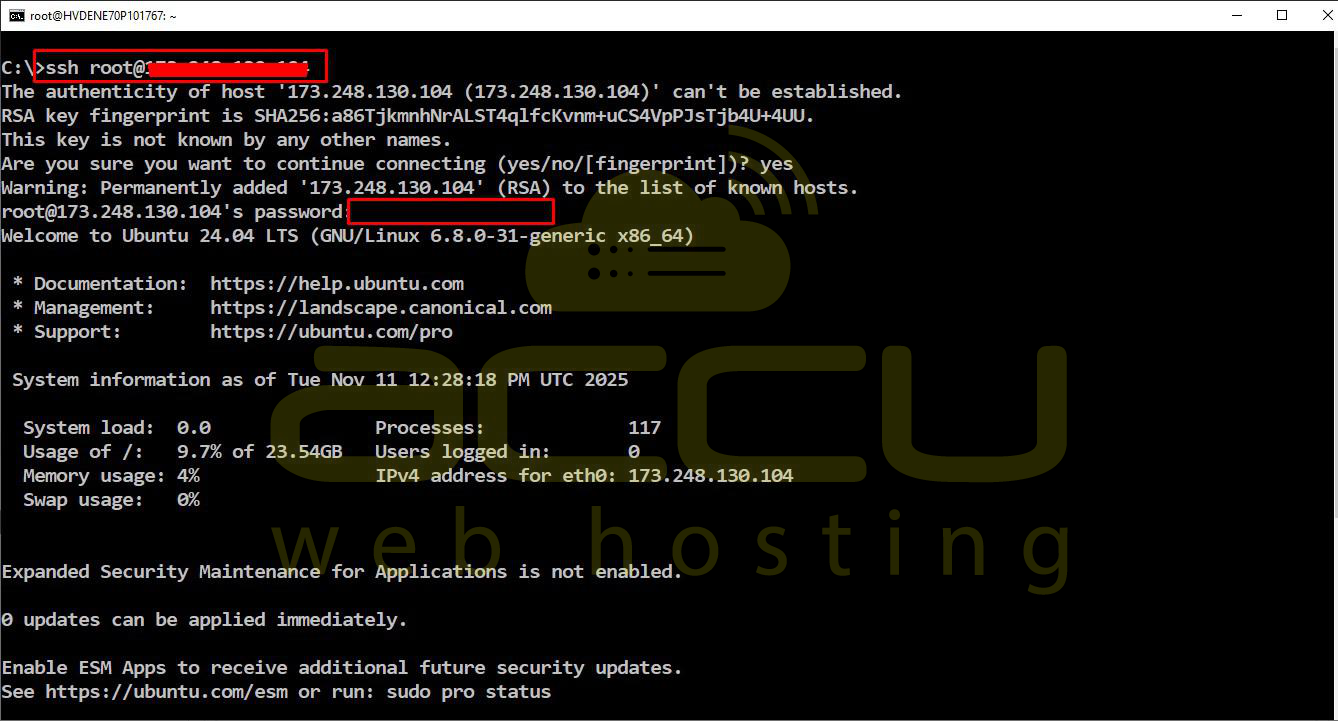
Step 1: Connect to Your VPS via SSH
Use an SSH client (like PuTTY on Windows or Terminal on Linux/macOS) to connect to your VPS:
ssh root@your_server_ip
Replace your_server_ip with the IP address of your VPS. Enter your root password when prompted.
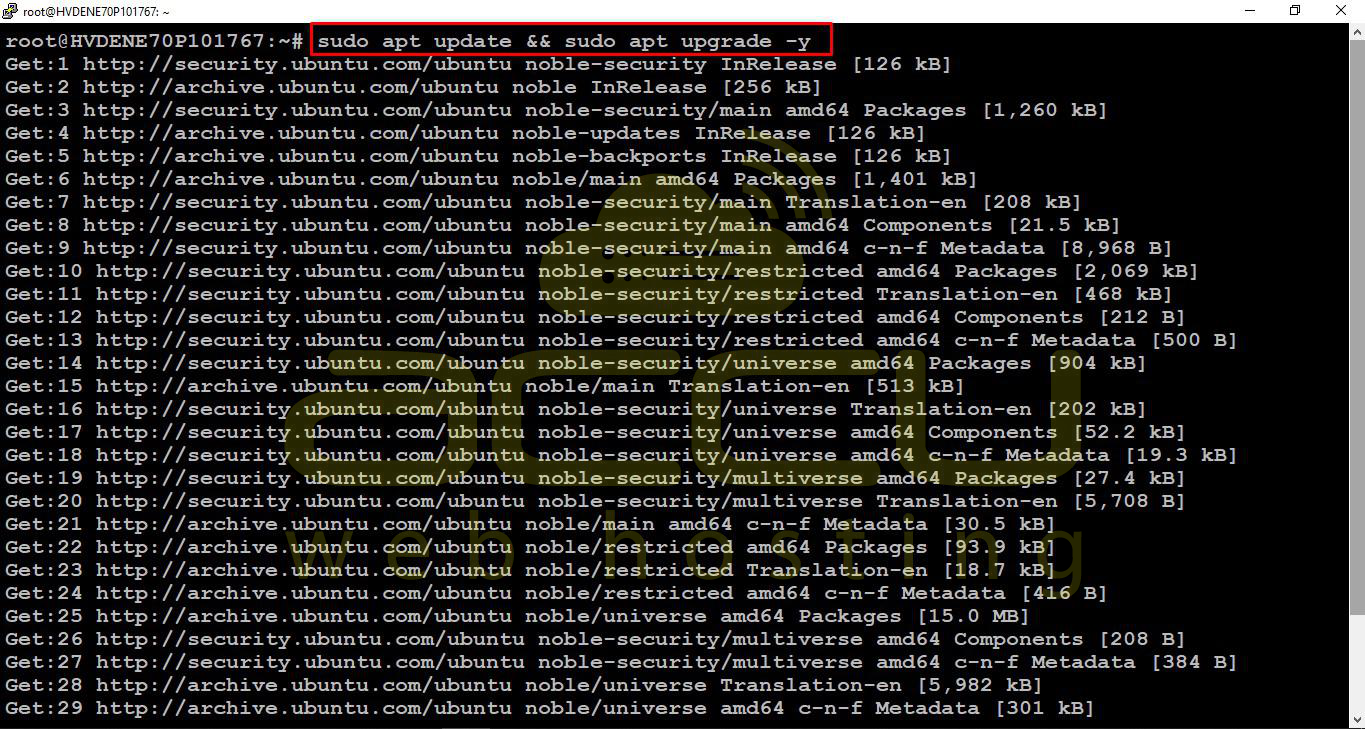
Step 2: Update Your System
Before installing anything, make sure your system is up to date:
sudo apt update -y && sudo apt upgrade -y
This ensures you have the latest security patches and packages.
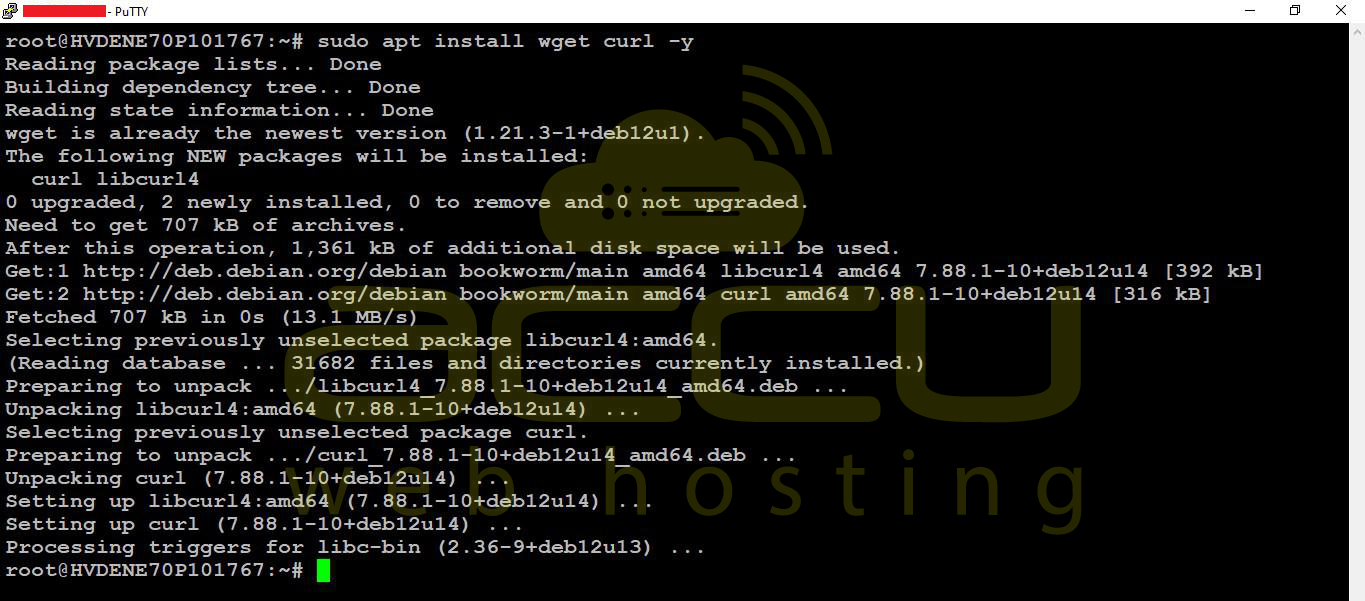
Step 3: Install Required Dependencies
aaPanel requires a few packages to run smoothly. Install them with:
sudo apt install wget curl -y
Step 4: Download and Install aaPanel
Download the official installation script and run it:
wget -O install.sh http://www.aapanel.com/script/install-ubuntu_6.0_en.sh

sudo bash install.sh -y
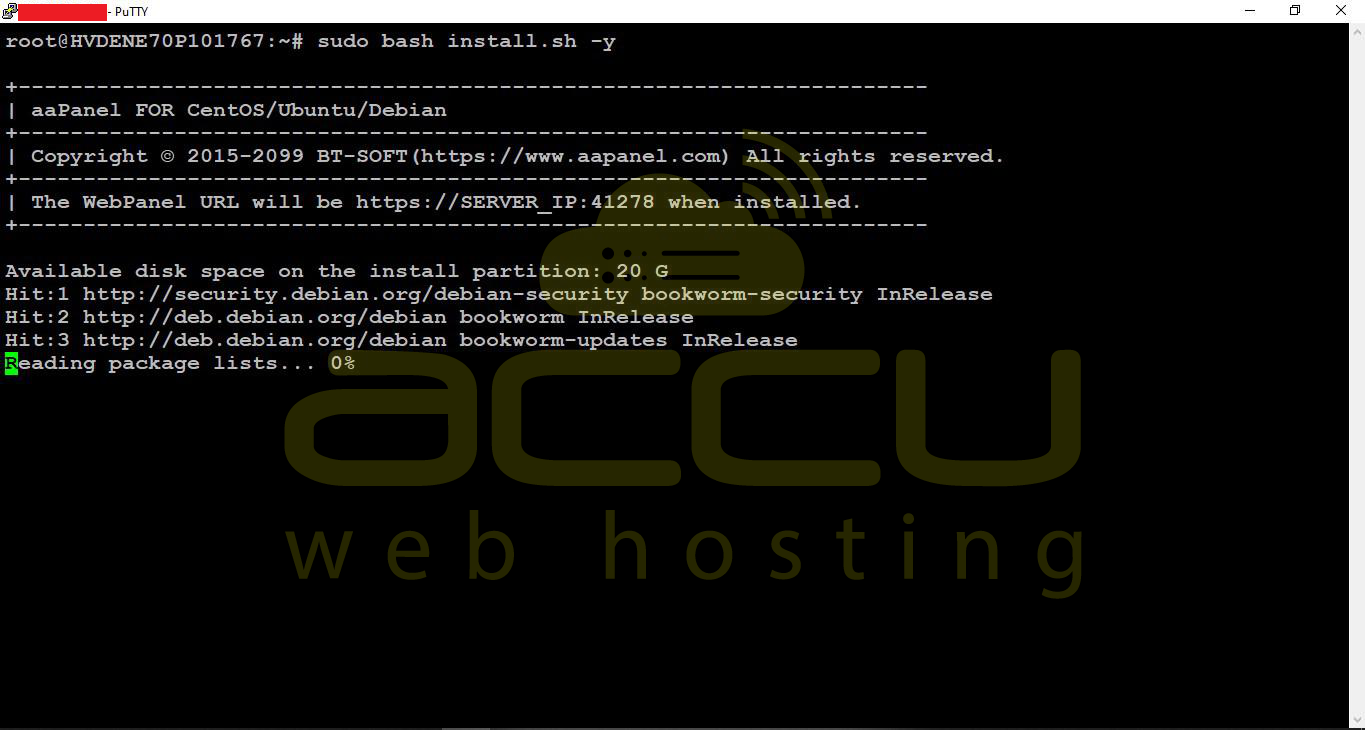
During the installation, you’ll be prompted to confirm the installation directory and some options.
The script will install all necessary services, including nginx, MySQL, and PHP, depending on your selections.
Step 5: Access aaPanel Web Interface
Once installation is complete, the script will display:
- Panel URL (usually http://your_server_ip:8888 or the one provided right after installation)
- Username and Password for the admin panel
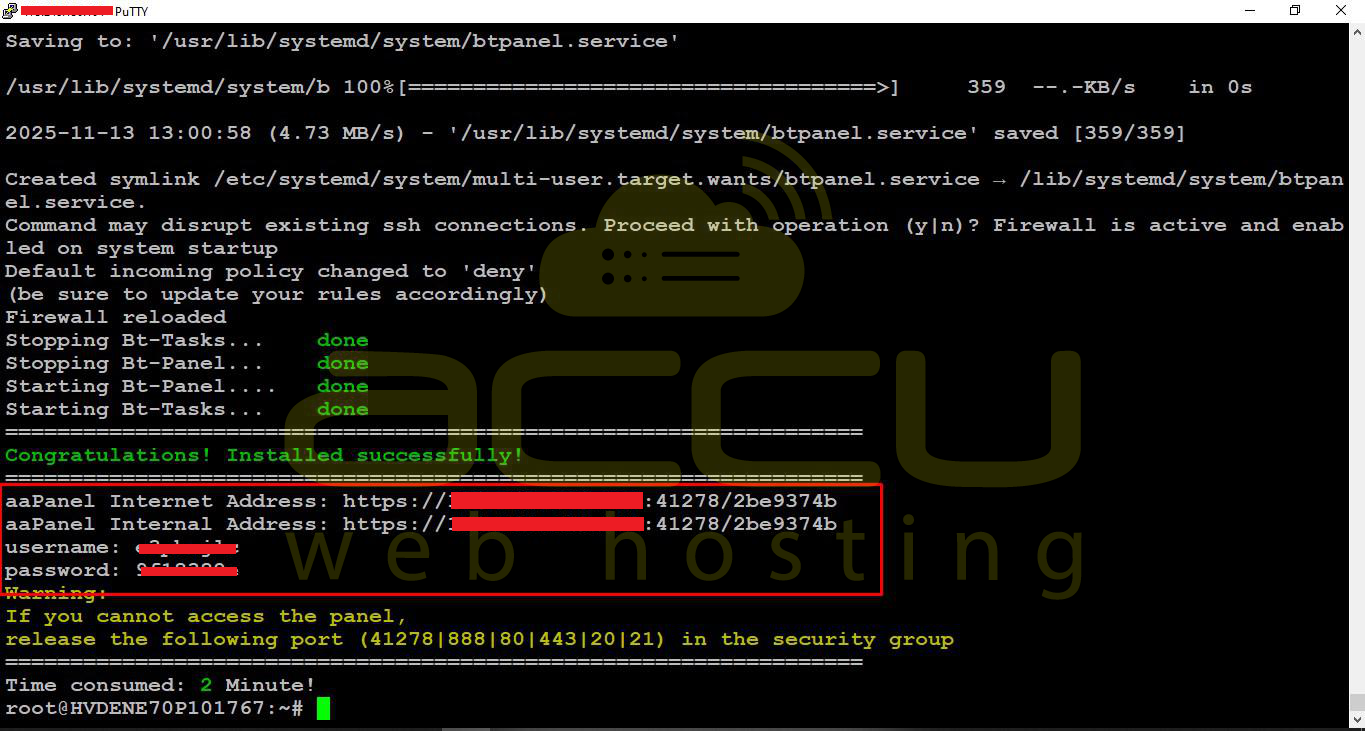
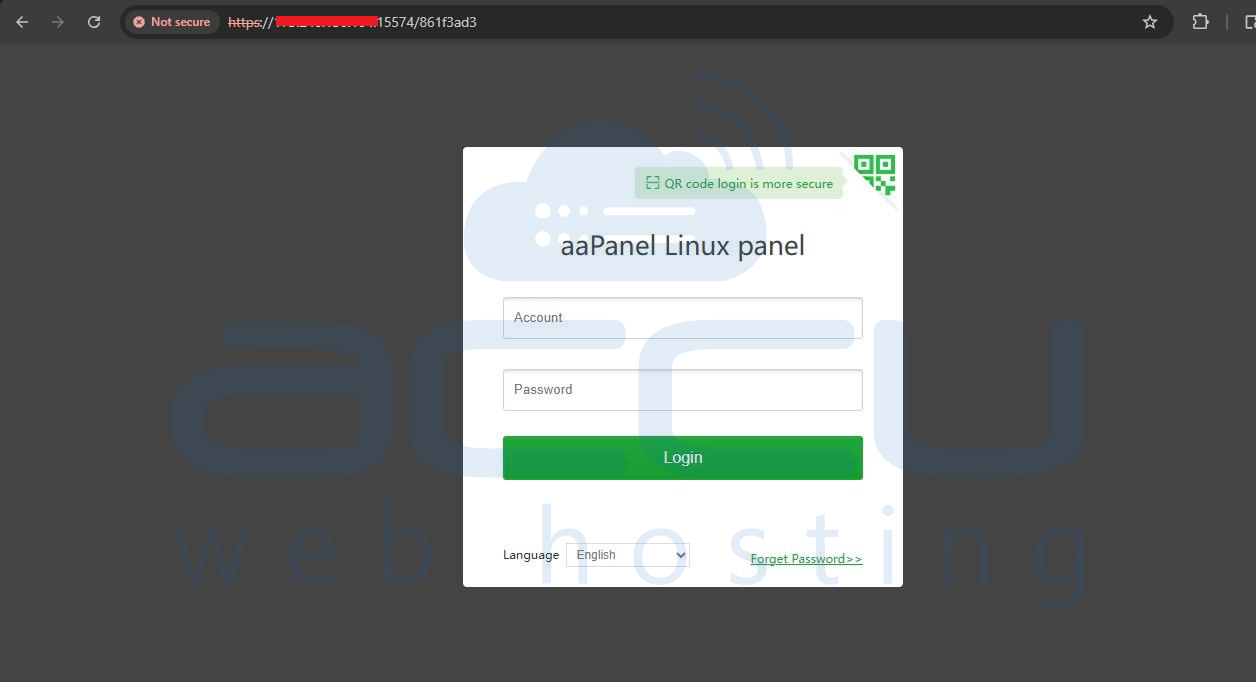
Open your web browser and go to the URL provided. Log in using the credentials from the script.

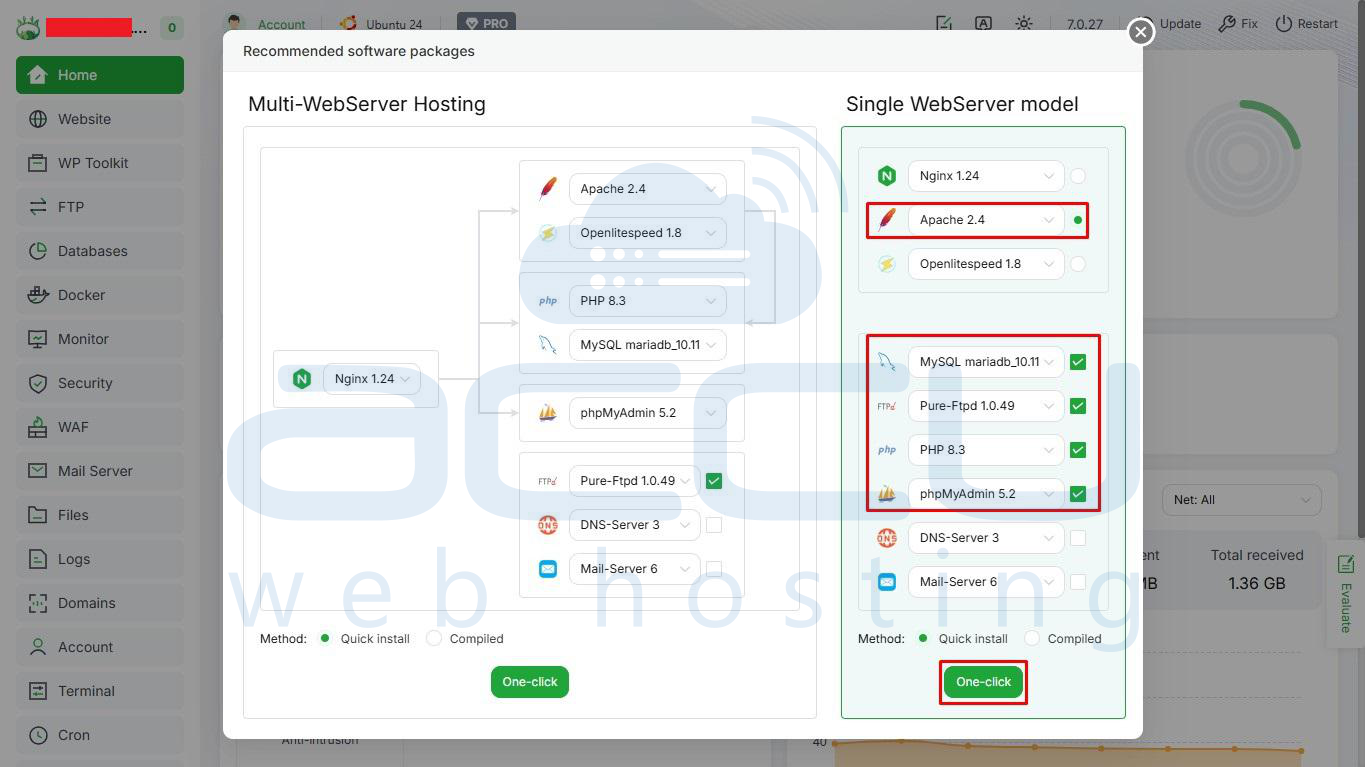
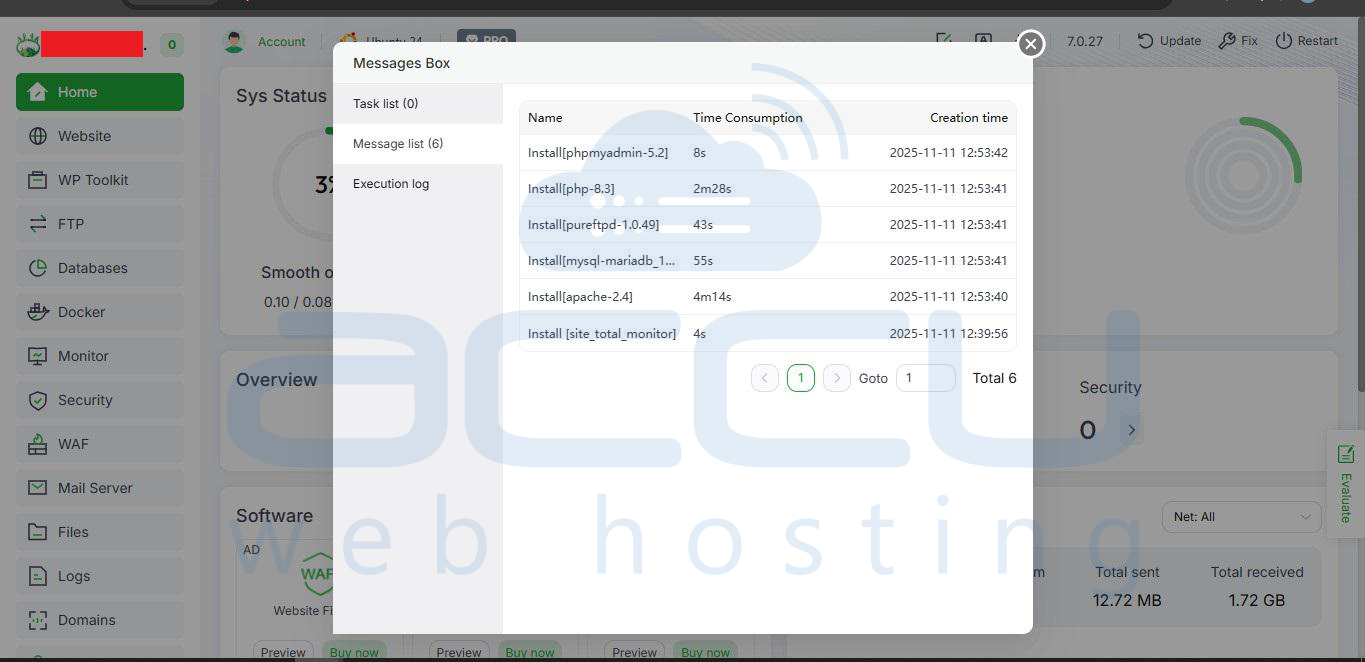
Step 6: Recommended Software Packages (First Login Only)
After login, if this is your first login, a popup appears: “Recommended Software Packages”.
1. Select “Single WebServer Model”.
2. Choose the following software packages:
- Web Server: Apache 2.4
- Database: MySQL mariadb_10.11
- Mail Server: Pure-Ftpd 1.0.49
- Database Management: phpMyAdmin 5.2
- PHP Version: 8.3
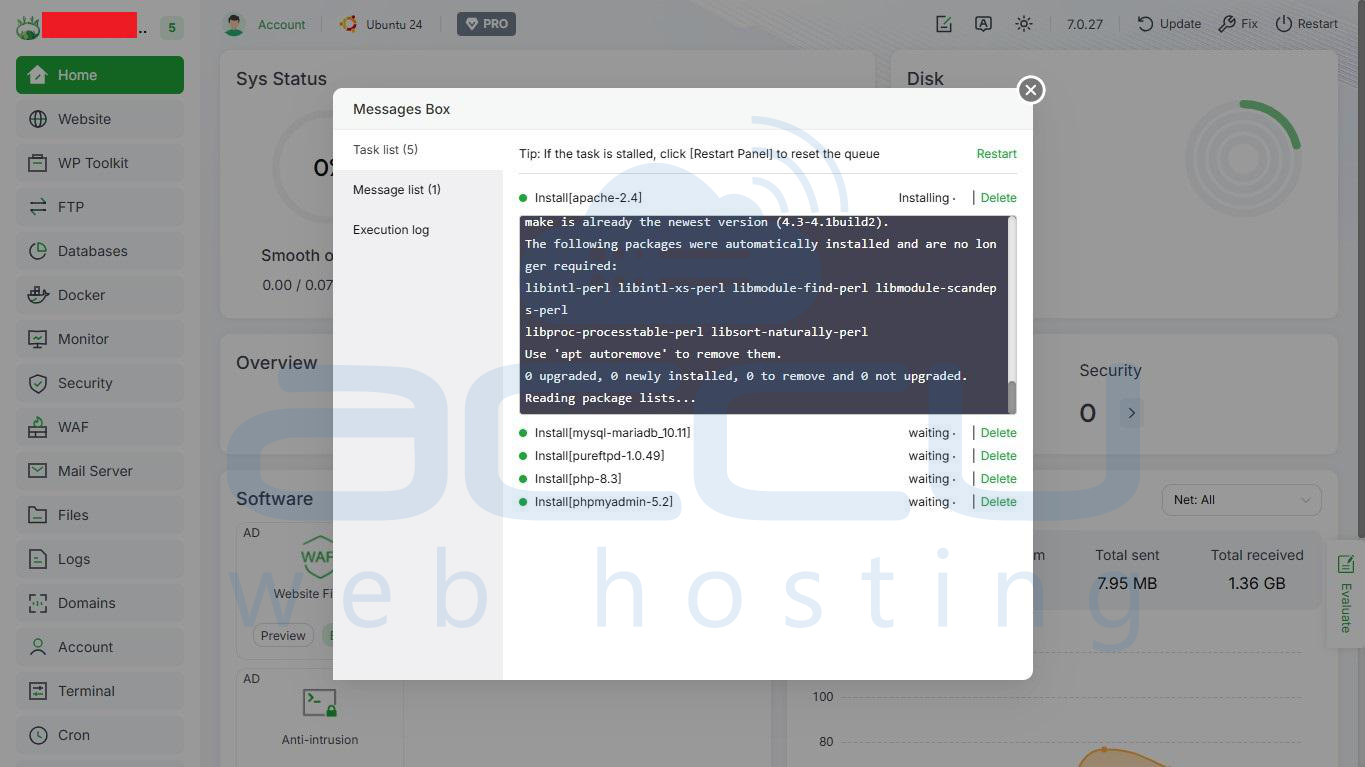
3. Click Submit / Install and wait for installation to complete.
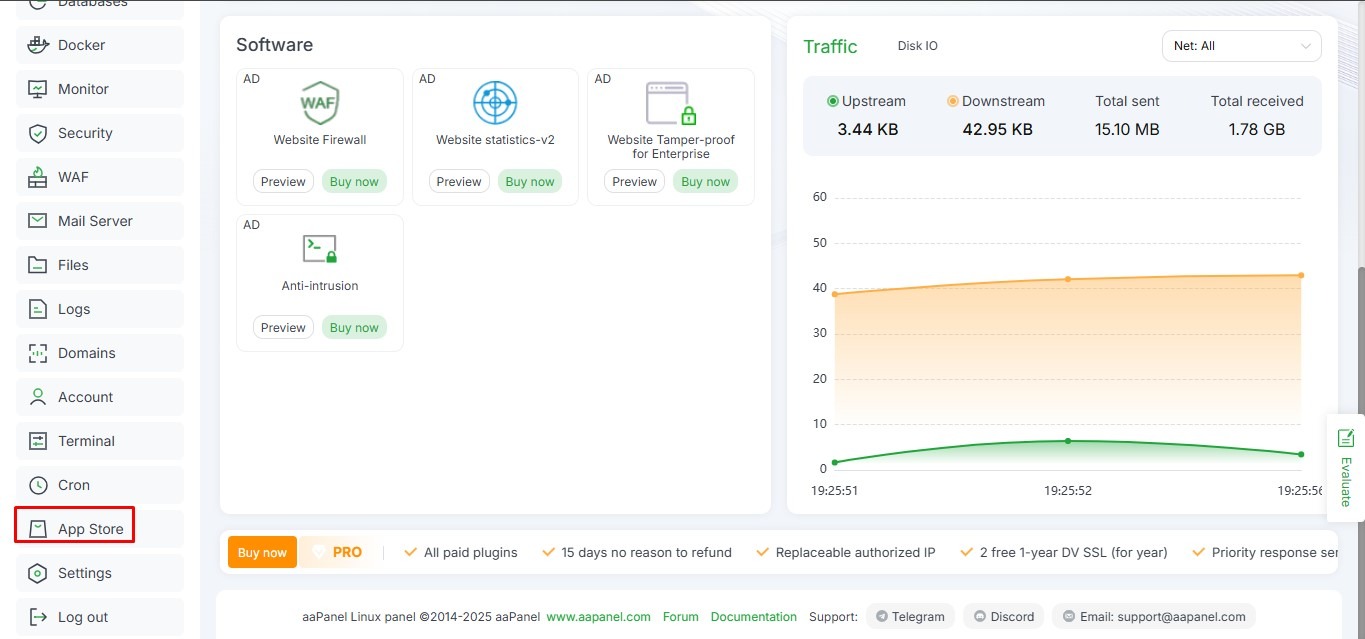
Step 7: One-Click Web Stack Installation (if Needed)
WordPress requires a web server, PHP, and a database. If you skipped the Recommended Software popup or want to install manually:
1. Go to App Store → One-click Install
2. Choose a web stack:
- LNMP (Linux + Nginx + MySQL + PHP)
- LAMP (Linux + Apache + MySQL + PHP)
3. Click Install and wait for it to complete(if required).
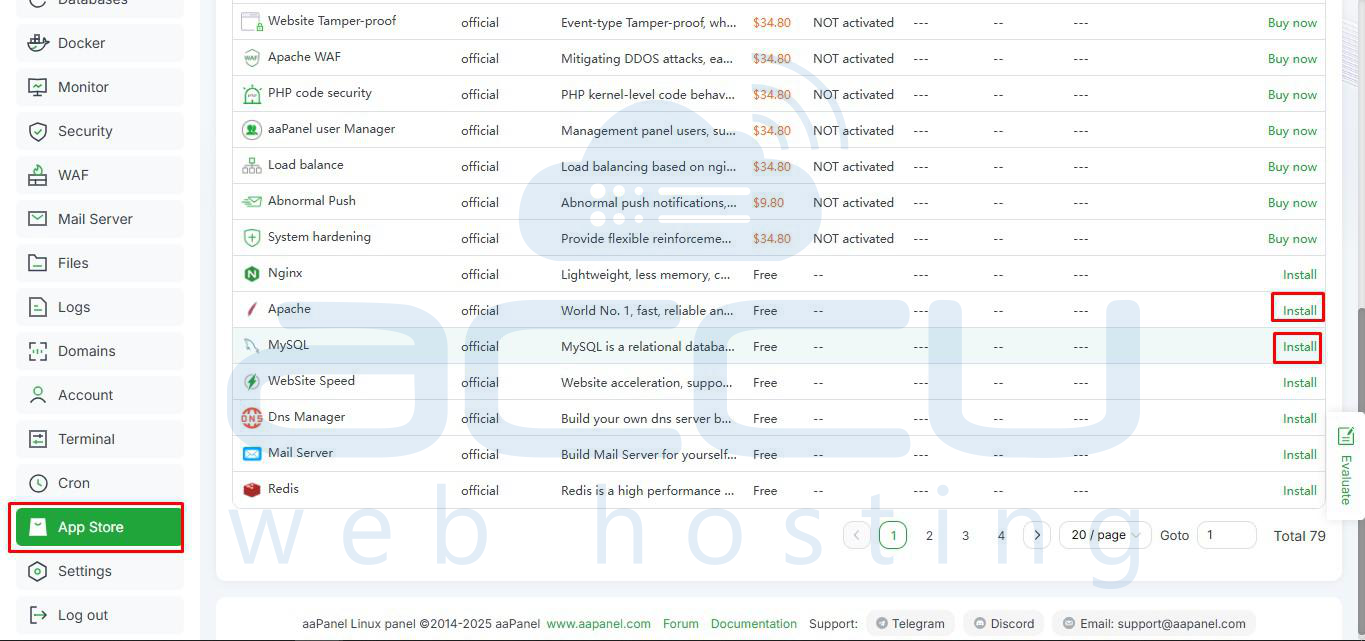
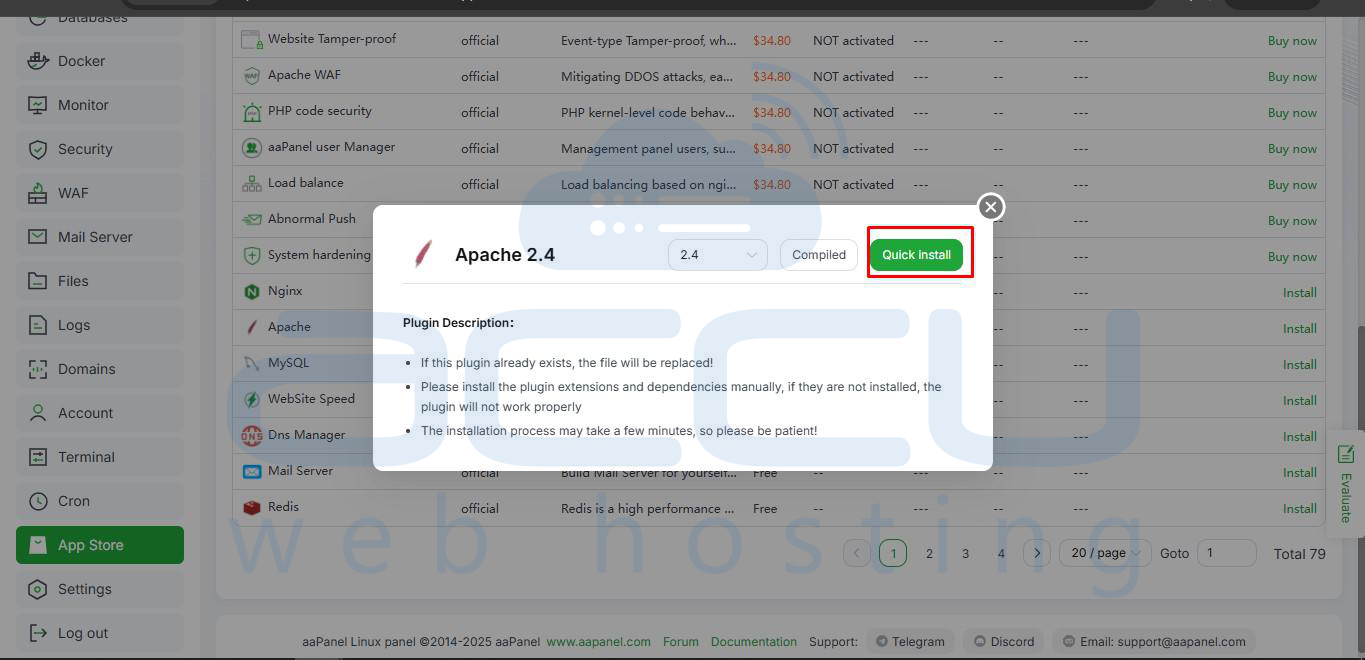
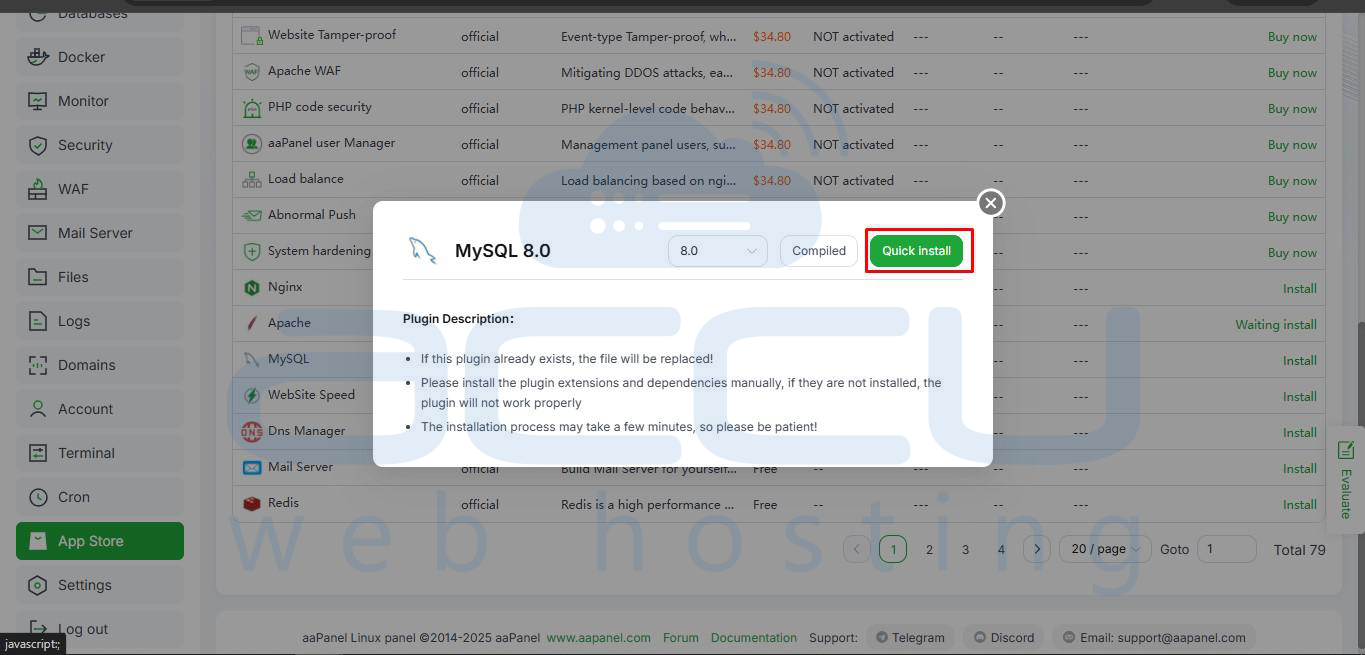
Apache 2.4 → Quick Install
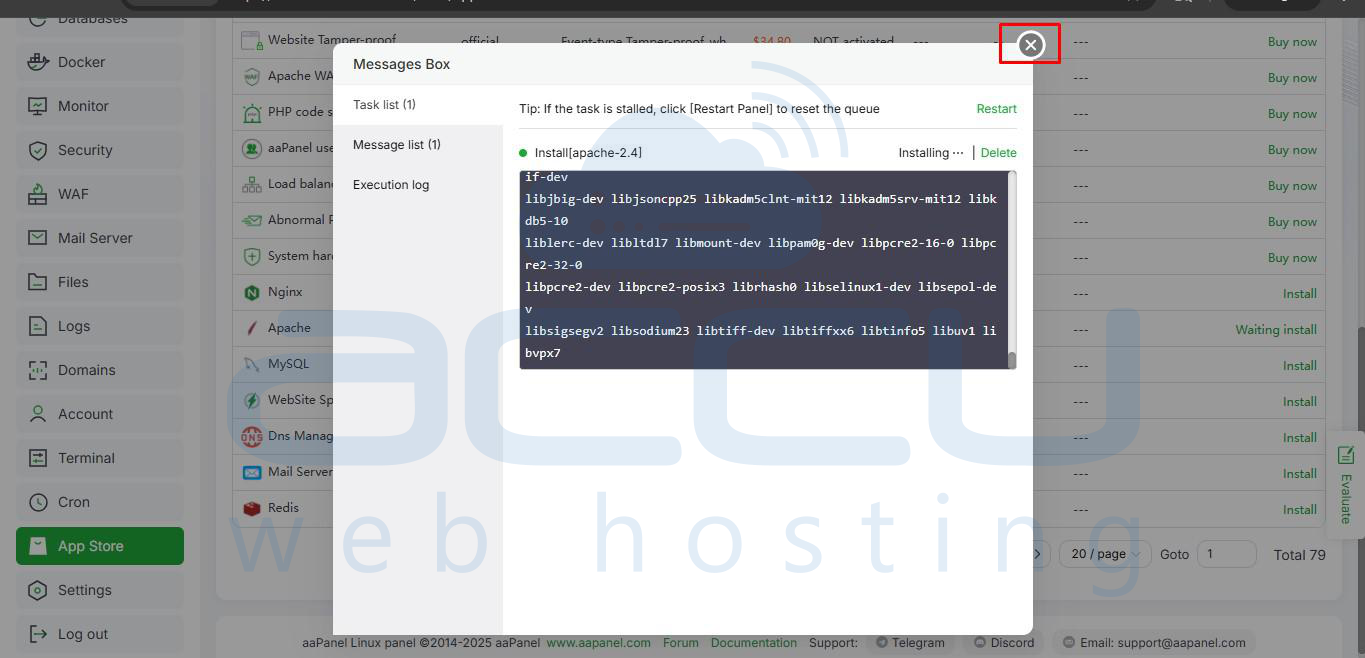
MySQL 8.0 → Quick Install
phpMyAdmin & Pure Ftpd → Install→ Quick Install
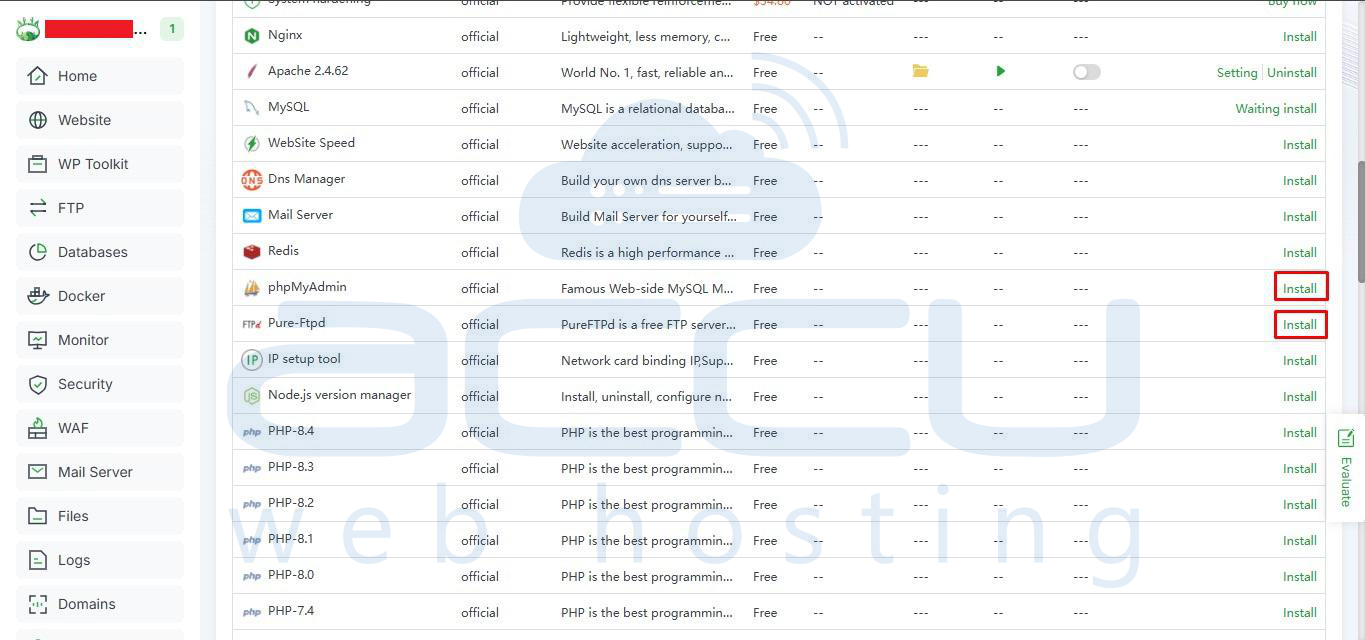
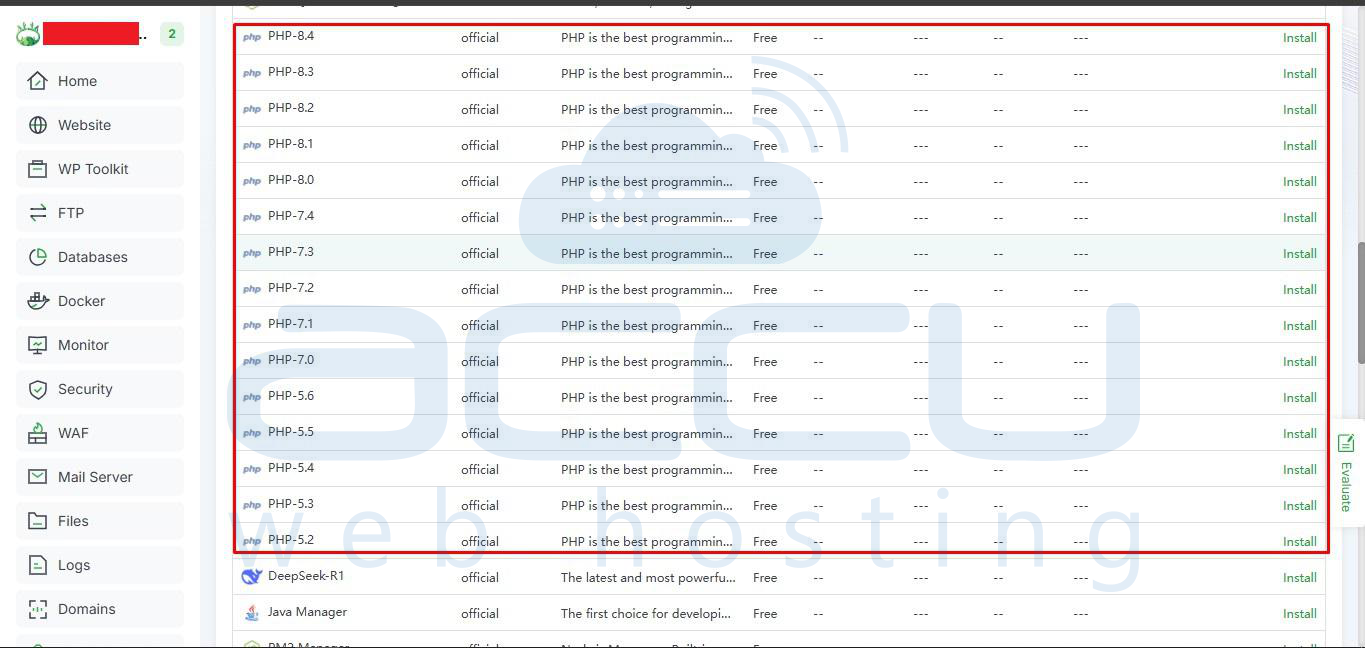
PHP versions(install the required ones)→ Install→ Quick Install
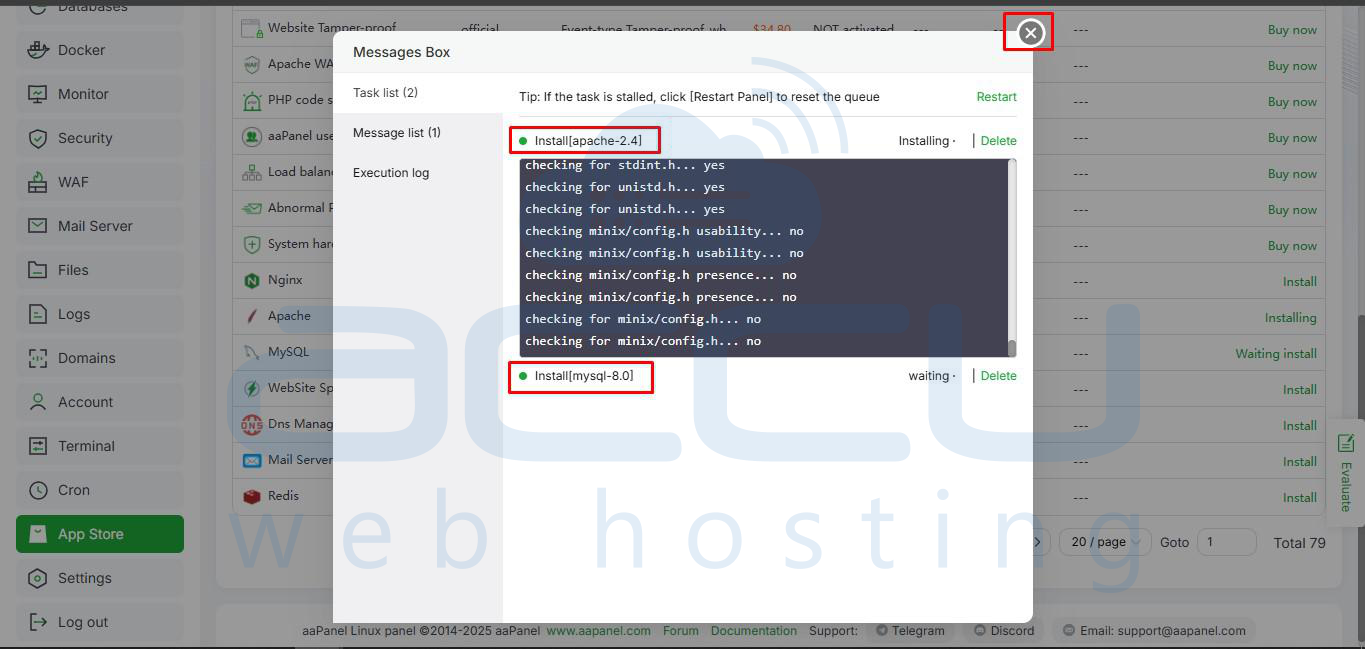
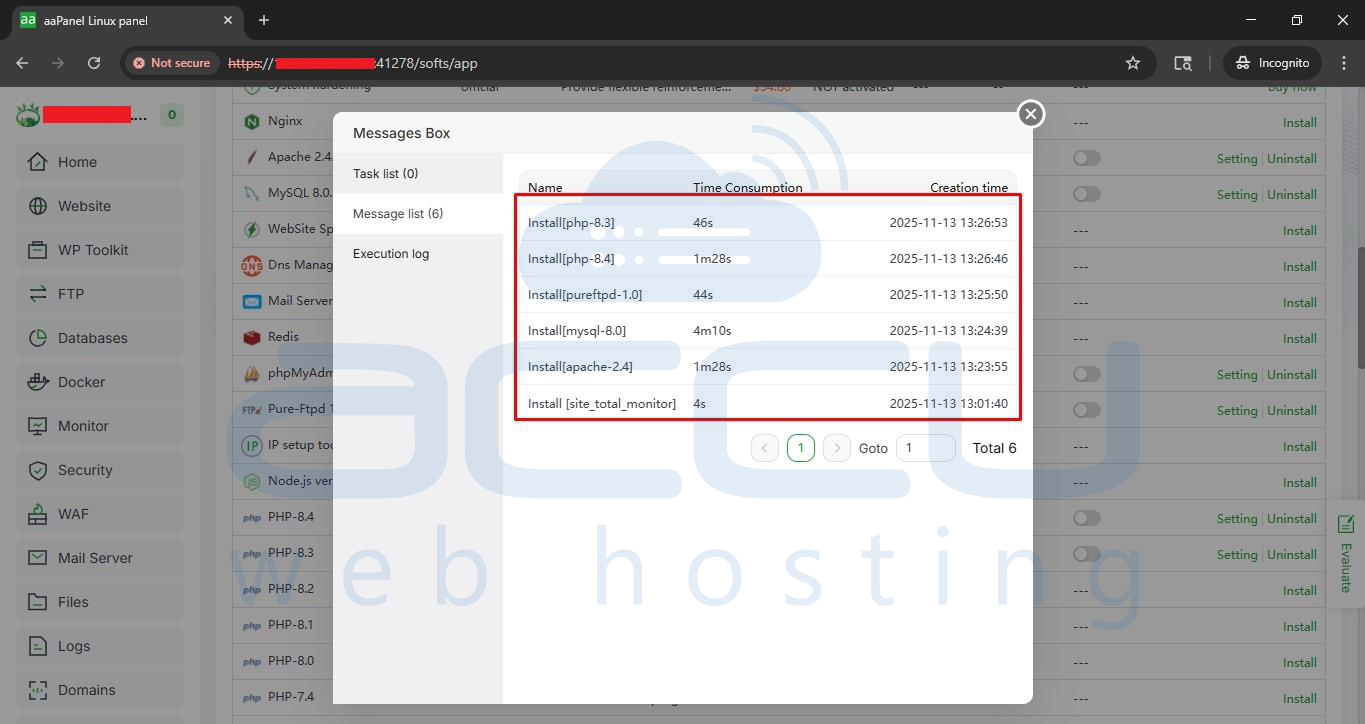
Installation Summary Page:
Step 8: Create a Website in aaPanel
1. Navigate to Websites → Add Site
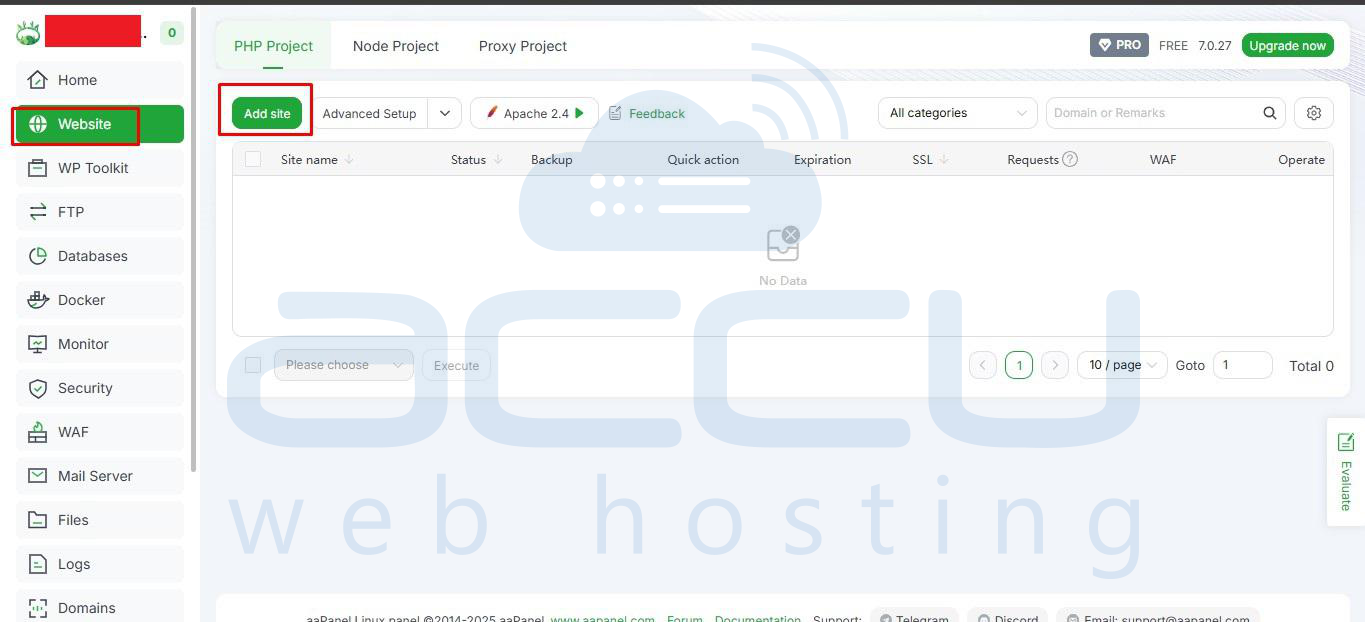
2. Fill in your domain name (or leave blank to use IP)
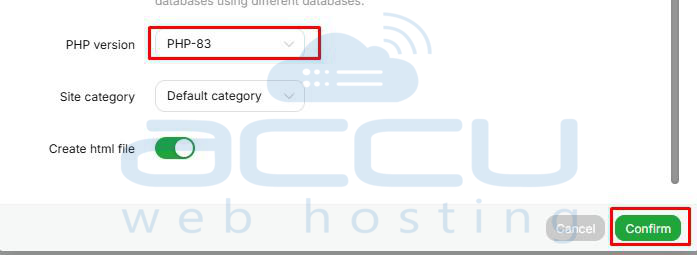
3. Select the PHP version compatible with WordPress (PHP 8.0+ recommended)
4. Create a new database(note down the database details)
5. Click Submit

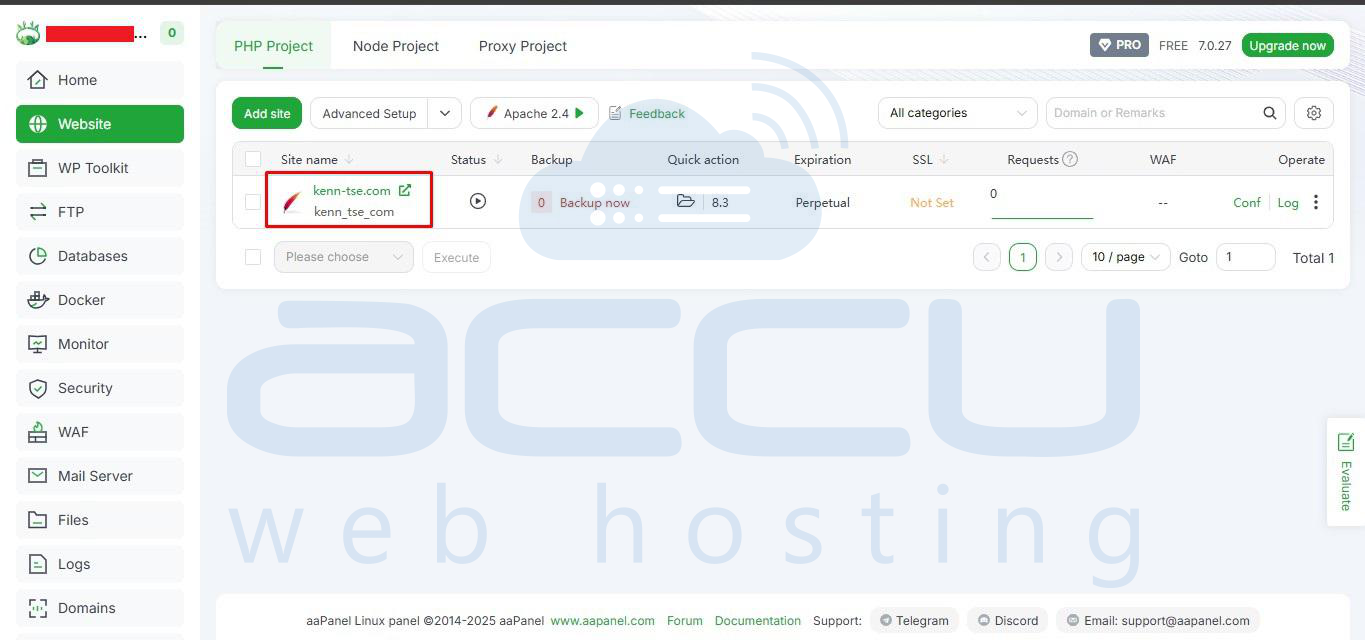
Your website is now ready to host content!
Conclusion
Installing aaPanel on a Debian VPS transforms your server into a fully manageable hosting environment. With its intuitive interface, you can manage websites, databases, FTP accounts, and security settings without needing deep command-line knowledge.
Remember to enable SSL for both your panel and websites to ensure secure connections. Following this guide, you can quickly get your Debian VPS ready to host multiple websites with ease.
