Introduction
aaPanel is a popular and user-friendly web hosting control panel that makes it easy to manage websites, databases, and server configurations.
In this article, we will explain the complete step-by-step process of installing WordPress using aaPanel, even if you are new to server management.
Step-by-Step Guide to Install WordPress Using aaPanel
Step 1: Log In to Your aaPanel
Step 2: From the left sidebar, click on WP Toolkit.
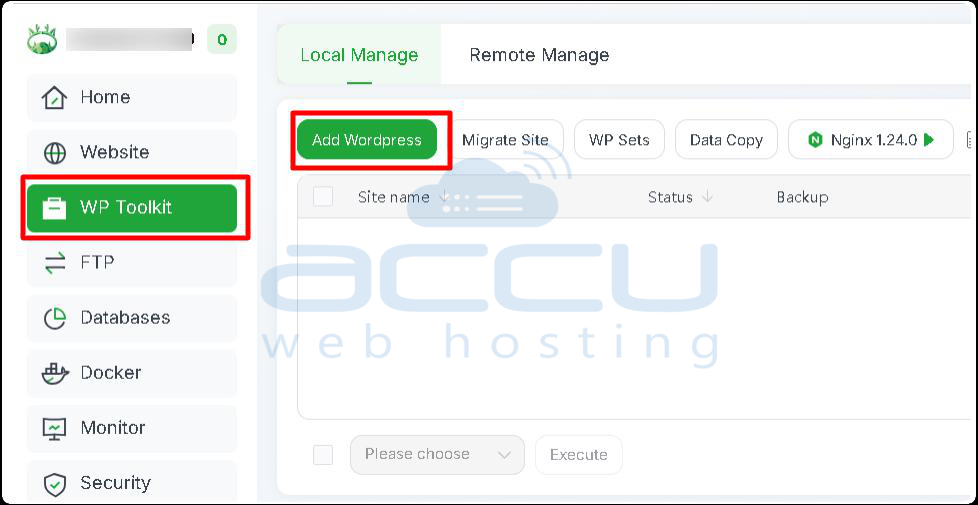
WP Toolkit enables you to easily install, update, clone, and manage your WordPress sites.
Step 3: Inside the WP Toolkit under the Local Manage tab, click the Add WordPress button.
Step 4: Configure Your WordPress Installation
A window titled Add Site will appear. Ensure you are on the Create Site tab.
Enter the following details:
WordPress Installation Details
- Domain Name: Enter your domain for the WordPress website.
- Website Title: Title for your website.
- PHP Version: Select the PHP version from the dropdown.
- WP Version: Select the WordPress version from the dropdown.
- Username: Enter the username you would like to set for the WordPress admin.
- Password: Enter the password for the WordPress admin user.
- Email: Enter the email address you want to set for the WordPress admin.
- Prefix: Enter the prefix you would like to set for the WordPress database.
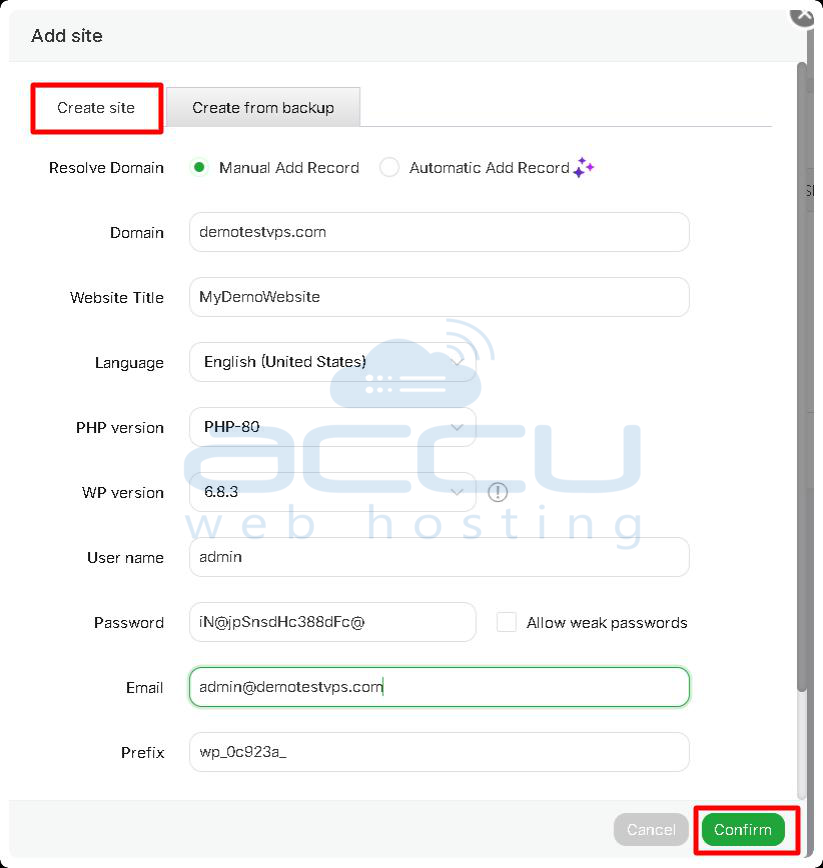
Once all the details are filled in, click the Confirm button.
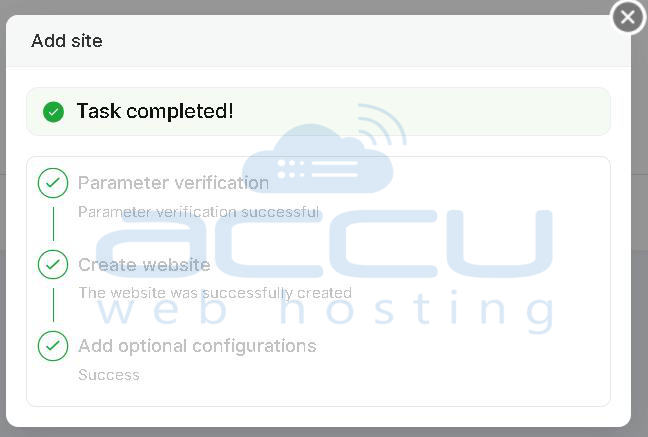
You will see a Task Completed message once everything is done.
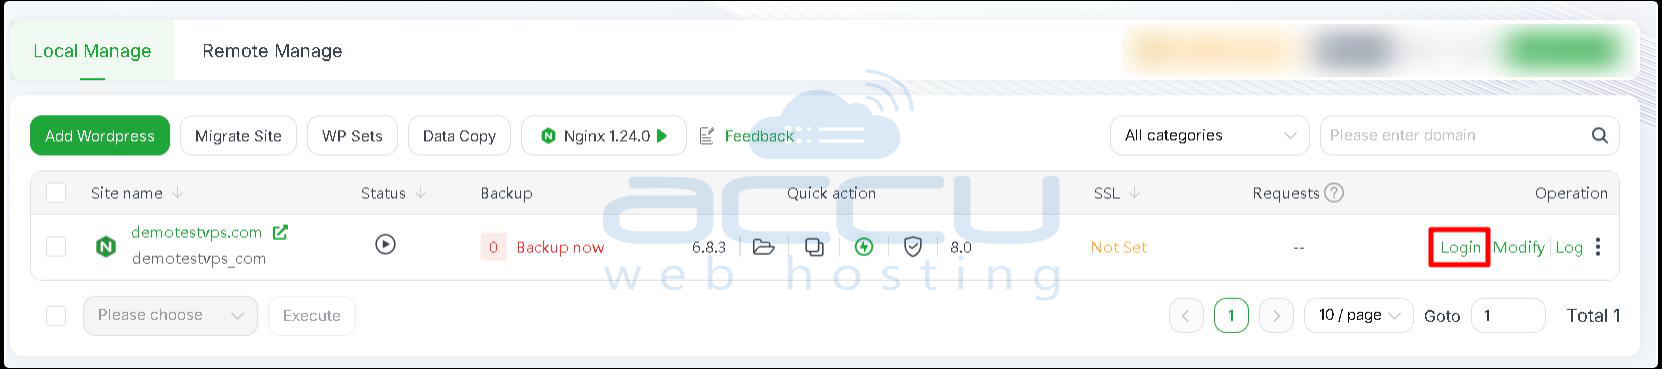
Step 5: Access Your WordPress Admin Panel
Return to the WP Toolkit page and locate your newly created website.
Under the Operation column, click Login. It will redirect you to the WordPress admin login page.
Enter your admin username and password, then click Log In.

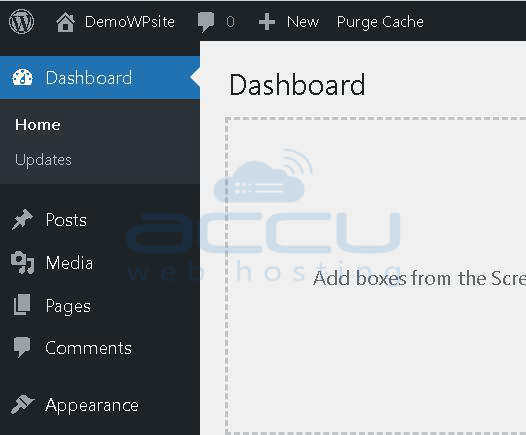
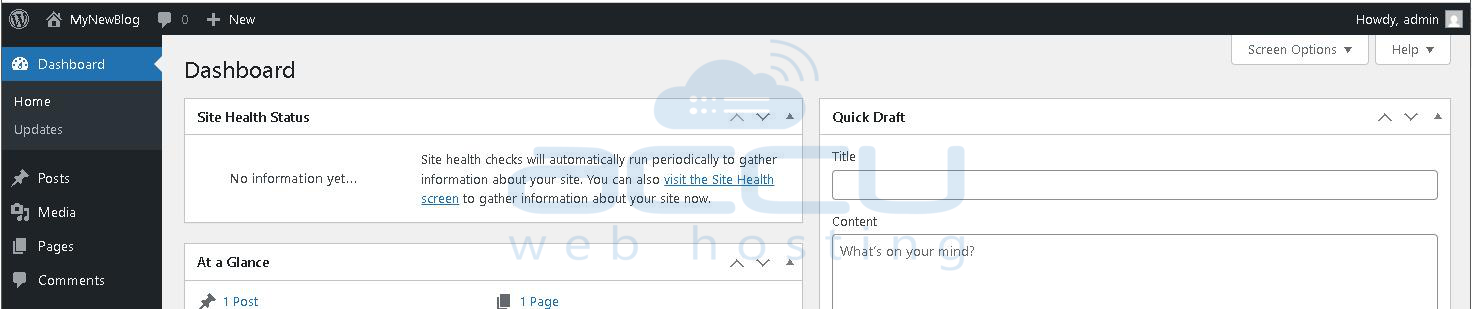
You will now be inside the WordPress dashboard, where you can begin customizing your website.
How to Install WordPress Manually Using aaPanel?
aaPanel offers a one-click installer for WordPress installation, but sometimes you may want to install it manually — for example, when you want more control over the setup, custom database settings, or debugging installation issues.
Kindly follow the steps mentioned below to install WordPress manually using aaPanel.
Step 1: Log in to your aaPanel
Step 2: Create a New Website
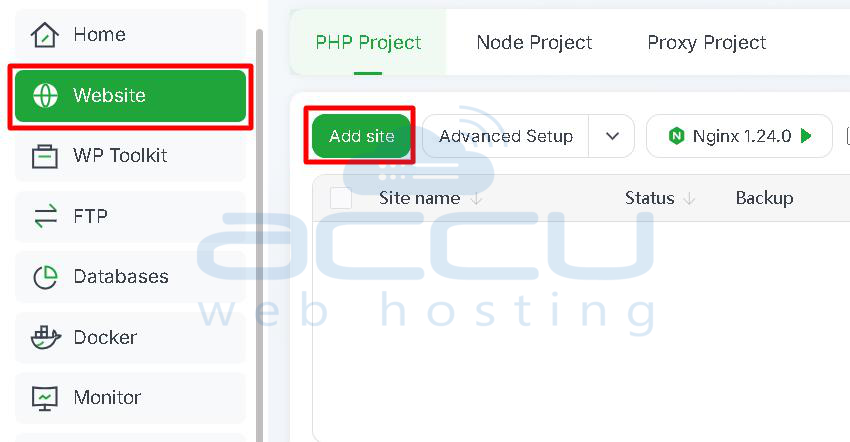
- In the left sidebar, click Website.
- Click on Add site.
In the “Add site” window, enter the following details:
- Domain name: Enter your domain (e.g., demotestvps1.com).
- Description: Optional (e.g., NewDemoWp).
- Website Path: Auto-generated (keep default).
- Database: Select Not create (we will create manually).
- FTP: Leave FTP disabled (or enable if you want remote file upload).
- PHP version: Select the PHP version for the WordPress website.
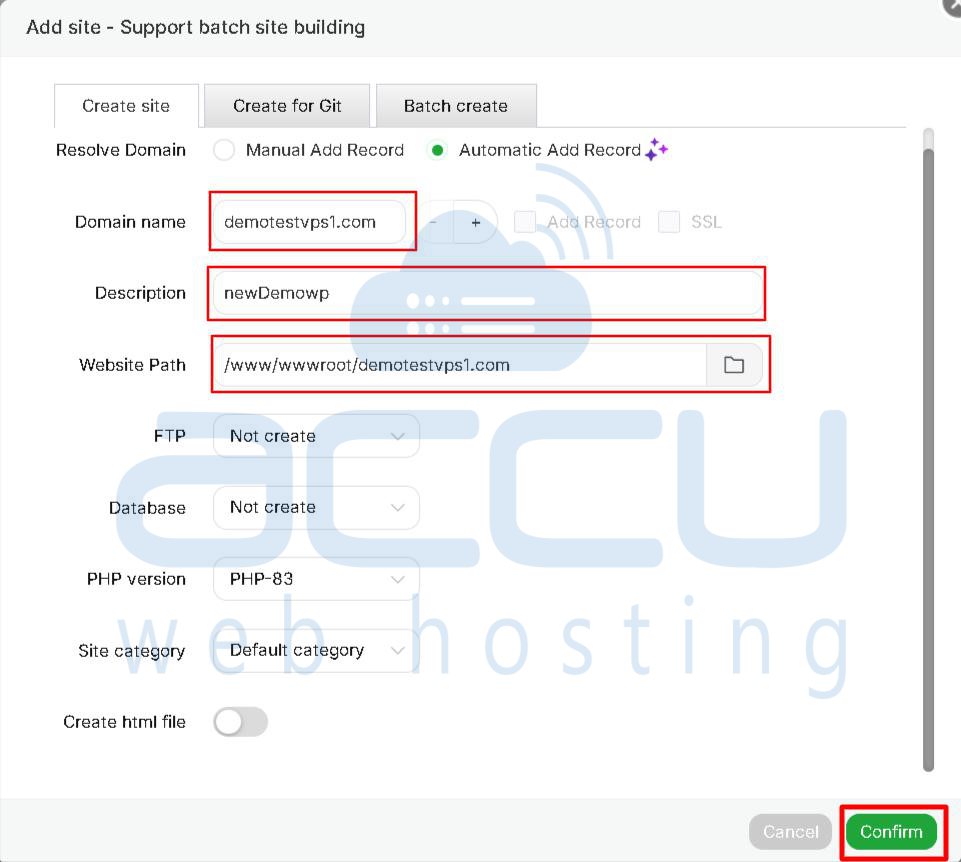
Click Confirm to create the site.
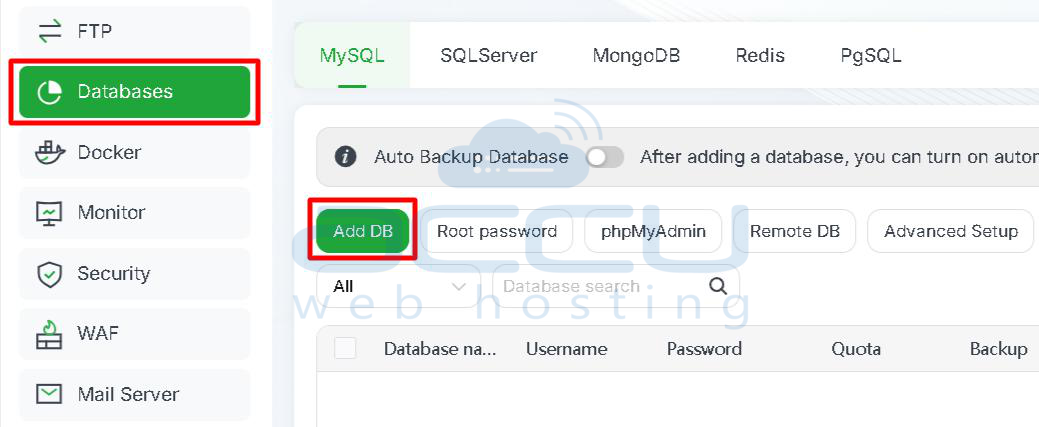
Step 3: Create a MySQL Database
In the left sidebar, click Database.
WordPress requires a database to store your website’s data, such as posts, pages, and settings.
Enter the following:
- DB Name: Name for the WordPress database (e.g., neil_test)
- Username: Username for the WordPress database (e.g., neil_test)
- Password: Set a strong password for the database user
- Permission: Local server
- Add to: LocalServer (127.0.0.1)
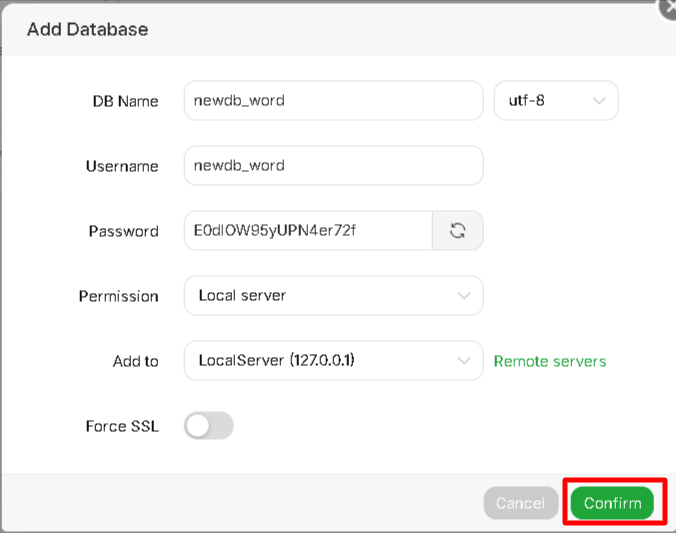
Click the Confirm button.
Note down the database name, username, and password — you’ll need these in the next step.
Step 4: Download and Upload WordPress
Visit the official WordPress website and download the latest WordPress ZIP file: https://wordpress.org/download/
Once downloaded, you can either:
- Upload via FTP/SFTP using FileZilla, or
- Upload directly through the aaPanel File Manager
Steps:
1. Navigate to Website → click the folder icon next to your site.

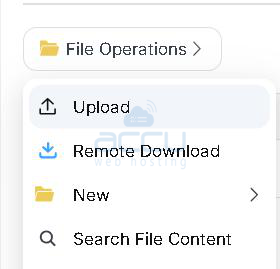
2. In File Manager, click File Operations → Upload.
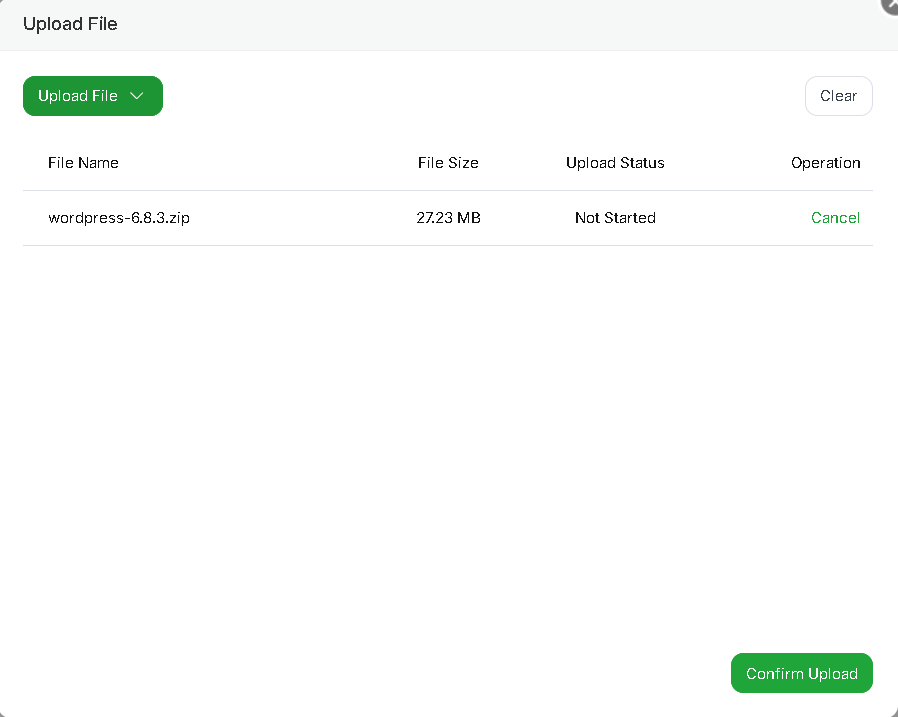
3. Upload the Wordpress zip file wordpress-x.y.z.zip.
4. Wait for the upload to complete and click Confirm Upload.
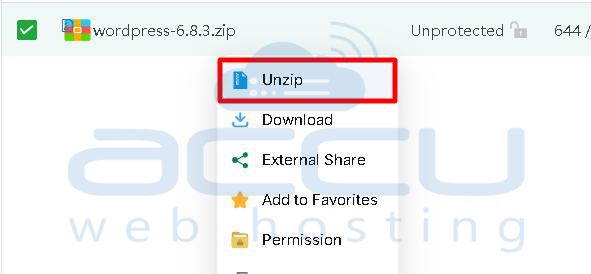
5. Right-click the ZIP file and select Unzip.
6. Move all files from the wordpress folder to:
/www/wwwroot/your-domain.com
Step 5: Configure the wp-config.php File
1. Locate the wp-config-sample.php file and rename it to wp-config.php.
2.Edit the file and update your database details:
( 'DB_NAME', 'your_database_name' );
( 'DB_USER', 'your_database_user' );
( 'DB_PASSWORD', 'your_database_password' );
( 'DB_HOST', 'localhost' );
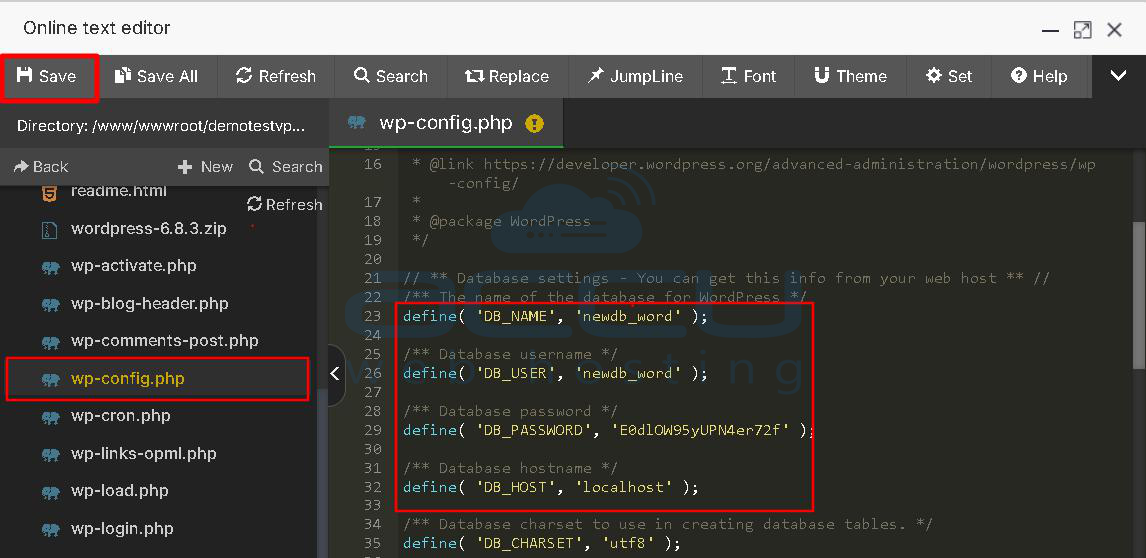
Click Save.
Step 6: Run the WordPress Installation Wizard
Open your browser and visit: https://yourdomain.com
You’ll see the WordPress setup screen.
Select your language and click Continue.

Enter the following information for your WordPress website:
Site Title: Title for your Wordpress website
Admin Username: Username for the Wordpress
Password: Password for the wordpress login
Admin Email: For wordpress admin email

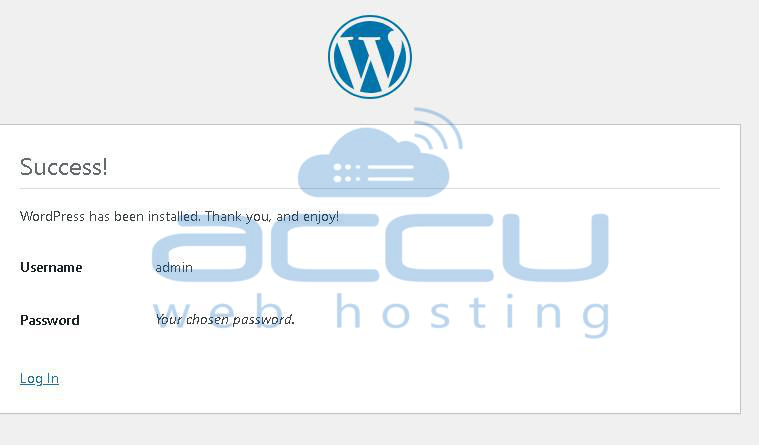
Click Install WordPress.
Once complete, you’ll see a success message.
Step 7: Log in to WordPress Dashboard
To access your website’s admin panel: https://yourdomain.com/wp-admin
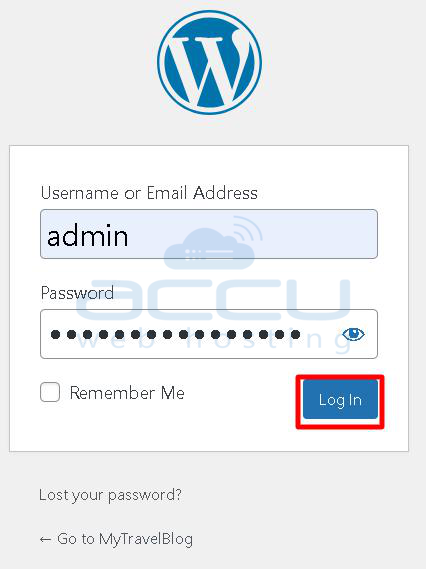
Enter your admin username and password, and you’ll be logged into your WordPress dashboard.
Conclusion:
Installing WordPress on aaPanel is a simple process, and it doesn’t require much technical knowledge. You can follow this article to install WordPress using the one-click installer or perform a manual installation as explained above.
If you face any issues while installing WordPress in aaPanel, feel free to contact us through live chat or by raising a support ticket. Our support team will be happy to assist you with the installation and ensure your WordPress site is up and running smoothly.
