In this guide, we will explain how to install WordPress using CyberPanel on a Linux server. CyberPanel is a modern web hosting control panel that simplifies website and application management. By following these instructions, you will be able to create a new website or domain, and install WordPress efficiently.
Steps to Install WordPress Using CyberPanel on a Linux Server
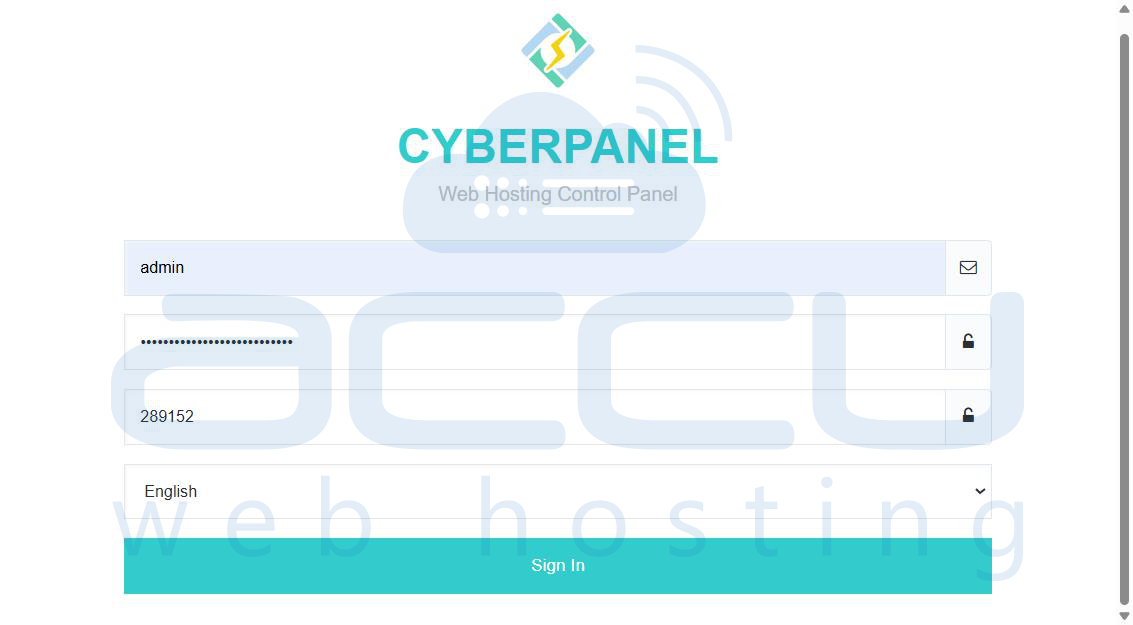
Step 1: Open your preferred web browser and navigate to your CyberPanel login URL
Step 2: Enter your CyberPanel login credentials, the username (commonly admin), your password, and the code displayed on the 2FA screen. Once filled in, click the Sign In button to log in to the CyberPanel dashboard.
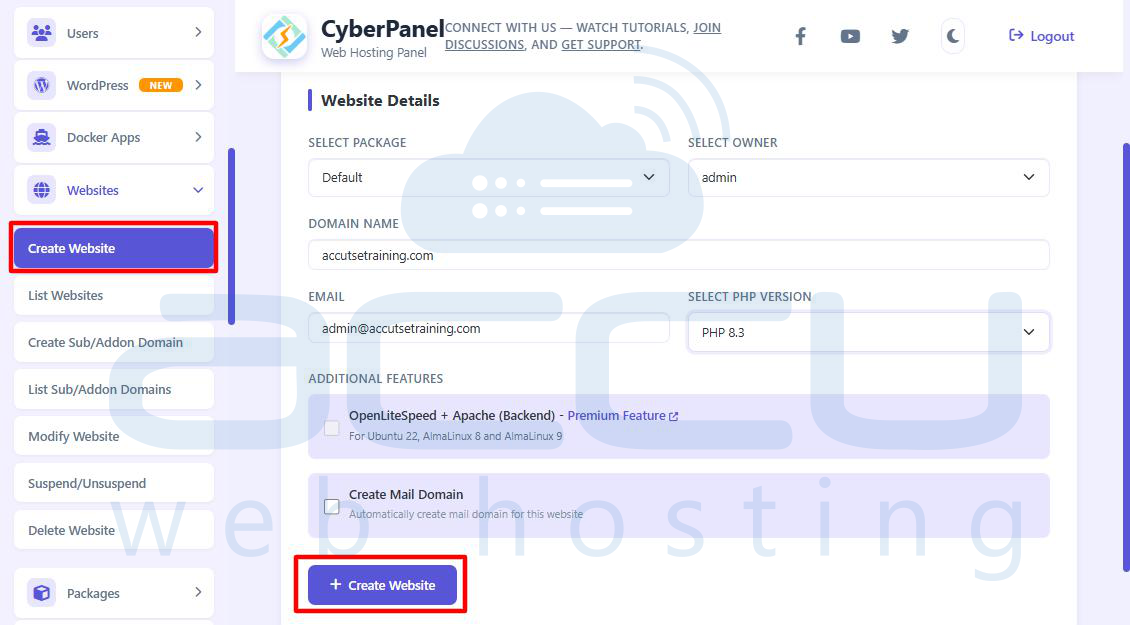
Step 3: After logging in successfully, locate the menu on the left-hand side of the dashboard. Click on Websites and then select Create Website from the dropdown options. This will open the form to add a new domain or website to your server.
Step 4: On the Create Website page, fill in the required details carefully. Choose a hosting package, select the owner, and enter the domain name you want to host. Provide an admin email address and choose your preferred PHP version, such as PHP 8.3.
Step 5: Once all information is entered, click the + Create Website button to start the website creation process. CyberPanel will begin setting up the domain directory and necessary configurations on the server.
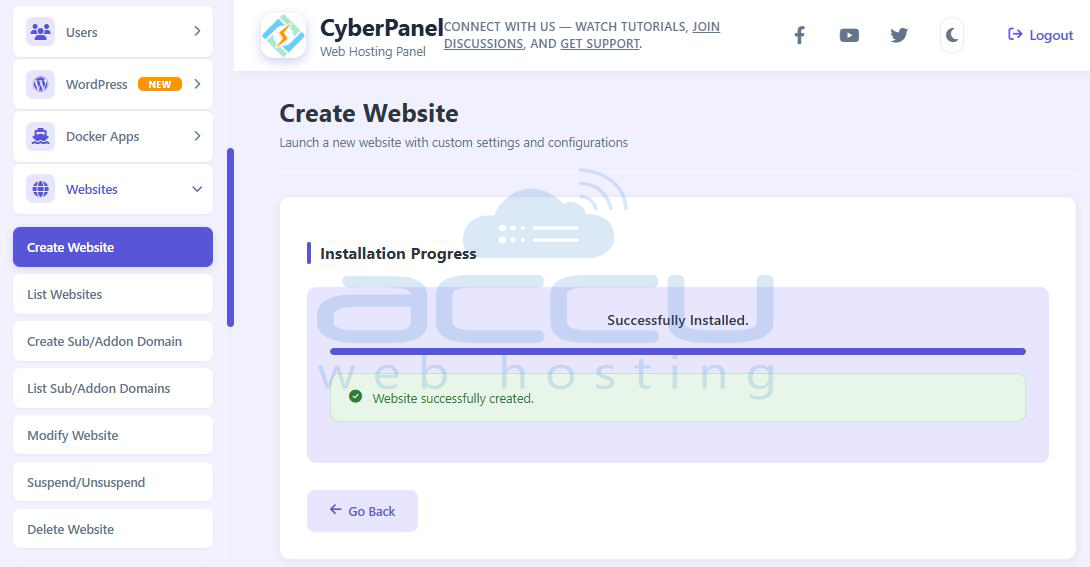
Step 6: Wait for the system to display the progress log. When the setup is completed successfully, you will see the message “Website successfully created.” This confirms that your new domain has been added to the server.
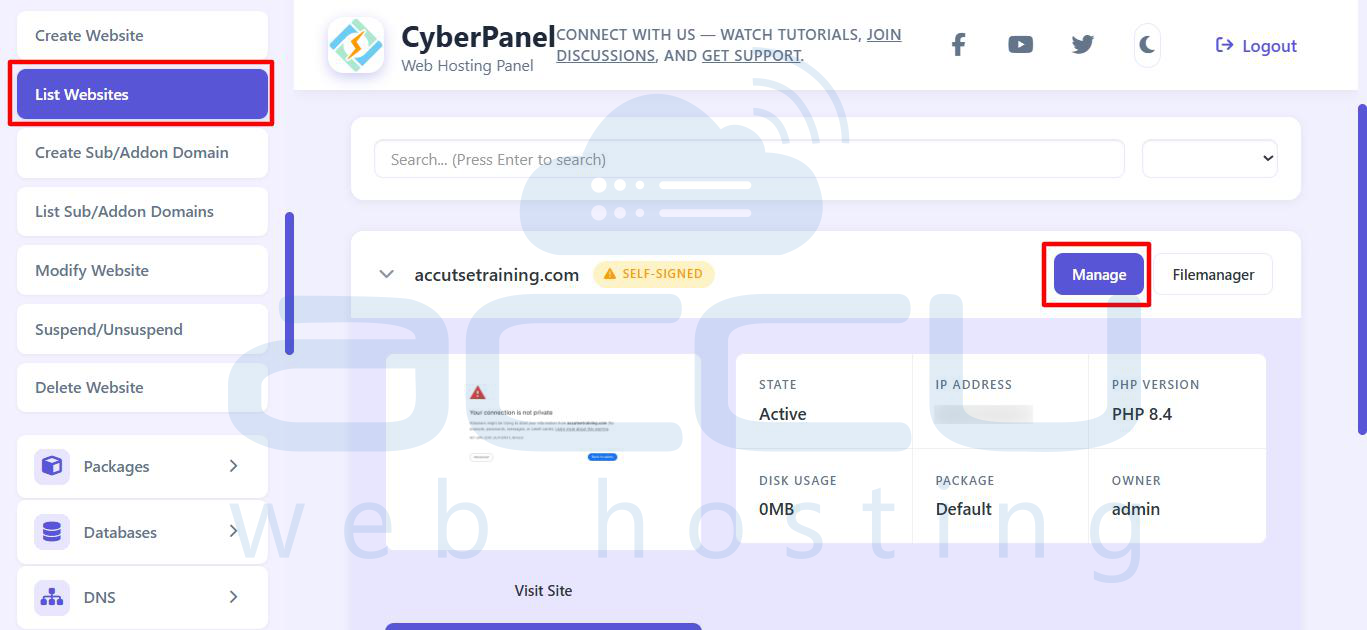
Step 7: To verify the website creation, click List Websites from the sidebar menu. Your newly created domain will appear in the list, along with a Manage button beside it. This indicates the domain has been configured successfully.
Step 8: Click the Manage button next to your domain name to open its website management panel. This page allows you to access features such as SSL, file management, DNS settings, and application installers.
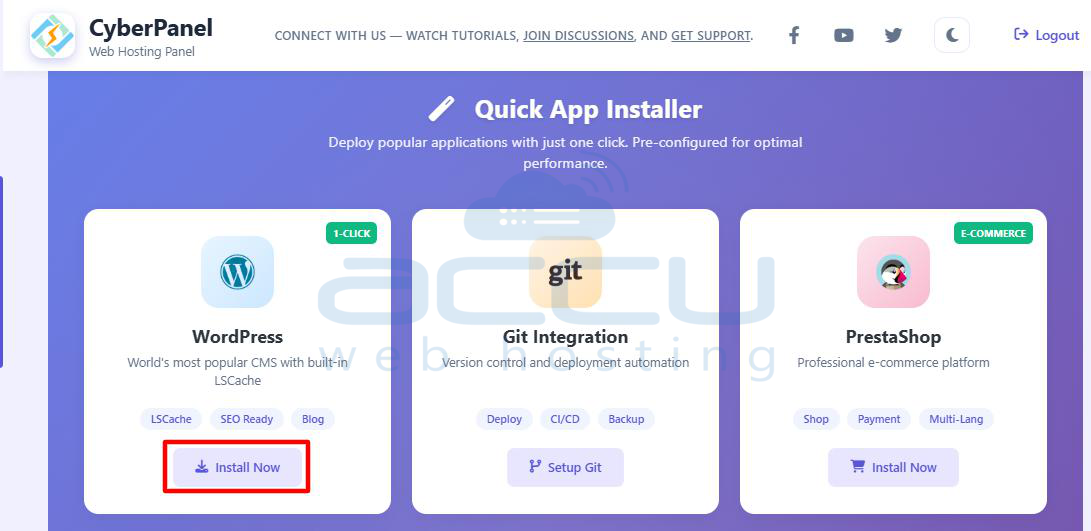
Step 9: Scroll through the management panel until you find the Application Installer or WordPress + LSCache section. This is the area where you can install WordPress on your selected domain.
Step 10: Click the Install WordPress option to open the WordPress installation form. This will allow you to enter the configuration details for your new WordPress site.
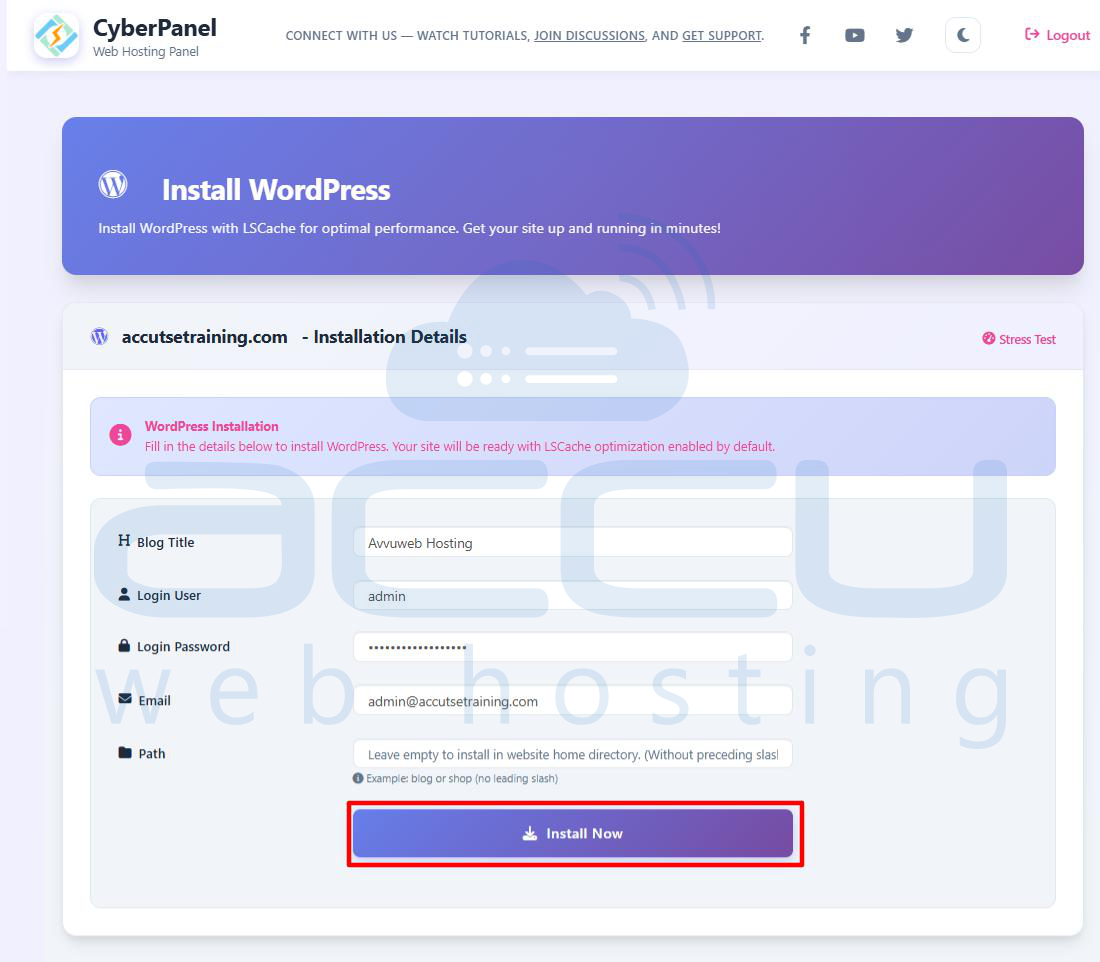
Step 11: On the installation form, fill in the necessary fields, specify your blog title, choose a login username, create a strong password, and provide your admin email address. Leave the “Path” field empty if you want WordPress to be installed directly in the root directory of your domain.
Step 12: After entering all details, click the Install Now button. CyberPanel will begin downloading and installing WordPress automatically on your domain.
Step 13: Wait for the installation process to finish. Once complete, a message will appear saying “Successfully Installed WordPress.” This confirms that WordPress has been successfully deployed on your website.

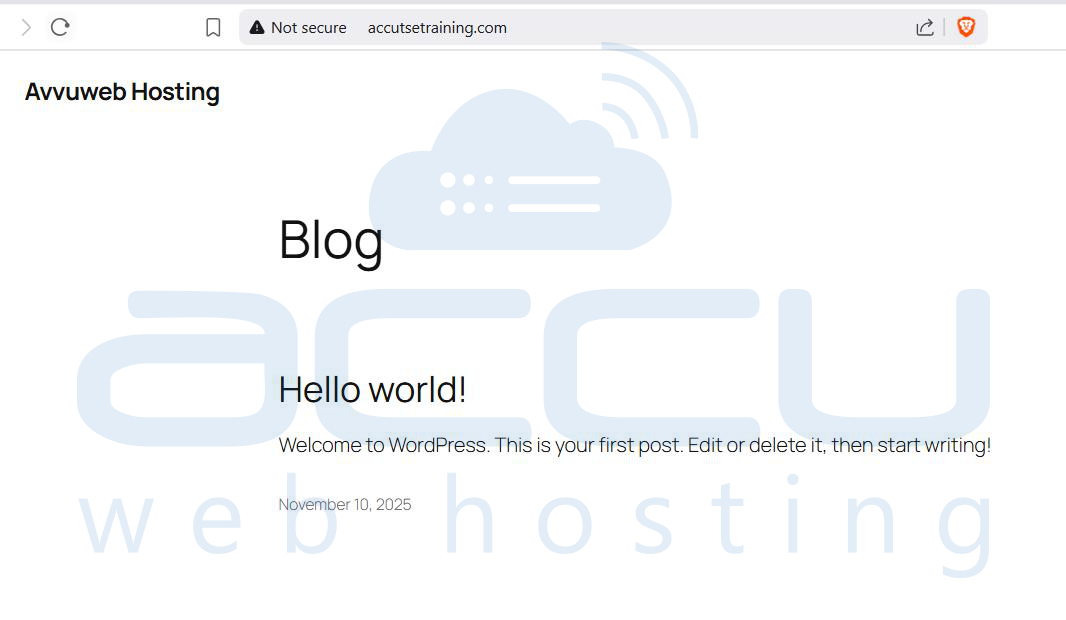
Step 14: Open a new browser tab and visit your domain URL (for example, https://accutsetraining.com). If the installation was successful, you will see the default WordPress homepage displaying the “Hello world!” post.
Step 15: To access the WordPress admin panel, go to https://yourdomain.com/wp-login.php (replace “yourdomain.com” with your actual domain name). This is the login page for managing your WordPress website.
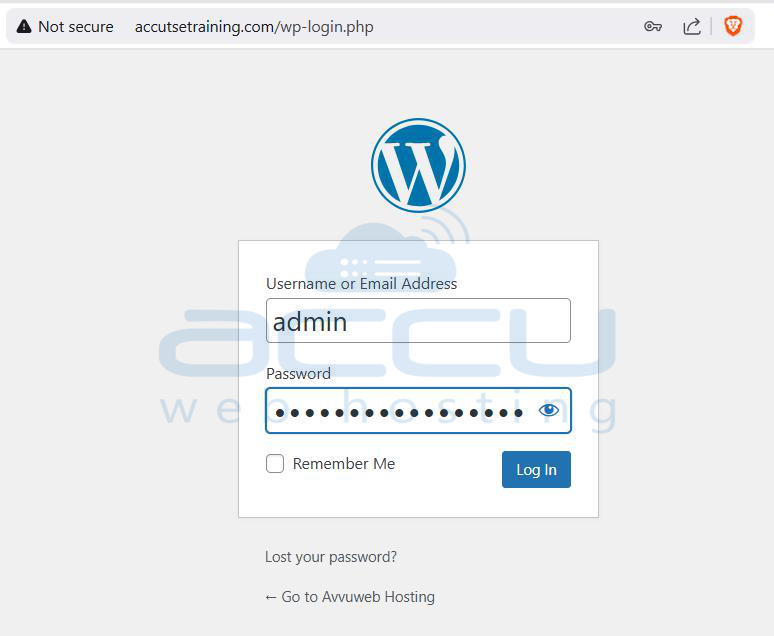
Step 16: Enter the WordPress username and password that you created during installation, then click Log In. This will authenticate your credentials and grant access to the administrative dashboard.
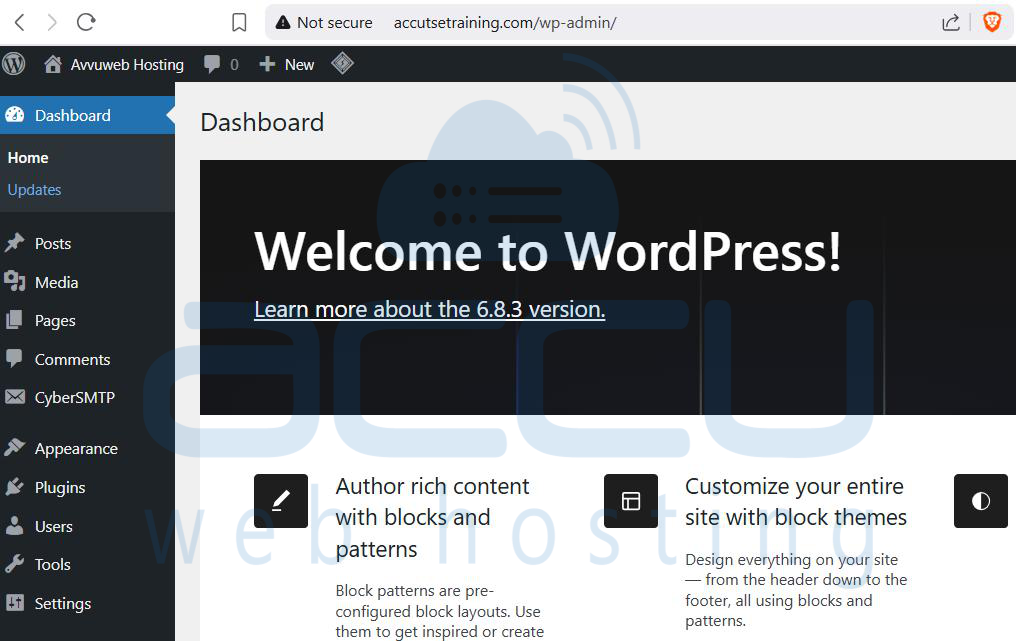
Step 17: Once logged in, you will see the WordPress Dashboard, which confirms that the installation was successful. From here, you can manage themes, plugins, pages, posts, and other settings for your new website.
Conclusion
By following the steps above, you have successfully installed WordPress on your Linux server using CyberPanel. Your website is now live and ready for customization. You can log in to your WordPress dashboard to install themes, add plugins, and create content. For improved security and performance, it is recommended to set up an SSL certificate (Let’s Encrypt) and keep your WordPress installation and plugins up to date.
