Introduction
ImunifyAV is a free malware scanner developed by CloudLinux. It helps you find and clean malicious files on your server. When used with CyberPanel, it gives you an easy interface to scan websites, remove threats, and keep your server safe and stable.
In this article, we will explain how to install ImunifyAV on a CyberPanel-based Linux server.
Prerequisites
Before getting started, make sure you have:
- A Linux server running CyberPanel
- Root or sudo access to your server
Steps to Install ImunifyAV
Step 1: Log in to CyberPanel
Sign in to your CyberPanel dashboard using your admin credentials.
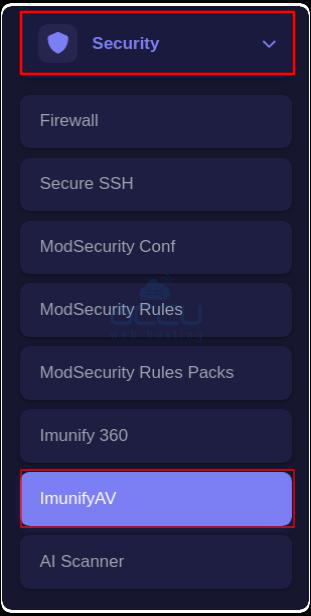
Step 2: Go to the Security Section
In the left menu, click Security → ImunifyAV.
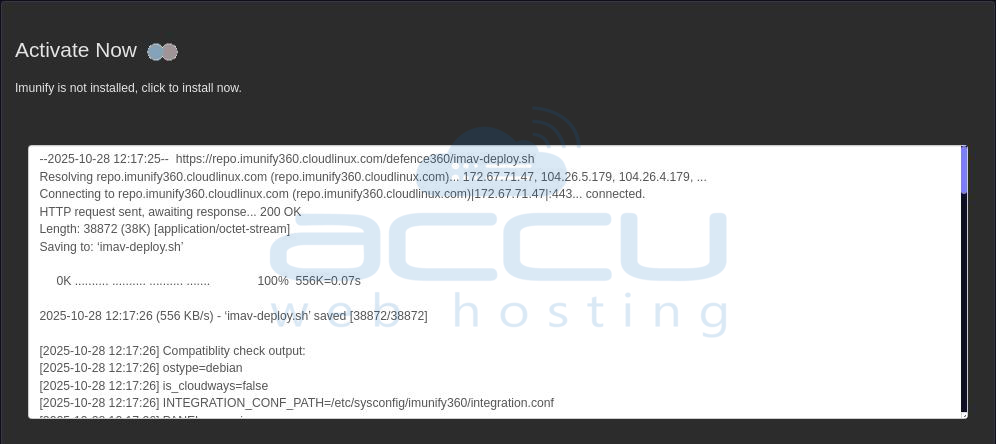
Step 3: Start the Installation
Click the Install Now button.
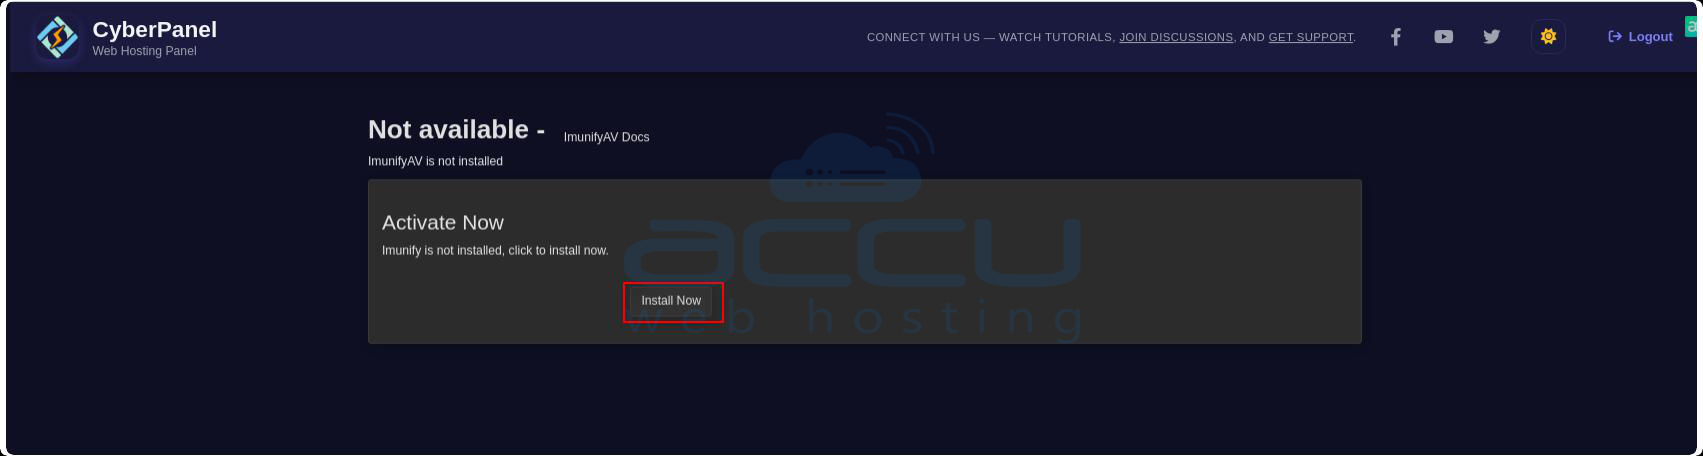
The installation process may take around 5–10 minutes.
Step 4: Access ImunifyAV
Once installation is complete, you’ll see an Access Now button.
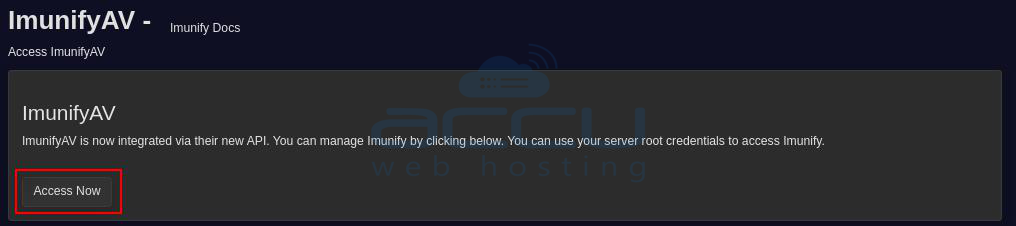
Step 5: Open ImunifyAV Dashboard
Click Access Now to open ImunifyAV and start scanning your websites for malware.
Conclusion
Installing ImunifyAV on your CyberPanel server adds an extra layer of protection against viruses, malware, and other harmful scripts. It helps keep your websites and server secure by regularly scanning and cleaning infected files.
If you want advanced security features and automatic malware removal, you can upgrade to ImunifyAV+ or Imunify360.
