Introduction
Installing PHP and MySQL on Windows Server 2025 lets you host dynamic websites and web applications efficiently. PHP handles server-side scripting, while MySQL manages your database - together they form the foundation for most modern web platforms.
Step 1: Log in to Your VPS or Dedicated Server
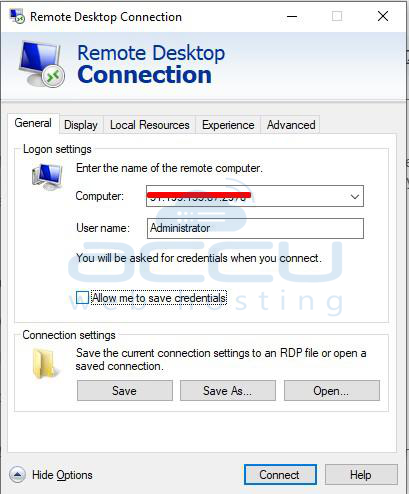
1. Connect to your server via Remote Desktop (RDP).
2. Use your administrator username and password to sign in

Step 2.1: Install IIS (Internet Information Services)
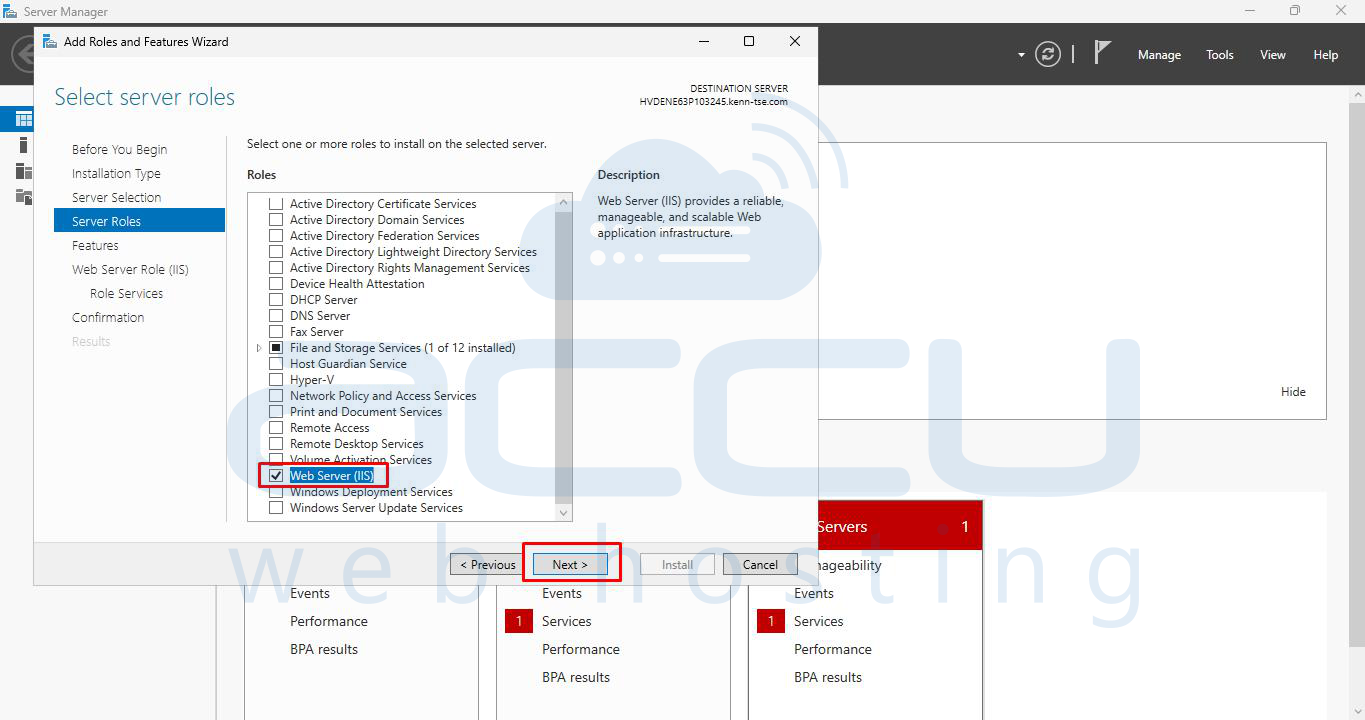
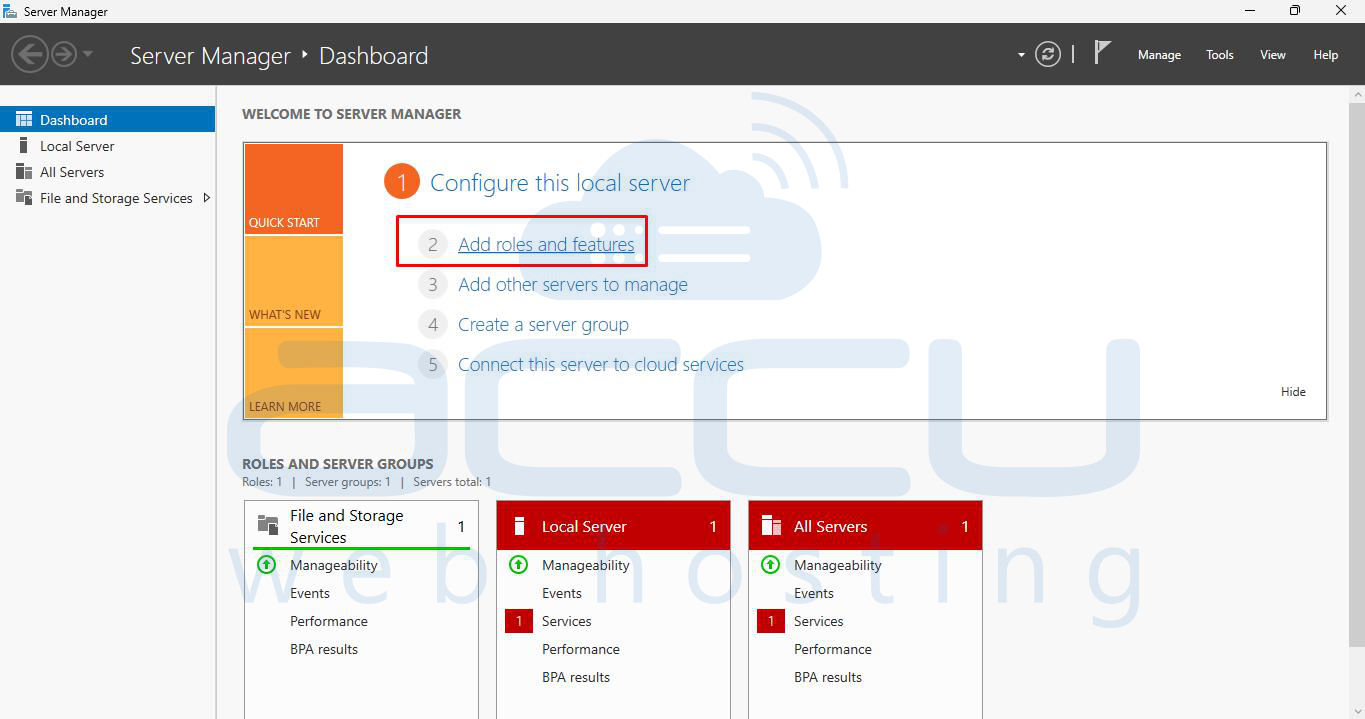
1. In Server Manager, click Add Roles and Features.

2. Choose Web Server (IIS) under Server Roles.
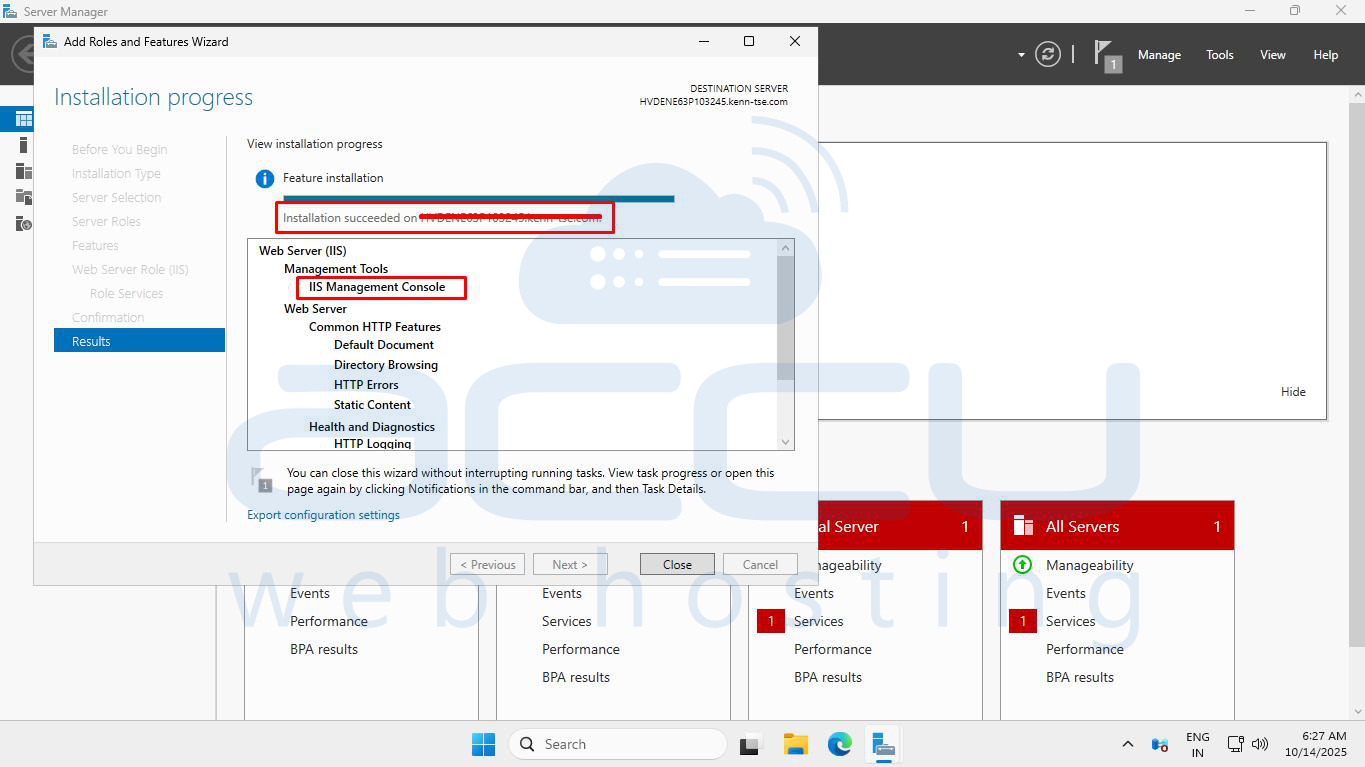
3. When prompted for Management Tools, a pop-up may appear — simply check the box and click Next.
4. Continue clicking Next until you reach the Install button.
No other options need to be changed or deselected.
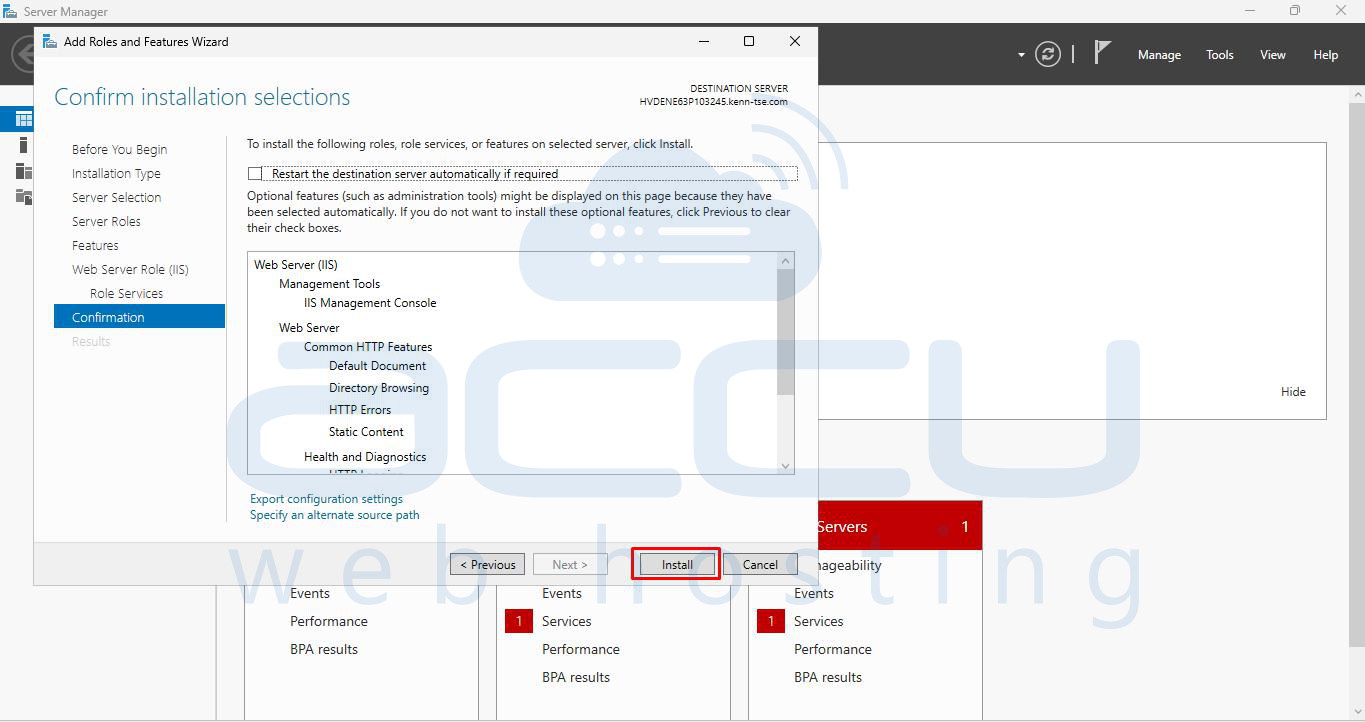
5. Wait for the IIS installation to complete, then click Close.
Step 2.2: Enable CGI for IIS
1. After IIS is installed, open Add Roles and Features again.
2. Navigate to:
Web Server (IIS)
→ Web Server
→ Application Development
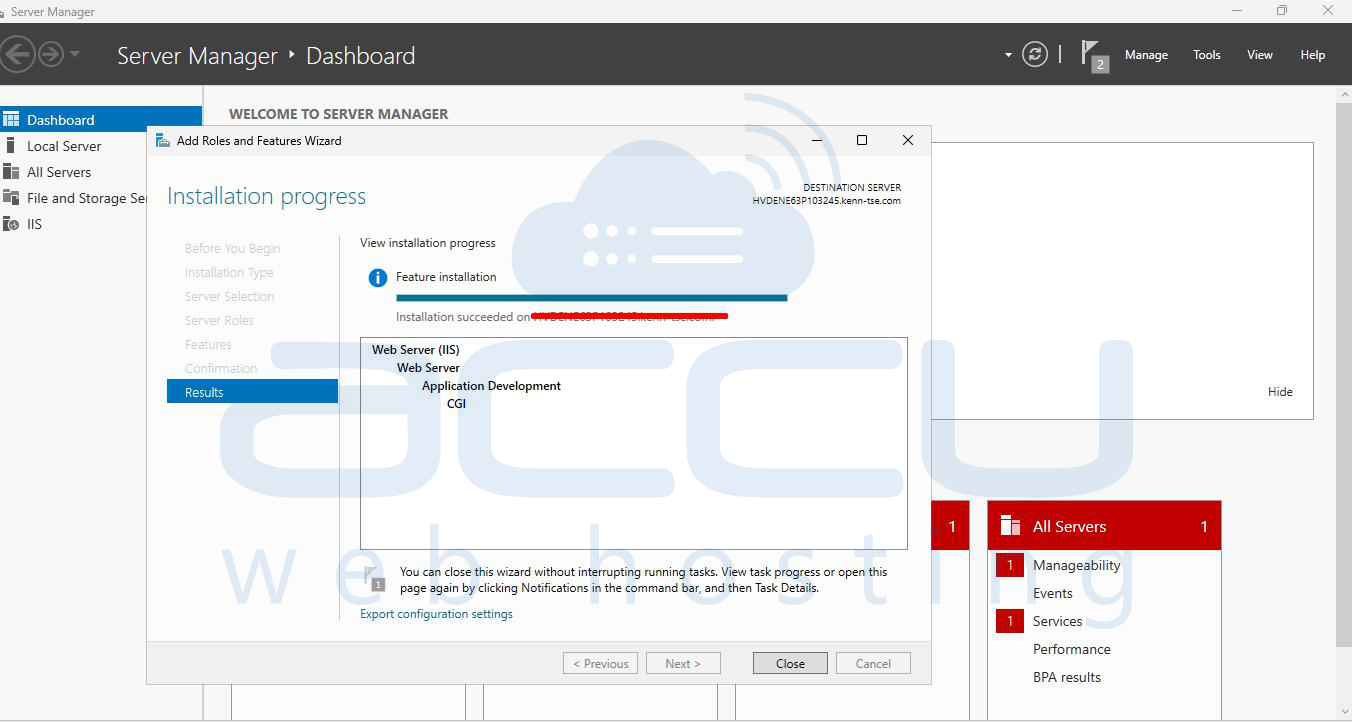
3. Check the box for CGI.

4. Click Next → Next → Install to finish.
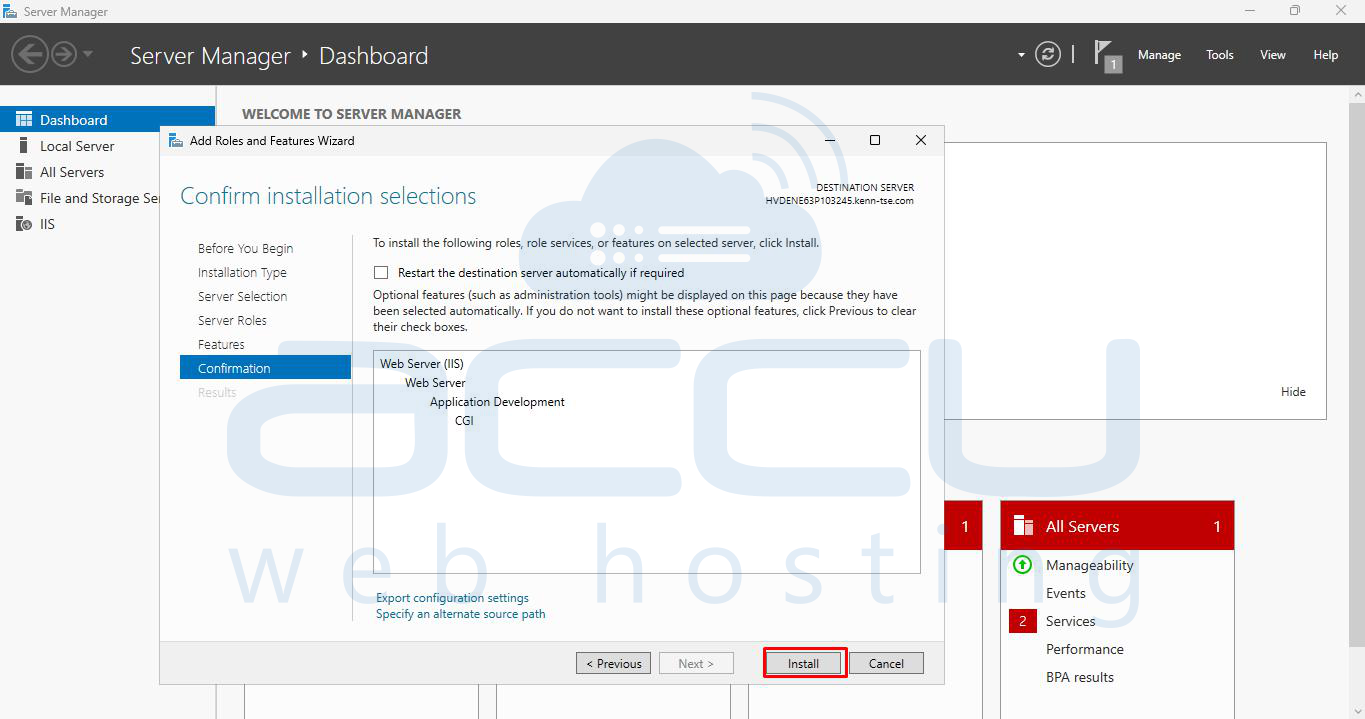
CGI enables FastCGI, which is required for PHP to run properly on IIS.
Step 3: Install PHP
1. Go to the official PHP for Windows site: https://windows.php.net/download/
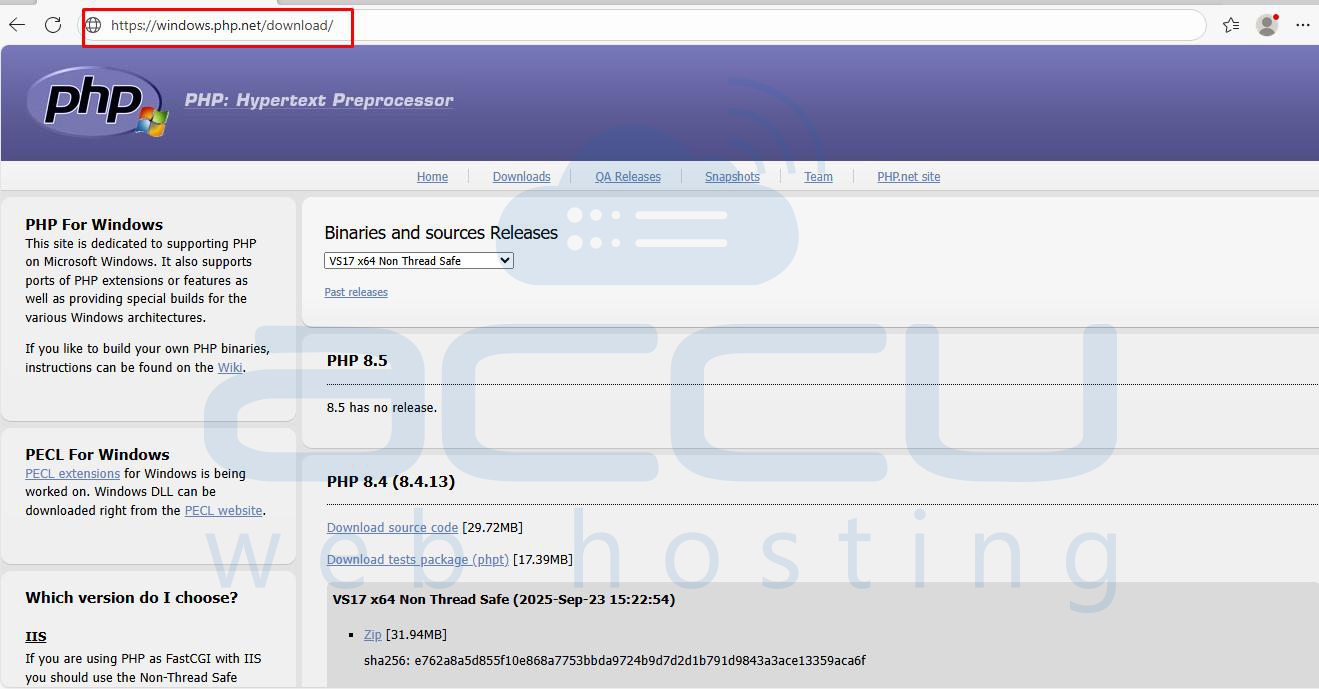
2. From the dropdown menu, select your desired PHP version.

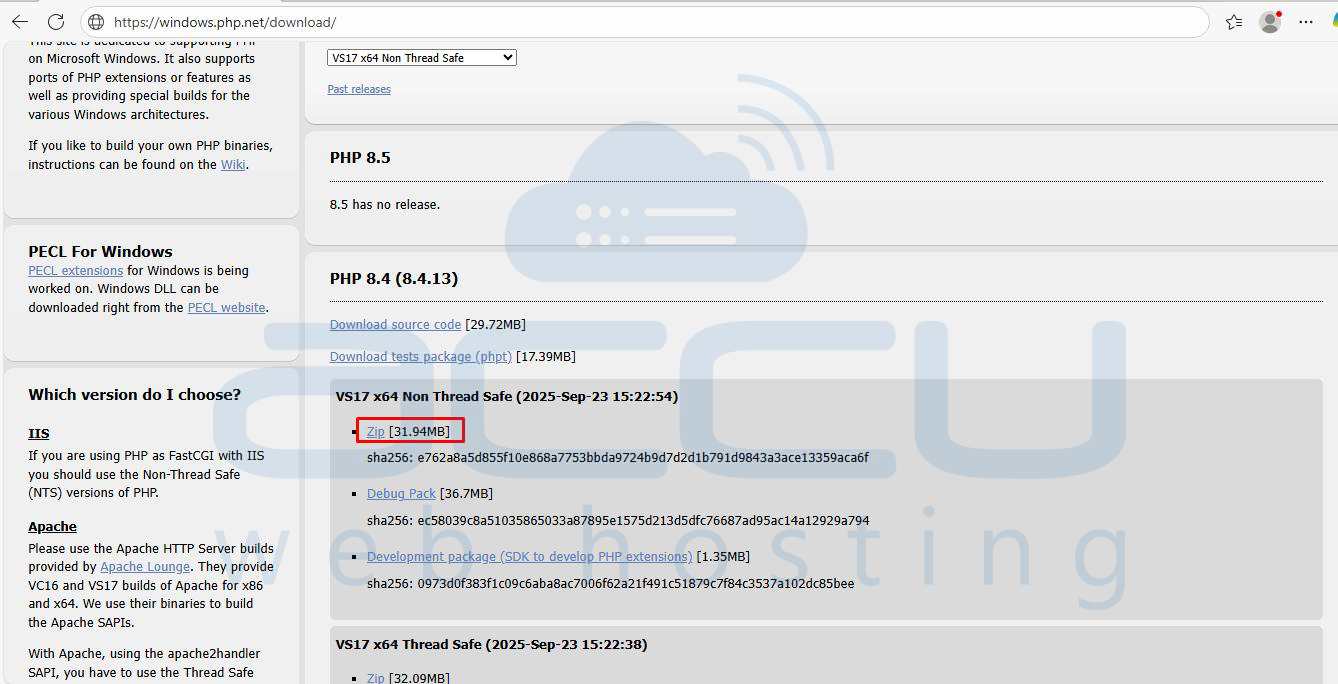
3. Under the chosen version, click Non-Thread-Safe (NTS) ZIP to download.
NTS is required for IIS with FastCGI.
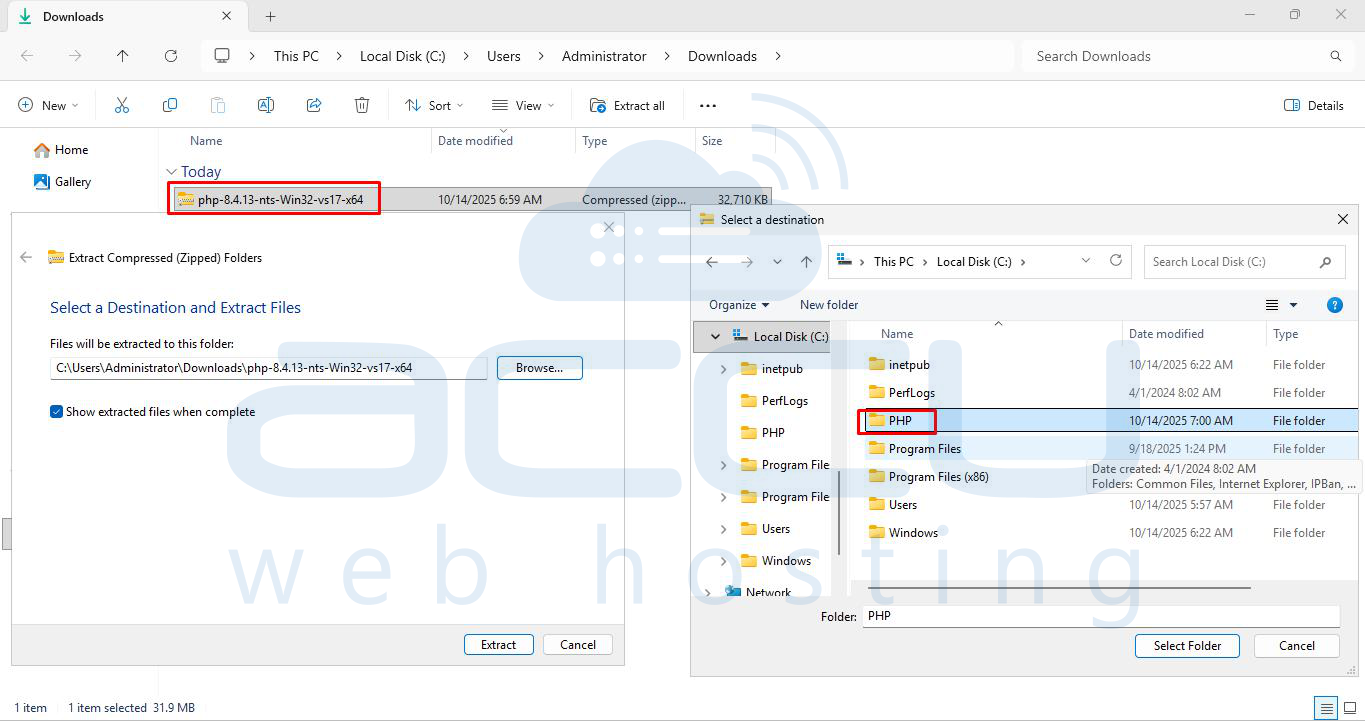
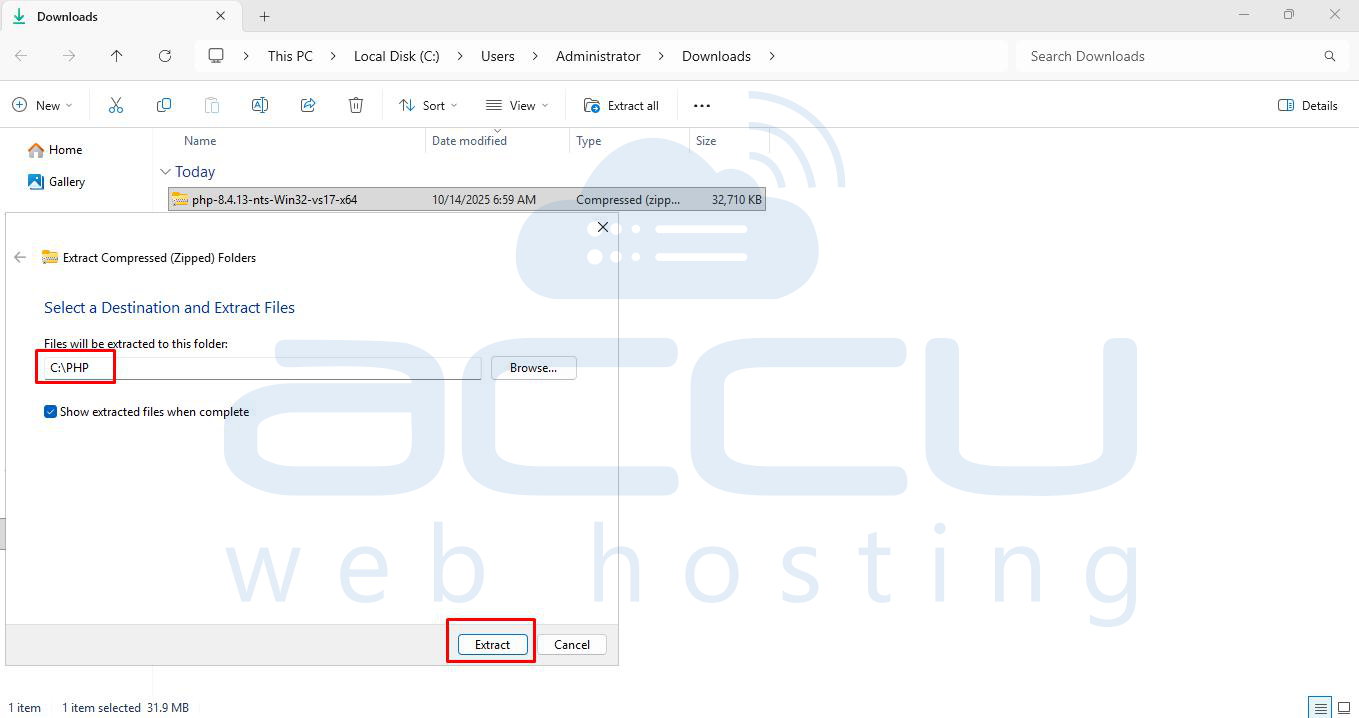
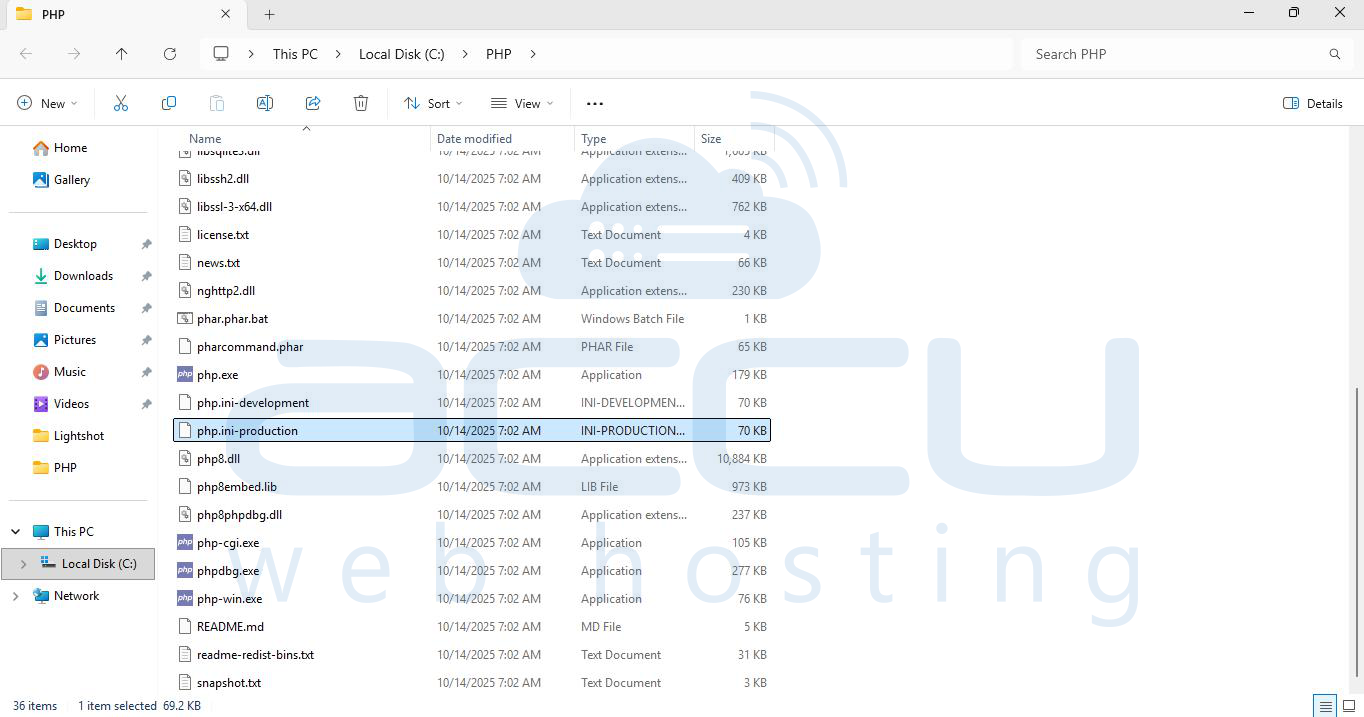
4. Extract the ZIP to a folder, for example: C:\PHP.
5. Rename php.ini-production to php.ini.

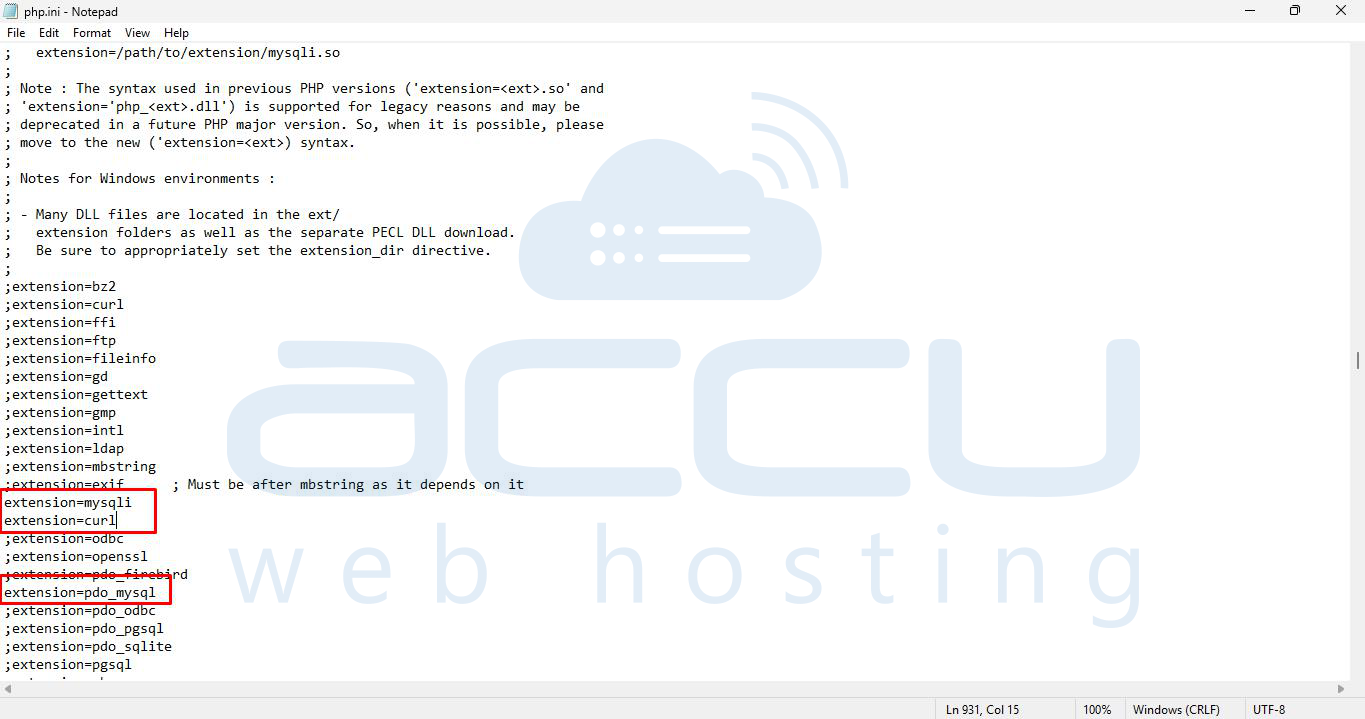
6. Open php.ini in a text editor and enable essential extensions by removing; in front of it and save the file:
extension=mysqli
extension=pdo_mysql
extension=curl
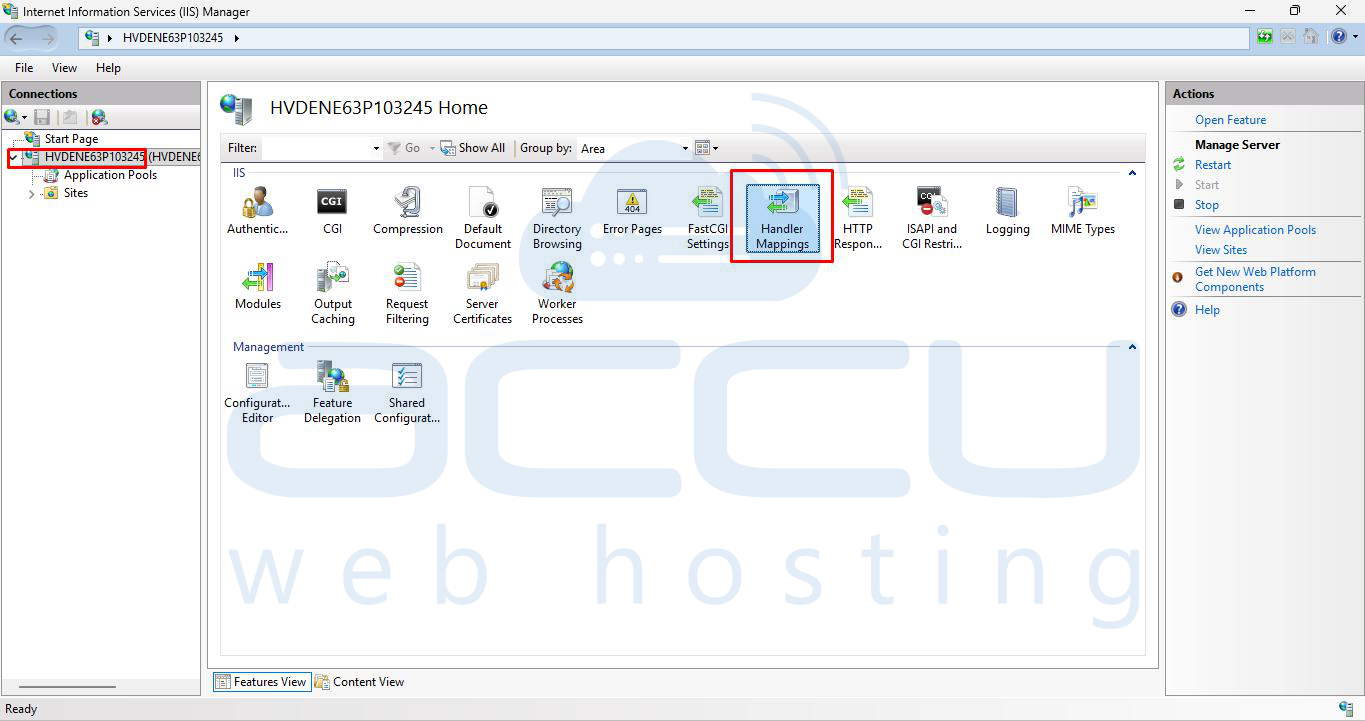
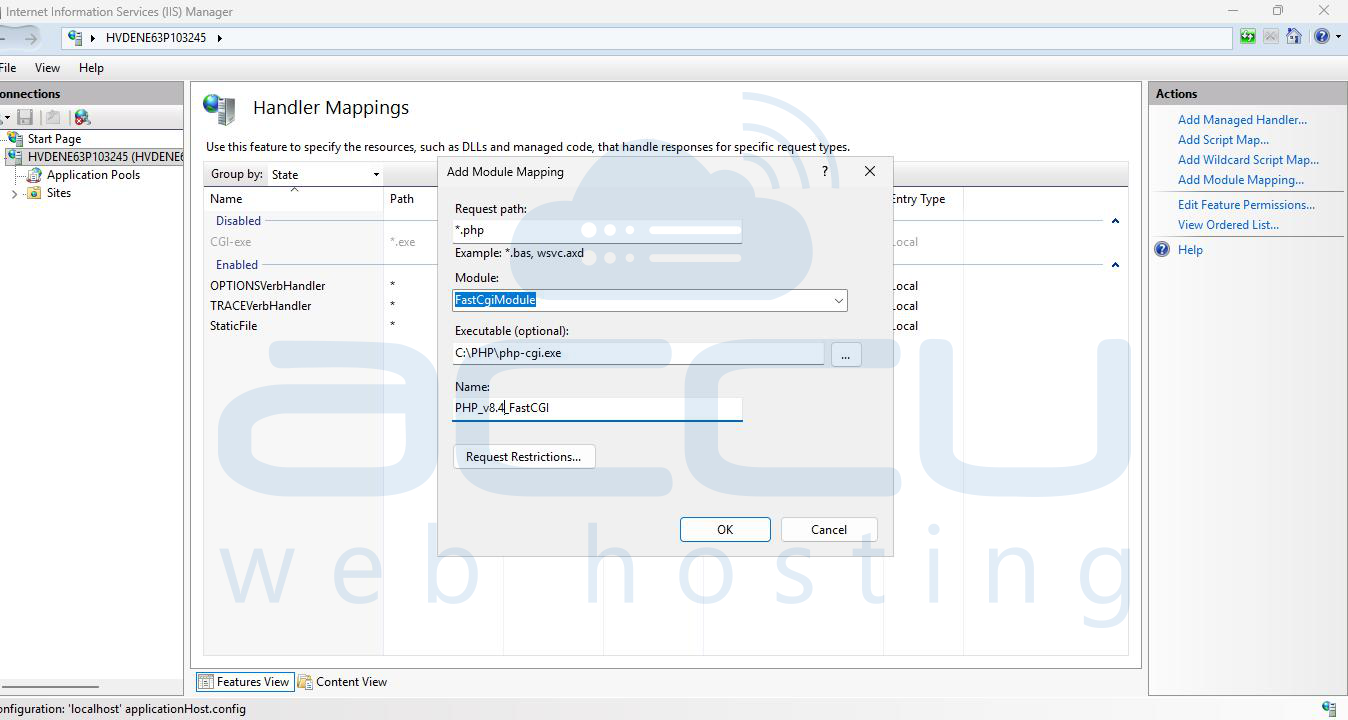
7. Open IIS Manager and expand the hostname → Handler Mappings → Add Module Mapping, set:

- Request path: *.php
- Module: FastCgiModule
- Executable: C:\PHP\php-cgi.exe
- Name: PHP_v8.4_FastCGI

Step 4: Install MySQL Server
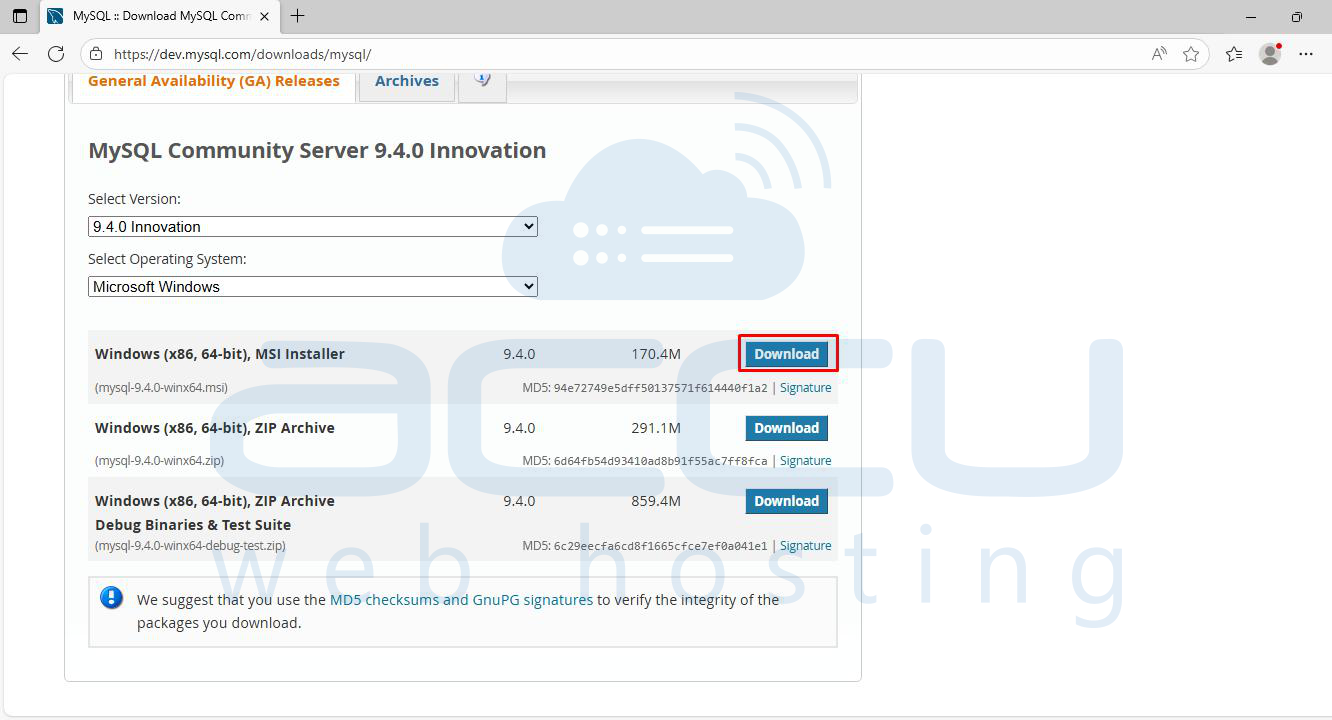
1. Download MySQL Installer from https://dev.mysql.com/downloads/mysql/.
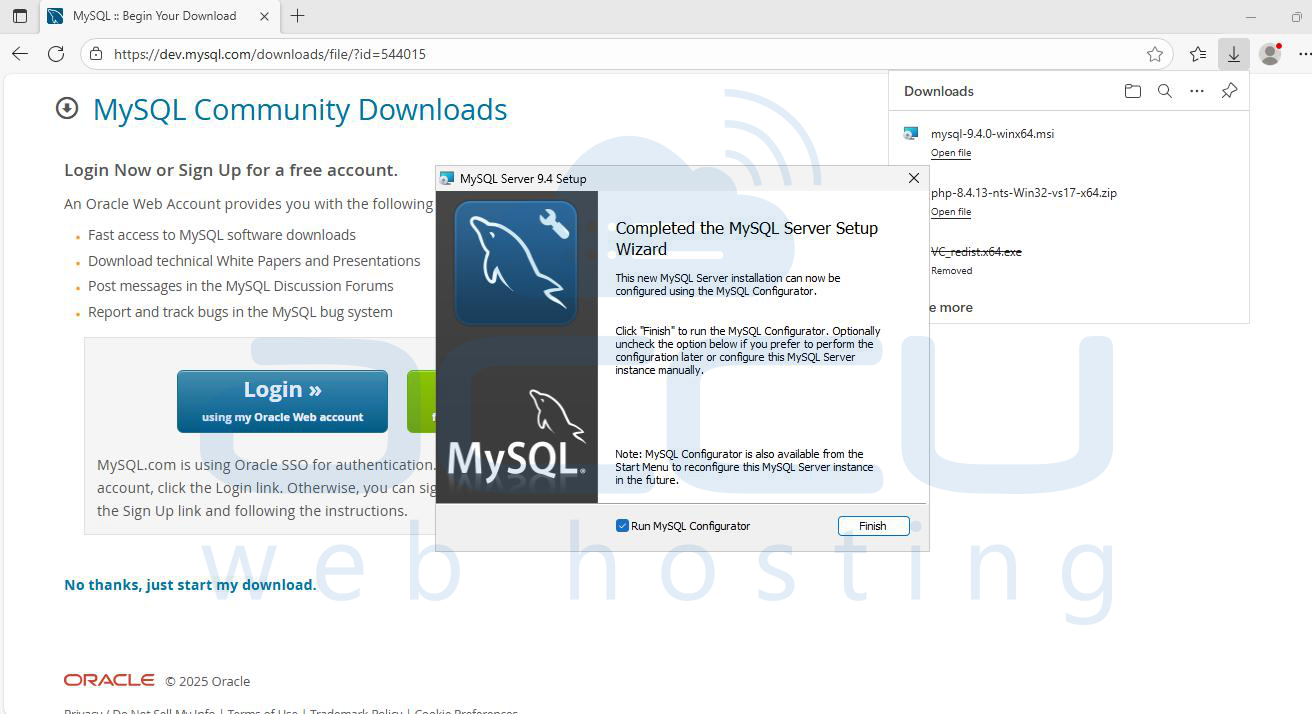
2. Double click on the downloaded file and open MySQL Server Setup Wizard and install it, make sure to checkbox Run MySQL Configurator.
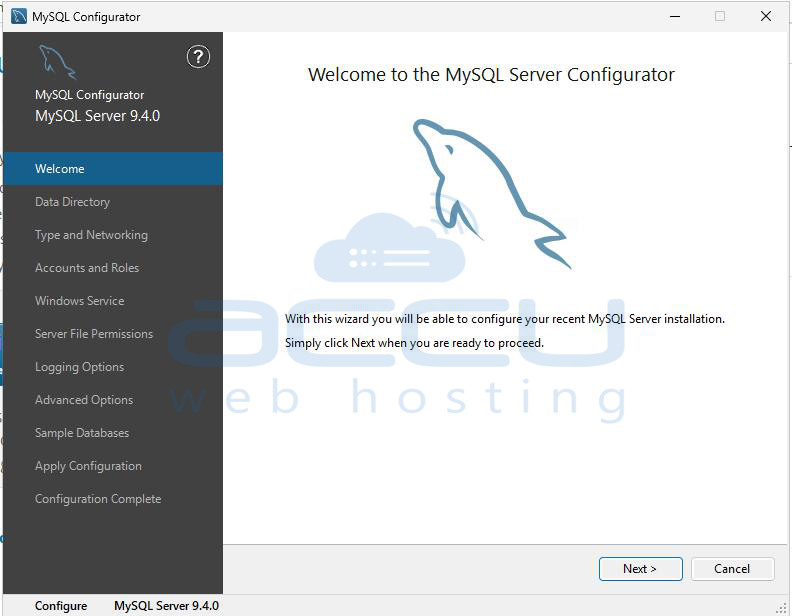
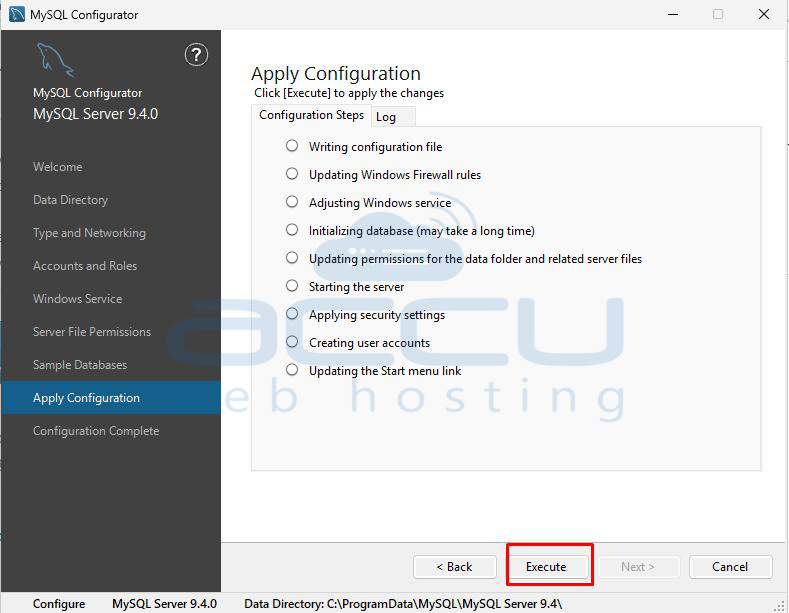
MySQL Server Configurator will open, click Next till it asks for Root Account Password.
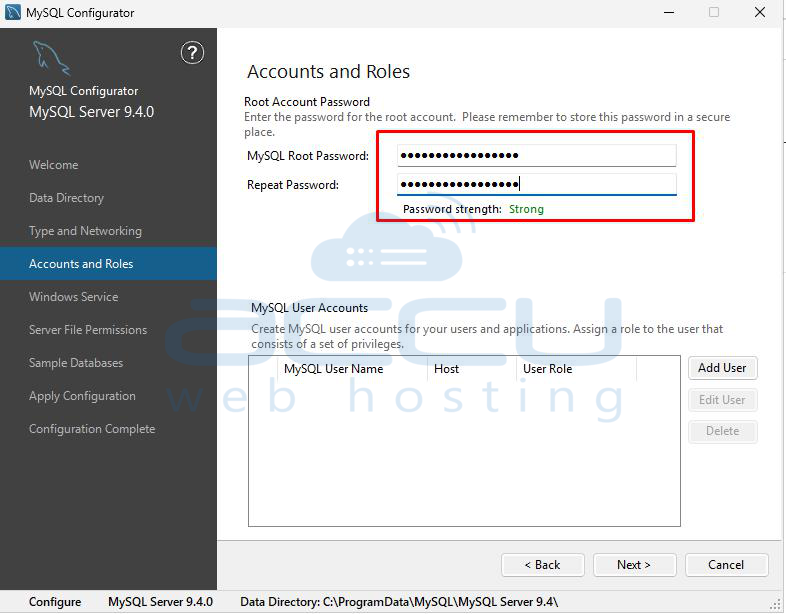
3. Set a strong root password and complete the configuration wizard.
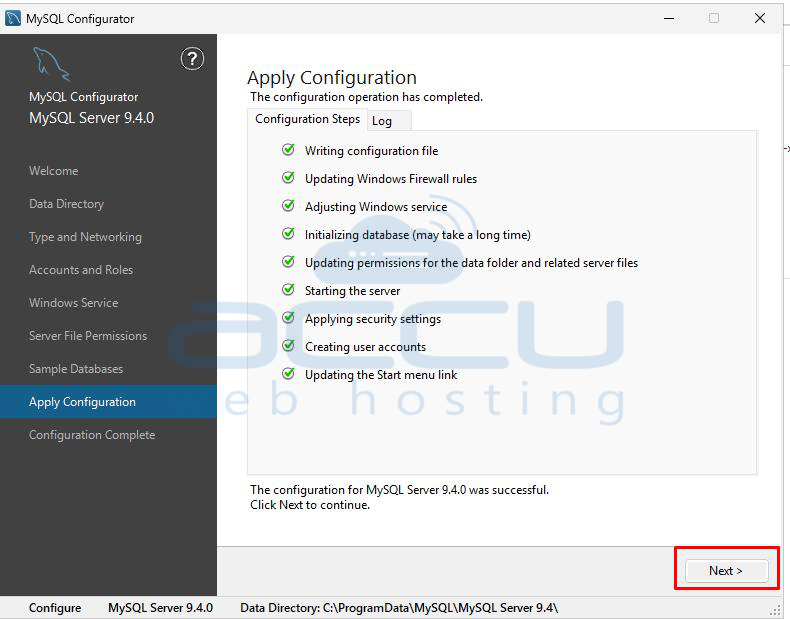
4. Keep all the settings as default and click on Next → Next → Execute to install MySQL and apply the configuration changes.
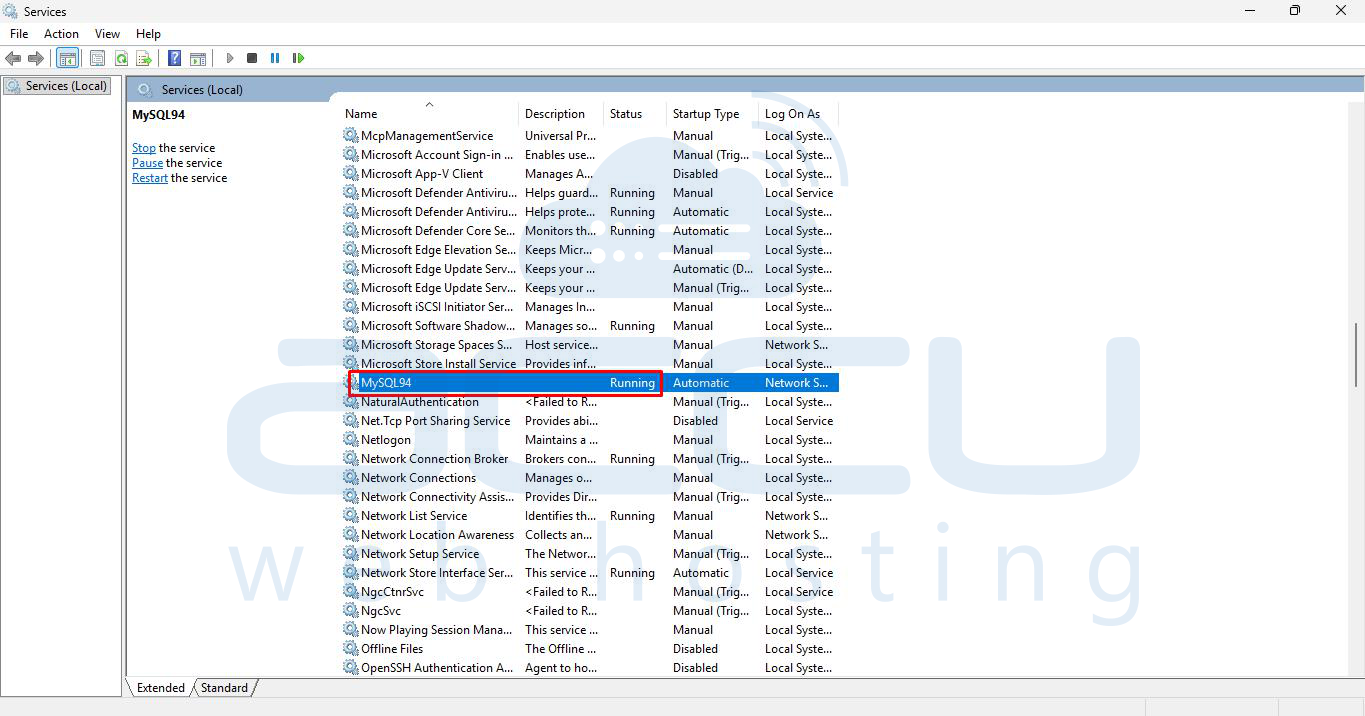
5. Ensure MySQL is running as a Windows Service.
6. If remote access is needed, allow port 3306 through the Windows Firewall.
Step 5: Test PHP Configuration
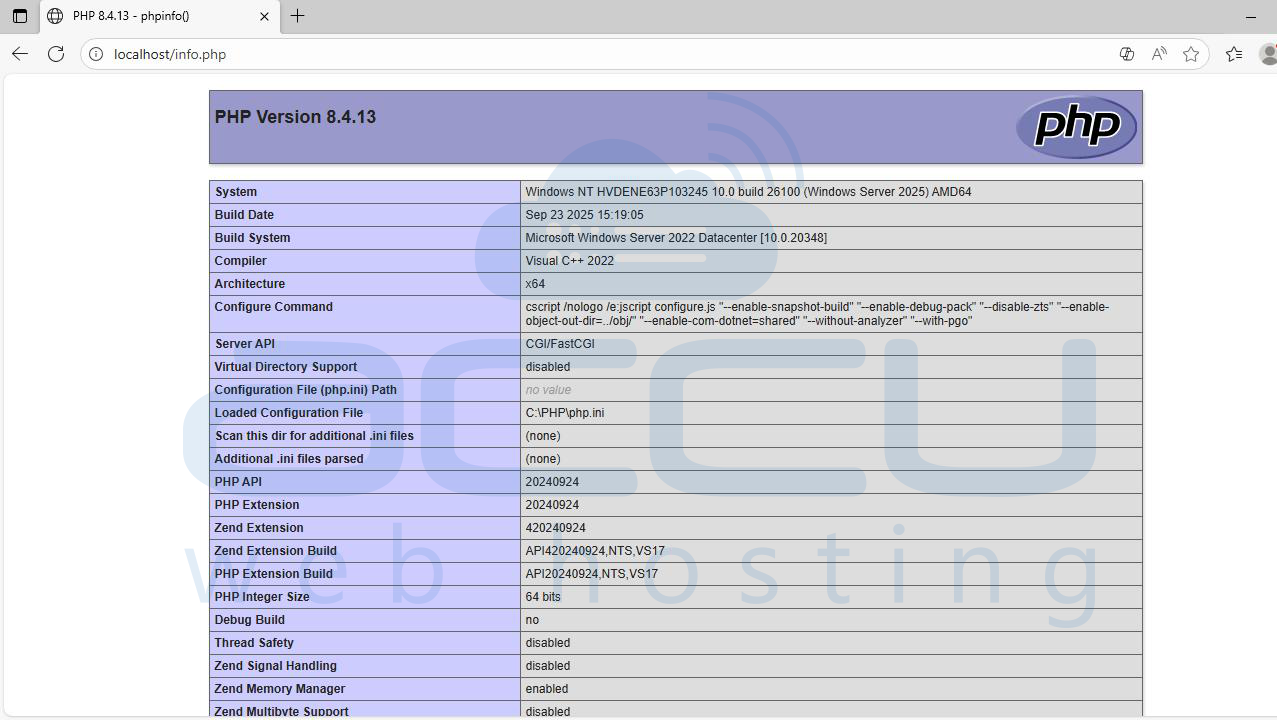
1. Create a file named info.php in C:\inetpub\wwwroot\:
<?php phpinfo(); ?>
2. Open a browser and navigate to:
http://localhost/info.php
3. You should see the PHP information page confirming it’s working.
Step 6: Test PHP–MySQL Connection
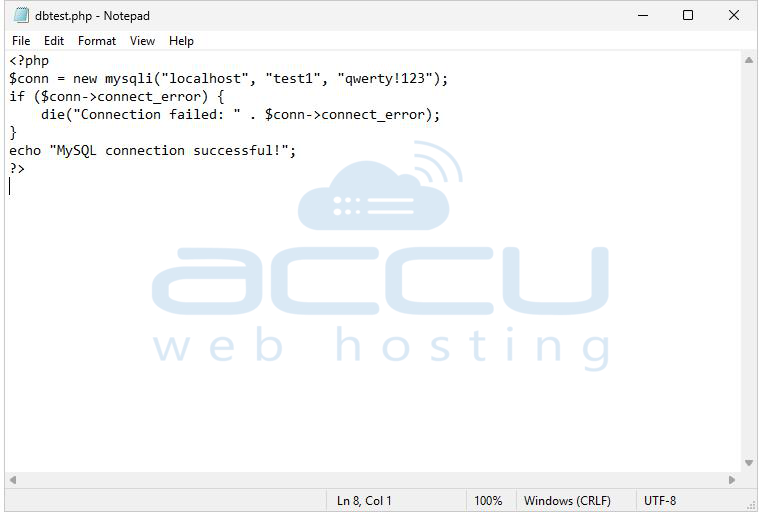
1. Create another file dbtest.php in C:\inetpub\wwwroot\:
<?php
$conn = new mysqli("localhost", "root", "yourpassword");
if ($conn->connect_error) {
die("Connection failed: " . $conn->connect_error);
}
echo "MySQL connection successful!";
?>
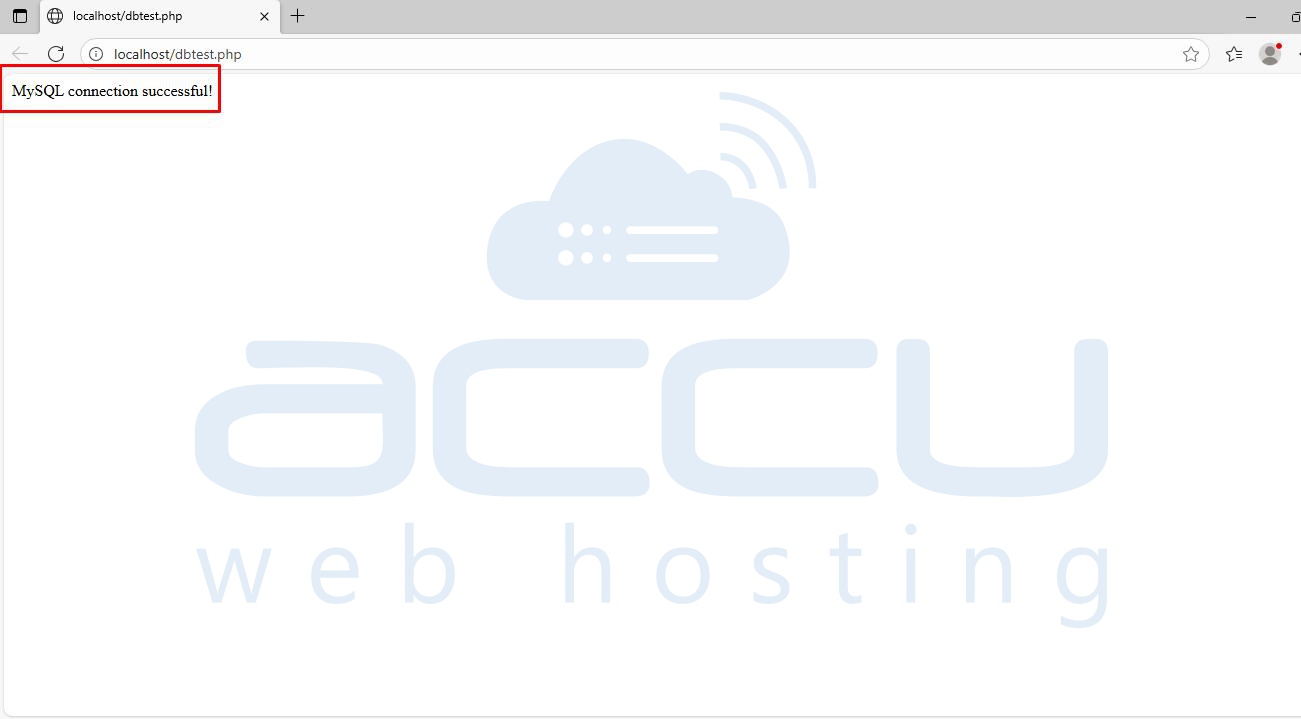
2. Visit http://localhost/dbtest.php — if the connection works, you’ll see a success message.
Conclusion
You’ve successfully installed IIS, PHP, and MySQL on your Windows Server 2025. This setup enables you to host PHP-based websites such as WordPress, Joomla, or custom applications.
To keep your server secure, regularly update software, restrict database access, and use strong administrative credentials.
