Introduction
The LiteSpeed Cache Crawler is a built-in feature of the LiteSpeed Cache plugin for WordPress that preloads and refreshes cached pages automatically. Instead of waiting for a visitor to trigger caching, the crawler visits each page on your site and builds the cache proactively — ensuring your visitors always get the fastest version of your pages.
Activating the LiteSpeed Cache Crawler can significantly improve site performance, reduce server load, and provide a smoother user experience. This article explains exactly how to activate and configure the LiteSpeed Cache Crawler on your WordPress website.
Note: LiteSpeed crawler is not recommended to enable on shared hosting server. It is recommended to enable this features on a VPS or a Dedicated server hosting a limited number of WordPress websites.
What Is the LiteSpeed Cache Crawler?
The LiteSpeed Cache Crawler automatically generates and updates cached pages by simulating user visits.
WordPress usually generates a page dynamically using PHP and database queries when a visitor opens it. With LiteSpeed Cache enabled, the crawler preloads these pages into static cache files. As a result, future visitors receive the prebuilt version - making page loads almost instant. In addition to the crawler, LiteSpeed Cache also offers features such as:
- Browser caching
- Image optimization
- Database cleanup
- CDN integration
Together, these features greatly enhance your site’s performance and reduce hosting resource usage.
Prerequisites
Before you start, ensure that:
- Your website is hosted on a LiteSpeed Web Server or OpenLiteSpeed.
- You have WordPress installed.
- The LiteSpeed Cache plugin is installed and activated.
Step 1: Install the LiteSpeed Cache Plugin
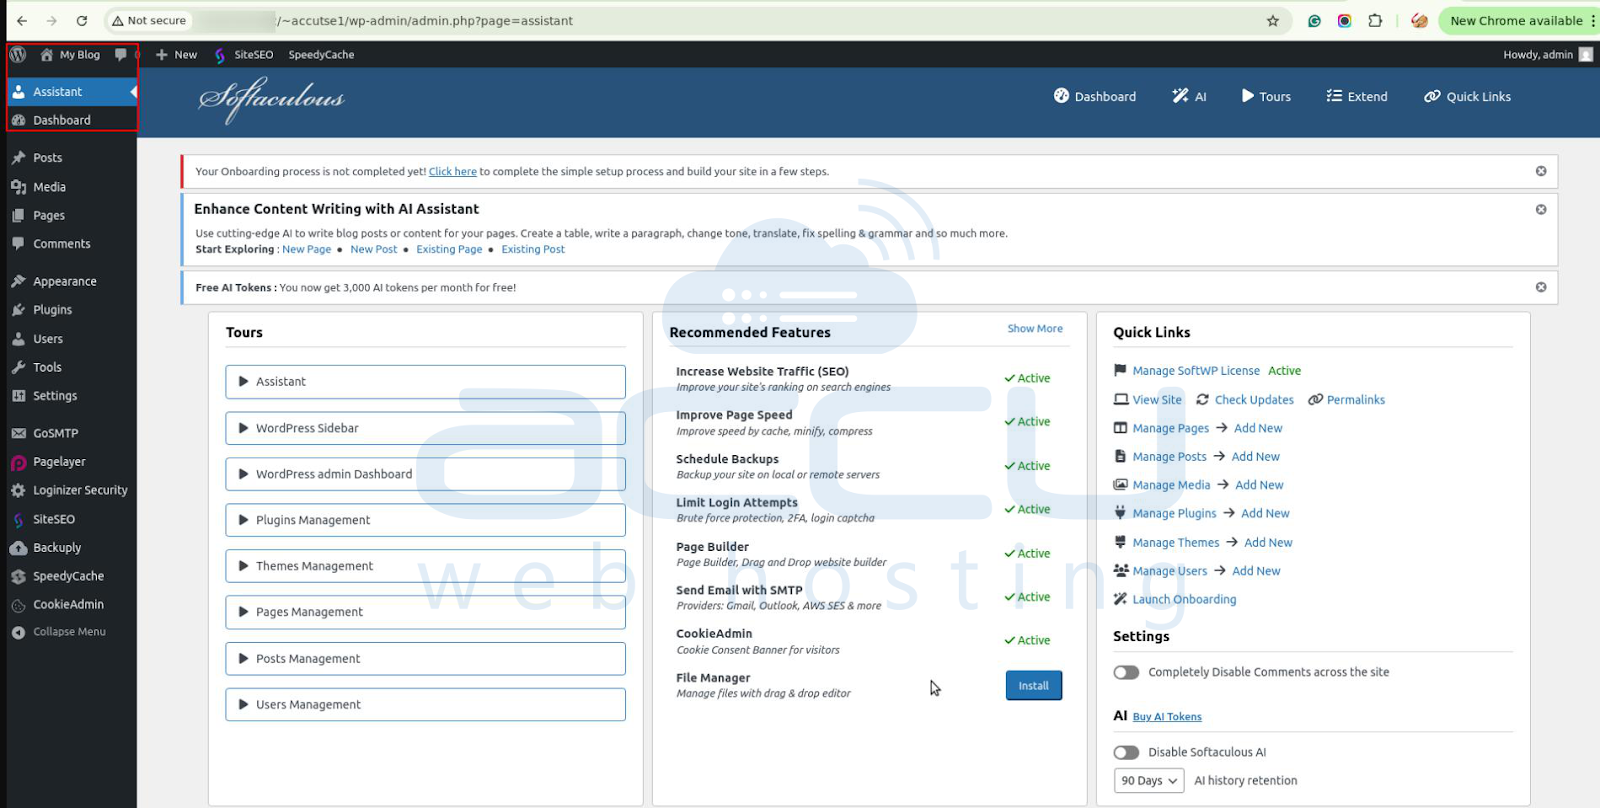
1. Log in to your WordPress Admin Dashboard.
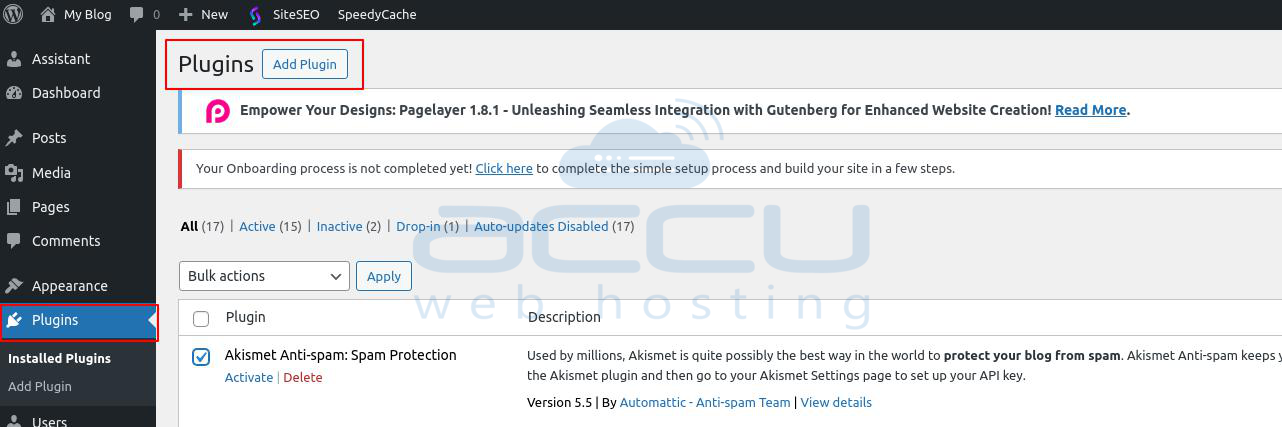
2. Go to Plugins → Add Plugin.
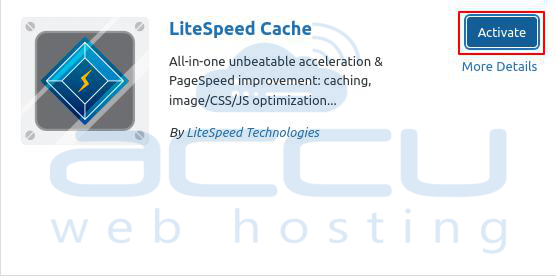
3. In the search box, type LiteSpeed Cache.
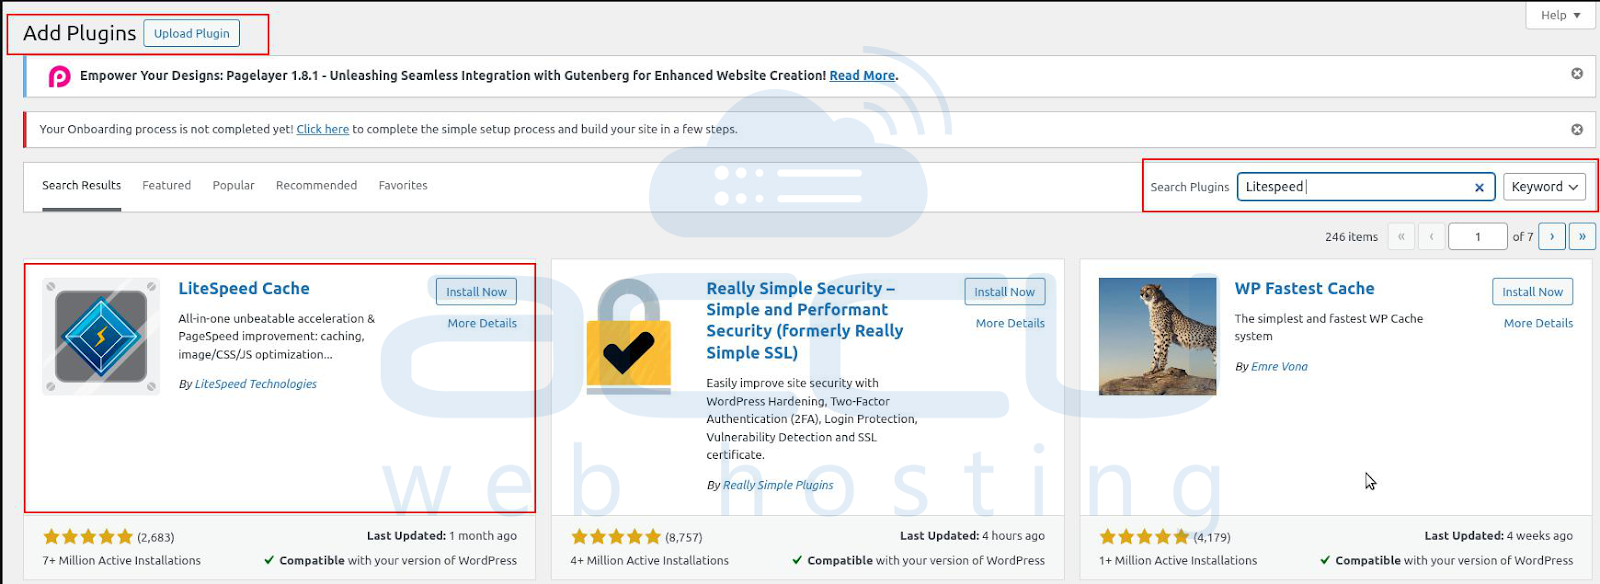
4. Click Install Now, then click Activate once the installation is complete.

This plugin will automatically integrate with your LiteSpeed Web Server.
Step 2: Activate the LiteSpeed Cache Crawler
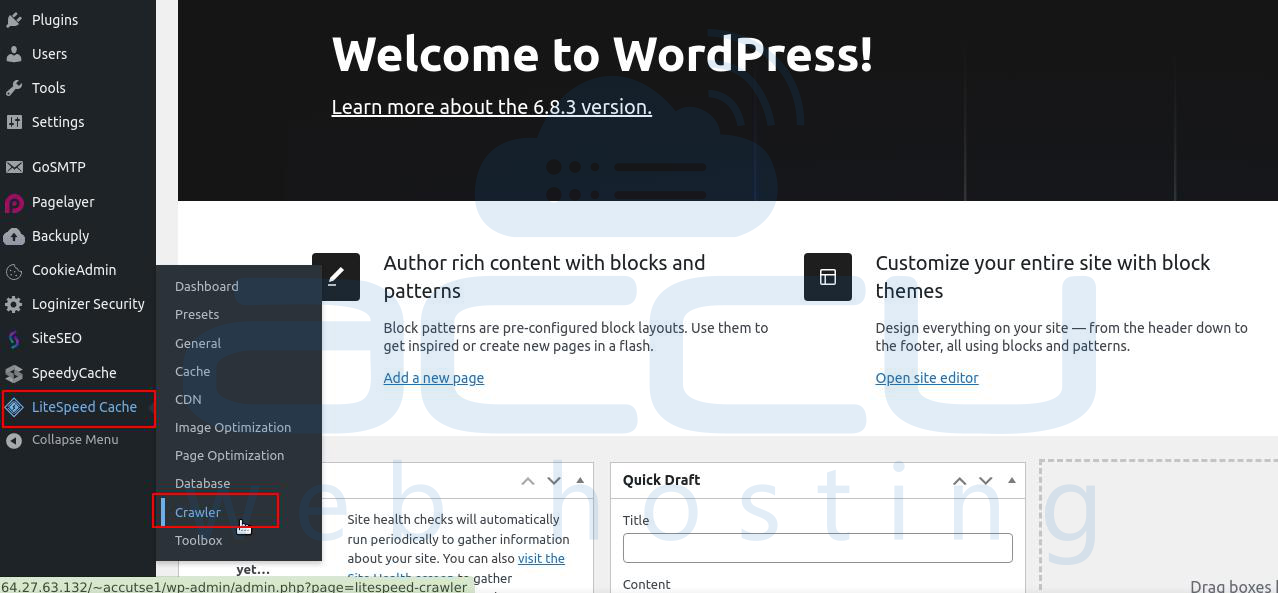
1. In your WordPress dashboard, navigate to LiteSpeed Cache → Crawler.
2. On the right-hand side, locate the Activate toggle.
3. Turn it ON to enable the crawler.
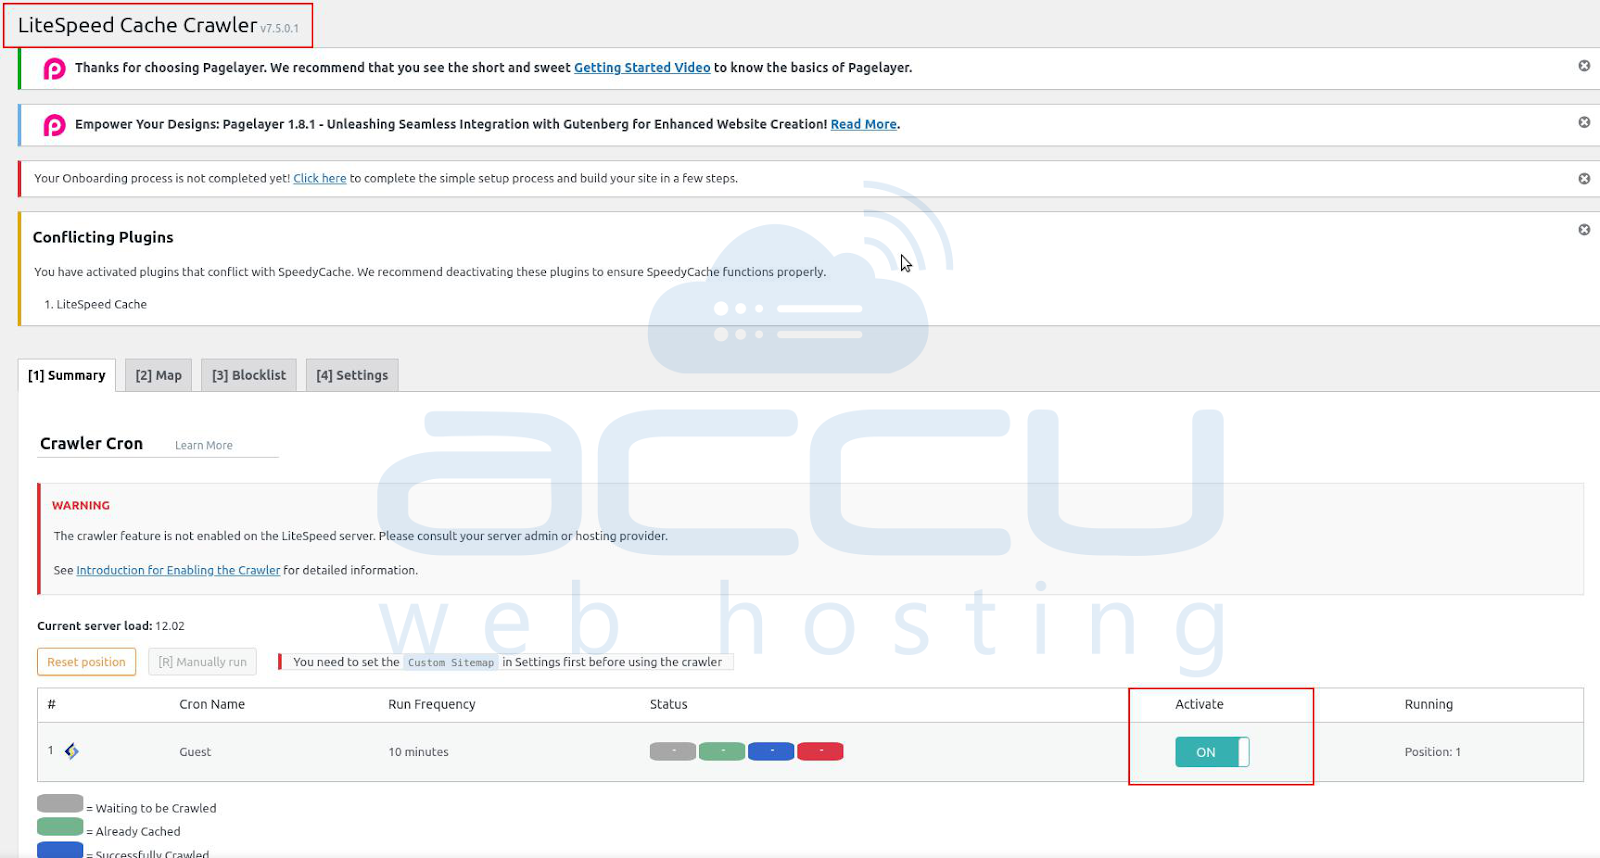
This enables the crawler functionality in the background.
Step 3: Enable the Crawler Cron
The crawler runs automatically through WordPress’s cron system.
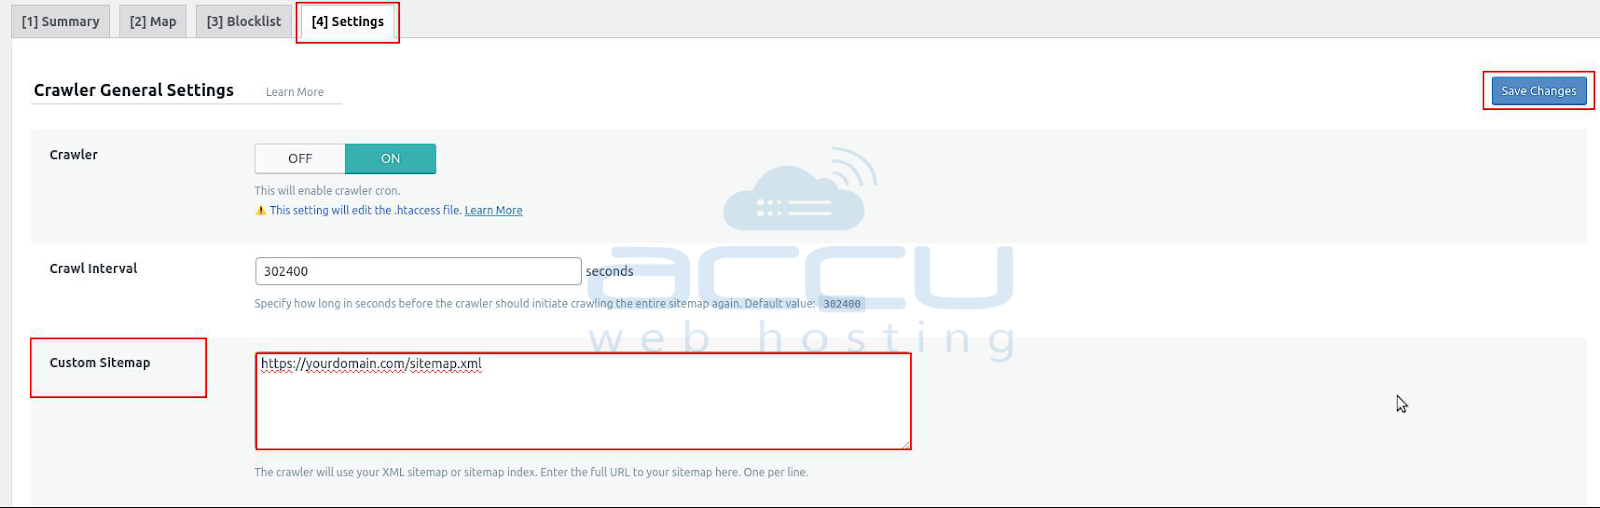
1. Navigate to LiteSpeed Cache → Crawler → General Settings.
2. Under Enable Crawler Cron, toggle the switch ON.
3. Click Save Changes.
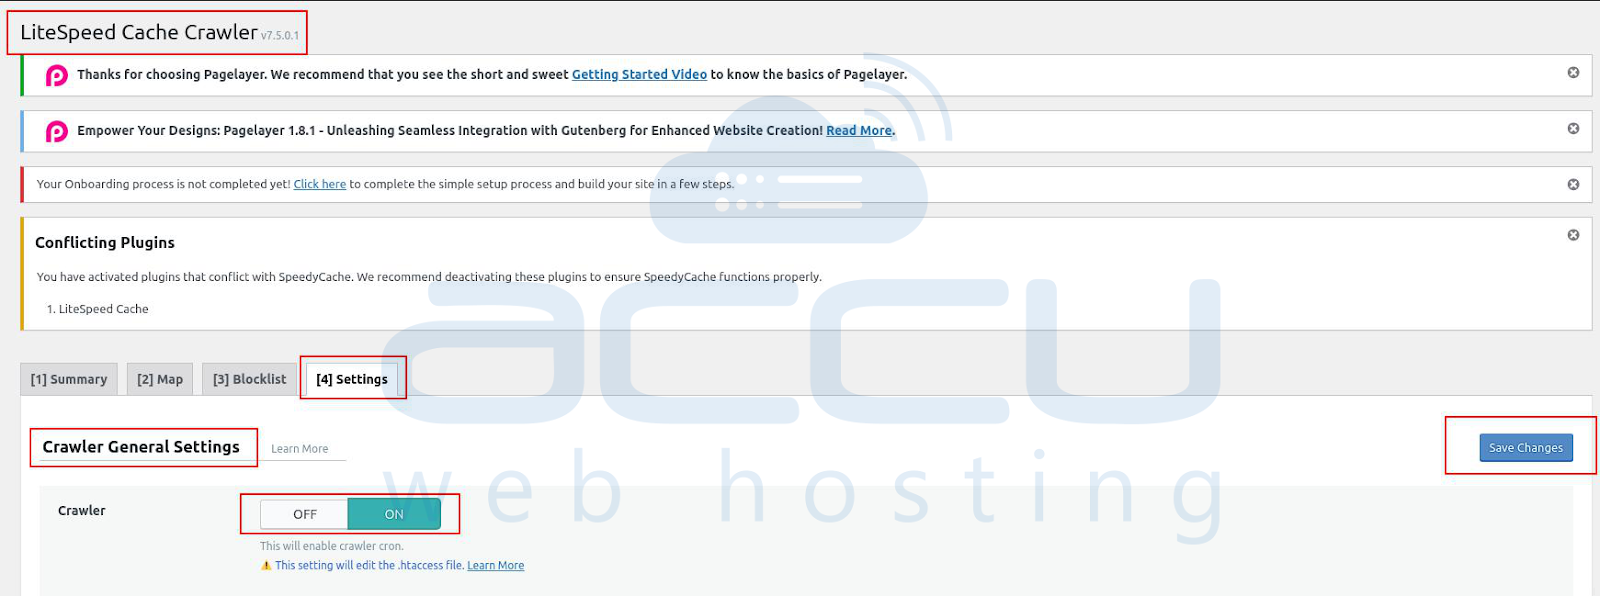
This ensures that your crawler runs periodically without manual input.
Step 4: Configure the Sitemap
The sitemap tells the crawler which pages and posts to preload.
1. Go to LiteSpeed Cache → Crawler → Settings.
2. Enter the URL of your sitemap (e.g., https://yourdomain.com/sitemap.xml).
3. Click Save Changes.
4. Next, switch to the Map tab and click Refresh Crawler Map.
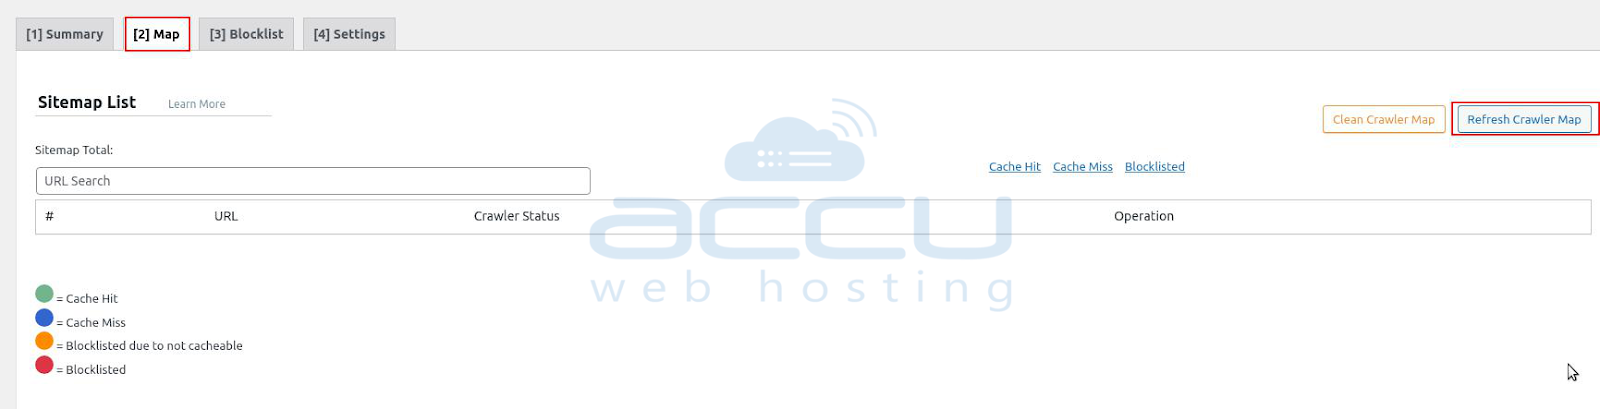
If your sitemap is valid, you’ll see the list of pages available for crawling.
Step 5: Configure Crawler Settings
Proper configuration ensures the crawler runs efficiently and doesn’t overload your server.
Go to LiteSpeed Cache → Crawler → General Settings, and adjust these key parameters:
Server Load Limit: We will set the load limit from 1 to 3.
Crawl Interval

You can adjust these based on your server resources and site size.
After setting your values, click Save Changes.
Step 6: Test and Monitor the Crawler
To verify that the crawler works correctly:
1. Go to LiteSpeed Cache → Crawler → Summary.
2. Click [R] Manually Run to start a manual crawl.
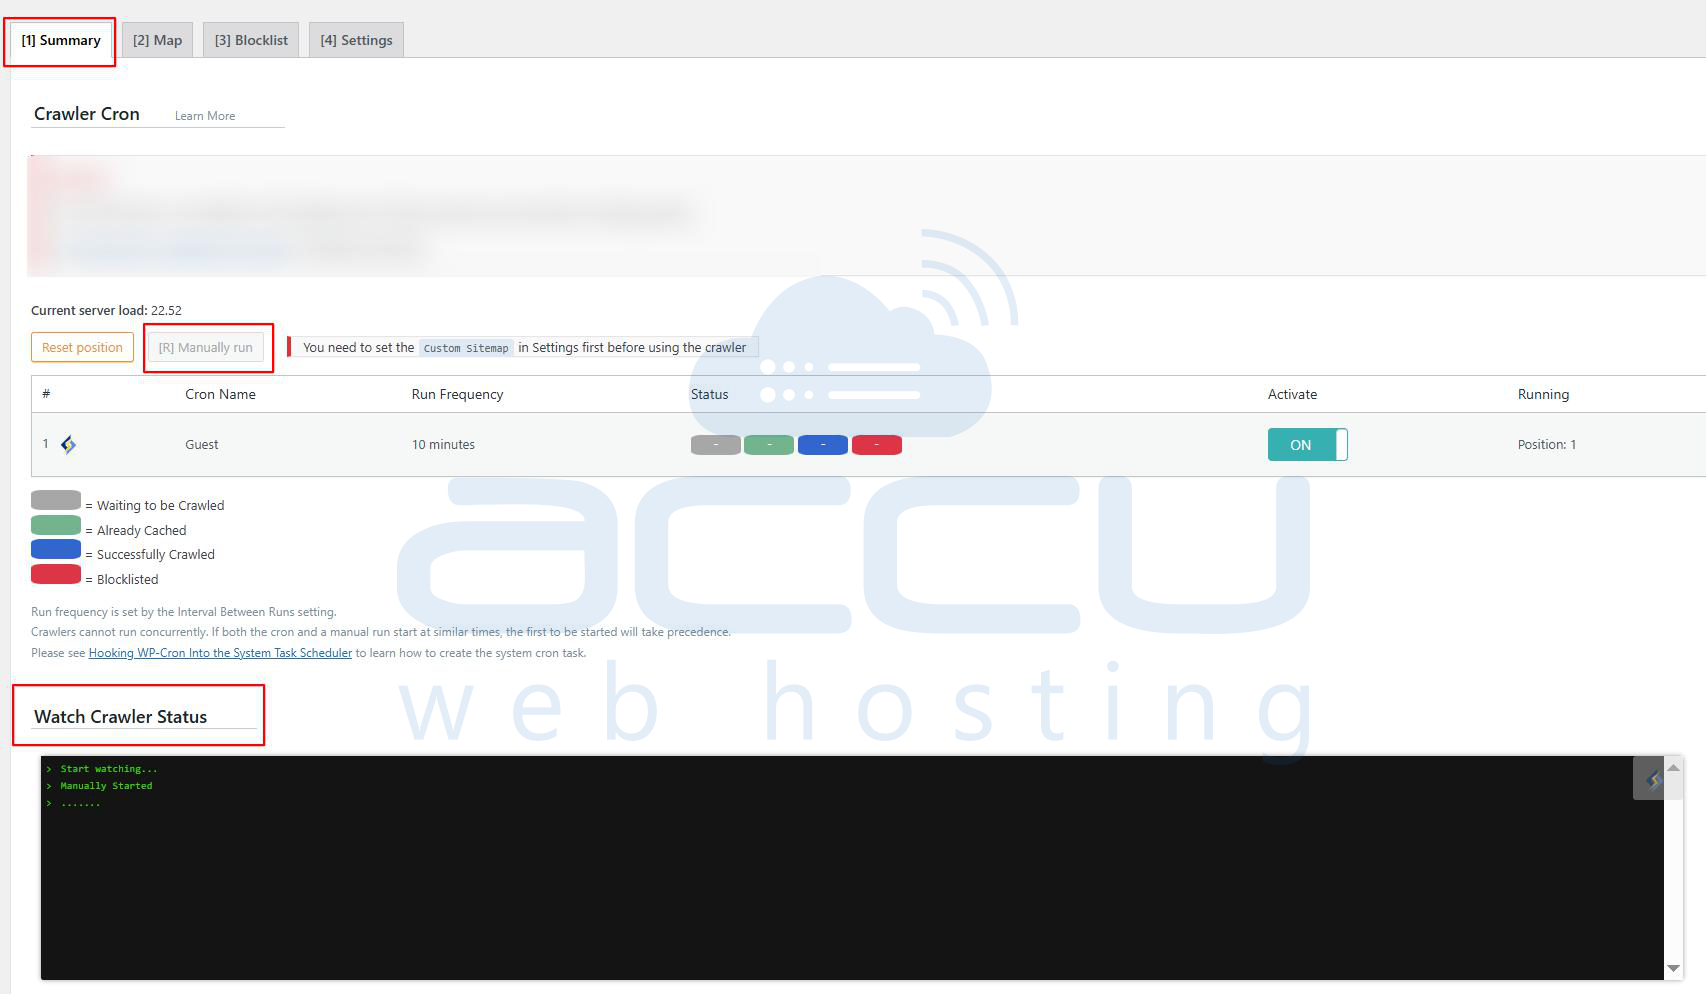
3. Monitor the progress and status of the crawl.
You’ll see logs and statistics showing which pages are being cached.
Once confirmed, your crawler will continue running automatically on schedule.
Conclusion
Activating the LiteSpeed Cache Crawler is one of the easiest and most effective ways to boost your website’s performance.
By proactively generating cached pages, you reduce load times and server strain while ensuring every visitor enjoys a fast, responsive browsing experience.
Following the steps in this guide — from plugin installation to sitemap setup and crawler configuration — you’ll have your LiteSpeed Cache Crawler up and running in just a few minutes.
