Install Jitsi Meet on Ubuntu Server
Jitsi Meet is a free and open-source video conferencing platform that lets you hold secure online meetings without needing an account or installing any software. If you want to run your own private and secure video calls, Jitsi Meet is a great choice. In this guide, we will guide you step by step to install Jitsi Meet on a Ubuntu server.

Prerequisites
Jitsi Meet works best on modern Linux distributions. The officially supported ones are:
- Ubuntu 22.04 (Jammy Jellyfish) or newer
- Minimum Requirements (for small deployments): 1 vCPU, 2 GB RAM, 20 GB storage, 1 Gbps bandwidth (recommended).
- Many commands require sudo privileges. Ensure you have root access or a user with administrative rights.
Steps to install Jitsi Meet on Ubuntu Server
Step 1: Start by updating your system and installing essential dependencies.
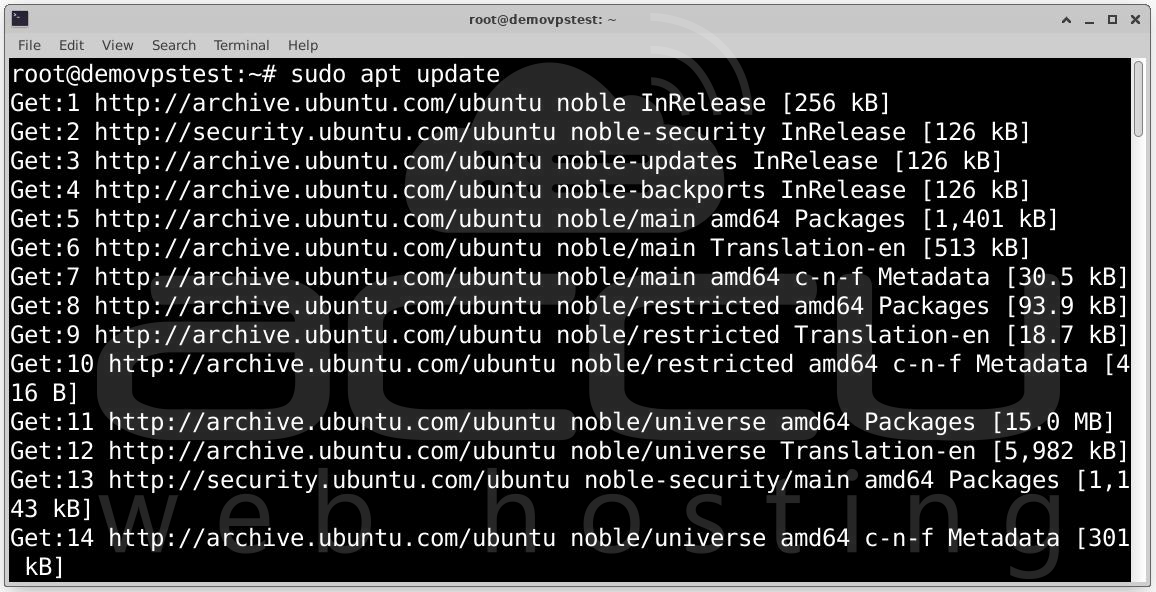
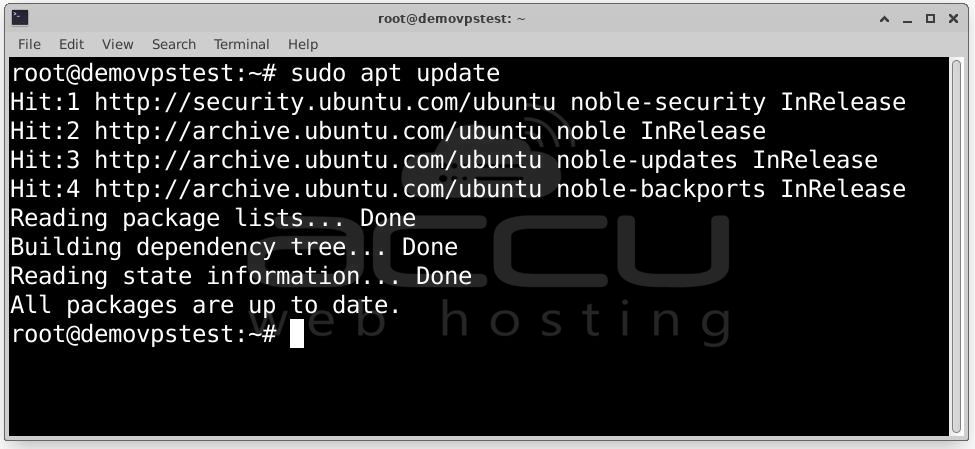
# sudo apt update
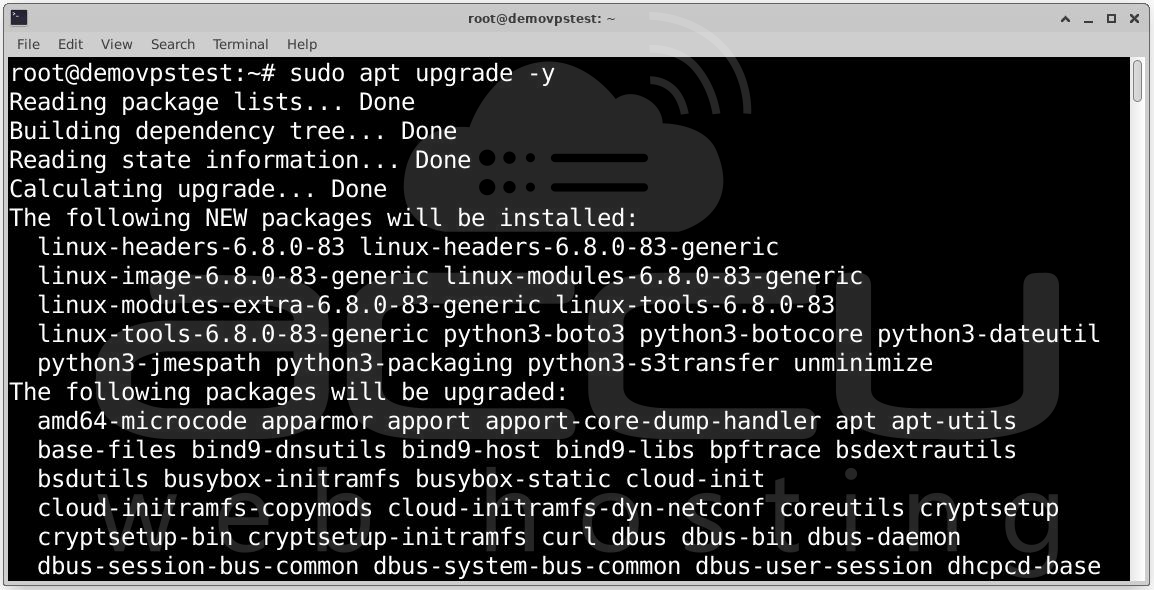
# sudo apt upgrade -y
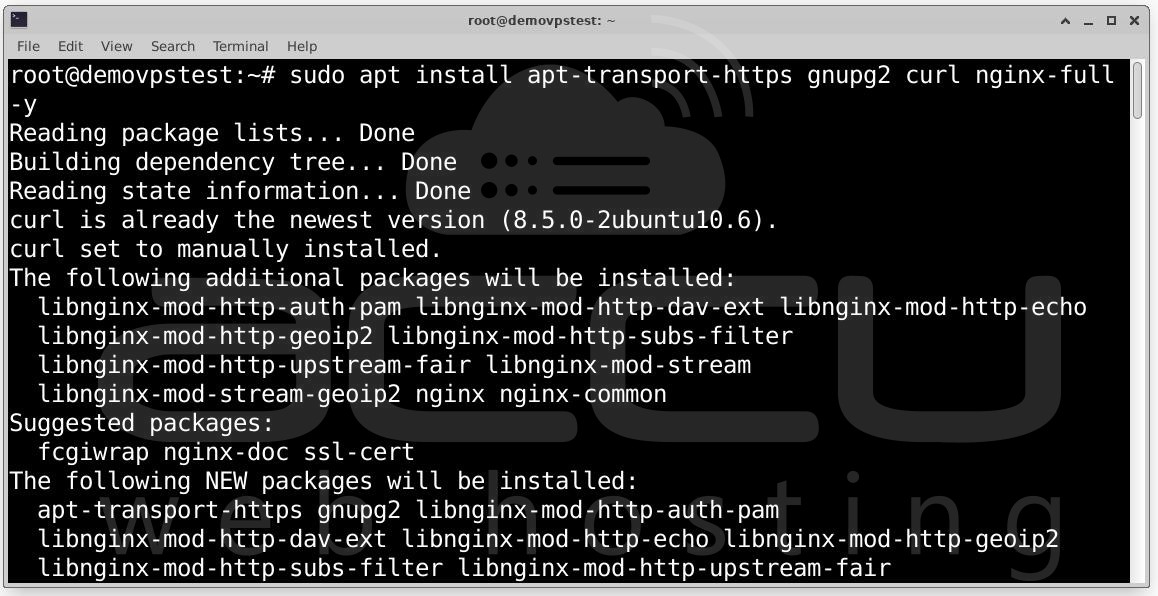
# sudo apt install apt-transport-https gnupg2 curl nginx-full -y
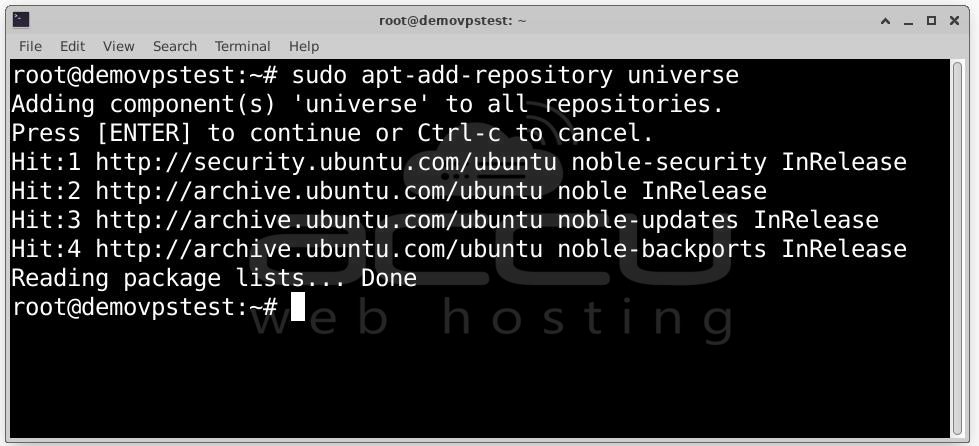
On Ubuntu, enable the universe repository:
# sudo apt-add-repository universe
# sudo apt update
This ensures all required packages are available.
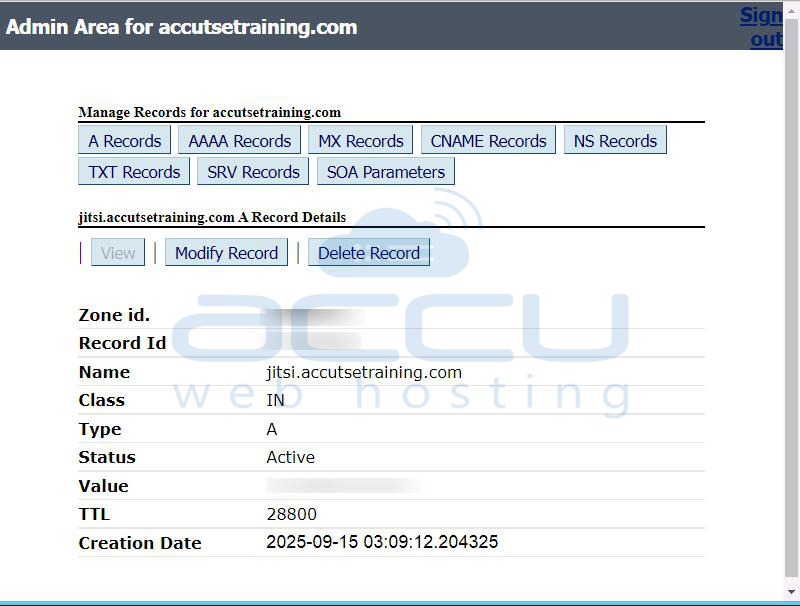
Step 2: Jitsi Meet requires a fully qualified domain name (FQDN). Example: jitsi.example.org
Log in to your DNS provider and create an A record pointing to your server’s public IP address.
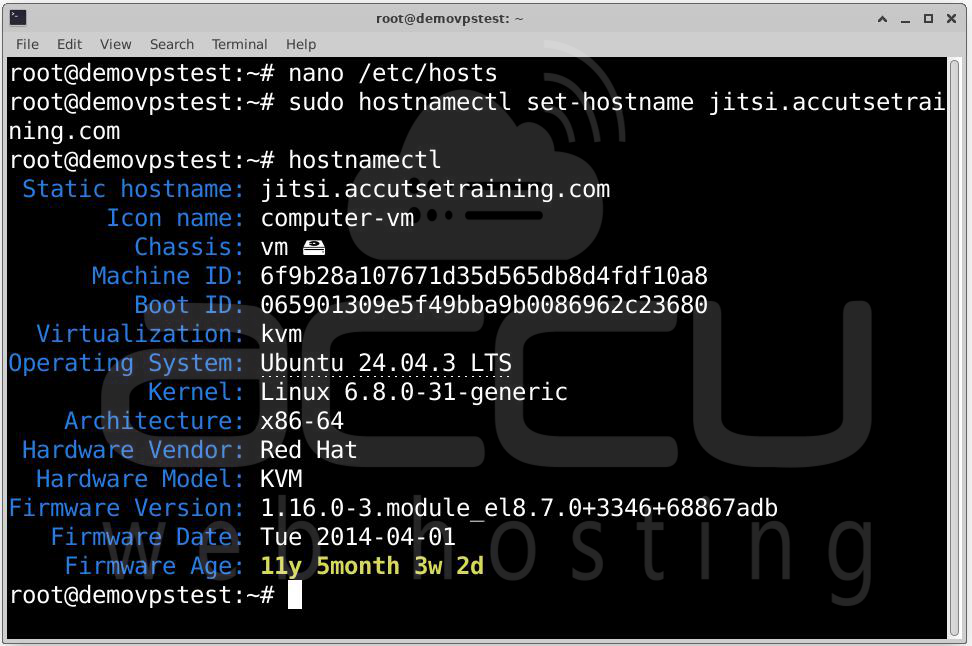
Step 3: Set the hostname for your server:
# sudo hostnamectl set-hostname jitsi.example.org
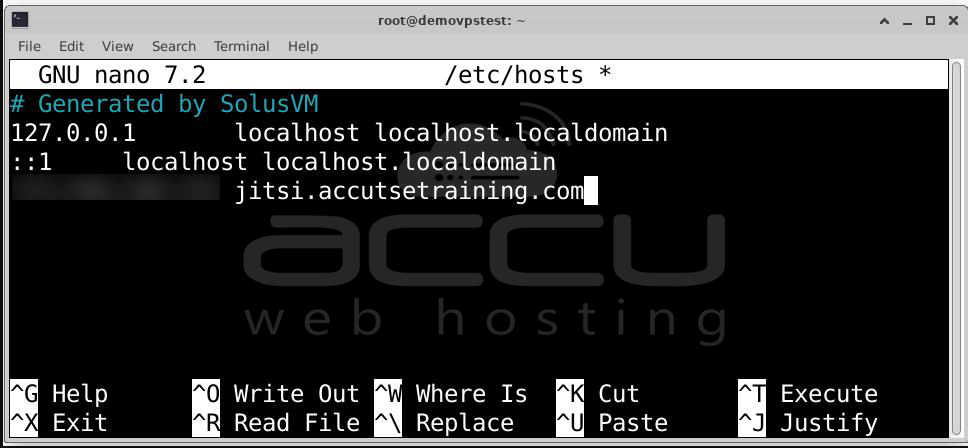
Update /etc/hosts:
127.0.0.1 localhost
x.x.x.x jitsi.example.org
Replace x.x.x.x with your server’s public IP.
Test with:
# ping "$(hostname)"
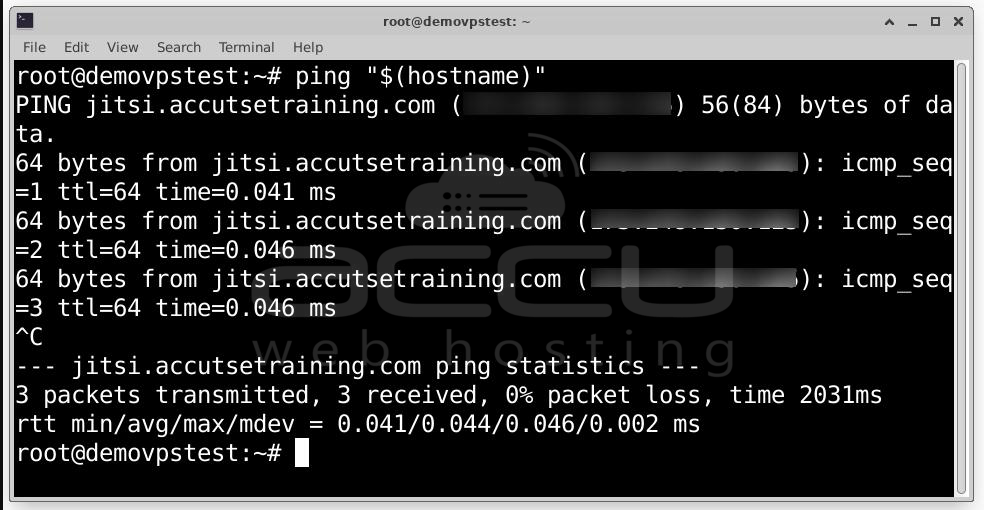
If successful, your FQDN resolves correctly.
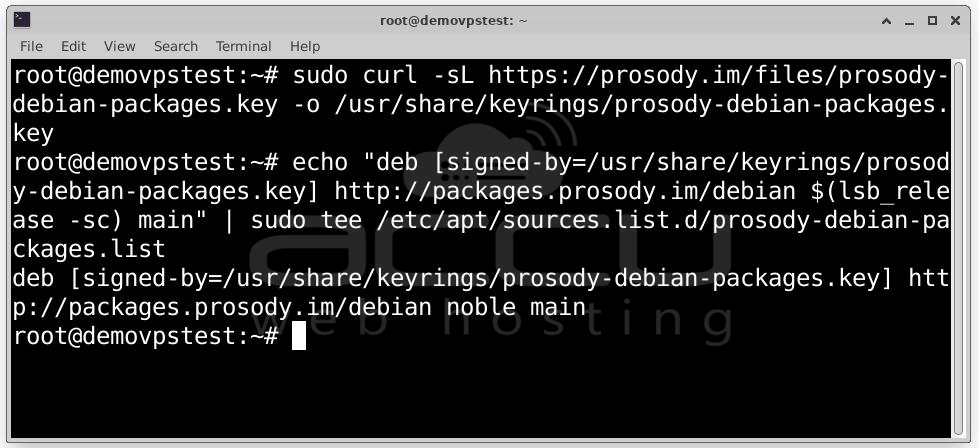
Step 4: Add Repositories by running the following commands.
# sudo curl -sL https://prosody.im/files/prosody-debian-packages.key
-o /usr/share/keyrings/prosody-debian-packages.key

# echo "deb [signed-by=/usr/share/keyrings/prosody-debian-packages.key] http://packages.prosody.im/
debian $(lsb_release -sc) main" | sudo tee /etc/apt/sources.list.d/prosody-debian-packages.list
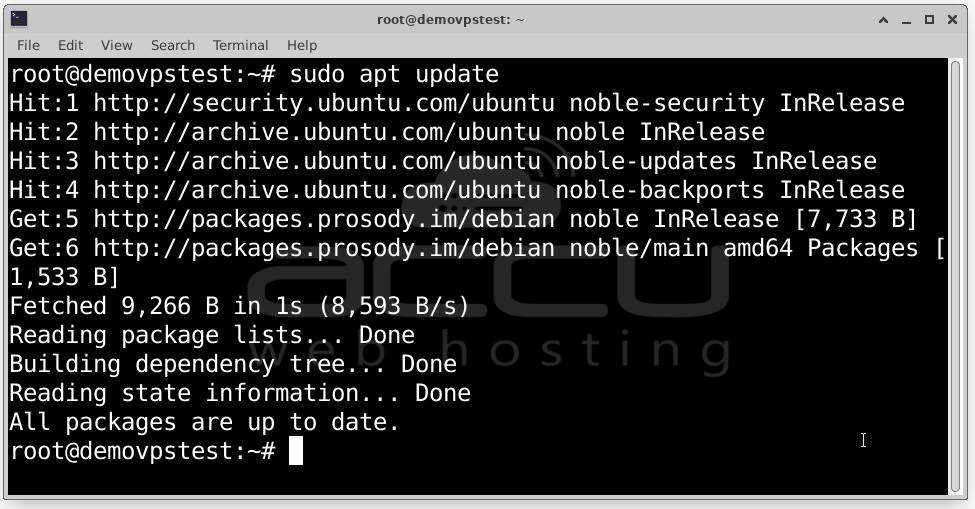
# sudo apt update
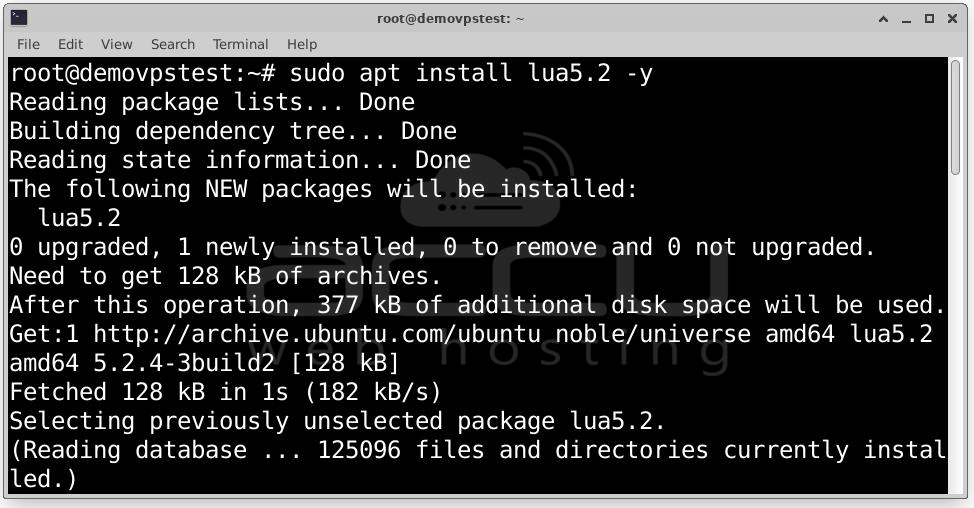
# sudo apt install lua5.2 -y
Add Jitsi Repository:
# curl -sL https://download.jitsi.org/jitsi-key.gpg.key | sudo tee
/usr/share/keyrings/jitsi-keyring.gpg >/dev/null

# echo "deb [signed-by=/usr/share/keyrings/jitsi-keyring.gpg]
https://download.jitsi.org stable/" | sudo tee /etc/apt/sources.list.d/jitsi-stable.list
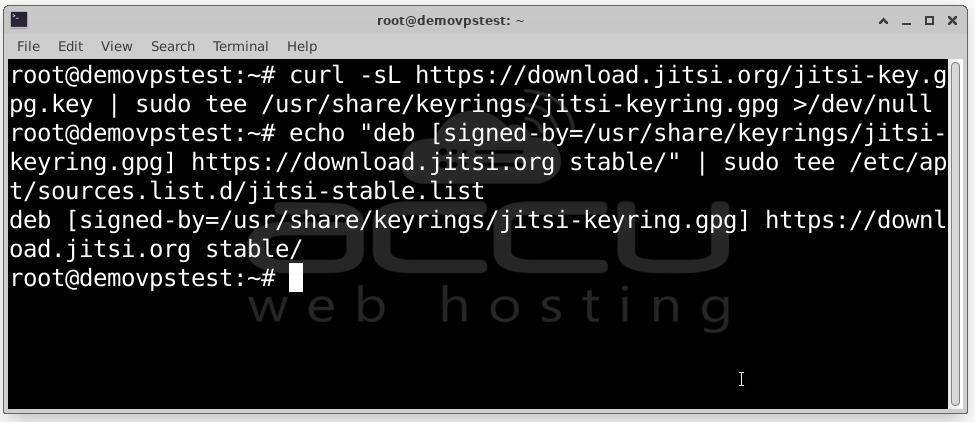
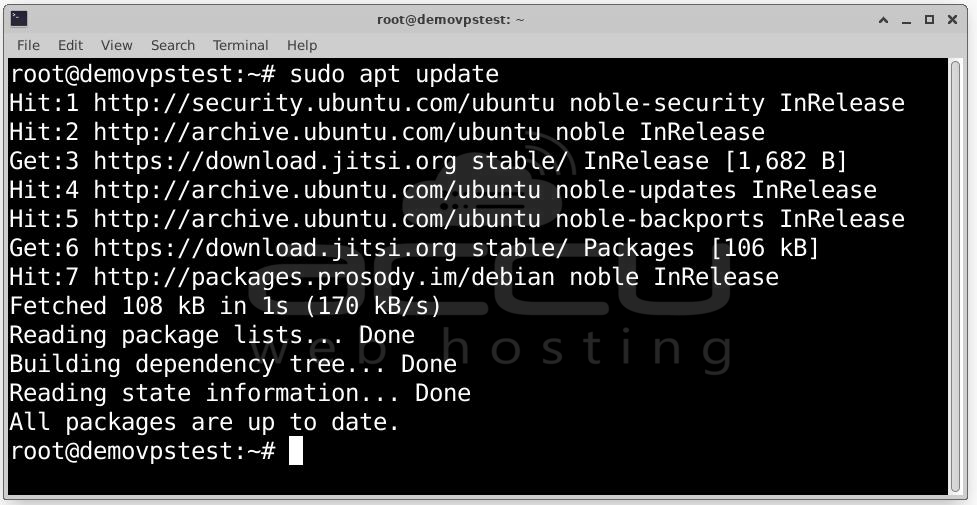
# sudo apt update
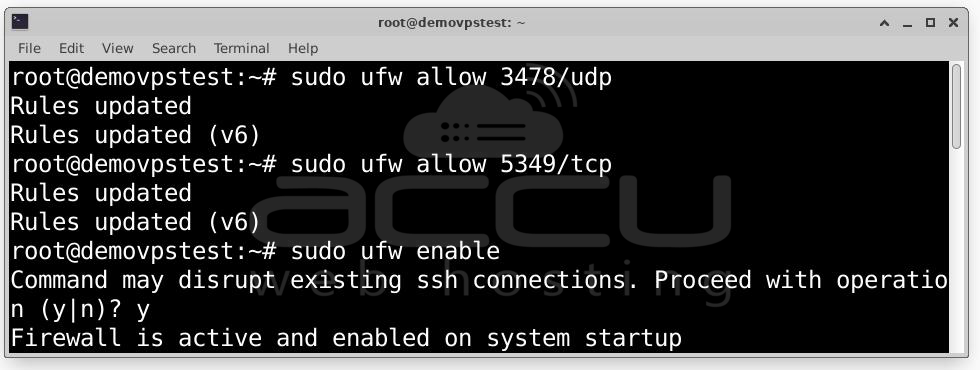
Step 5: Jitsi requires multiple ports for signaling and media traffic. Configure Firewall Rules by running the following commands.
Using UFW:
# sudo ufw allow 80/tcp
# sudo ufw allow 443/tcp
# sudo ufw allow 10000/udp
# sudo ufw allow 22/tcp
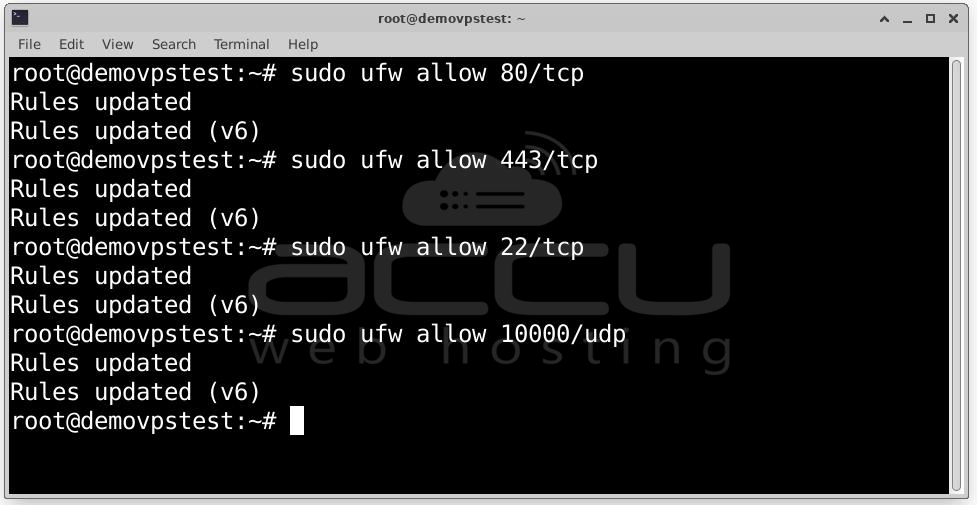
# sudo ufw allow 3478/udp
# sudo ufw allow 5349/tcp
# sudo ufw enable
# sudo ufw status verbose

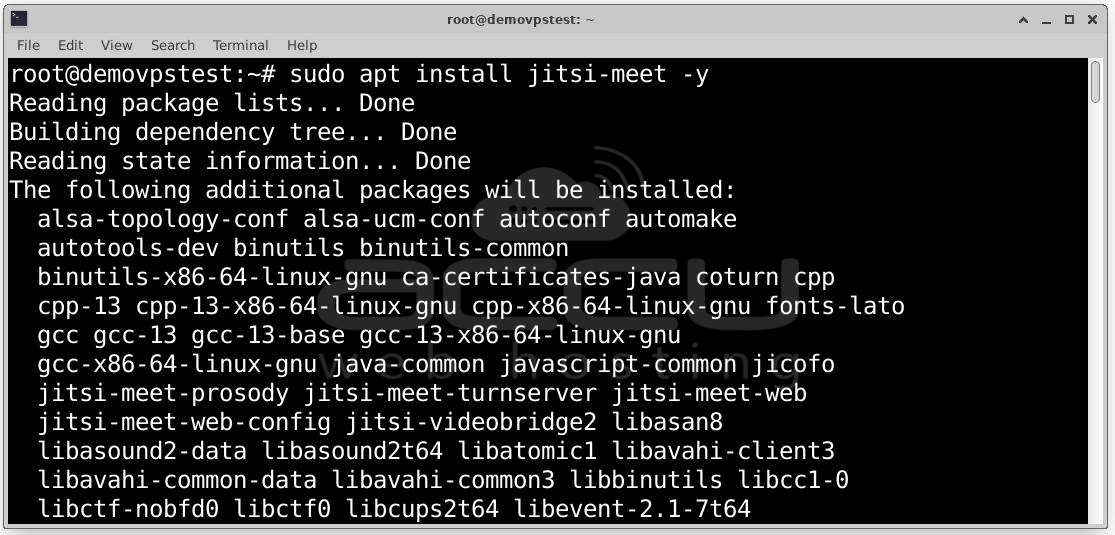
Step 6: Now install Jitsi Meet with:
# sudo apt install jitsi-meet -y
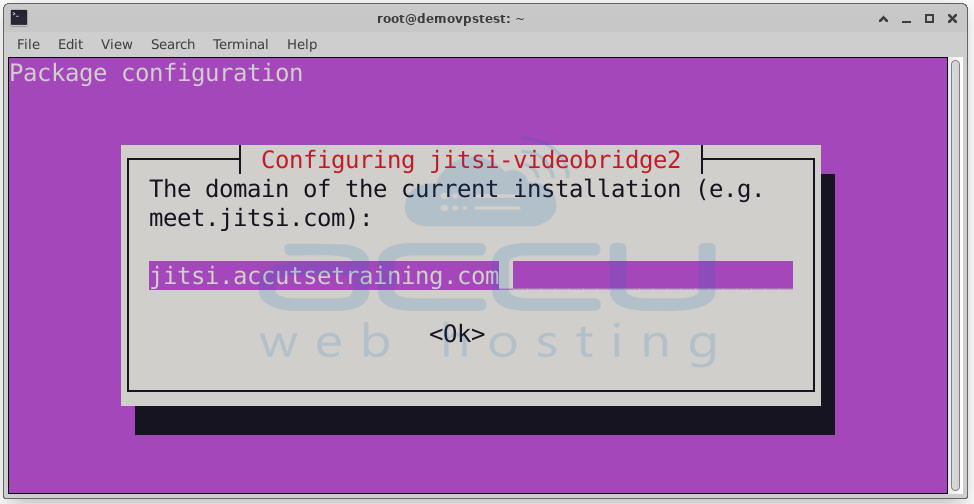
During installation, you will be prompted to:
- Enter your hostname (e.g., jitsi.example.org)
- Choose a certificate setup method. Recommended: Let’s Encrypt
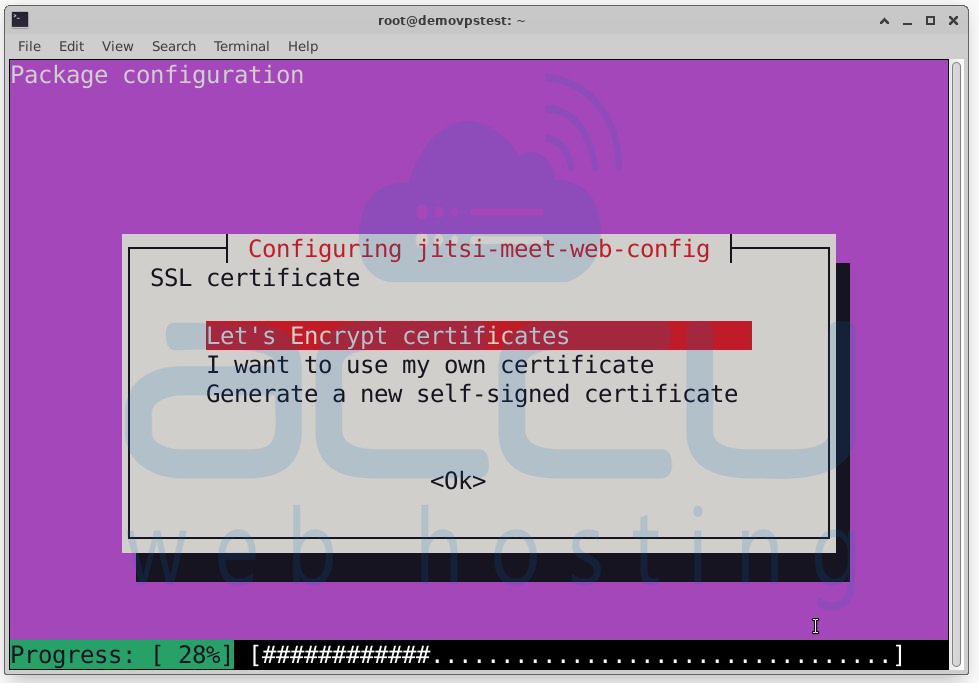
This ensures your conferencing site loads securely over HTTPS.
Step 7: Now, test your Jitsi Meet deployment by opening a browser and visiting: https://jitsi.example.org
If you choose Let’s Encrypt, it should load with a green padlock (HTTPS). If you used a self-signed cert, expect browser warnings.
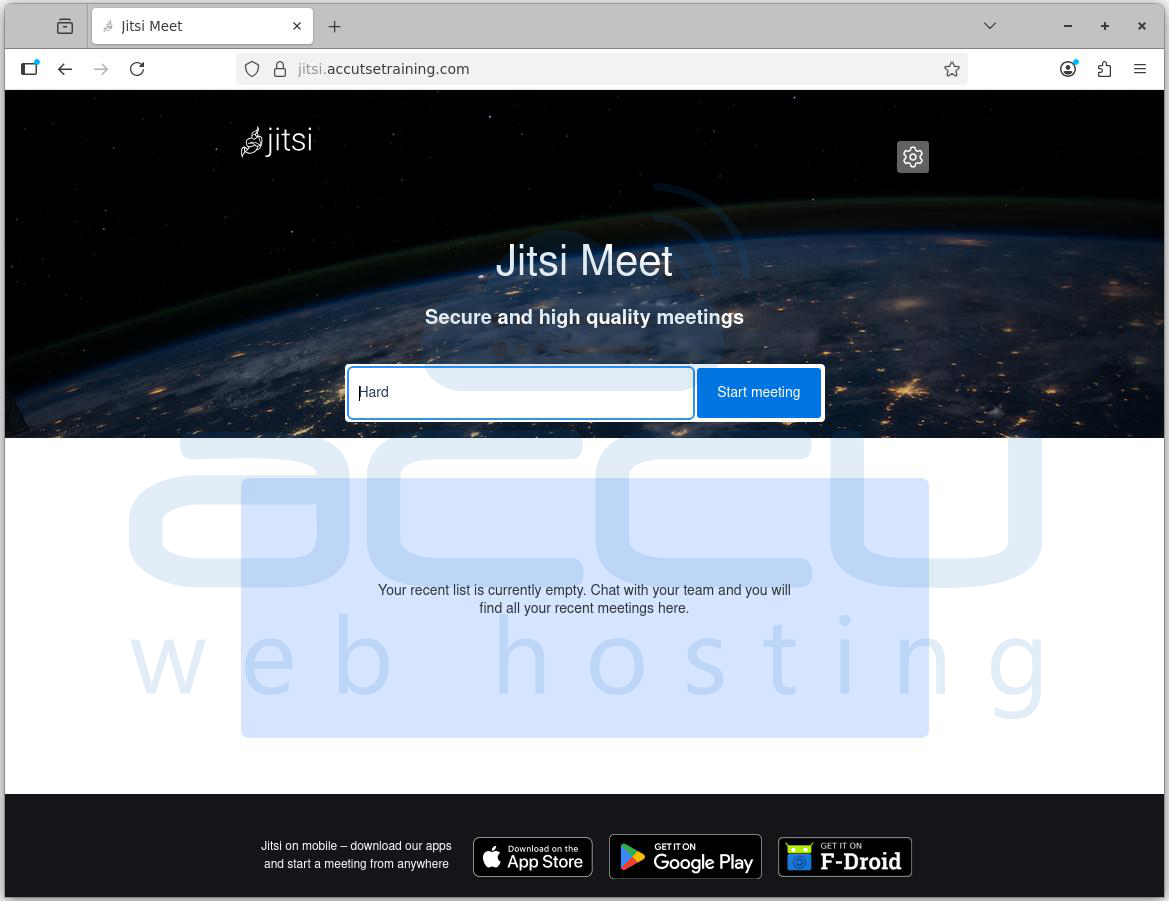
Start a new meeting and invite a few participants to confirm video/audio works.
Congratulations! You now have a fully functional self-hosted Jitsi Meet server.
Conclusion:
Installing Jitsi Meet on Ubuntu is a straightforward process that gives you a private and secure video conferencing system. With your own server, you control who can join, how it works, and can expand it anytime your needs grow. You’re no longer dependent on third-party services; everything runs under your control.
