Rocket.Chat is a free, open-source chat platform that you can run on your own server. It lets your team send messages, make video calls, share files, and more, all without sending your data to outside companies. This makes it a great choice for people who care about privacy, like teams, organizations, or developers.
In this guide, we’ll show you how to install and set up a Rocket.Chat server on Ubuntu 24.04 using Snap.

Prerequisites
Before we start, make sure you have the following:
- A fresh Ubuntu 24.04 server (cloud VM or baremetal)
- Root or sudo access
- A registered domain name (we’ll use rocketchat.example.com in this guide)
Steps to install Rocket.Chat on Ubuntu 24.04
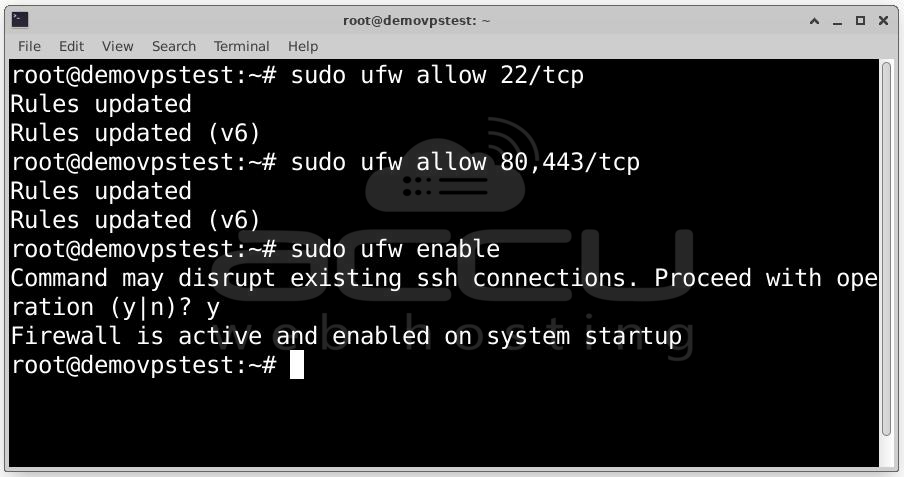
Step 1: Let’s begin by setting up a firewall using UFW. This helps ensure your server is secure and only allows necessary traffic.
Run the following commands:
sudo ufw allow 80,443/tcp
sudo ufw enable
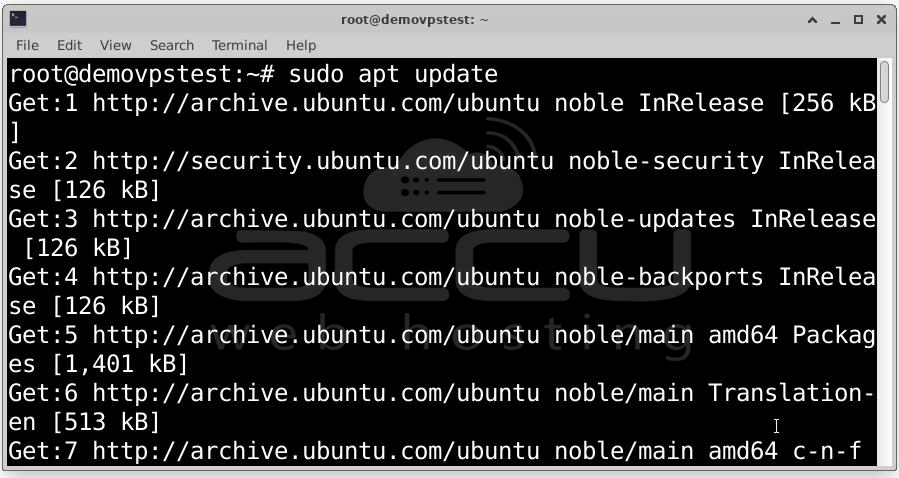
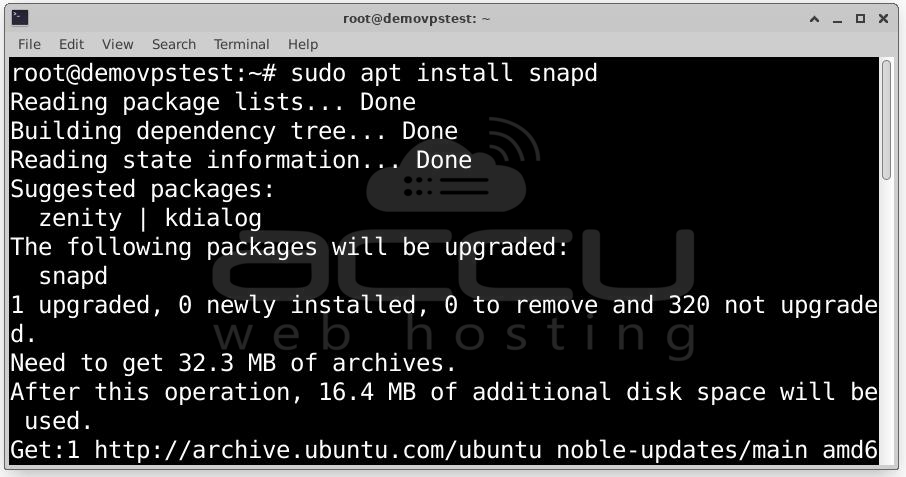
Step 2: Next, install Snapd, which is used to manage snap packages on Ubuntu:
Now install Rocket.Chat using the official Snap package:
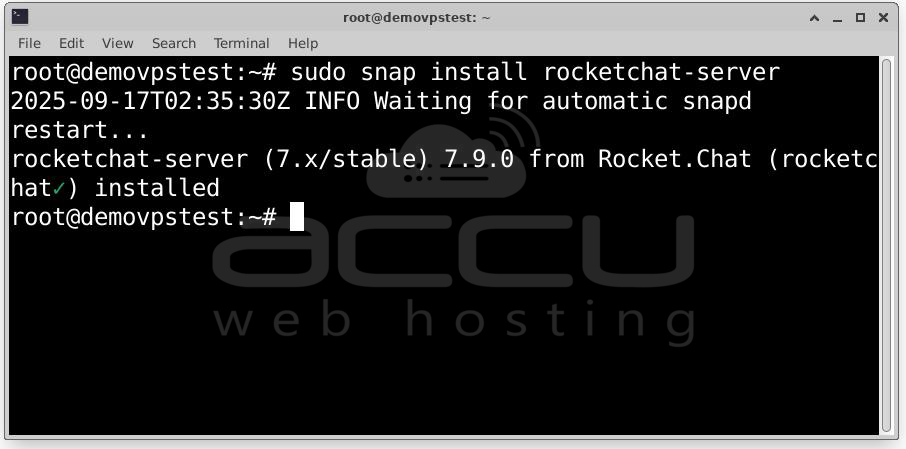
This command installs Rocket.Chat along with MongoDB and sets up everything in isolated snap containers. After installation, Rocket.Chat starts automatically and listens on port 3000.
Step 3: Rocket.Chat’s snap package includes Caddy, a lightweight web server and reverse proxy that automatically handles HTTPS certificates using Let’s Encrypt.
Let’s enable it:
sudo snap set rocketchat-server https=enable
sudo snap set rocketchat-server siteurl=https://<chat.example.com>
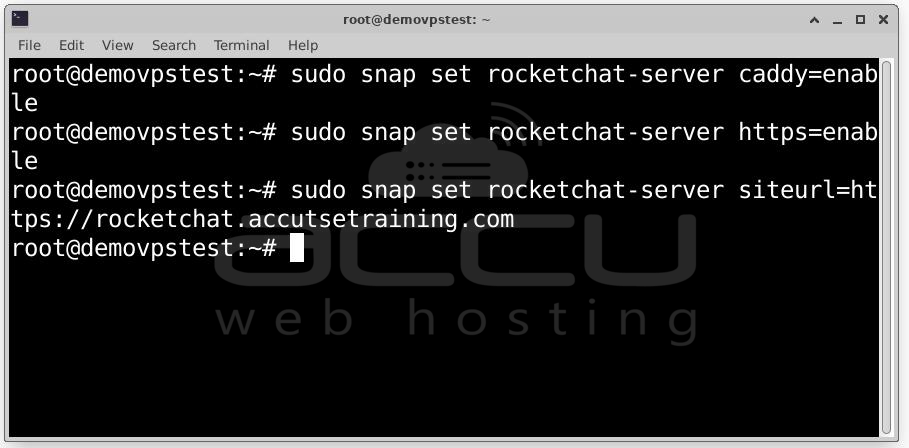
Replace `chat.example.com` with your actual domain.
Now restart the services to apply changes:
sudo systemctl restart snap.rocketchat-server.rocketchat-caddy.service
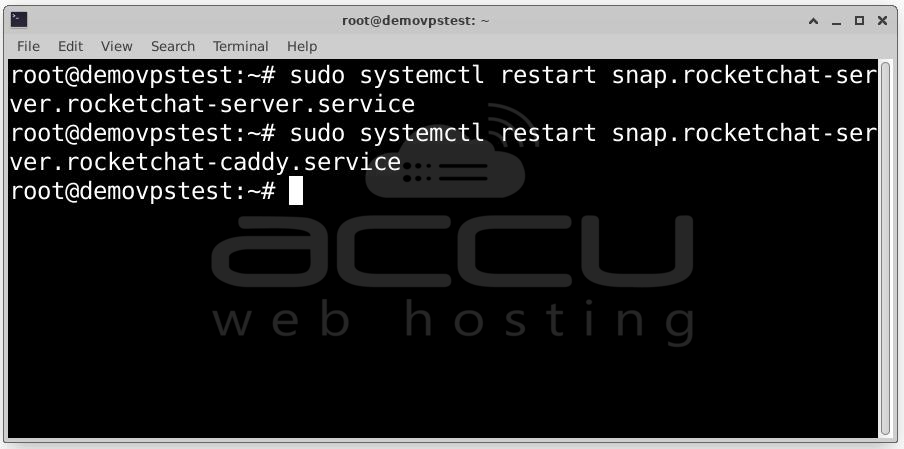
If all goes well, your instance will now be accessible via HTTPS at your domain, and HTTP will redirect automatically.
Step 4: After installation, navigate to your Rocket.Chat URL. You’ll automatically be redirected to the setup wizard where you’ll configure the admin account.
Fill in the Full Name, Username, Email Address, and Password fields to create your administrator account.

Once all fields are filled, click the Next button to continue.
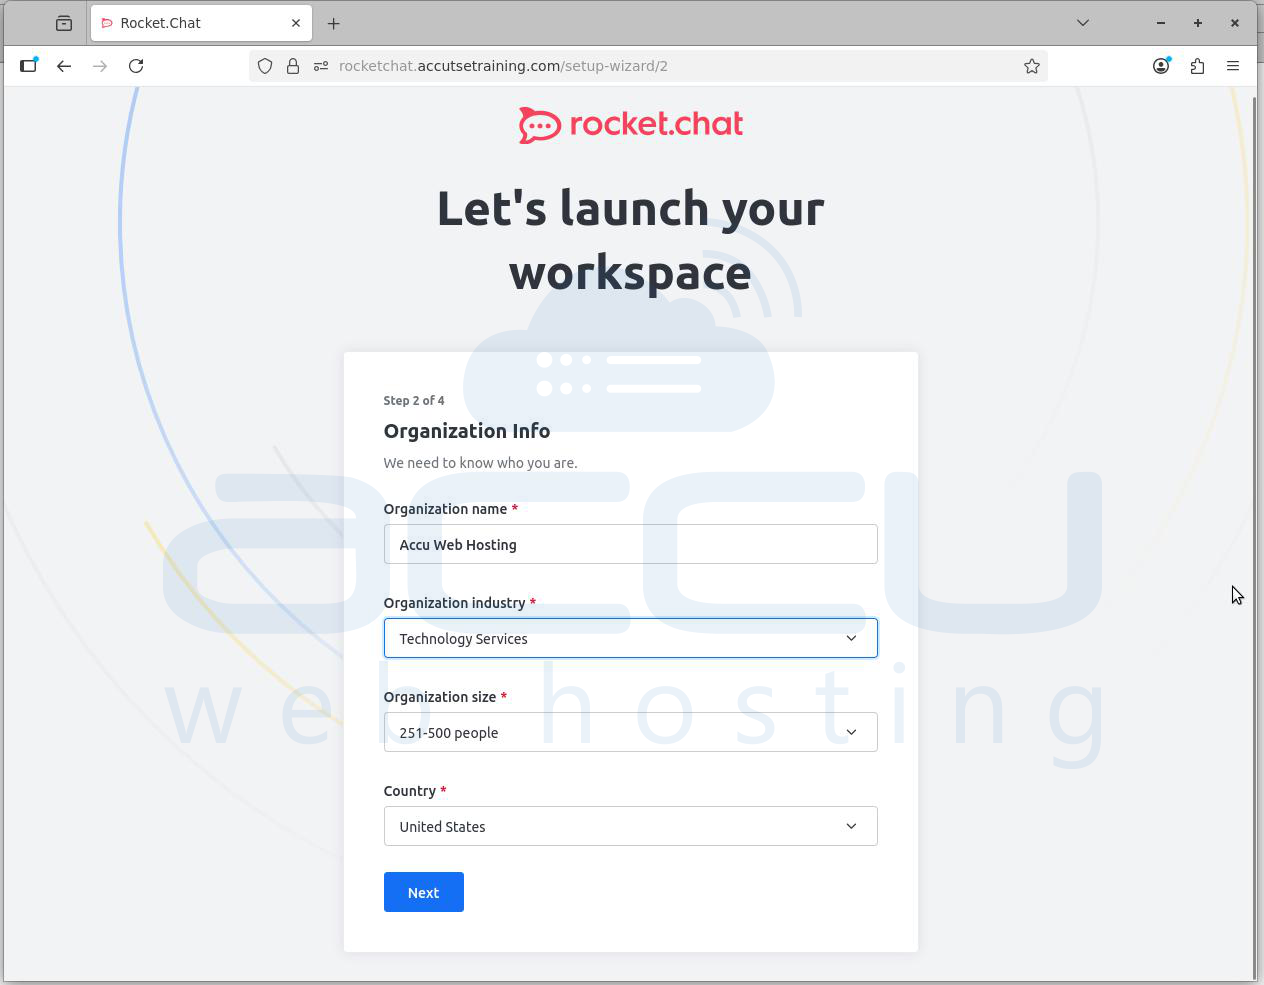
Step 5: Provide organization details Organization name, Industry, Organization size, and Country. Click Next.
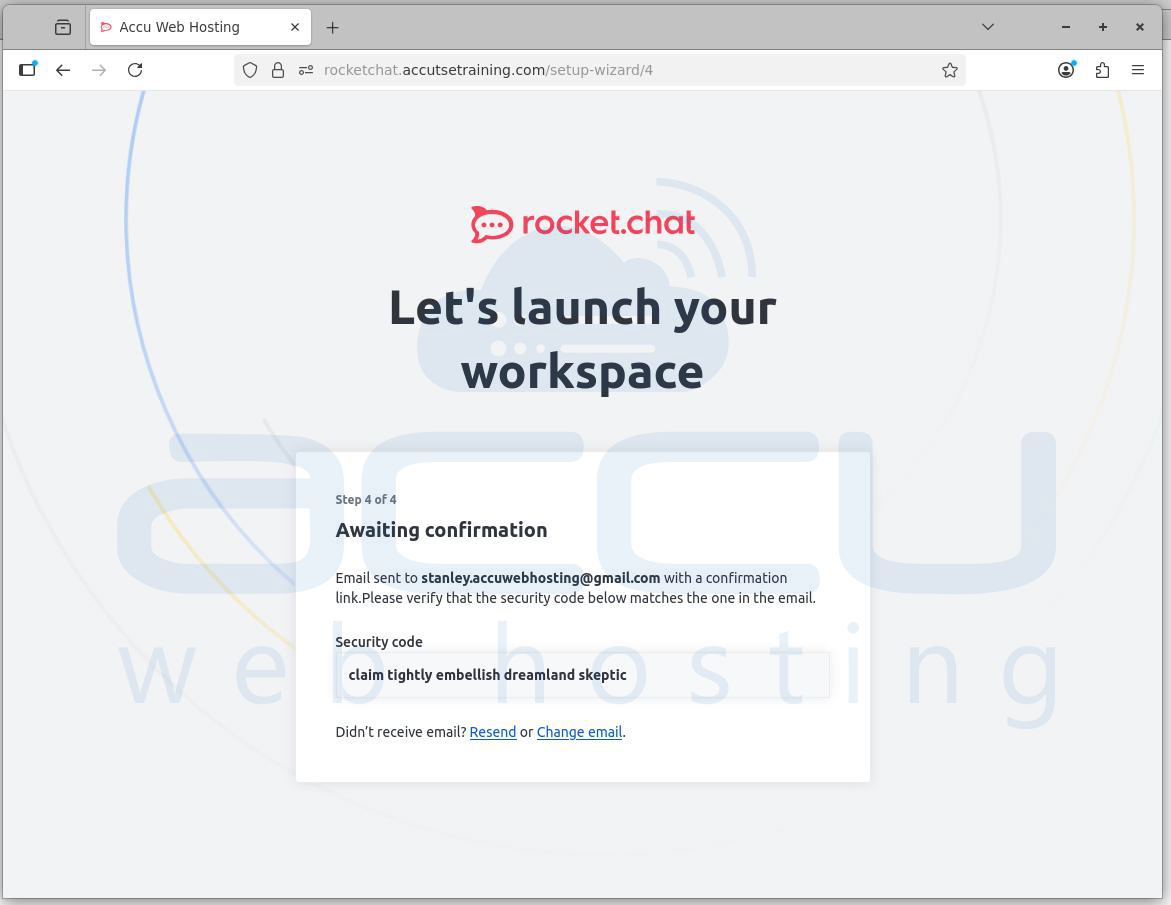
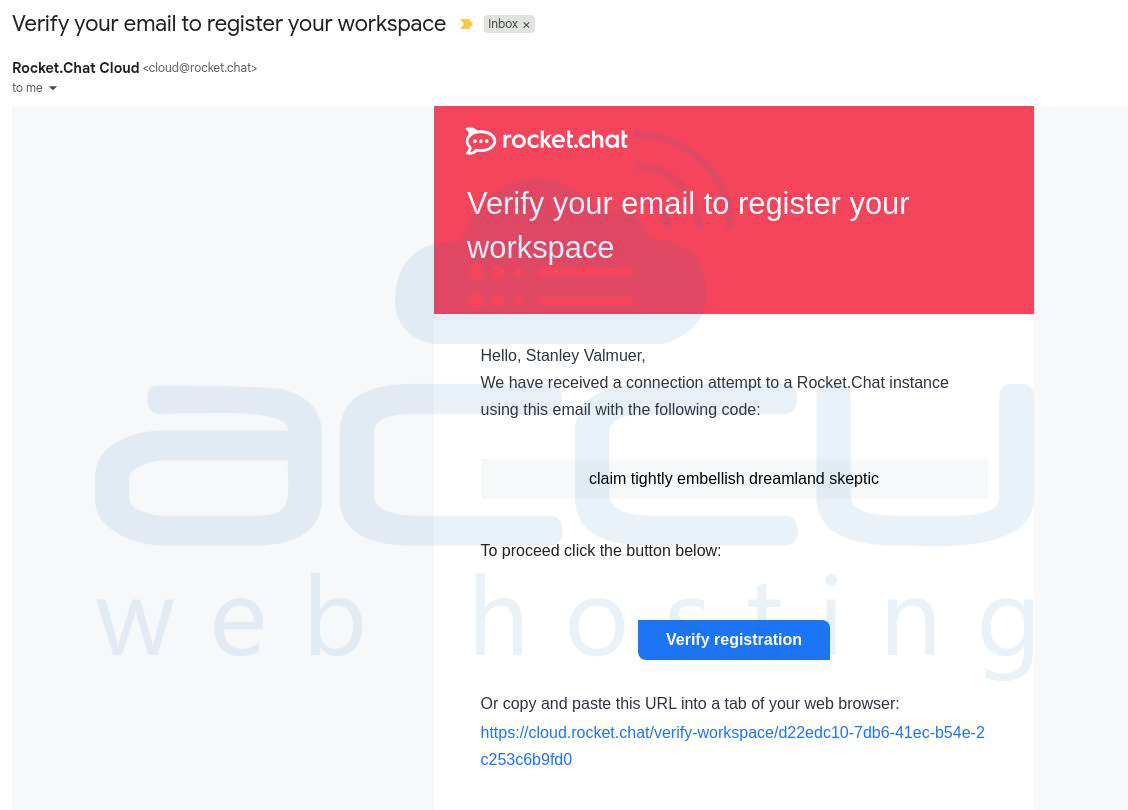
Step 6: After submitting organization info the wizard shows “Awaiting confirmation” and displays a security code. An email is sent to the admin address you provided.
The server also generates an email containing the same token and/or a verification link. The wizard will accept either the token or the click of the verification link.
Step 7: Check your email and find the verification message. The email contains security code and Verify registration button and a direct verify URL. Click the Verify registration button in the email.
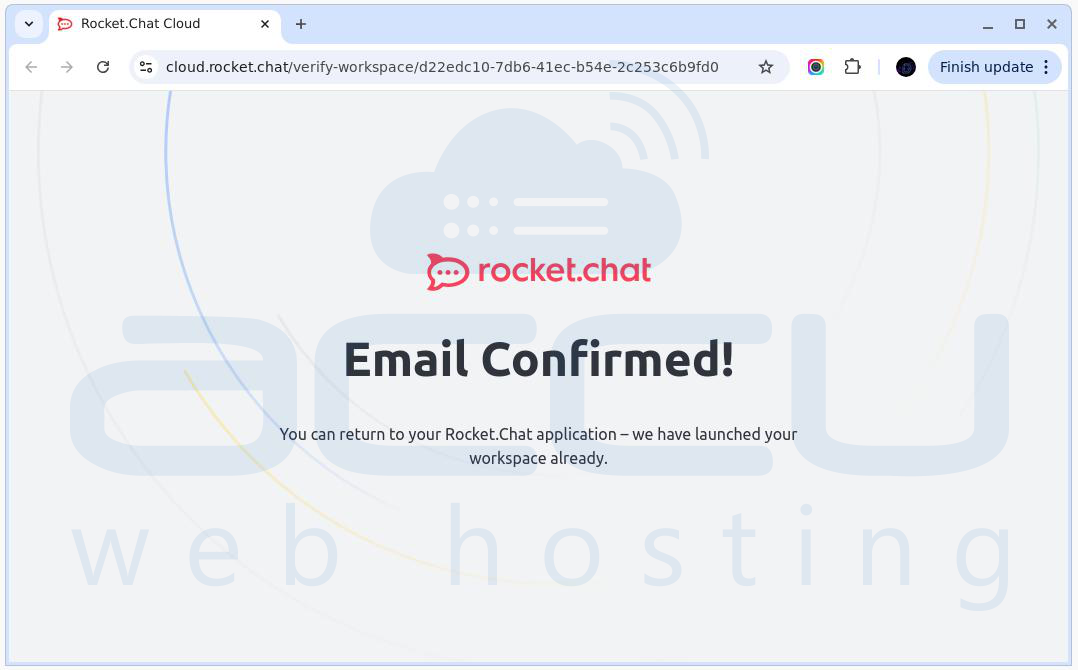
Step 8: After successful verification you will see an “Email Confirmed!” page. Return to the Rocket.Chat application or close the verification tab.
Step 9: You’ll be redirected to the workspace Home page. This page shows tips like Add users, Create channels, Join rooms, and links to apps/documentation.
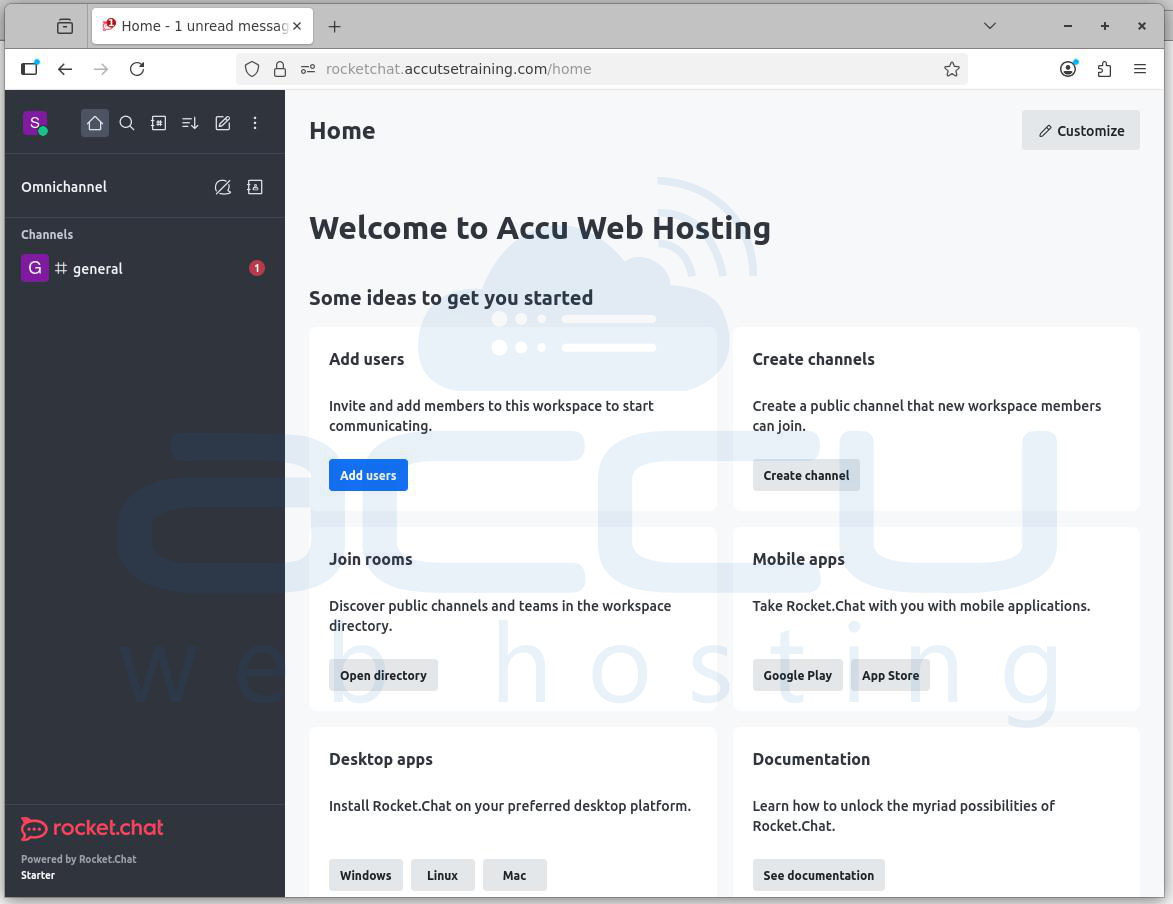
By following the steps above, you'll have a fully functioning Rocket.Chat workspace ready for collaboration.
Conclusion
Congratulations! You’ve successfully installed a fully functional Rocket.Chat instance on Ubuntu 24.04 using Snap. This method is perfect for beginners or those looking for a quick and secure setup with minimal hassle. With secure HTTPS access, automatic MongoDB setup, and a web based admin interface, you’re now ready to explore everything Rocket.Chat has to offer.
