LimeSurvey CE is an open-source tool for creating, managing and conducting surveys. To run it properly, you need a web server, PHP with required modules, a database, correct permissions, secure configuration, and HTTPS. This guide walks through installing the latest version on Ubuntu.

Prerequisites & Compatibility
Before installing, ensure the following:
- A machine running Ubuntu (20.04 / 22.04 / 24.04 recommended) with at least 2 GB RAM and enough disk space.
- A user with sudo privileges.
- A domain or subdomain. (optional but recommended if using HTTPS).
Steps to install LimeSurvey on Ubuntu or Almalinux OS
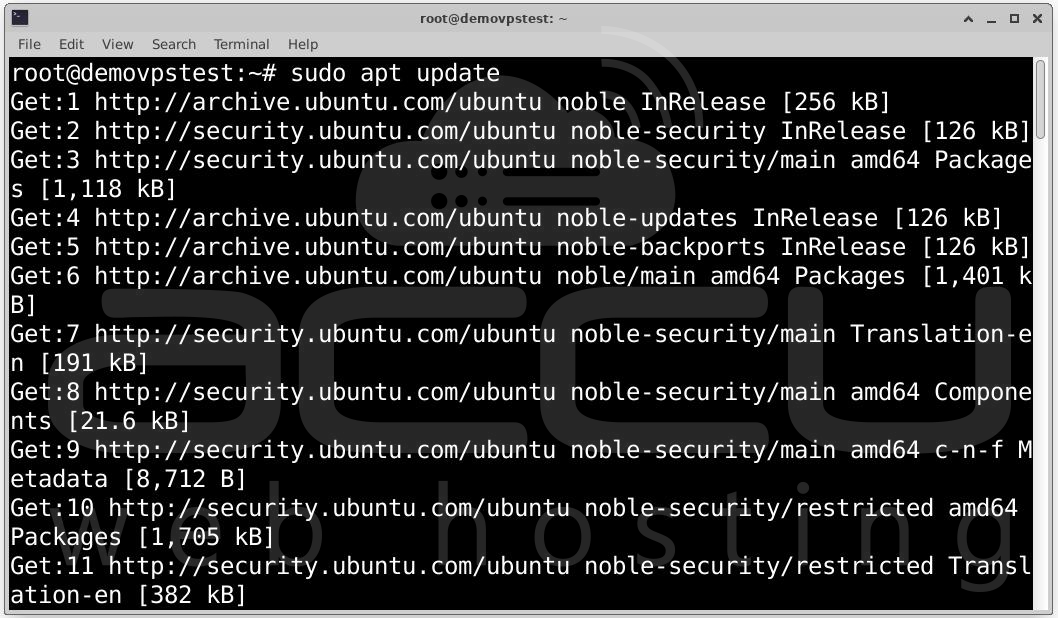
Step 1: Ensure your server is up-to-date. In terminal run the following commands:
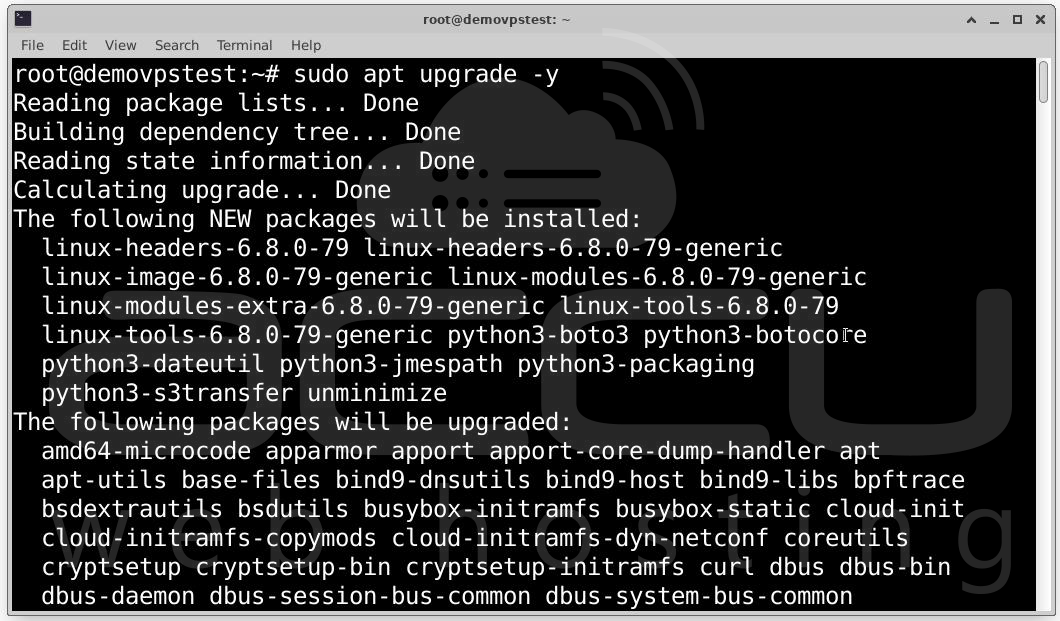
This ensures all packages are current. Reboot if kernel or core services are updated.
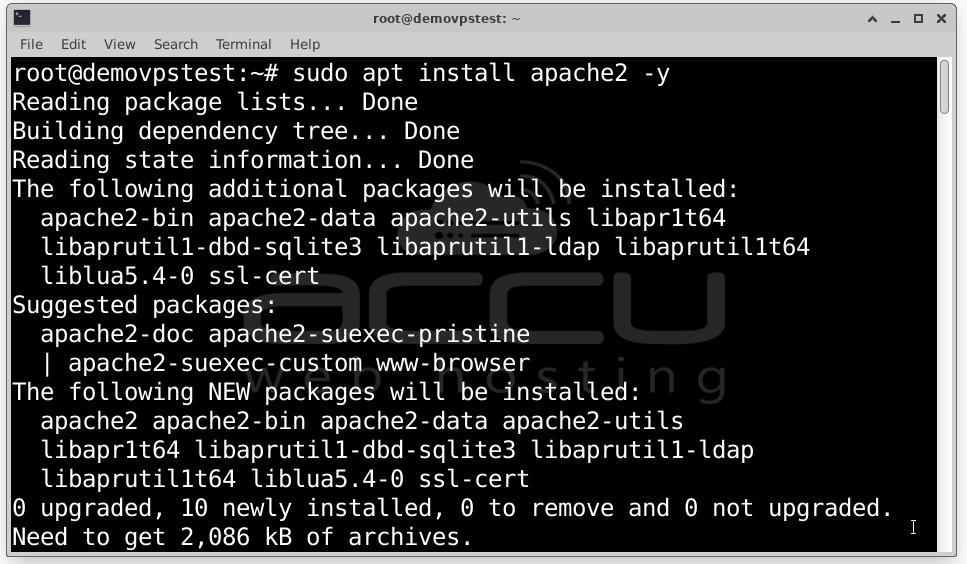
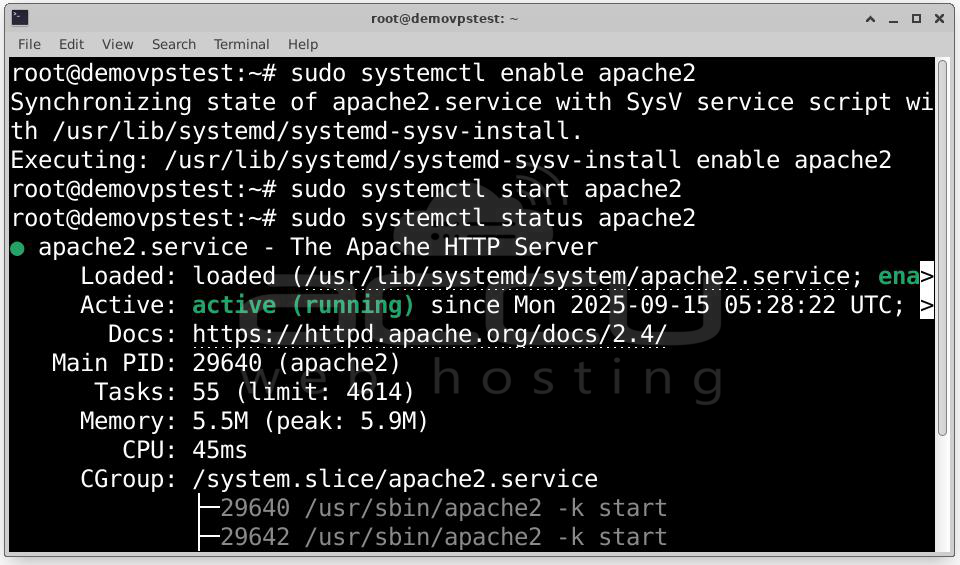
Step 2: Install Web Server Apache by running the following commands.
Then enable and start:
sudo systemctl enable apache2
sudo systemctl start apache2
Check that Apache is running via:
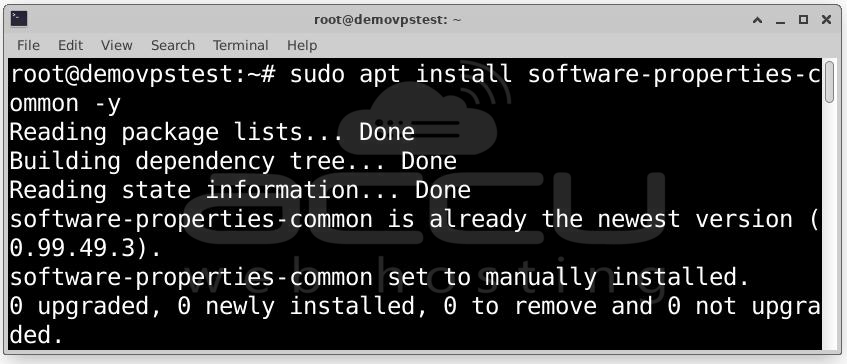
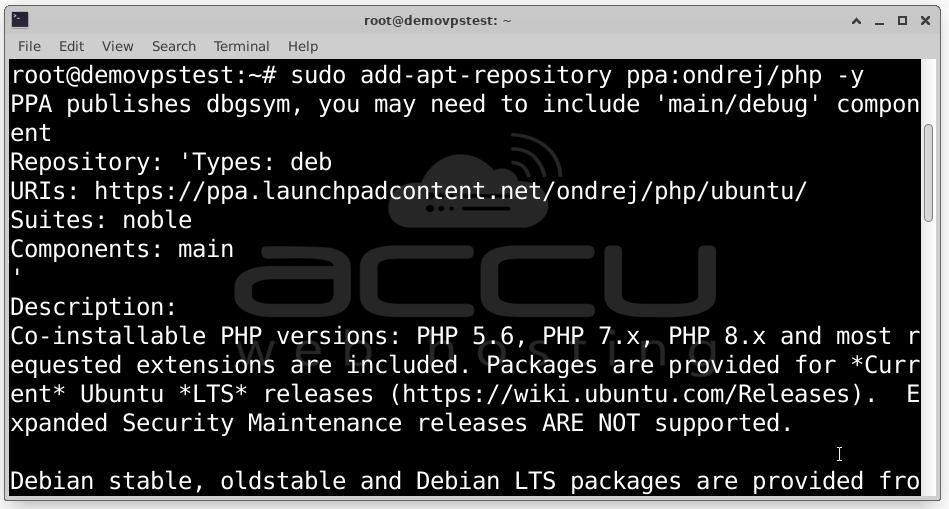
Step 3: Install PHP plus modules. This PPA provides multiple versions of PHP, including 8.1. Example to add PHP PPA:
Then install PHP and required extension modules:
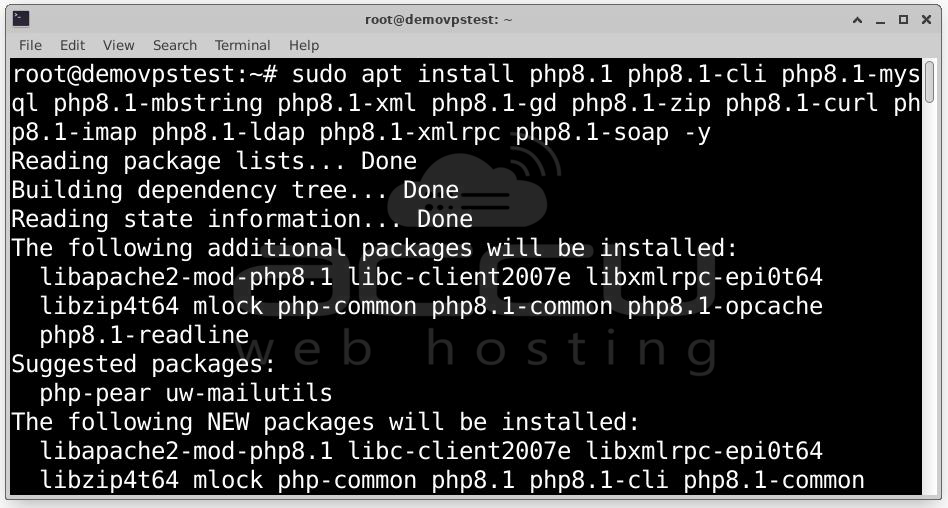
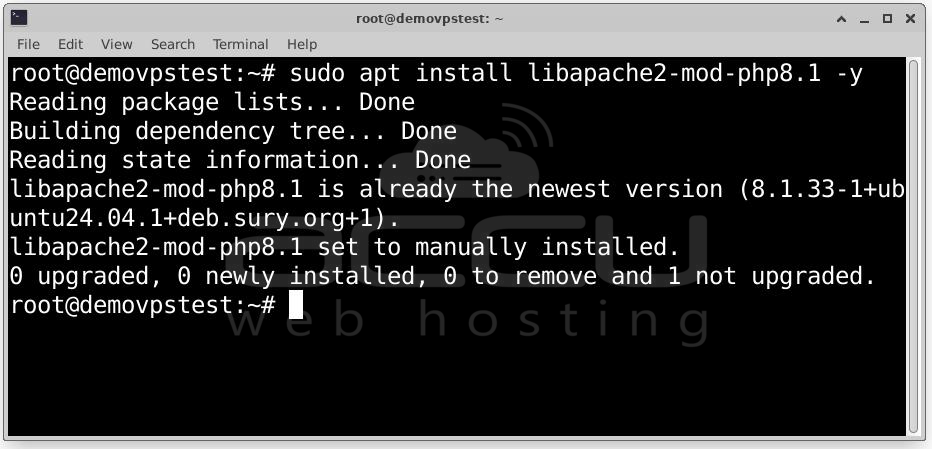
Also install PHP modules for Apache:
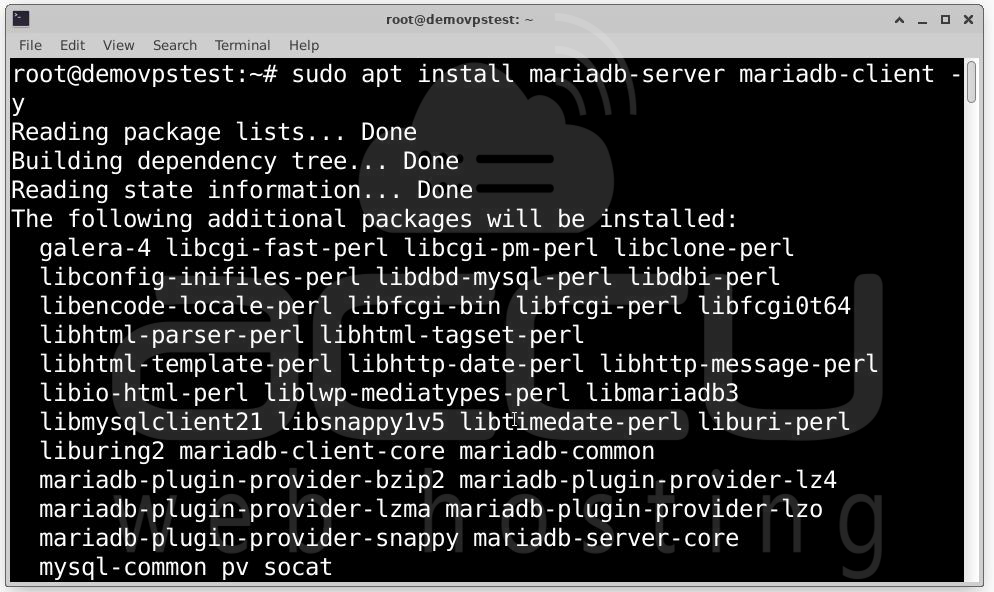
Step 4: Install Database Server MariaDB or MySQL. You can choose MariaDB or MySQL. MariaDB is often preferred for open source. To install MariaDB:
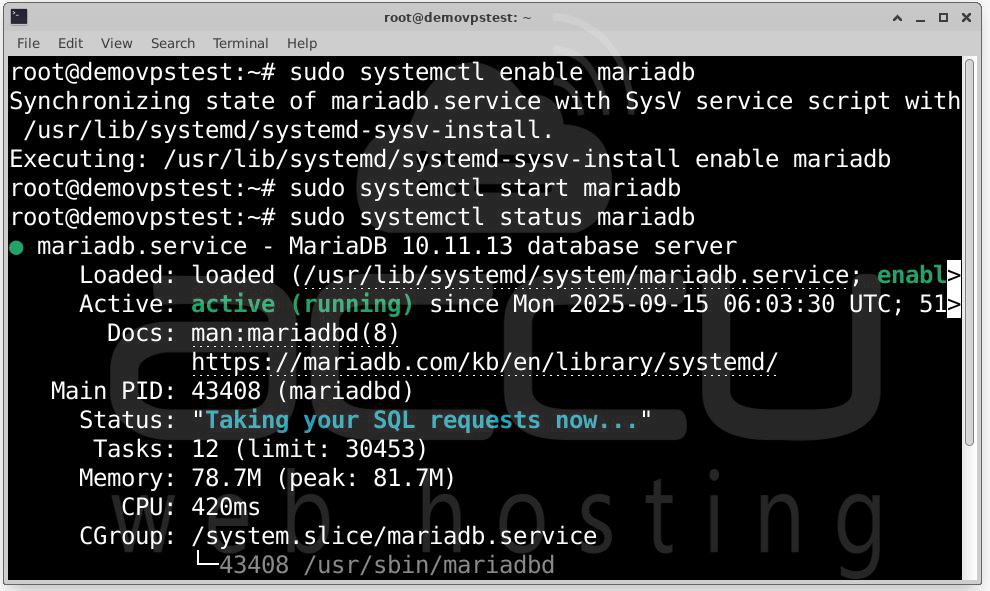
Enable and start:
sudo systemctl start mariadb
sudo systemctl status mariadb
Step 5: Secure the Database Server by running the built-in security script:
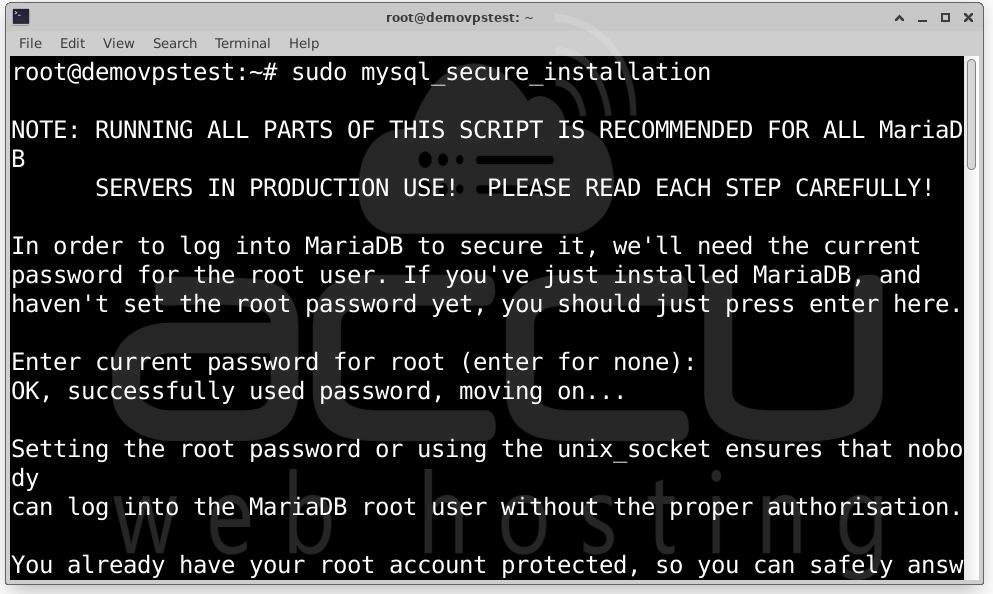
This will prompt set a root password (or verify it), remove anonymous users, disallow root login remotely, remove test databases, and reload privilege tables.
Respond “yes” to the recommended choices, to harden the DB server.
Step 6: Create Database & User for LimeSurvey
Connect to MariaDB as root:
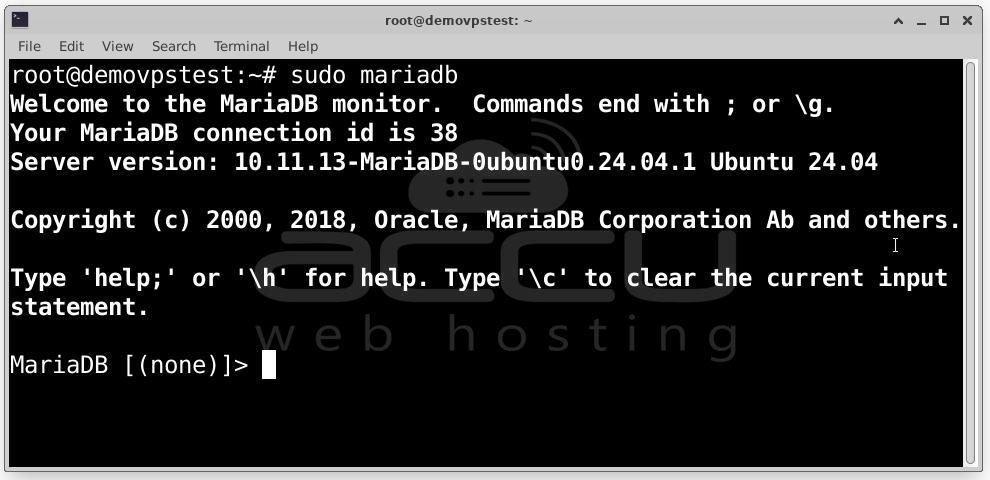
Then in MariaDB prompt:
CREATE DATABASE limesurveydb CHARACTER SET utf8mb4 COLLATE utf8mb4_general_ci;
CREATE USER 'limesurveyuser'@'localhost' IDENTIFIED BY 'StrongPasswordHere';
GRANT ALL PRIVILEGES ON limesurveydb.* TO 'limesurveyuser'@'localhost';
FLUSH PRIVILEGES;
EXIT;
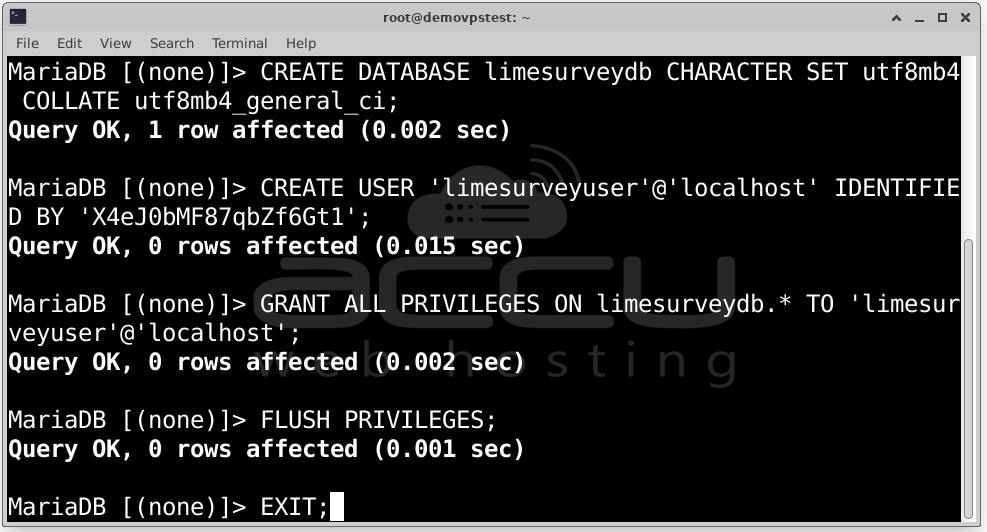
Replace StrongPasswordHere with a strong password.
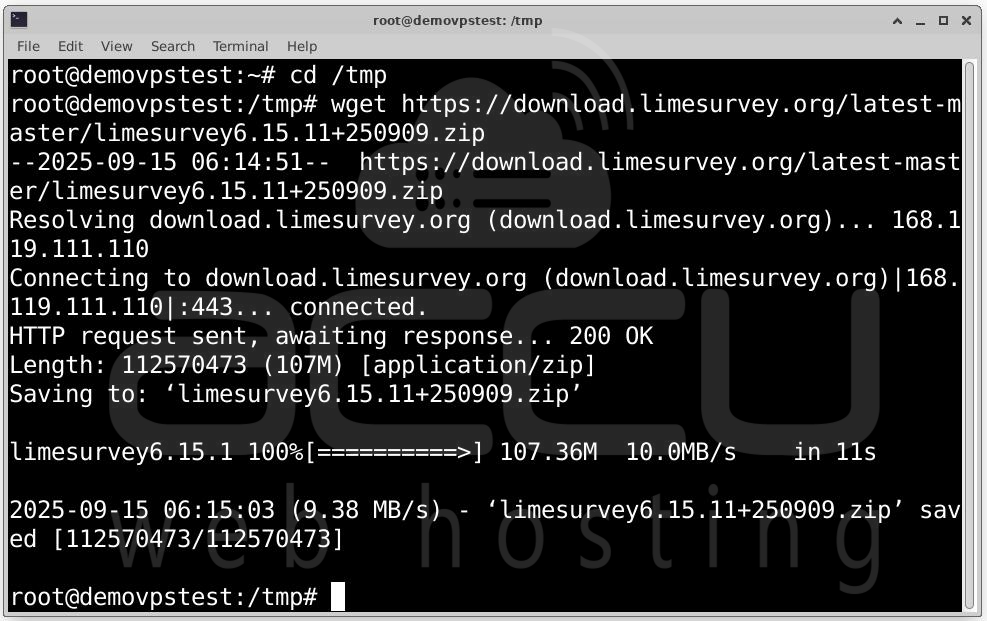
Step 7: Download Latest LimeSurvey CE by using wget to fetch it directly.
wget https://download.limesurvey.org/latest-master/limesurvey6.15.11+250909.zip
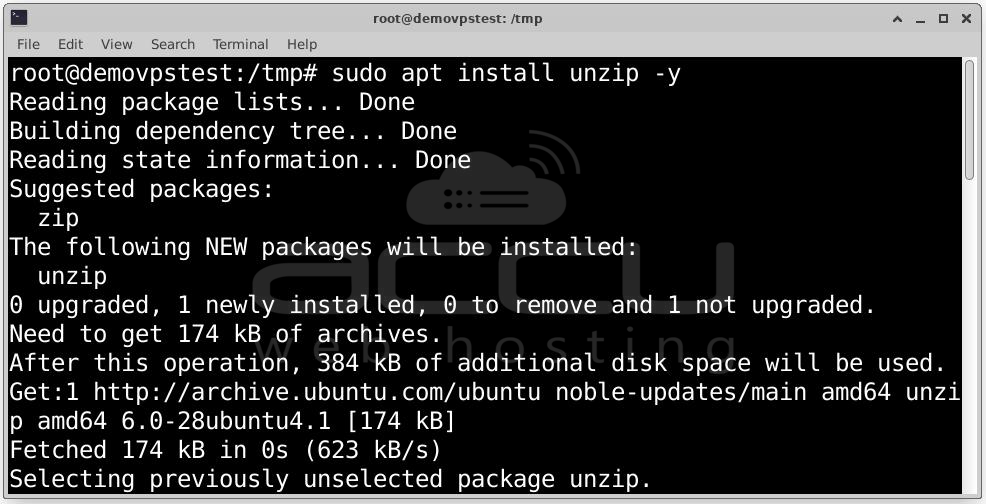
Then install unzip (or tar) if not installed:
Step 8: Unpack & Place Files in Web Root
Create Web Root Directory: sudo mkdir -p /var/www/limesurvey
Unzip the LimeSurvey File into That Directory: sudo unzip /tmp/limesurvey6.15.11+250909.zip -d /var/www/
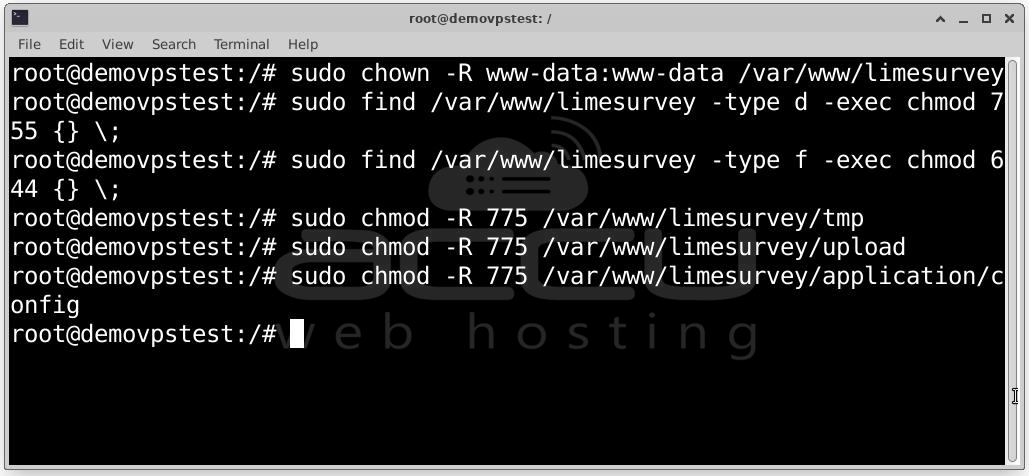
Step 9: Set Directory Permissions by running the following commands:
sudo chown -R www-data:www-data /var/www/limesurvey
sudo find /var/www/limesurvey -type d -exec chmod 755 {} \;
sudo find /var/www/limesurvey -type f -exec chmod 644 {} \;
Then for specific writable directories (where LimeSurvey needs write permission: tmp, upload, possibly some application/config etc.):
sudo chmod -R 775 /var/www/limesurvey/tmp
sudo chmod -R 775 /var/www/limesurvey/upload
sudo chmod -R 775 /var/www/limesurvey/application/config
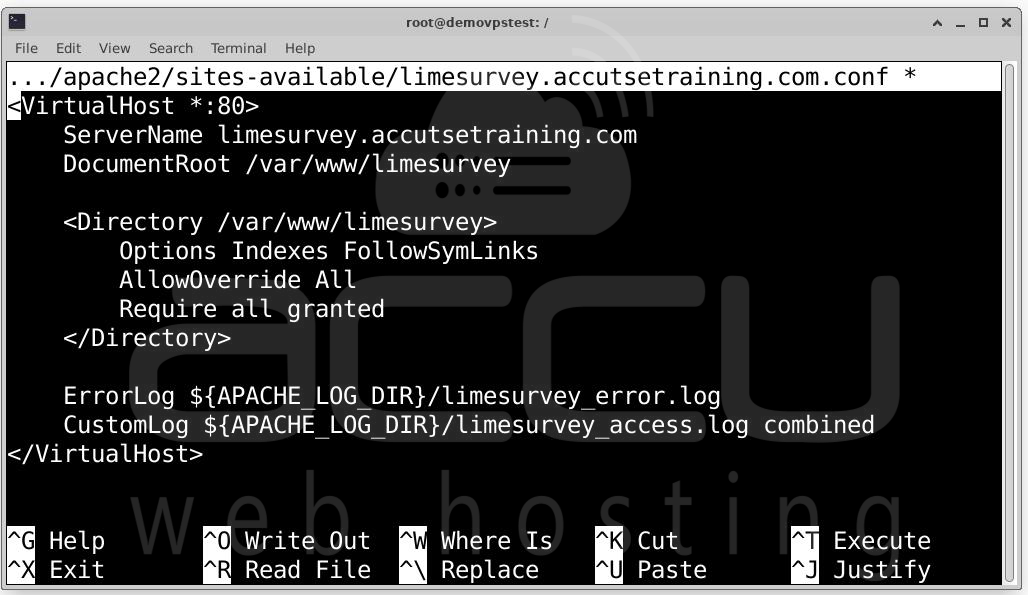
Step 10: To serve LimeSurvey properly, use a Virtual Host configuration. This helps with domain usage, logs, separating from other sites, etc.
Create a file, e.g.:
sudo nano /etc/apache2/sites-available/limesurvey.conf
Sample content:
<VirtualHost *:80>
ServerName limesurvey.example.com
DocumentRoot /var/www/limesurvey
<Directory /var/www/limesurvey>
Options FollowSymLinks
AllowOverride All
Require all granted
</Directory>
ErrorLog ${APACHE_LOG_DIR}/limesurvey_error.log
CustomLog ${APACHE_LOG_DIR}/limesurvey_access.log combined
</VirtualHost>
Replace limesurvey.example.com, [email protected] with your domain and contact email.
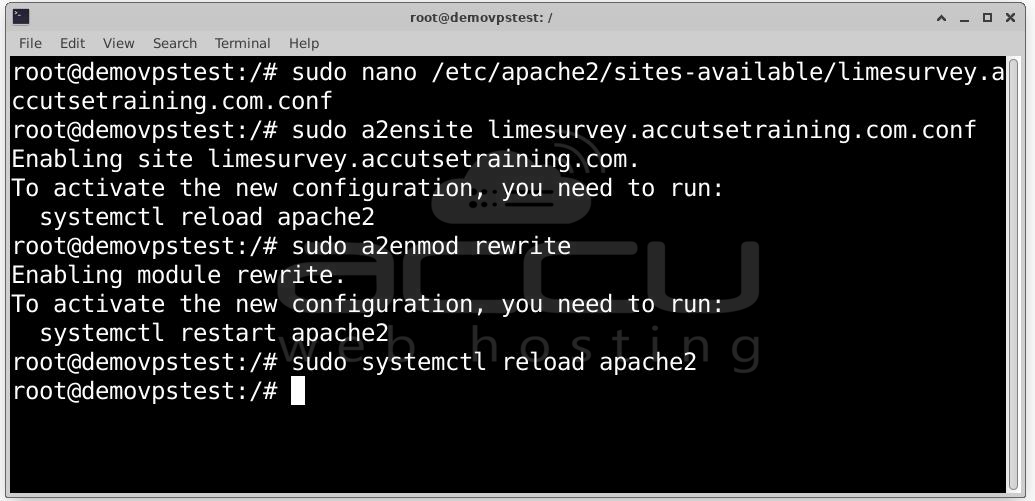
Then enable the site, and enable Apache rewrite module:
sudo a2enmod rewrite
sudo systemctl reload apache2
Step 11: Security is very important. Use Let’s Encrypt to get a free SSL certificate.
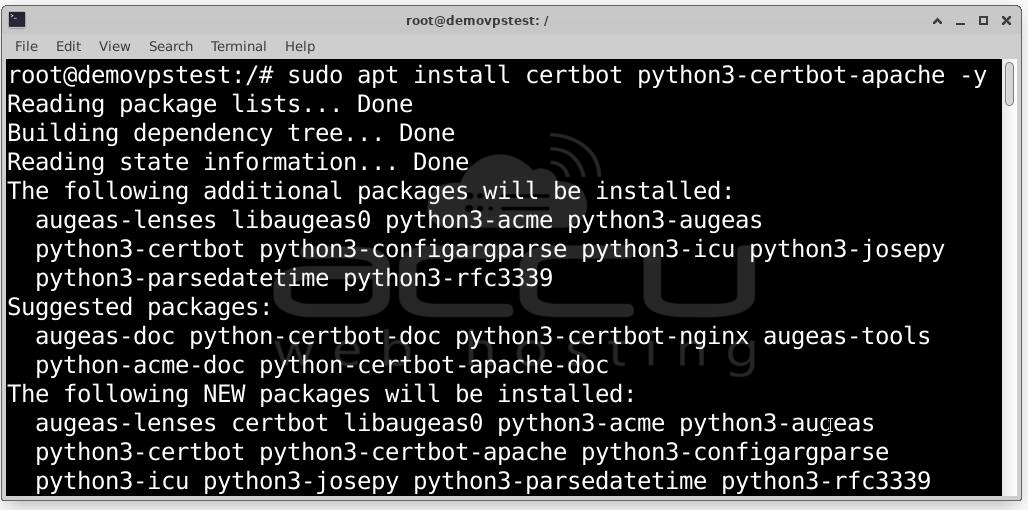
Install Certbot and the Apache plugin:
Run certbot to obtain certificate and configure Apache automatically:
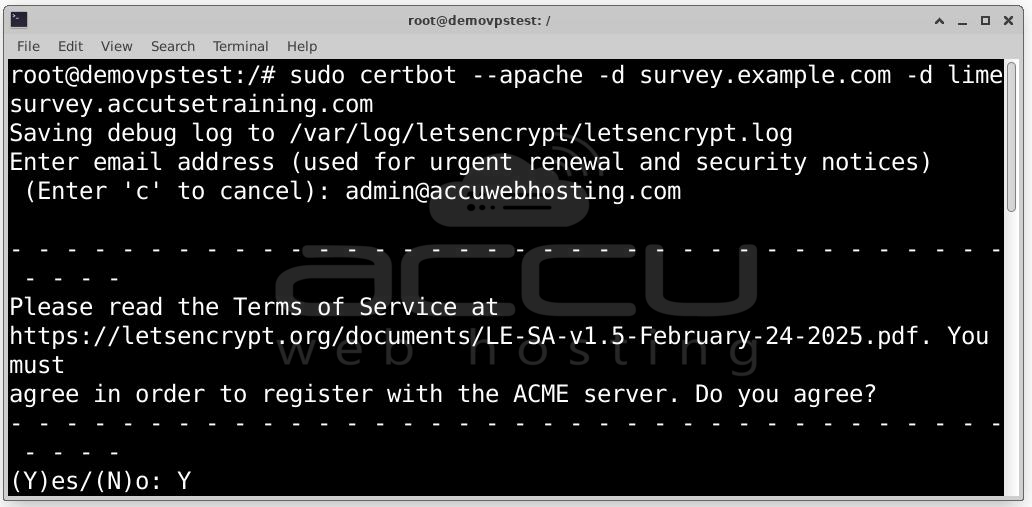
Follow prompts: email address, agree to terms, choose redirect to force HTTPS.
After this, your site should be accessible via https://limesurvey.example.com.
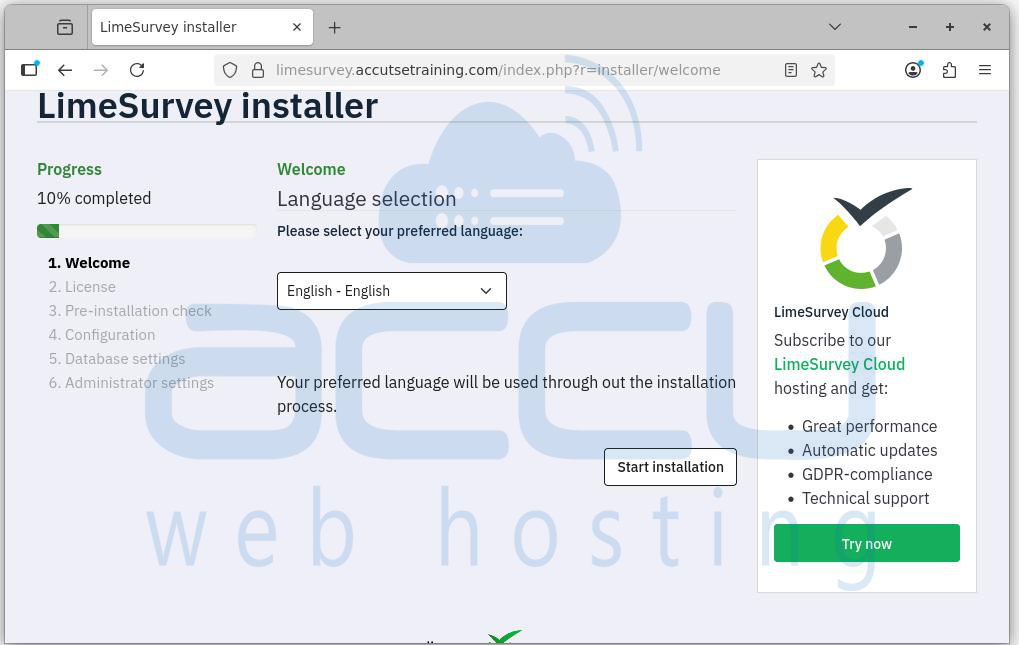
Step 12: Run LimeSurvey Installation Wizard by visiting your website http://limesurvey.example.com or if SSL enabled: https://limesurvey.example.com
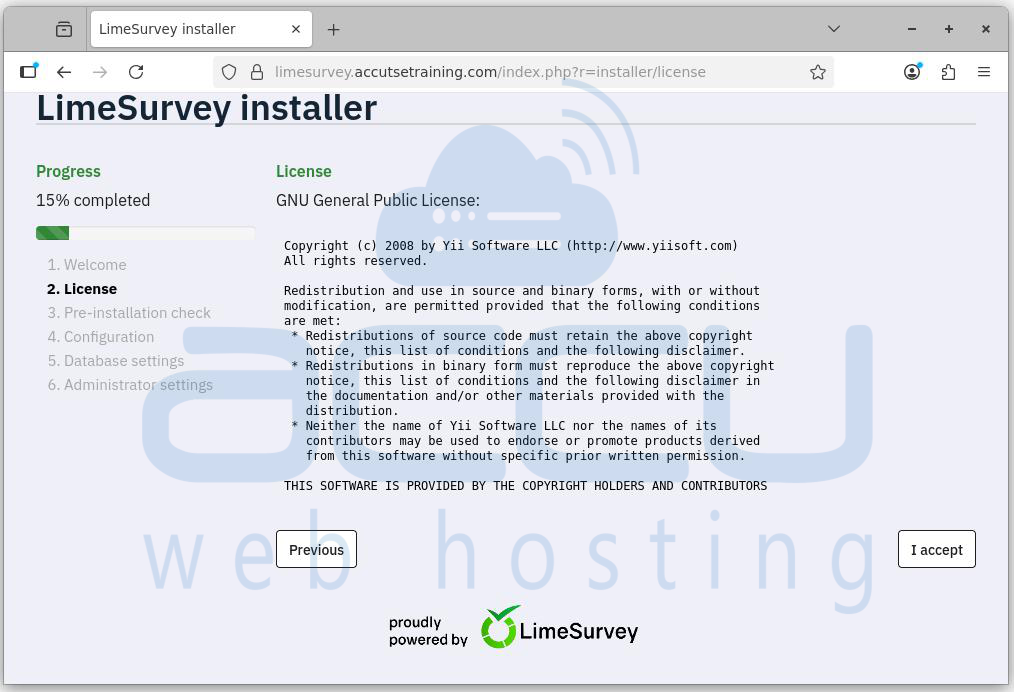
You should see the LimeSurvey installer. Steps typically include:
1. Language selection: Select the language for LimeSurvey.
2. Agree license: Acceptance license of LimeSurvey by click on I accept.
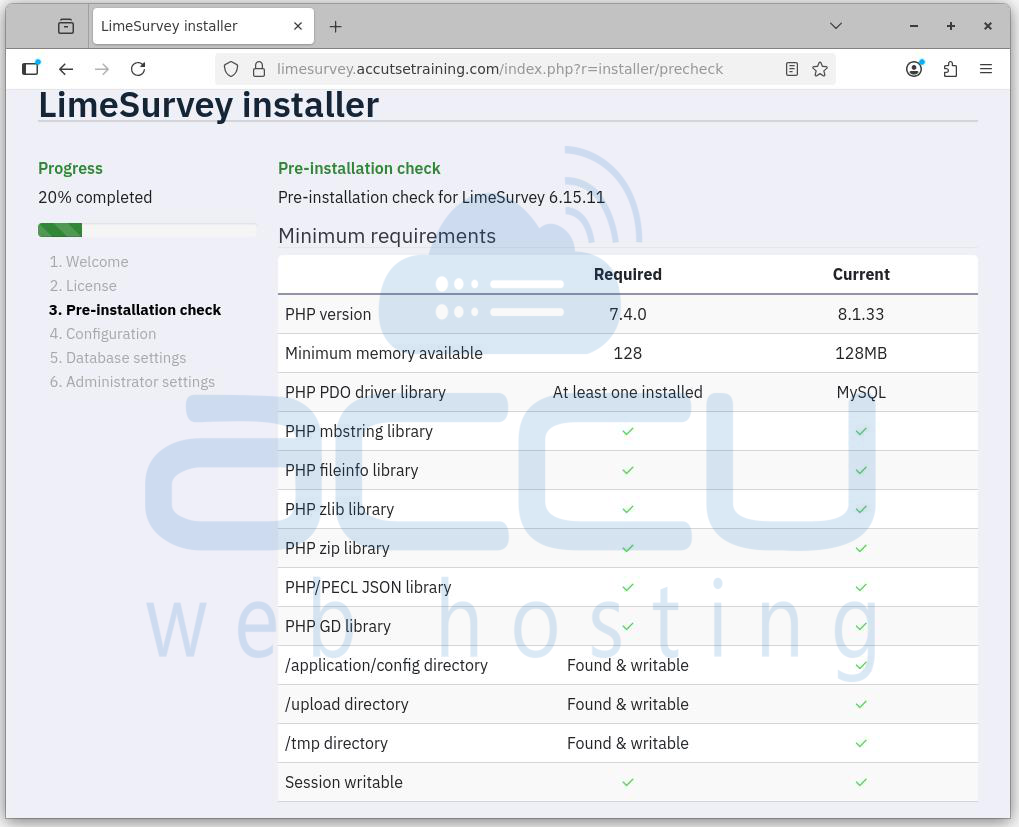
3. Pre-installation checks: Checks for PHP version, extensions, folder permissions, etc. Fix any errors shown.
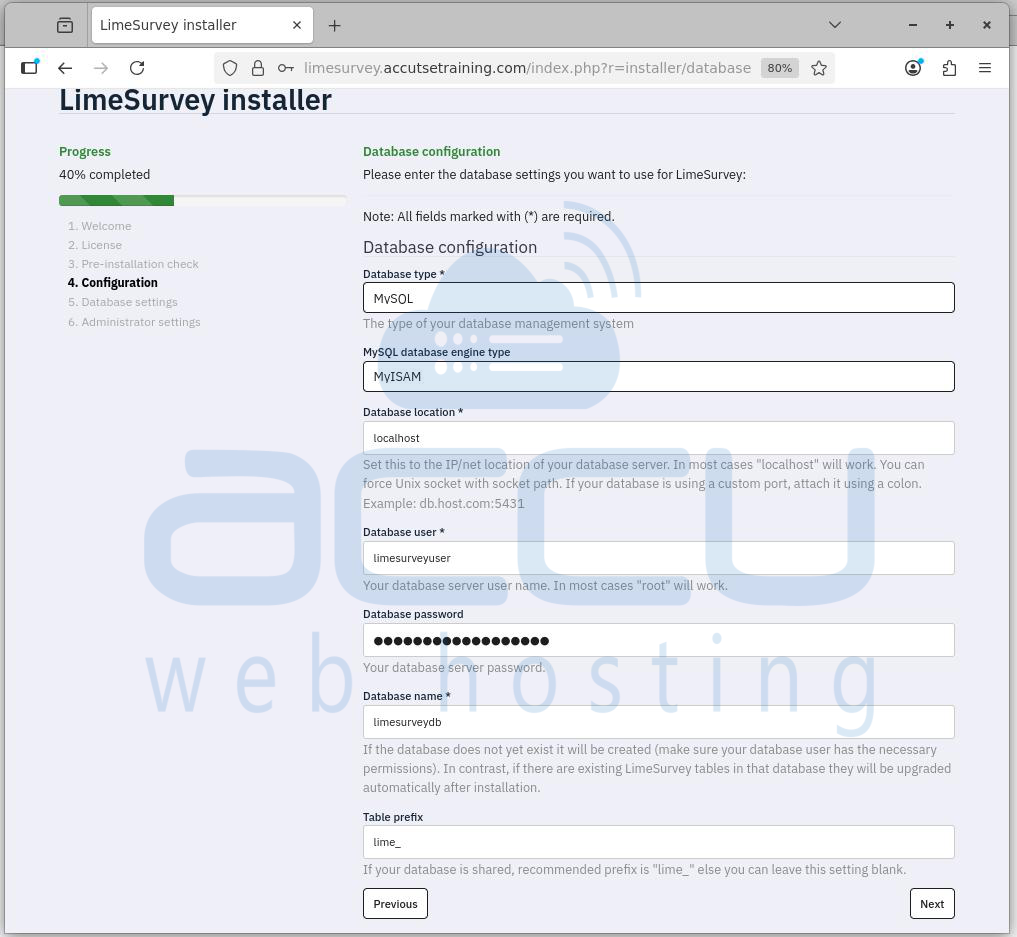
4. Database configuration: Provide database host (localhost usually), database name, user, password created earlier; table prefix if desired.
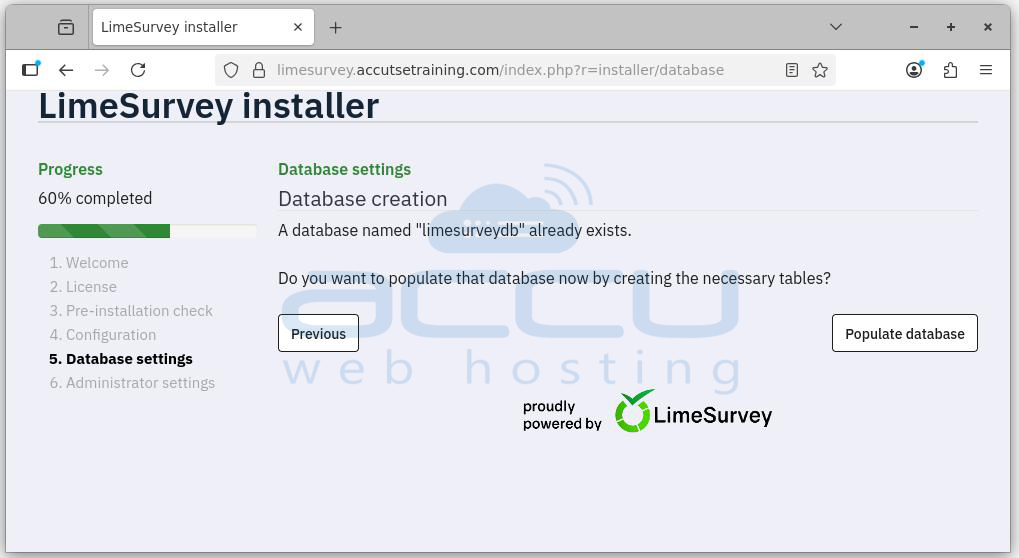
5. Populate database: LimeSurvey will create required tables.
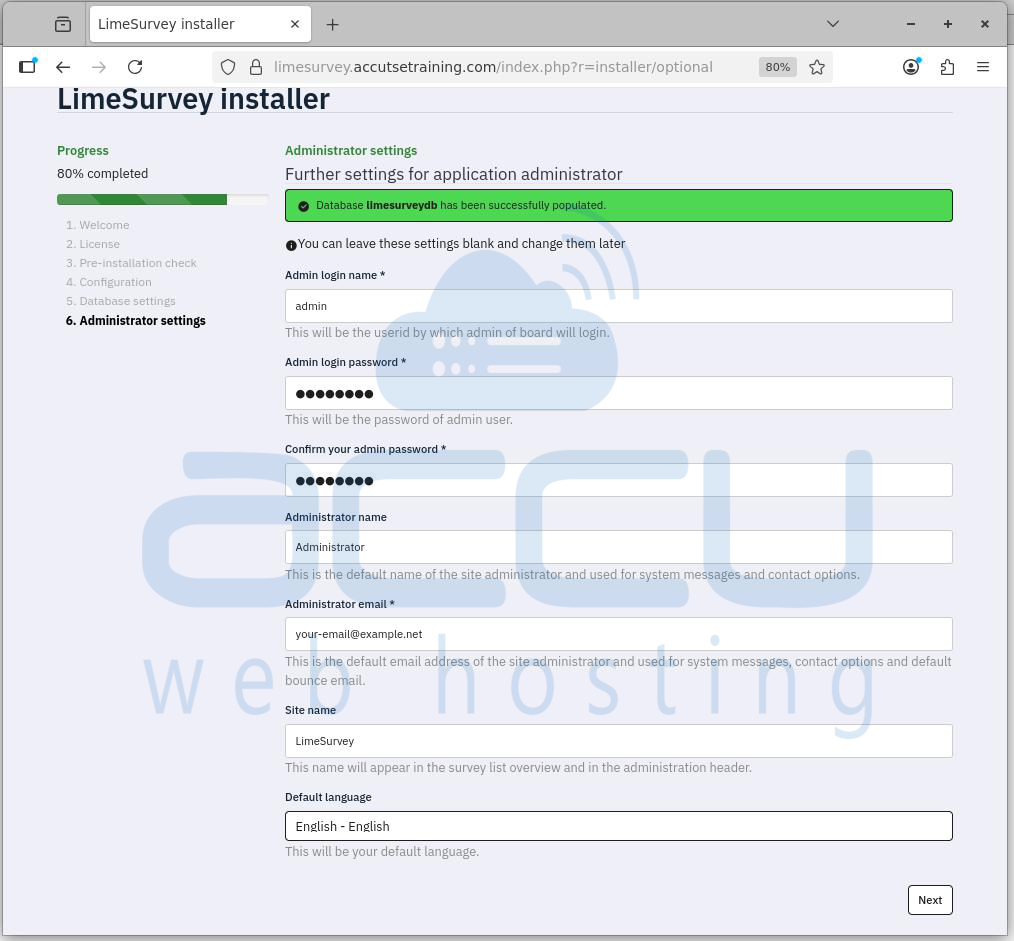
6. Admin user setup: provide administrative username, password, email, etc.
7. Global settings: site name, URL, possibly email settings.
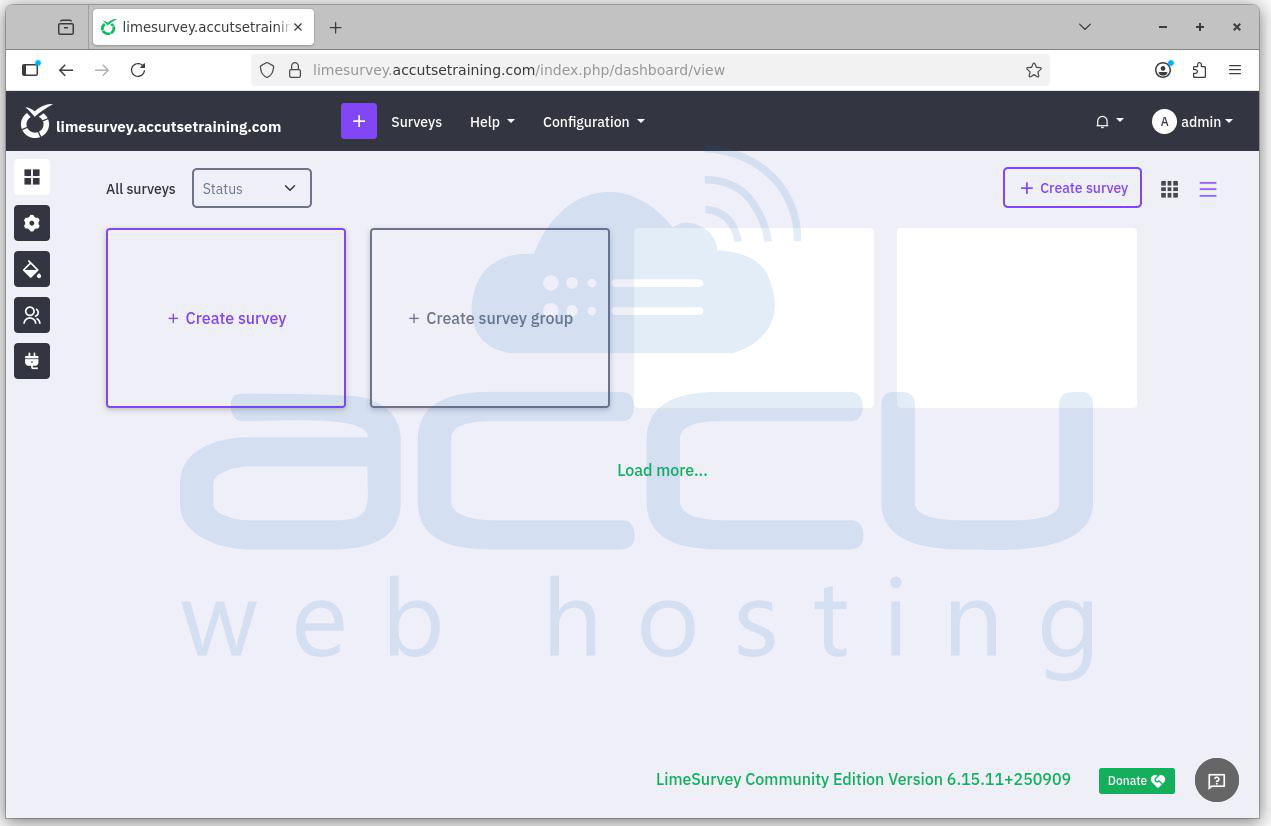
You have successfully installed LimeSurvey on your server.
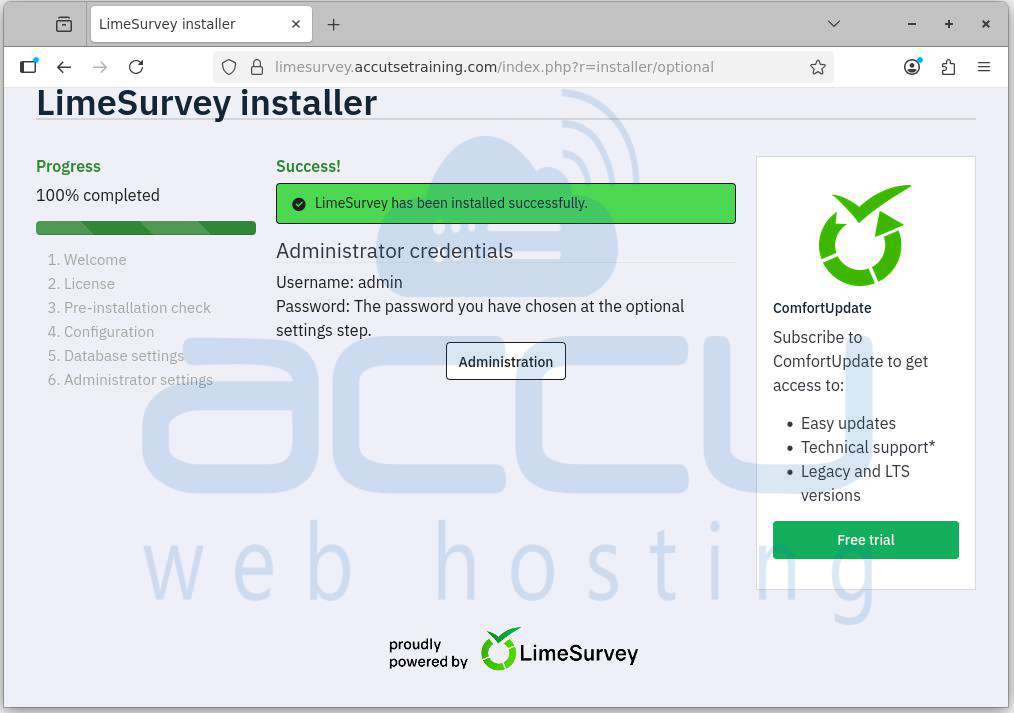
Your survey platform is now up and running at: https://limesurvey.example.com
Conclusion:
Installing LimeSurvey Community Edition (CE) on Ubuntu is a straightforward process when broken into clear steps. By following this guide, you have prepared your system with a fully functional LAMP stack, installed all necessary PHP modules, secured your database, and configured a dedicated virtual host with HTTPS using Let's Encrypt. With the final installation wizard, LimeSurvey is ready to use, allowing you to create, manage, and deploy professional surveys from your domain or subdomain.
