Introduction
CryptPad is an open-source collaboration platform that uses end-to-end encryption to protect user data. Unlike services such as Google Docs or Microsoft Office Online, CryptPad ensures that the server cannot view the contents of your work because all data is encrypted in the browser before being sent. It includes a wide range of collaboration tools, such as a rich text editor, code editor, Kanban boards, spreadsheets, polls, and more.
Since CryptPad can be self-hosted, you maintain full control of your data and can securely share documents with access permissions. In this guide, we will install CryptPad on Ubuntu 20.04.
Steps to install CryptPad on Ubuntu OS
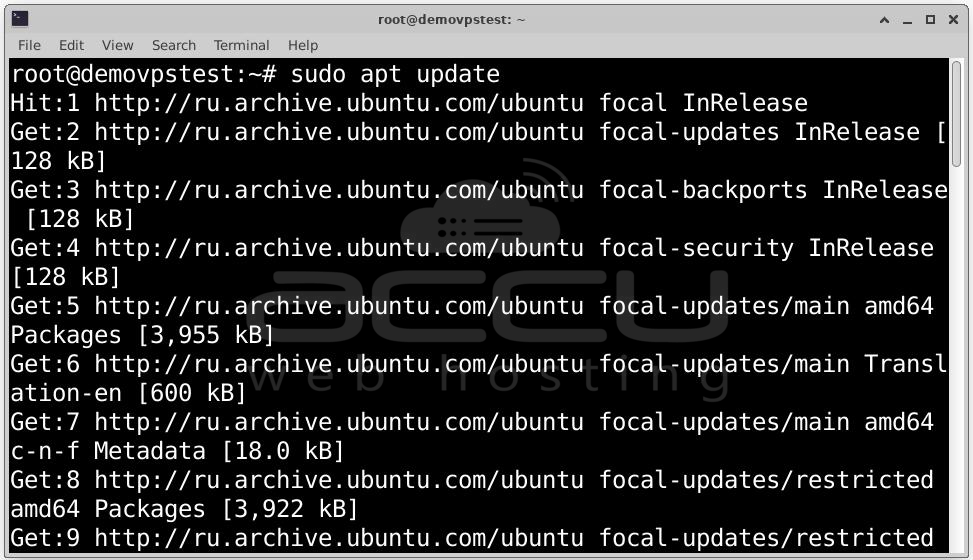
Step 1: To update and upgrade the System to ensures stability and security run the following command:

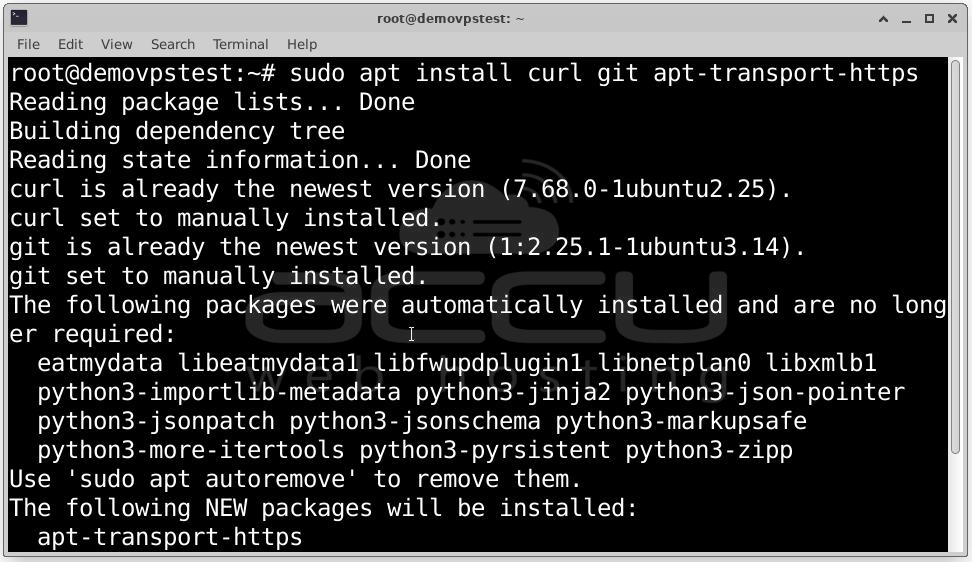
Step 2: Install essential tools as CryptPad installation requires some basic tools for downloading source code and handling HTTPS:
Step 3: Some CryptPad components need compilation. Install compiler tools and Python:

At this point, your system is clean, updated, and ready for installing Node.js and npm, which are essential for running CryptPad.
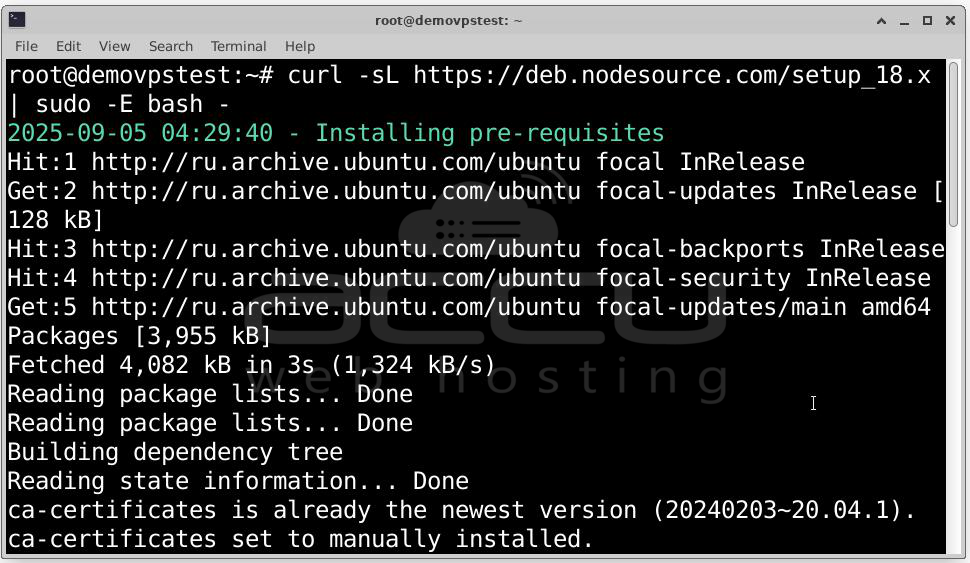
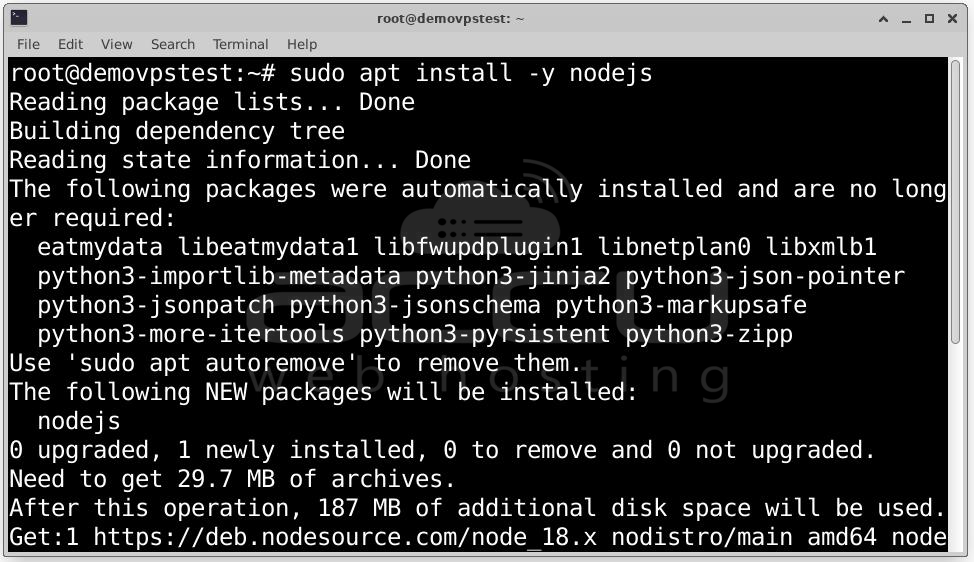
Step 4: Ubuntu’s default repositories may not always provide the latest LTS release. To ensure we get the correct version, we use NodeSource, which maintains updated Node.js packages.
Run the following commands:
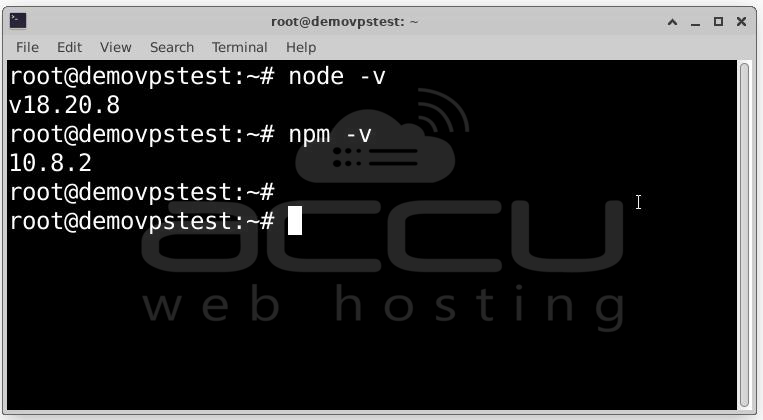
Step 5: Verify Installation, once Node.js is installed.
npm -v
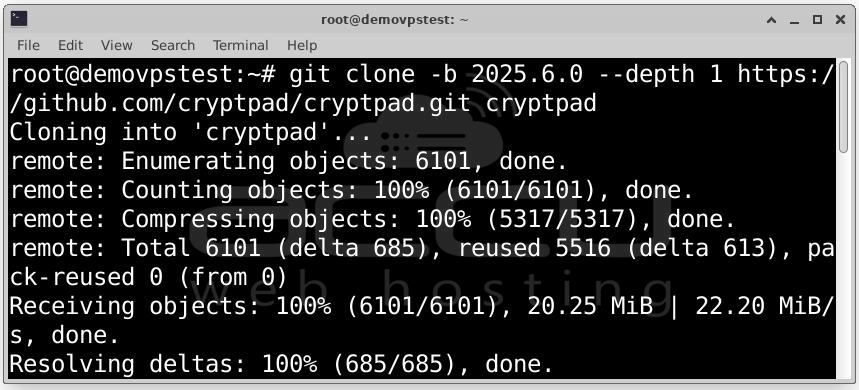
Step 6: CryptPad is an actively maintained open-source project, and the official source code is hosted on GitHub. By cloning the repository, you ensure that you get the latest release directly from the developers. First, move to the directory where you want to install CryptPad (commonly /root or /opt). Then run:
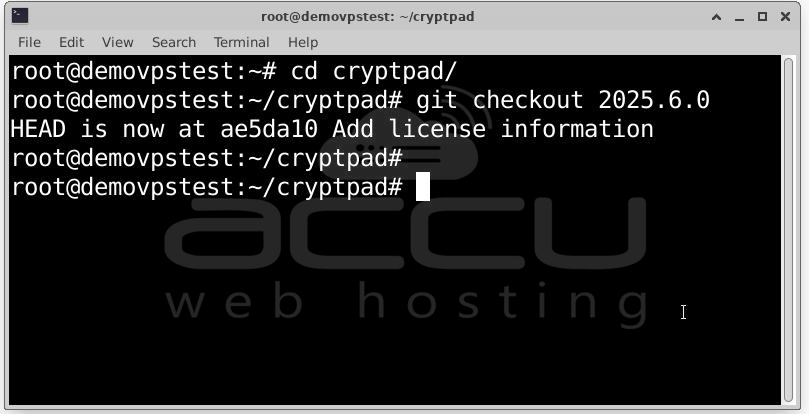
cd cryptpad
Now you are inside the cryptpad directory, which contains all source files. If you didn’t specify a branch/tag earlier, you can switch to a stable release manually:
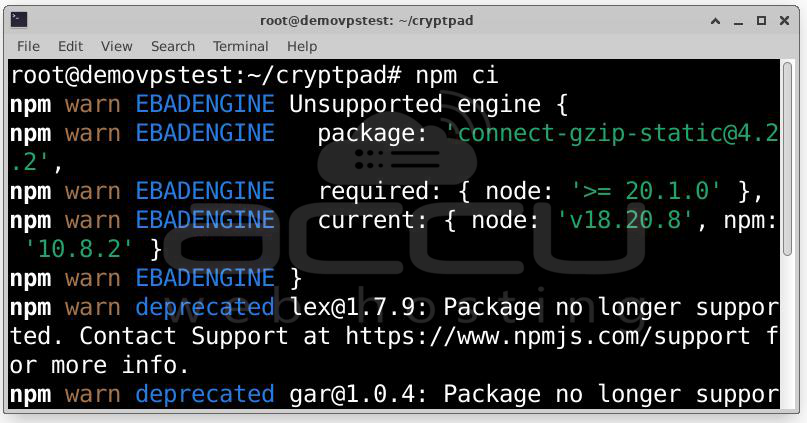
Step 7: CryptPad uses npm packages to run properly. Install CryptPad Dependencies with:
Apart from the main dependencies, CryptPad requires building frontend assets and UI components. Install UI components and plugins:
npm run install:components
Build front-end assets (CSS, JavaScript, translations, etc.):
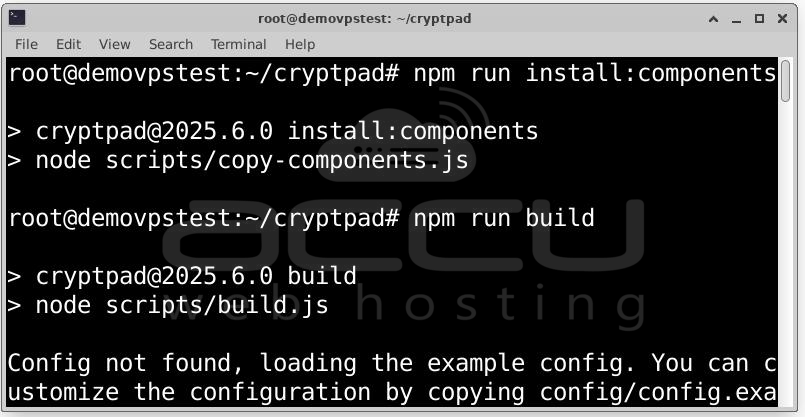
These steps compile the CryptPad interface so that it can run smoothly in browsers.
CryptPad is now fully installed on your server, but not yet configured. Next, we’ll create a custom configuration file to define your domain, base URL, and other settings.
Step 8: Copy the example file into a new working configuration file:
sudo cp config/config.example.js config/config.js
Edit the Configuration File: sudo nano config/config.js
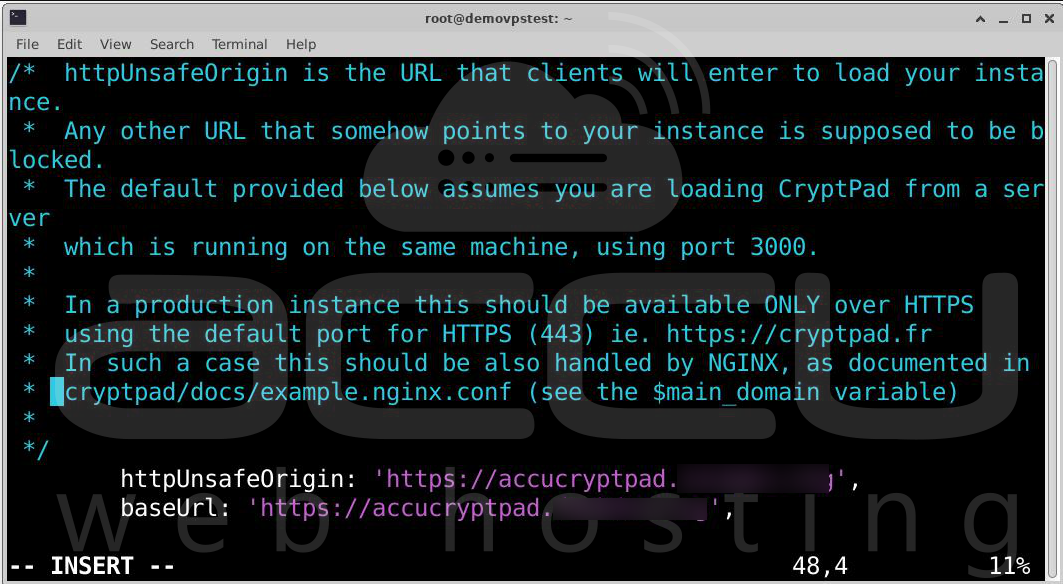
Look for the following lines and modify them:
httpUnsafeOrigin: "https://yourdomain.com",
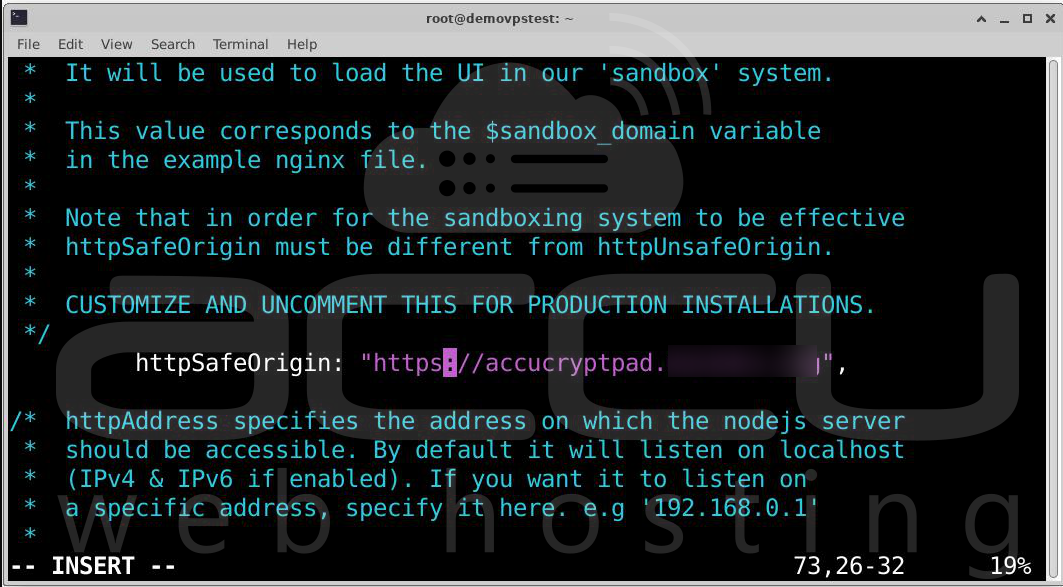
httpSafeOrigin: "https://yourdomain.com",
baseUrl: "https://yourdomain.com/",
httpUnsafeOrigin: Defines the URL clients use to connect (your domain with http:// if no SSL, or https:// once SSL is enabled).
baseUrl: The root URL where CryptPad is hosted.
Replace yourdomain.com with your actual domain (e.g., cryptpad.example.org).
httpSafeOrigin: Defines the secure origin, which should be your HTTPS domain.
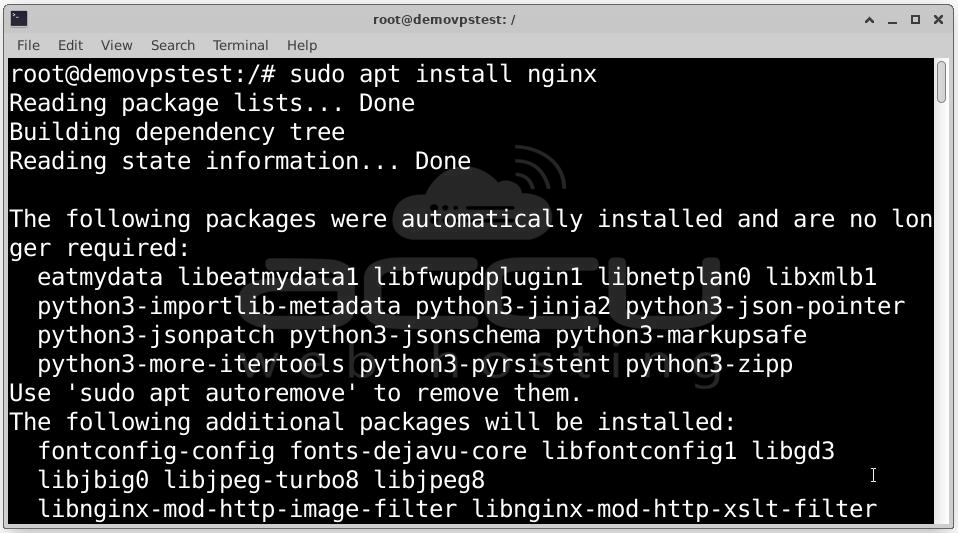
Step 9: By default, CryptPad runs on port 3000 (and 3001 for sandbox). Accessing the application through these ports (e.g., http://yourdomain.com:3000) is not ideal for production. Instead, we use Nginx as a reverse proxy, which forwards traffic from ports 80/443 to CryptPad’s internal ports (3000/3001).
If Nginx is not already installed, run:
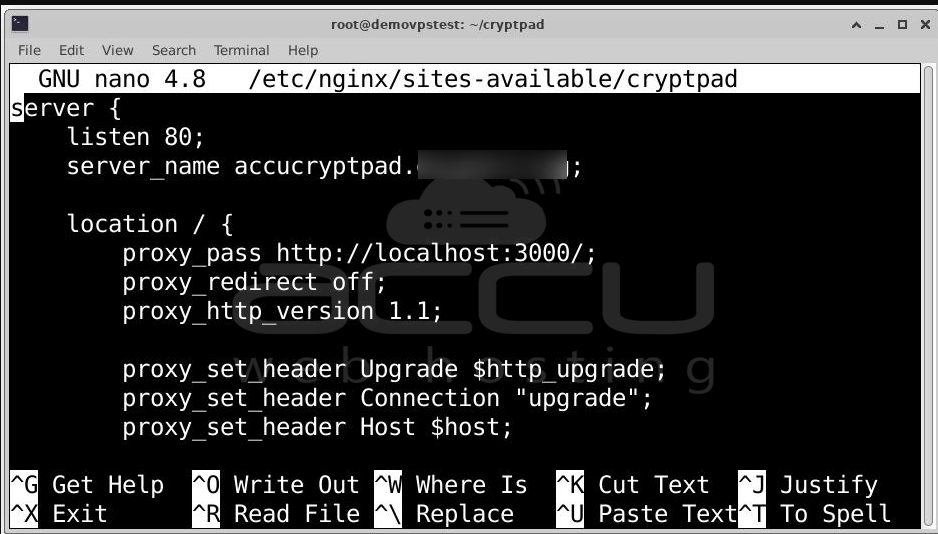
Step 10: Create a new site configuration file:
sudo nano /etc/nginx/sites-available/cryptpad
Paste the following configuration (replace yourdomain.com with your actual domain):
server {
listen 80;
server_name yourdomain.com;
# Main CryptPad App → http://localhost:3000
location / {
proxy_pass http://localhost:3000/;
proxy_http_version 1.1;
proxy_set_header Upgrade $http_upgrade;
proxy_set_header Connection "upgrade";
proxy_set_header Host $host;
proxy_set_header X-Real-IP $remote_addr;
proxy_set_header X-Forwarded-For $proxy_add_x_forwarded_for;
proxy_set_header X-Forwarded-Proto $scheme;
proxy_buffering off;
}
# Sandbox → http://localhost:3001
location /sandbox/ {
proxy_pass http://localhost:3001/;
proxy_http_version 1.1;
proxy_set_header Upgrade $http_upgrade;
proxy_set_header Connection "upgrade";
proxy_set_header Host $host;
proxy_set_header X-Real-IP $remote_addr;
proxy_set_header X-Forwarded-For $proxy_add_x_forwarded_for;
proxy_set_header X-Forwarded-Proto $scheme;
proxy_buffering off;
}
}
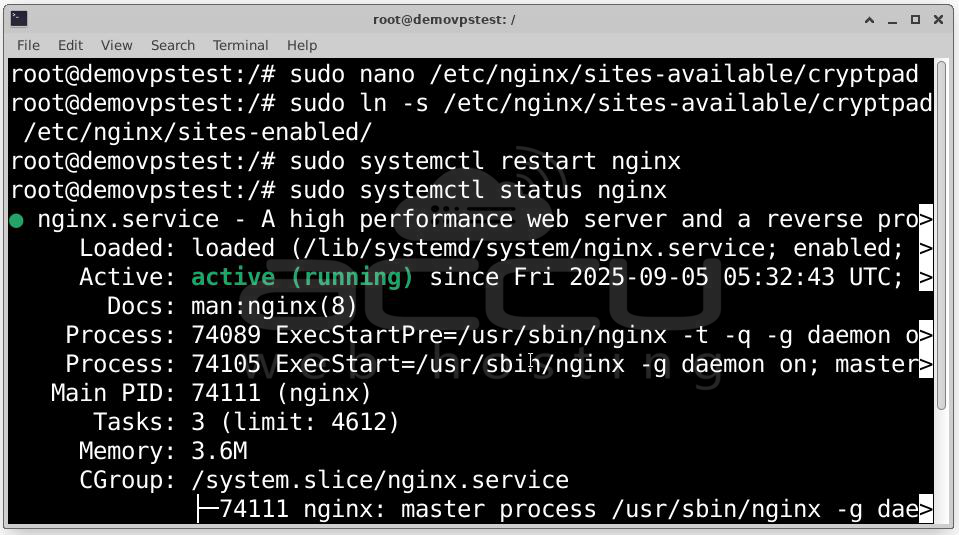
Step 11: Link the configuration file to the sites-enabled directory:
sudo ln -s /etc/nginx/sites-available/cryptpad /etc/nginx/sites-enabled/
Test Nginx configuration:
sudo nginx -t
If no errors are reported, reload Nginx:
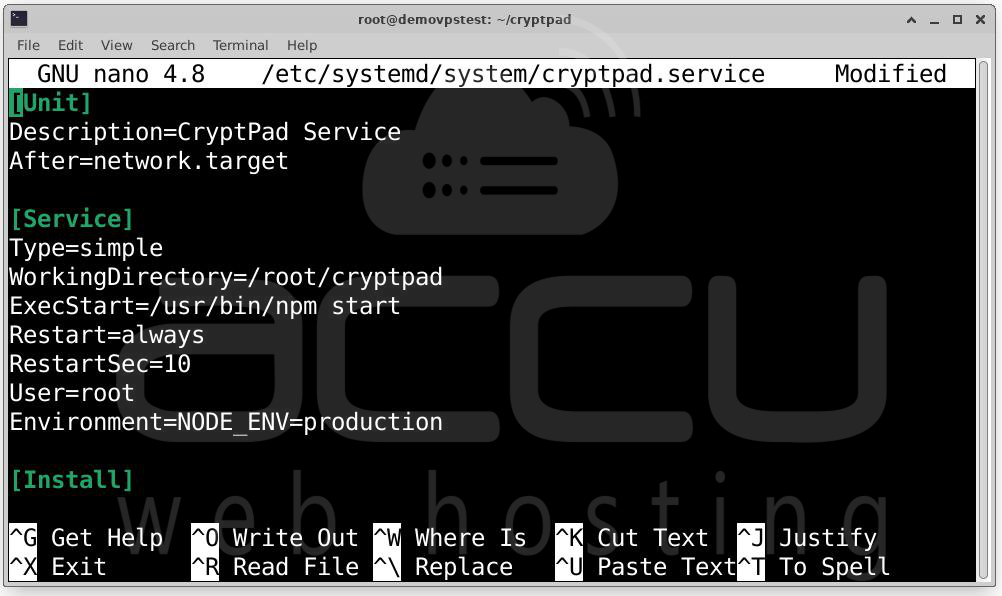
Step 12: Creating a Systemd Service for CryptPad to ensure CryptPad runs in the background as a daemon. With this, It will restart automatically if it crashes and start automatically when the server reboots.
Create the Service File: sudo nano /etc/systemd/system/cryptpad.service
Paste the following content:
[Unit]
Description=CryptPad Service
After=network.target
[Service]
Type=simple
WorkingDirectory=/root/cryptpad
ExecStart=/usr/bin/npm start
Restart=always
RestartSec=10
User=root
Environment=NODE_ENV=production
[Install]
WantedBy=multi-user.target
Step 13: After creating the file, reload systemd to recognize it:
sudo systemctl daemon-reload
Enable CryptPad to start on boot: sudo systemctl enable cryptpad
Start the service manually for the first time: sudo systemctl start cryptpad
Verify Service Status:
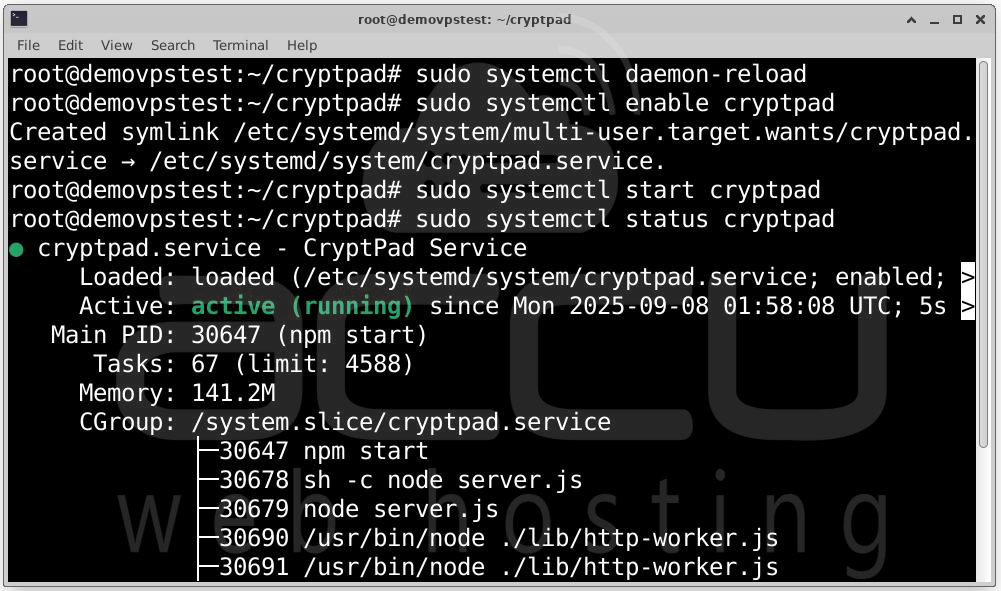
You should see: Active: active (running)
If it shows failed, run: journalctl -u cryptpad -xe
to inspect logs and troubleshoot errors.
To monitor CryptPad logs in real-time:
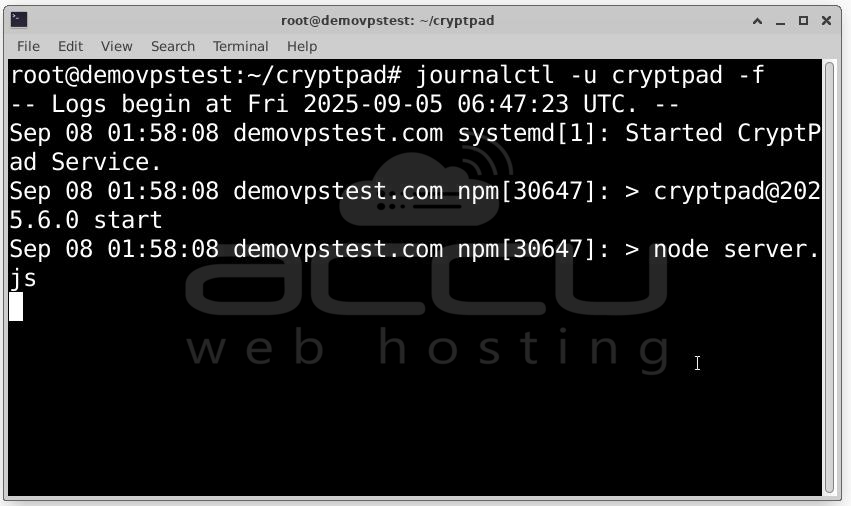
This is very useful during setup, especially when testing Nginx and SSL.
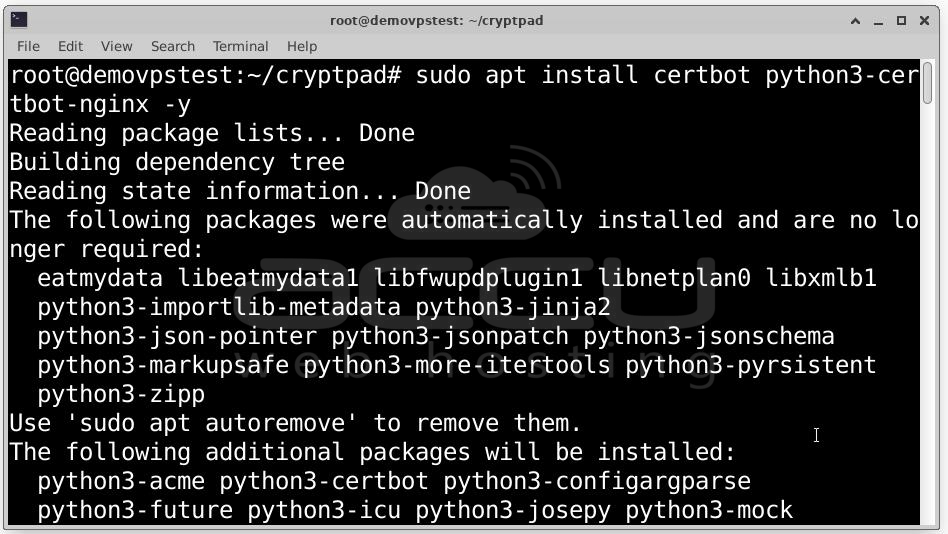
Step 14: Enabling SSL with Let’s Encrypt. Let’s Encrypt provides certificates through Certbot. Install it along with the Nginx plugin:
Now, request a certificate for your domain (replace yourdomain.com with your actual domain):
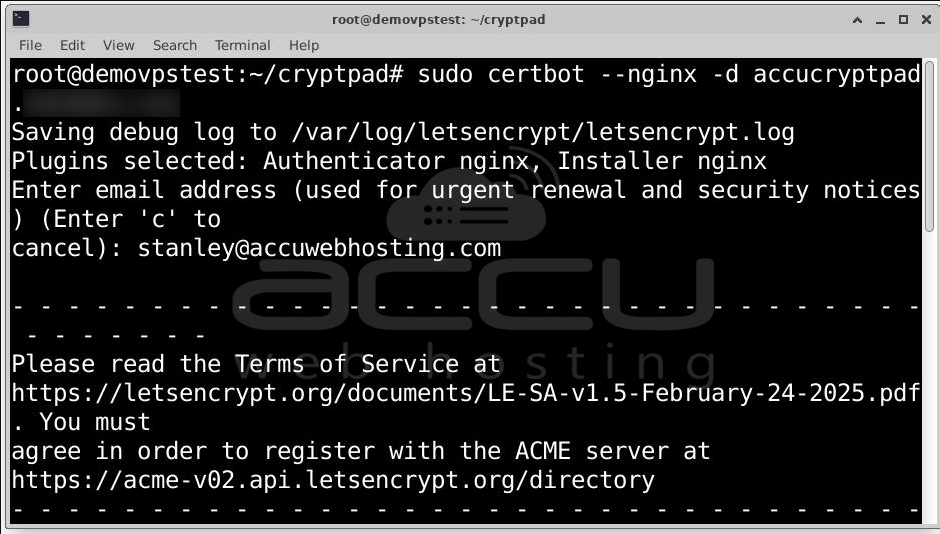
During the setup, Certbot will verify your domain ownership by checking DNS records and serving a temporary challenge file.
Once the process completes, open: https://yourdomain.com
You should now see a secure padlock icon in the browser.
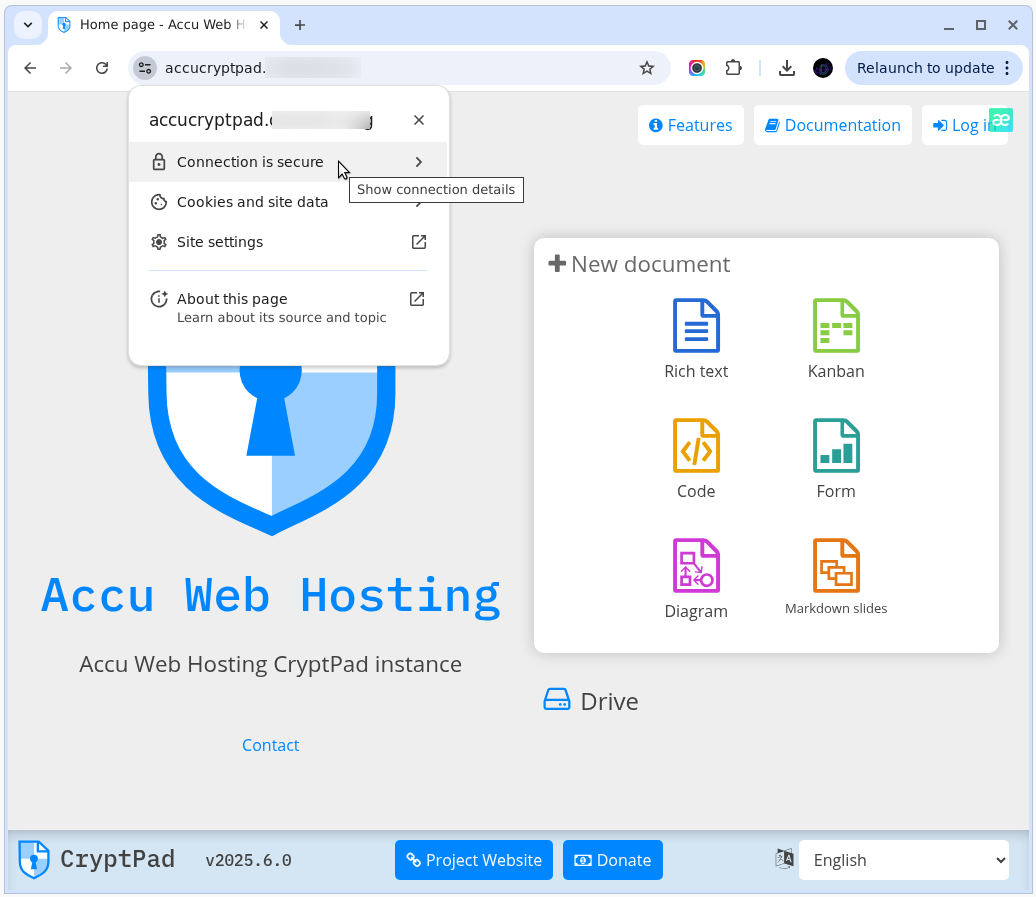
Check certificate details (validity, issuer: “Let’s Encrypt”) by clicking the padlock in your browser’s address bar.
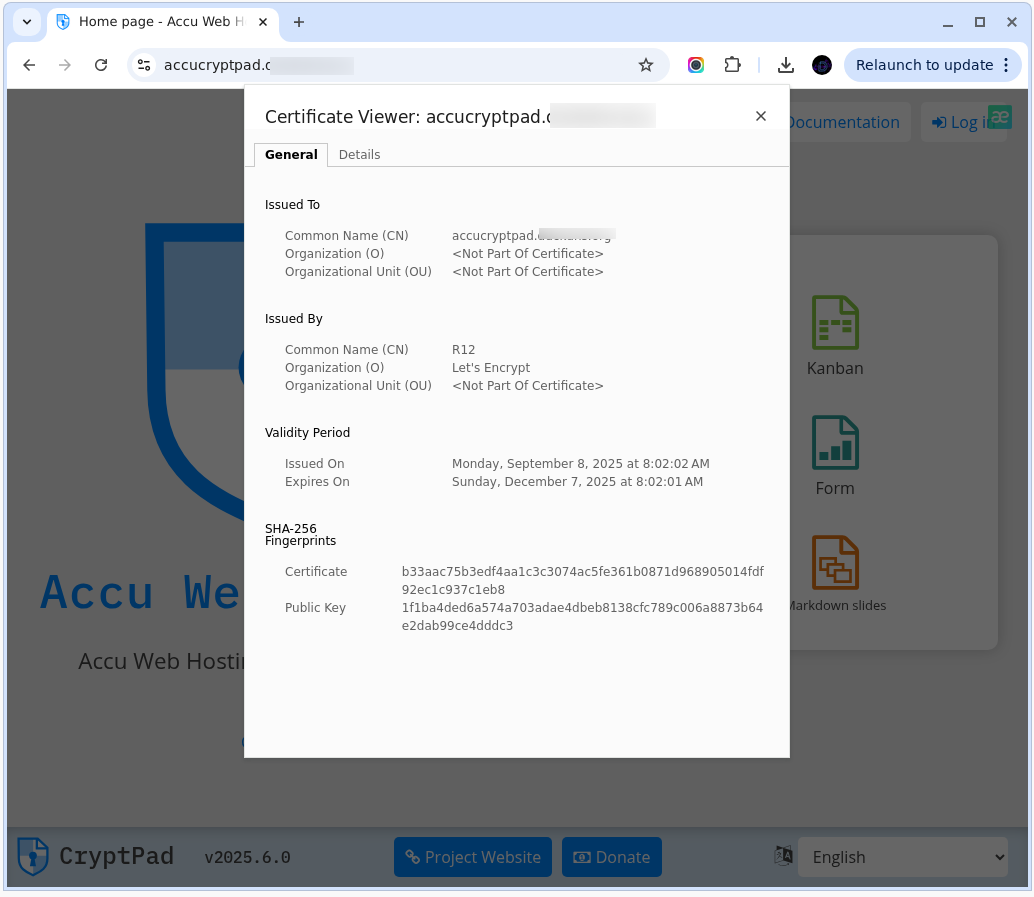
At this stage, your CryptPad instance is secured with HTTPS using Let’s Encrypt. All user traffic is now encrypted end-to-end.
Step-by-Step CryptPad Installation Guide
Once CryptPad has been successfully installed and secured with HTTPS, you will need to complete the initial web-based configuration through your browser. Follow these steps carefully:
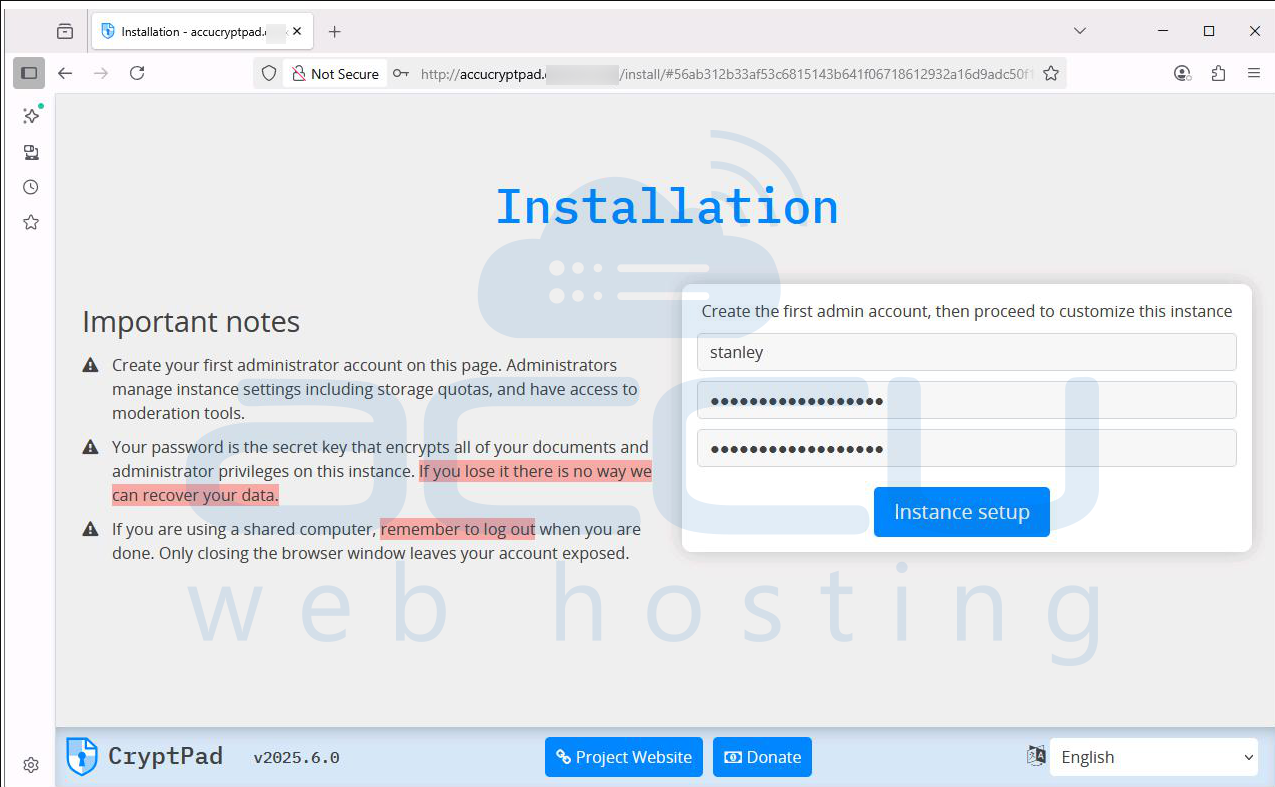
Step 1: Open your browser and visit your CryptPad instance URL. For example: http://domain.com/install/. The installation page will appear, prompting you to create the first administrator account.
Step 2: Create the first administrator account by entering your desired username and password, then confirm the password. Important:
Your password is not just for the login, it also serves as the encryption key for your documents and administrative privileges. If you lose it, no one (not even the server admin) can recover your data. Click Instance Setup to proceed.
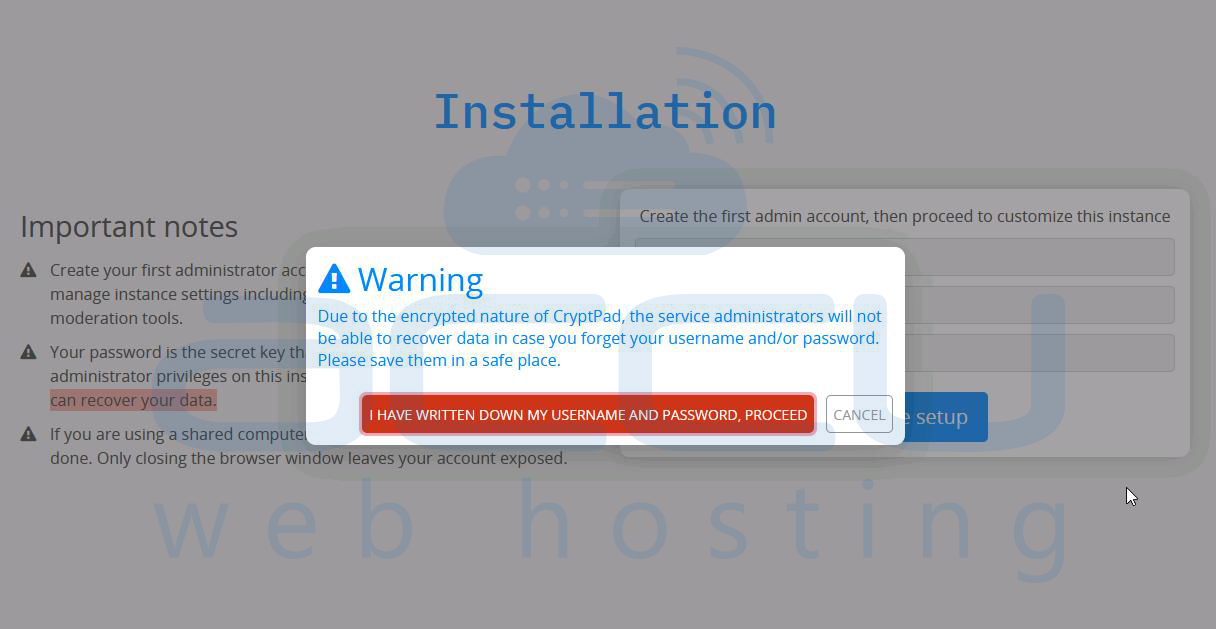
Step 3: CryptPad will display a strong warning: Due to the encrypted nature of CryptPad, the service administrators will not be able to recover data in case you forget your username and/or password.
To continue, you must acknowledge this by clicking the red button: “I HAVE WRITTEN DOWN MY USERNAME AND PASSWORD, PROCEED”
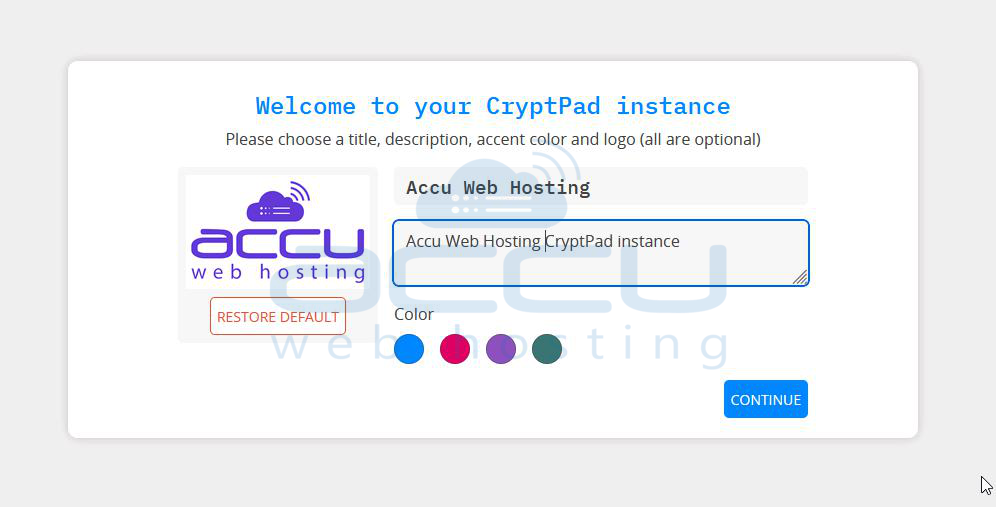
Step 4: Configure how your CryptPad instance should look by Title, Description, Logo, and Accent Color.
Once done, click Continue.
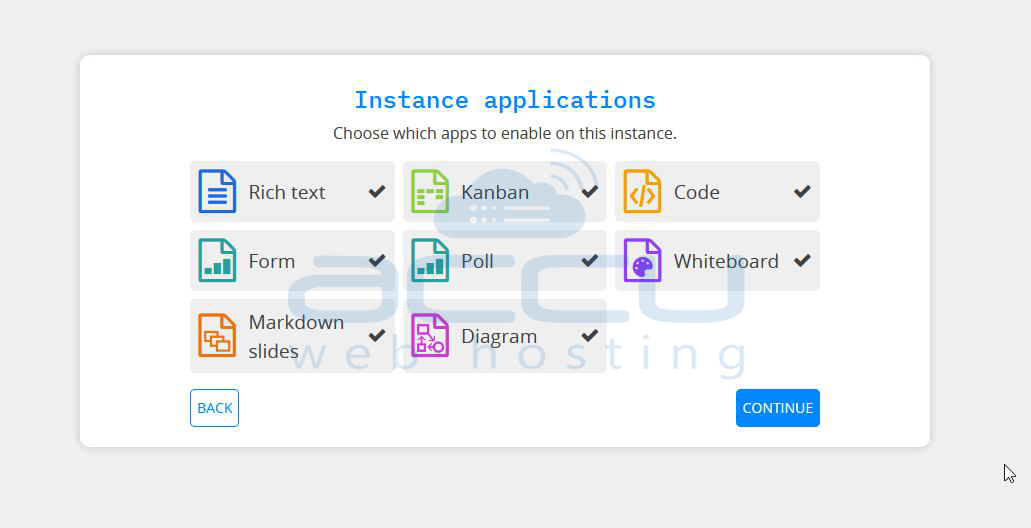
Step 5: CryptPad comes with multiple applications. By default, the following are selected: Rich Text, Kanban, Code Editor, Form Builder, Polls, Whiteboard, Markdown Slides, and Diagram. Unless you have specific restrictions, leave all apps enabled and click Continue to proceed.
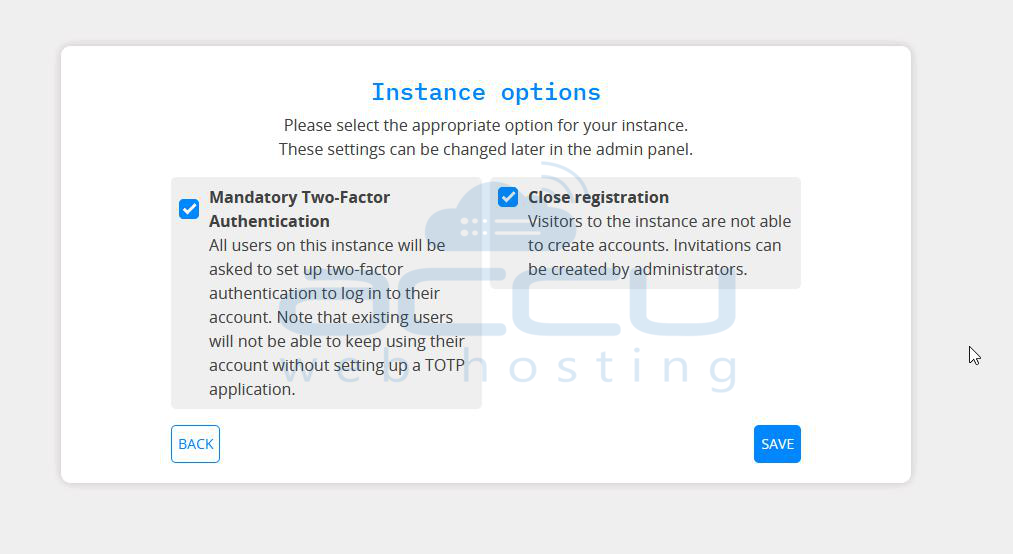
Step 6: Configure instance-wide security and access options:
Mandatory Two-Factor Authentication (2FA): Require all users to set up 2FA via an authenticator app such as Google Authenticator or Authy.
Close Registration: Disable open registration, so only admins can invite new users. This is useful if you want to keep your CryptPad private.
Once configured, click Save to apply the settings.
Step 7: You will now be taken to the main CryptPad dashboard. From here, you can create new documents such as Rich Text notes, Forms, Kanban boards, Code snippets, Polls, Whiteboards, etc. View and manage recent documents and shared files under the Drive section.

Your CryptPad instance is now fully installed, configured, and ready for use!
Conclusion
Installing CryptPad on Ubuntu involves a structured process of preparing the server, installing dependencies, setting up Node.js, cloning the CryptPad repository, configuring the application, and securing it with Nginx and SSL. By creating a dedicated systemd service, you ensure that CryptPad runs reliably in the background and starts automatically after a reboot. With these steps completed, your CryptPad instance is now secure, private, and production-ready.
