Chatwoot is an open-source customer support platform that allows businesses to communicate with their customers across multiple channels from a single dashboard. With Chatwoot, you can manage live chats on your website, respond to emails, and connect messaging platforms like WhatsApp, Facebook Messenger, and Telegram. In this guide, we’ll walk you through installing Chatwoot on Ubuntu 24.04, step by step.

Prerequisites
Before starting, ensure:
- You have Ubuntu 24.04 with sudo/root access
- A domain or subdomain (e.g., livechat.example.com)
- DNS A record pointing to your server's IP
- Fresh VPS or server instance (Recommended)
Steps to Install Chatwoot Live Chat on Ubuntu 24.04
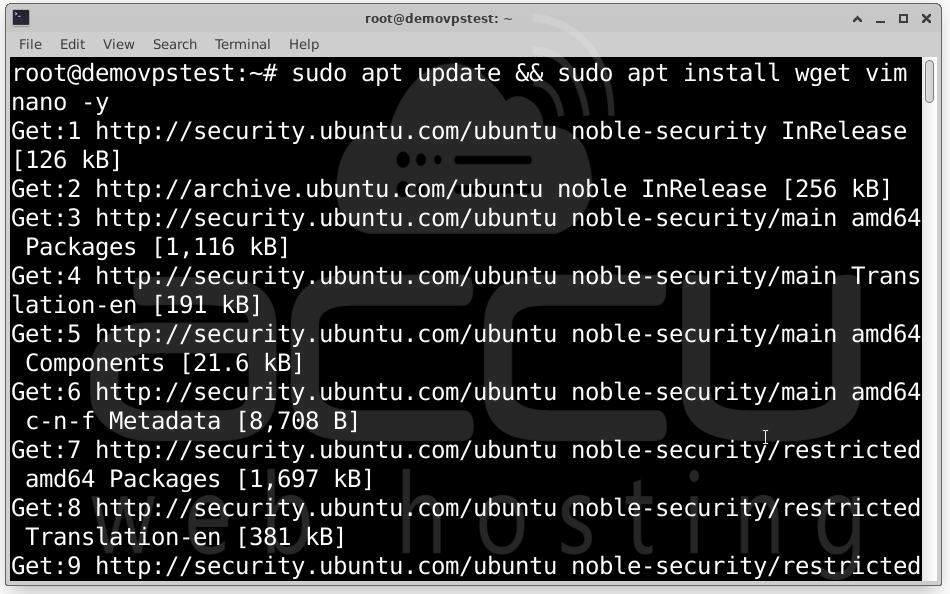
Step 1: First, update your system and install the necessary tools
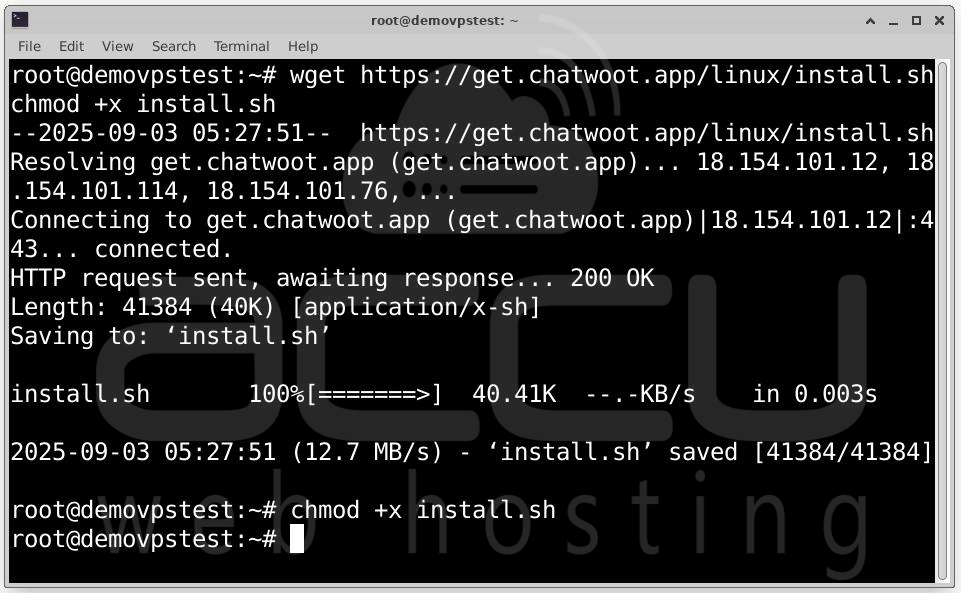
Step 2: Now, download the official Chatwoot installation script:
wget https://get.chatwoot.app/linux/install.sh
Make the script executable:
Step 3: Install Chatwoot on Ubuntu 24.04
sudo ./install.sh --install
To Upgrade Existing Chatwoot:
sudo ./install.sh --upgrade
Domain and SSL Configuration
During installation, you'll be prompted with:
Would you like to configure a domain and SSL for Chatwoot? (yes or no): yes
Enter the domain/subdomain for Chatwoot (e.g., chatwoot.domain.com): livechat.example.com
Enter an email address for Let's Encrypt: [email protected]

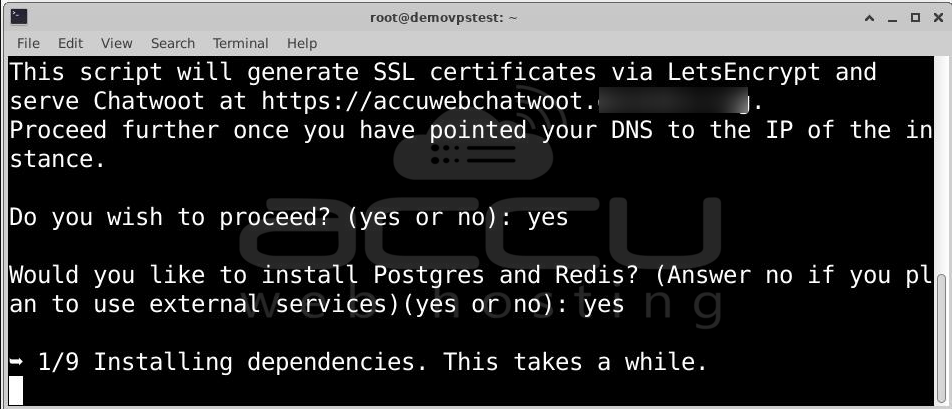
You’ll also be asked if you'd like to install PostgreSQL and Redis. If you're not using external services:
Would you like to install Postgres and Redis? (yes or no): yes
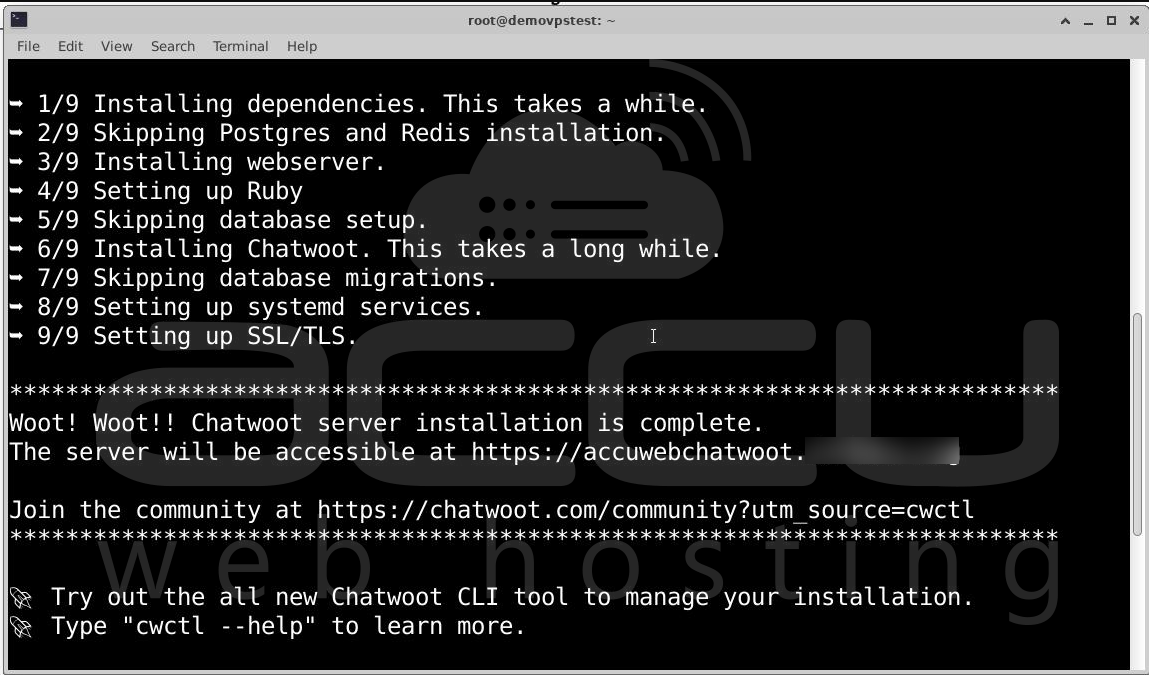
Step 4: The script will walk through 9 steps, including installing dependencies, configuring databases, setting up Ruby and the Rails environment, enabling systemd services, and setting up SSL with Let’s Encrypt. At the end, you’ll see:
Woot! Woot!! Chatwoot server installation is complete.
The server will be accessible at https://livechat.example.com
Step 5: Accessing Chatwoot
After installation, go to: https://yourdomain.com or http://IP_address:3000.
You’ll be prompted to create an admin account.
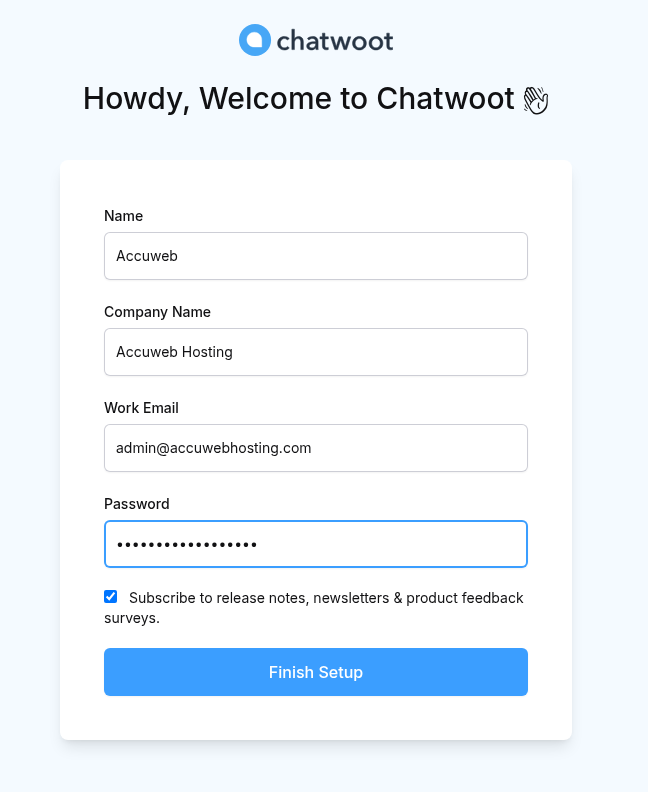
Complete the Initial Chatwoot Setup:
1: Enter Your Name: Fill in your name in the Name field. This will be used to identify your account.
2: Enter Company Name: Provide your organization's name in the Company Name field.
3: Add Your Work Email: Enter a valid work email address. This will be used for login and communication.
4: Create a Password: Choose a secure password for your account and enter it in the Password field.
5: Subscribe to Updates (Optional): Check the box if you want to subscribe to Chatwoot's release notes, newsletters, and product feedback surveys. This helps you stay updated with new features and improvements.
Once all fields are filled, click the Finish Setup button to complete your Chatwoot installation and access the dashboard. You will see the login screen of Chatwoot. Enter Email Address and password to log in.
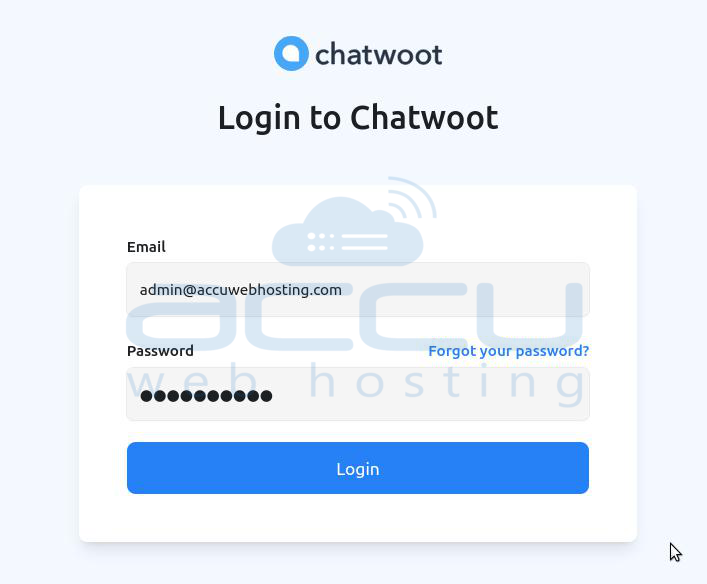
Once logged in, you’ll see the Chatwoot dashboard, ready to connect your live chat channels.

Step 6: Configure Chatwoot Environment
Switch to the Chatwoot user: sudo -i -u chatwoot
cd chatwoot
Edit the .env file: vim .env # or use nano .env
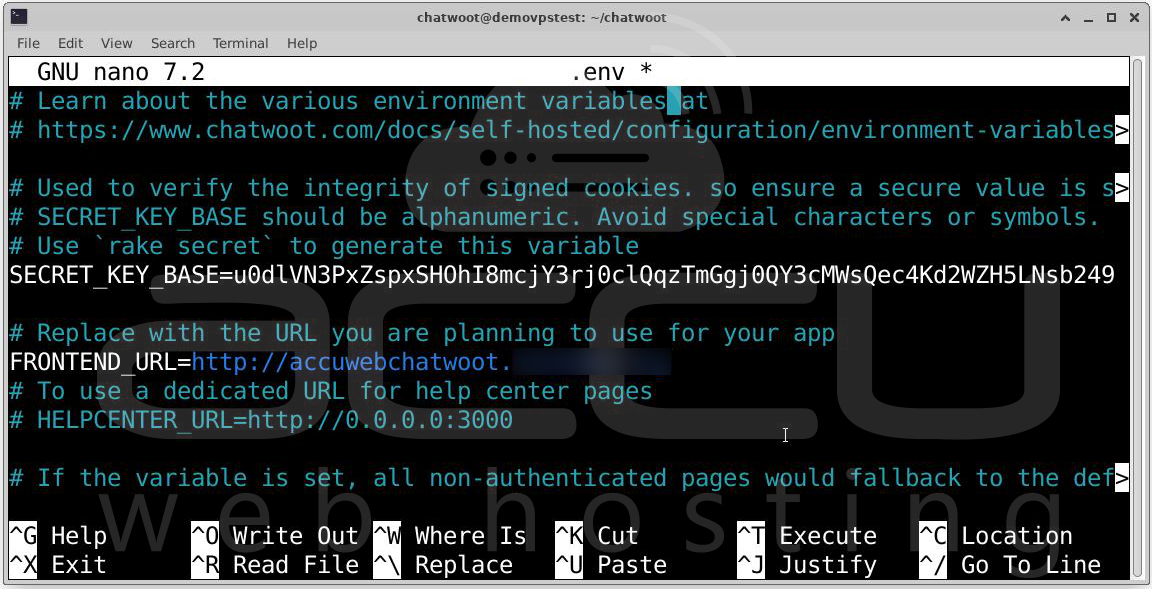
Add or modify your environment variables as needed (like mailer settings, custom ports, integrations, etc.)
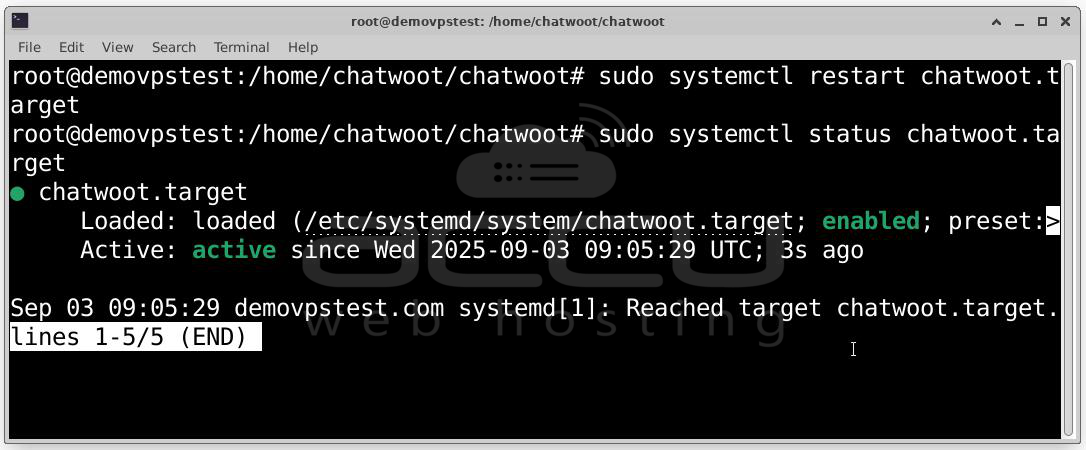
Exit and restart Chatwoot:
Viewing Chatwoot Logs
To monitor Chatwoot in real-time, you can view logs directly from the server using the following commands.
Rails Server Logs (Web Interface):
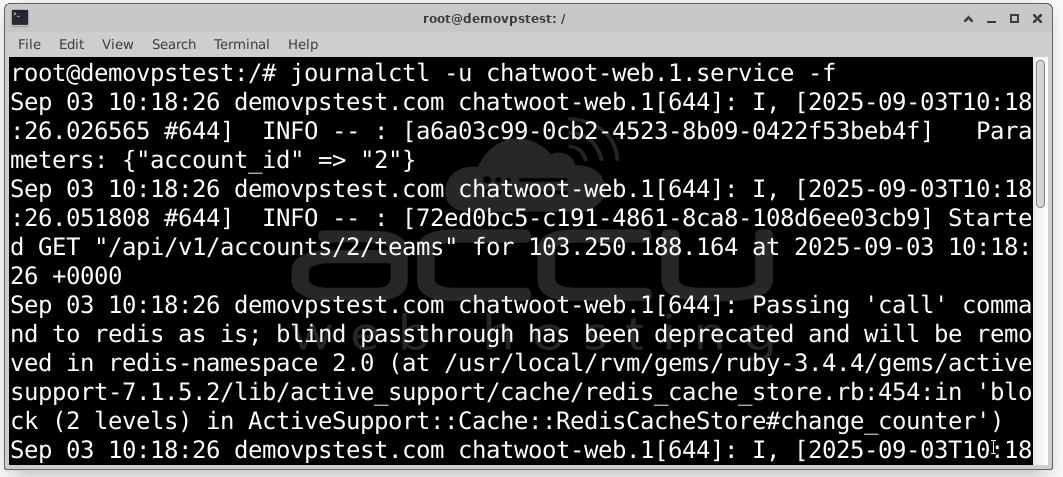
This shows live logs from the Rails application (the web interface).
Sidekiq Logs (Background Jobs):
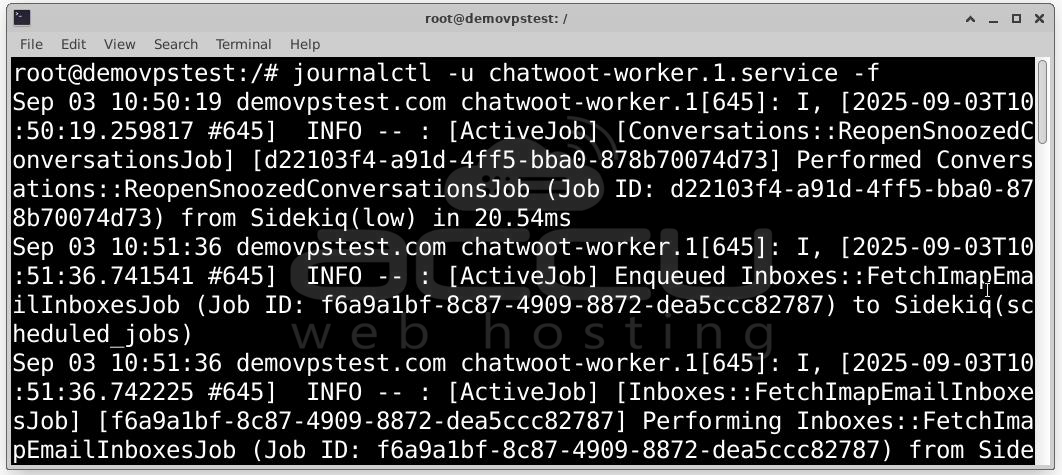
This shows logs from Sidekiq, which handles background tasks like email delivery, message syncing, etc.
Your Chatwoot is now live and secure via HTTPS. You can now embed the chat widget on your website or integrate external channels like WhatsApp, Facebook, Email, etc. Don’t forget to configure your SMTP/mail settings for email notifications.
Conclusion
Installing Chatwoot on Ubuntu 24.04 is straightforward with the official installer script. In just a few commands, you can set up a powerful, self-hosted live chat platform with SSL encryption, multi-channel support, and full control over your customer engagement.
