FreeScout Help Desk is a lightweight, open-source customer support and ticketing system. It helps businesses streamline communication, manage customer requests, and improve support efficiency. In this guide, we’ll walk through installing FreeScout Help Desk on an Ubuntu server.
Steps to install FreeScout on Ubuntu
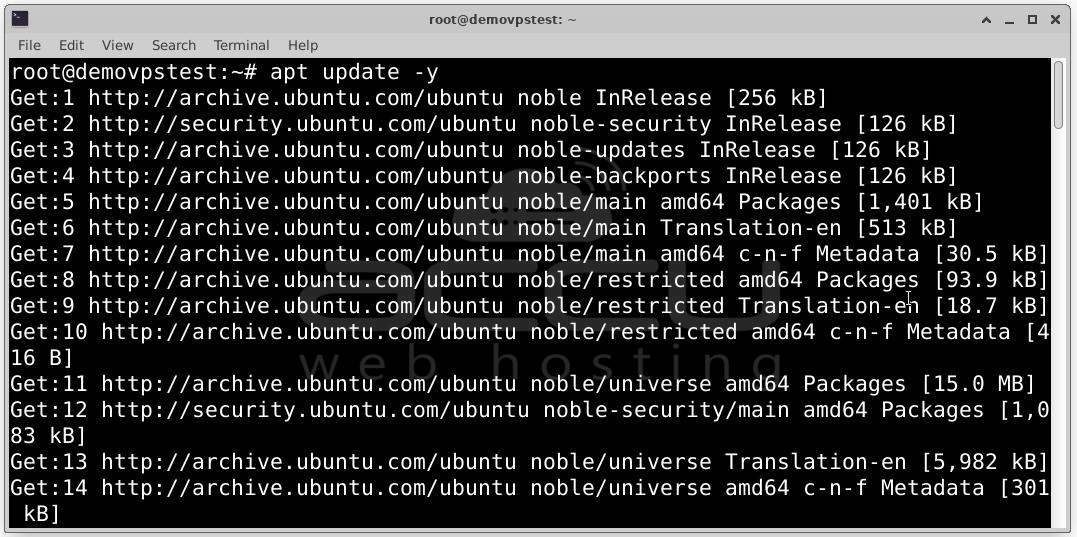
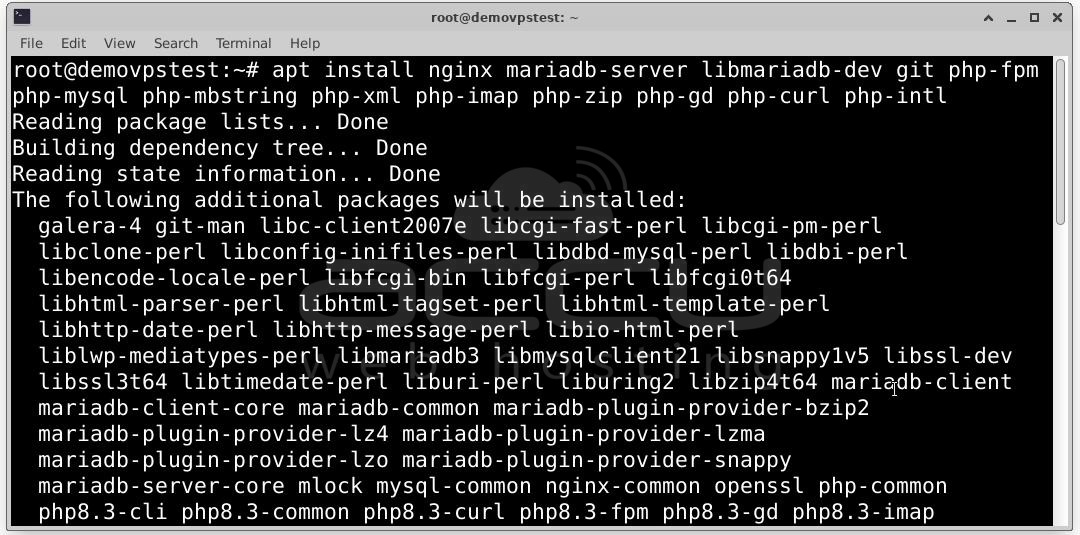
Step 1: FreeScout runs on the LEMP stack (Linux, Nginx, MariaDB, PHP). Start by installing all required packages.
Run the following commands:
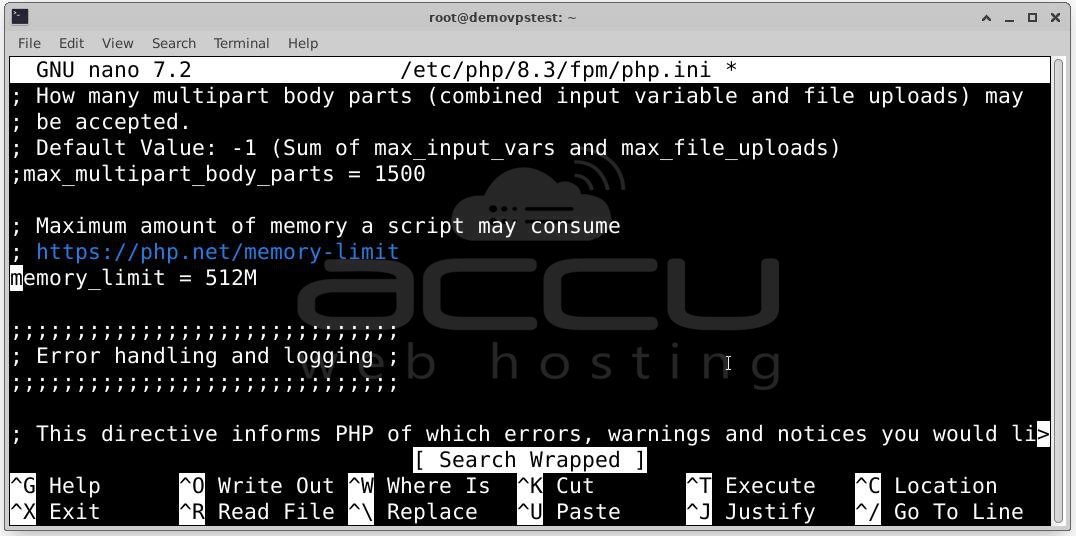
After installation, configure PHP settings by editing the php.ini file:
nano /etc/php/8.3/fpm/php.ini
Update these values:
memory_limit = 512M
date.timezone = UTC
upload_max_filesize = 16M
cgi.fix_pathinfo=0
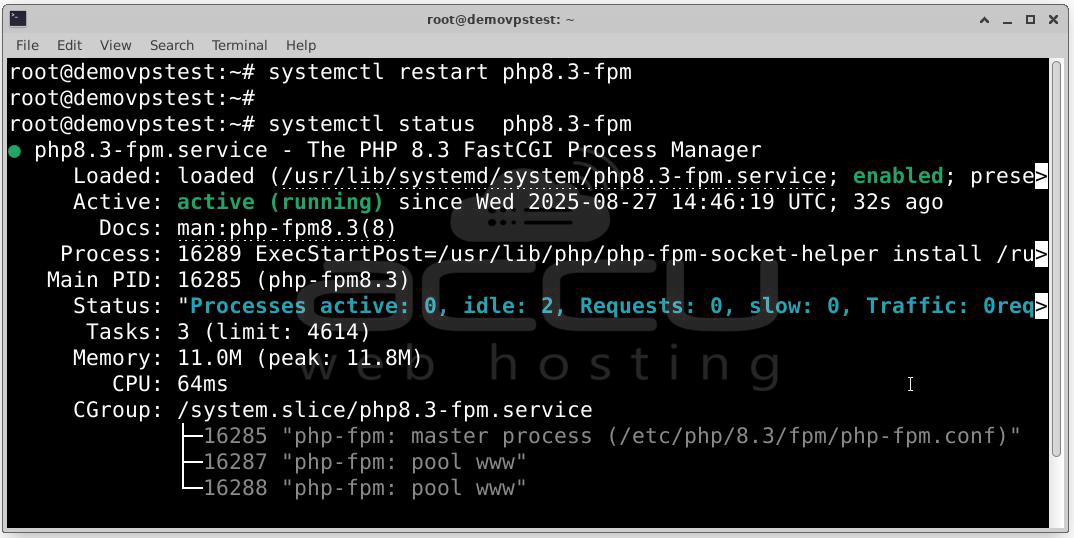
Save the file and restart PHP-FPM:
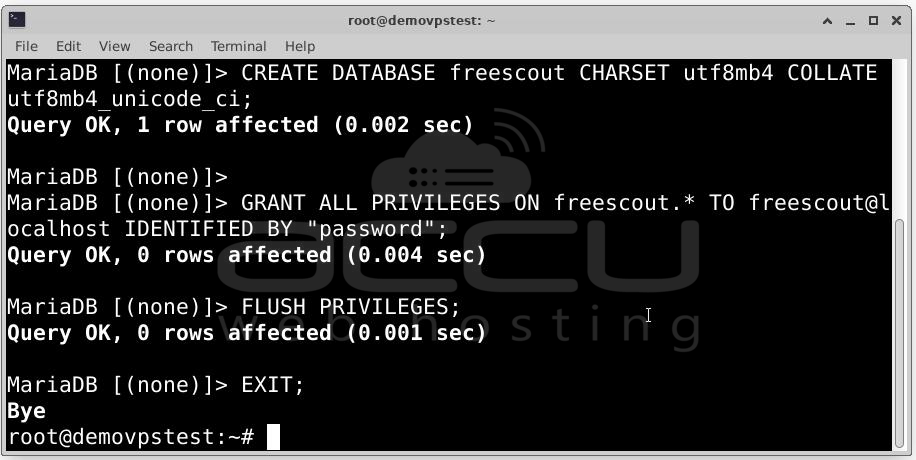
Step 2: FreeScout uses MariaDB as its backend database. Create a database and a user for it.
Log in to MariaDB: mysql
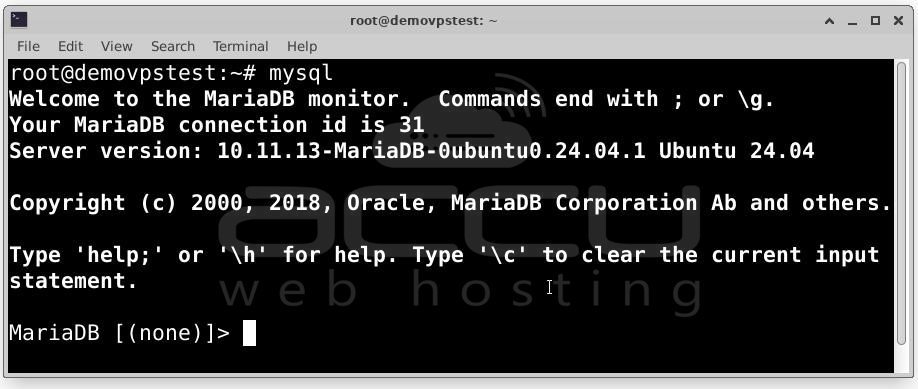
Run these SQL commands:
GRANT ALL PRIVILEGES ON freescout.* TO freescout@localhost IDENTIFIED BY "password";
FLUSH PRIVILEGES;
EXIT;
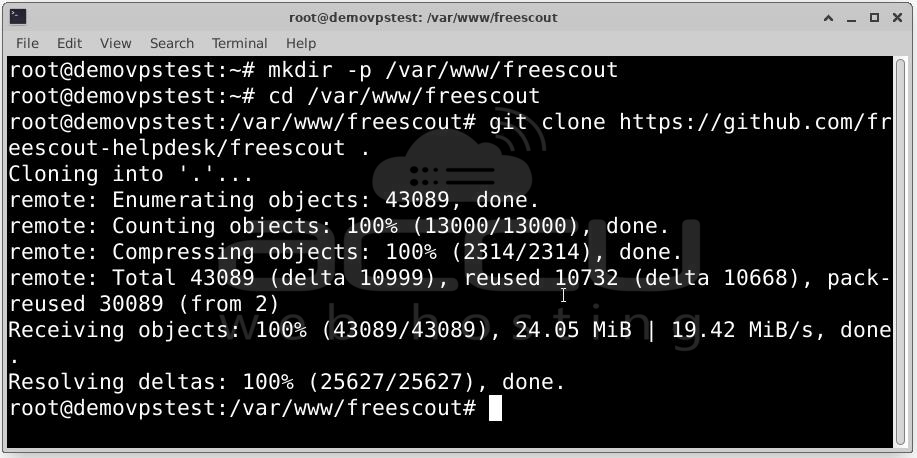
Step 3: Download FreeScout. Create a directory for FreeScout in the Nginx web root and download the source code:
cd /var/www/freescout
git clone https://github.com/freescout-helpdesk/freescout.
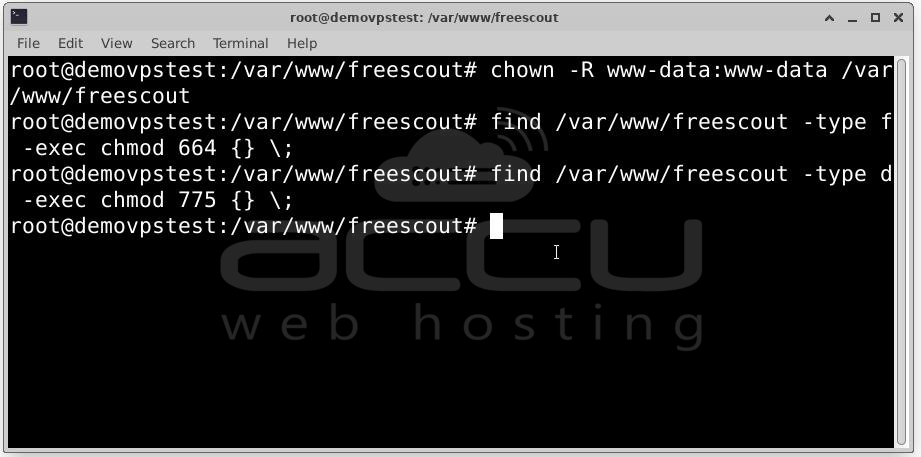
Set correct file permissions:
find /var/www/freescout -type f -exec chmod 664 {} \;
find /var/www/freescout -type d -exec chmod 775 {} \;
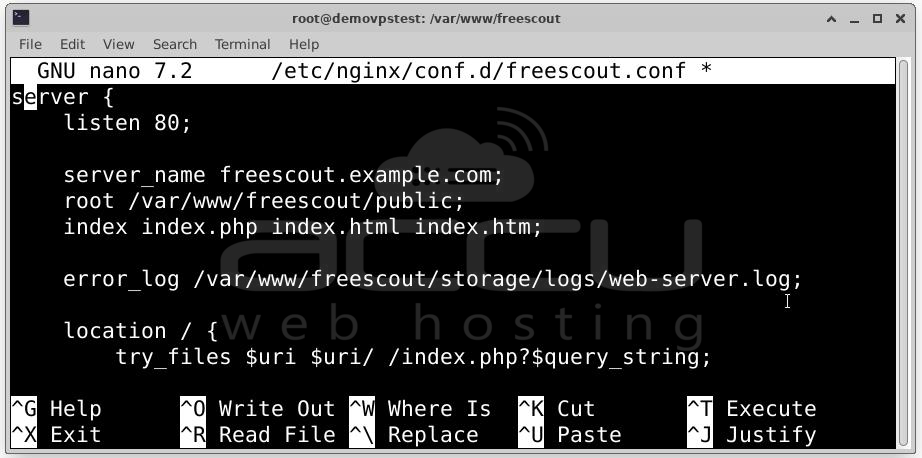
Step 4: Configure Nginx by creating a virtual host configuration file:
nano /etc/nginx/conf.d/freescout.conf
Add this configuration:
server {
listen 80;
server_name freescout.example.com;
root /var/www/freescout/public;
index index.php index.html index.htm;
error_log /var/www/freescout/storage/logs/web-server.log;
location / {
try_files $uri $uri/ /index.php?$query_string;
}
location ~ \.php$ {
fastcgi_split_path_info ^(.+\.php)(/.+)$;
fastcgi_pass unix:/run/php/php8.3-fpm.sock;
fastcgi_index index.php;
fastcgi_param SCRIPT_FILENAME $document_root$fastcgi_script_name;
include fastcgi_params;
}
location ~* ^/storage/attachment/ {
expires 1M;
access_log off;
try_files $uri $uri/ /index.php?$query_string;
}
location ~* ^/(?:css|js)/.*\.(?:css|js)$ {
expires 2d;
access_log off;
add_header Cache-Control "public, must-revalidate";
}
location ~ /\. {
deny all;
}
}
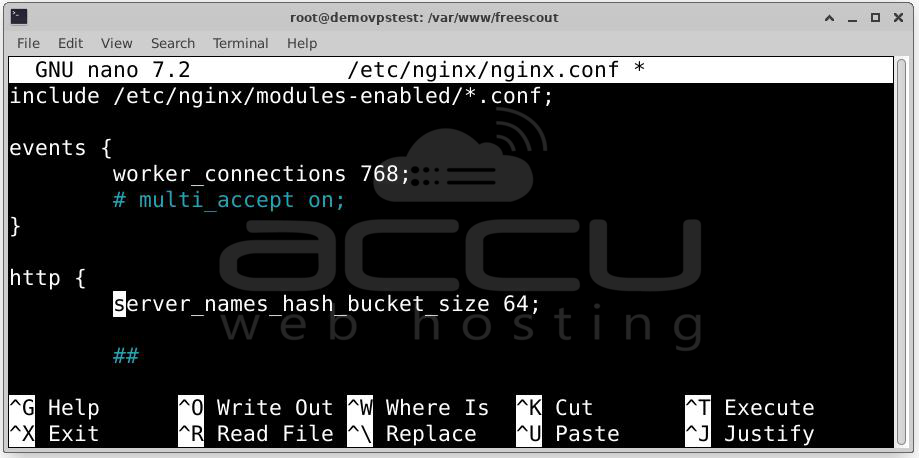
Now edit the main Nginx config file: nano /etc/nginx/nginx.conf
Add this line under the http { section:
server_names_hash_bucket_size 64;
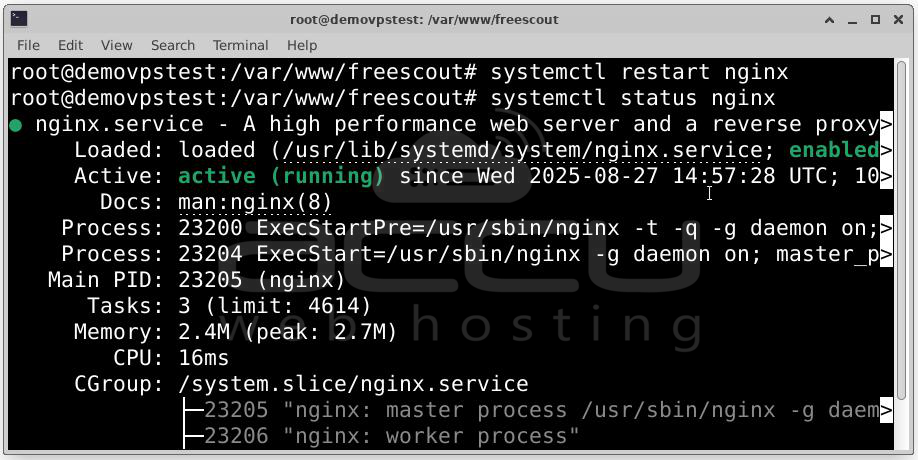
Restart Nginx and check status:
systemctl status nginx
Step 5: Complete Installation via Web Interface. At this point, your server is ready, and FreeScout files are in place. The final step is to complete the setup using FreeScout’s web-based installer.
1. Access the Installation Page: Open your browser and navigate to your domain (replace with your actual domain or server IP):
http://freescout.example.com
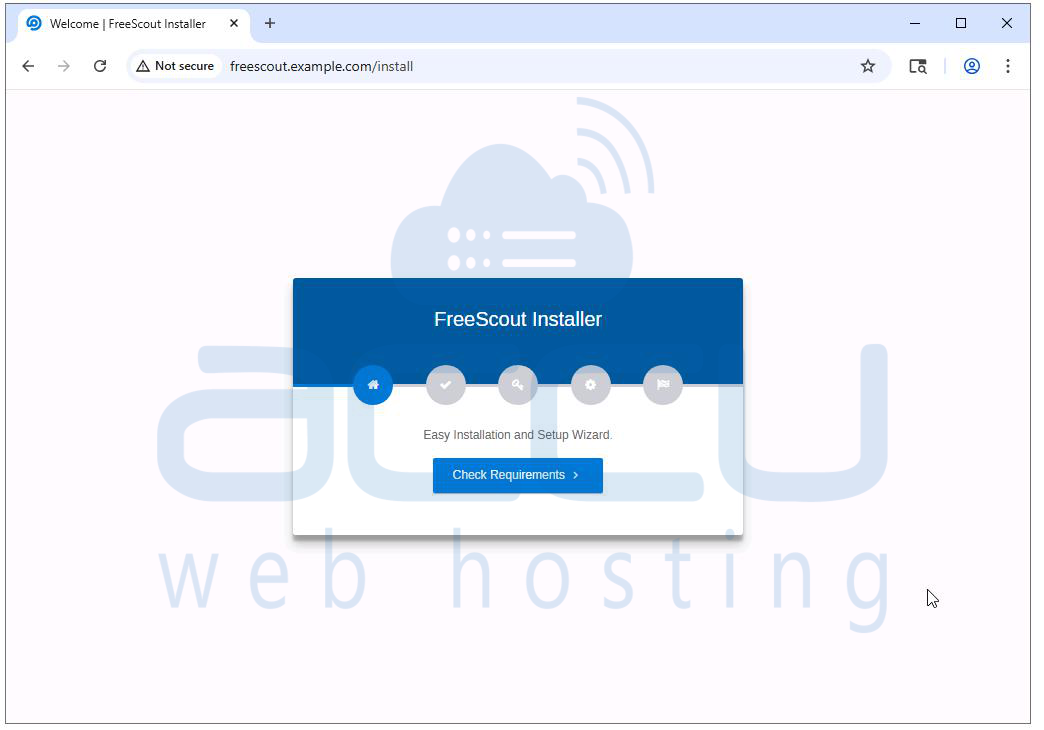
You will be redirected to the FreeScout Installation Wizard. Click on Check Requirements.
2. Check Requirements: The installer will first verify your server environment, PHP version, required extensions, and Database connection libraries.
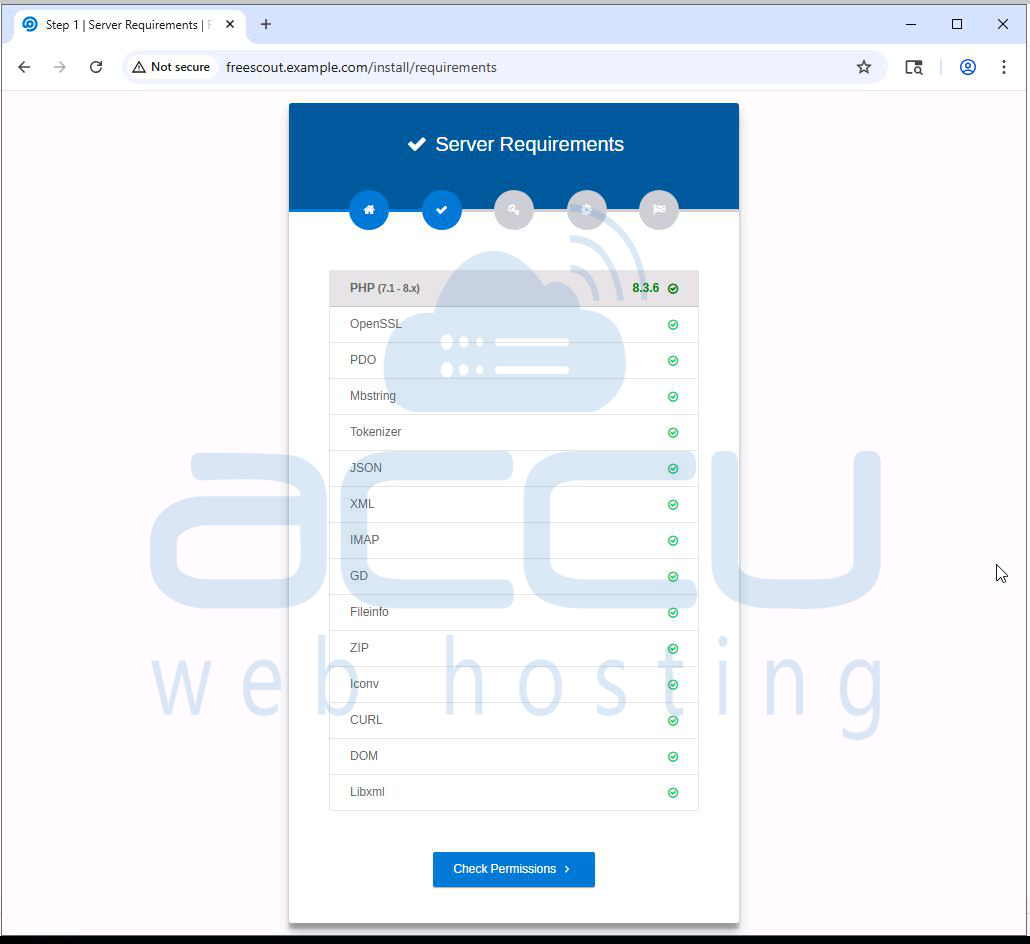
If everything is correct, you’ll see green check marks. Click Check Permissions. If not, you’ll need to fix the listed issues before proceeding.
3. Check Permissions: FreeScout requires certain folders to be writable by the web server user (www-data in Ubuntu).
The installer will check directories such as storage/, bootstrap/cache/, and others. If any folder shows a red warning, adjust permissions using:
chown -R www-data:www-data /var/www/freescout
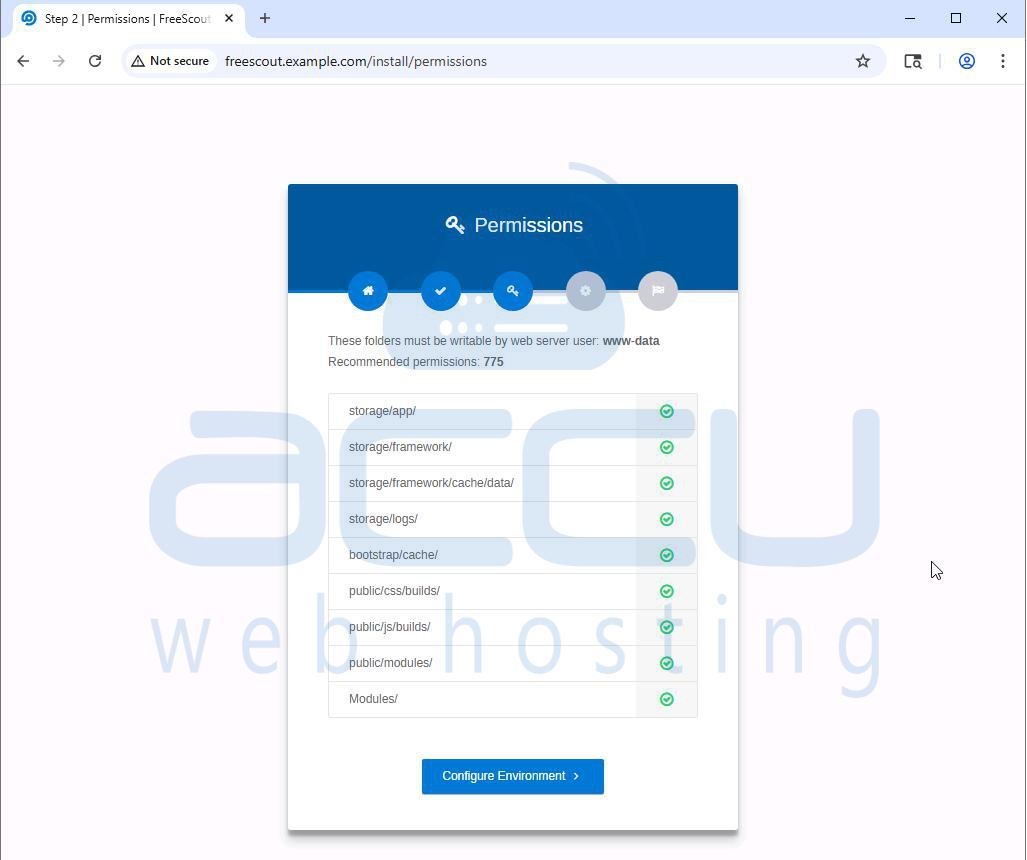
Click on Configure Environments once all permissions are valid.
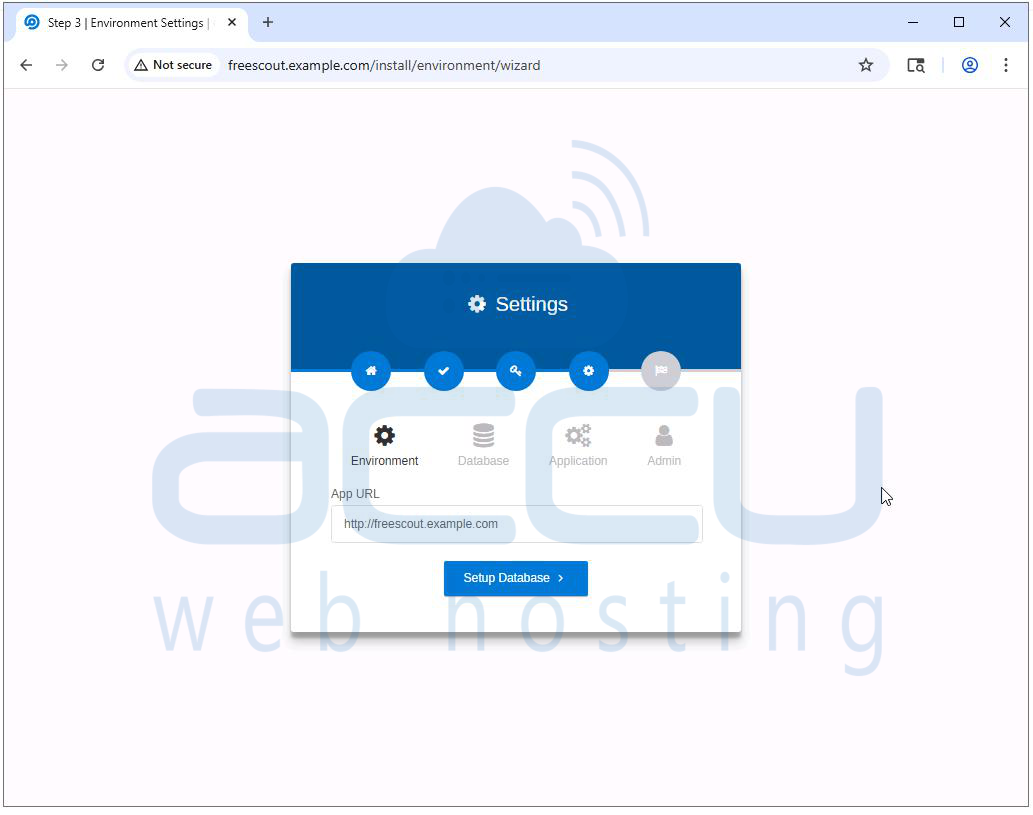
4. Configure Environment: On this page, you’ll need to enter your application environment URL. Enter your domain, e.g., http://freescout.example.com, and click Setup Database.
5. Setup Database: Now connect FreeScout to the database you created earlier. Provide the details:
- Database Host: 127.0.0.1
- Database Name: freescout
- Database Username: freescout
- Database Password: The password you set during database creation
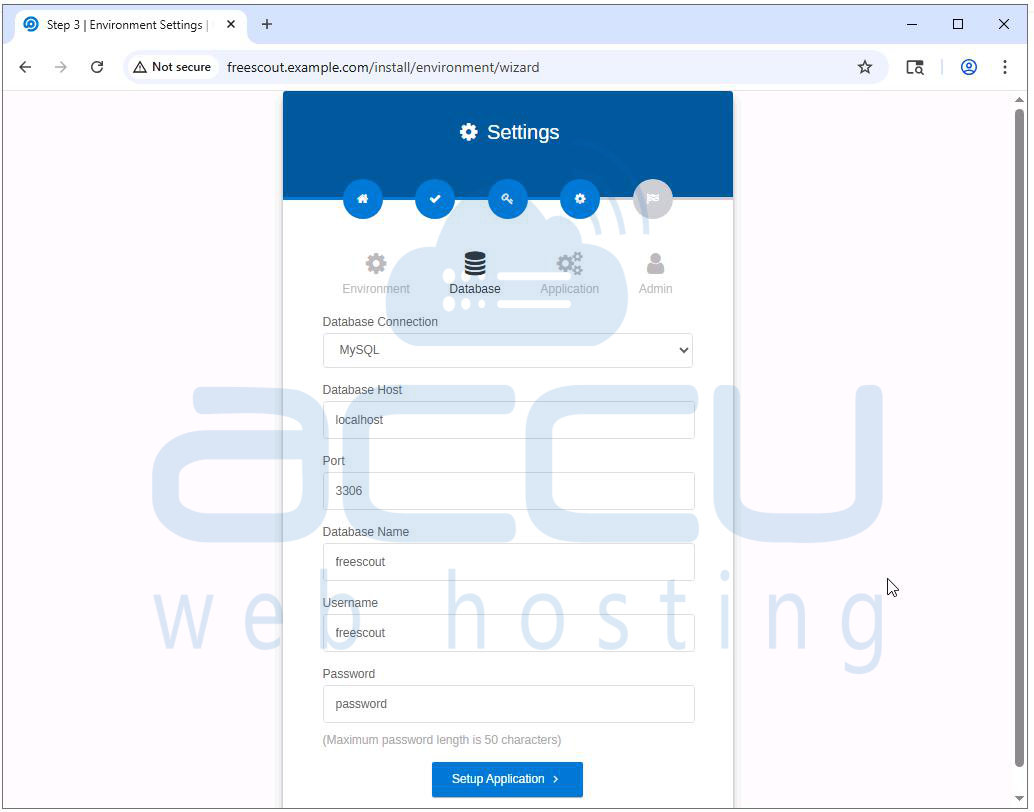
Click Setup Application. FreeScout will automatically create the necessary tables.
6. Application Configuration: You will be asked to select your language and time zone.
- Choose your preferred language (e.g., English).
- Confirm other default settings.
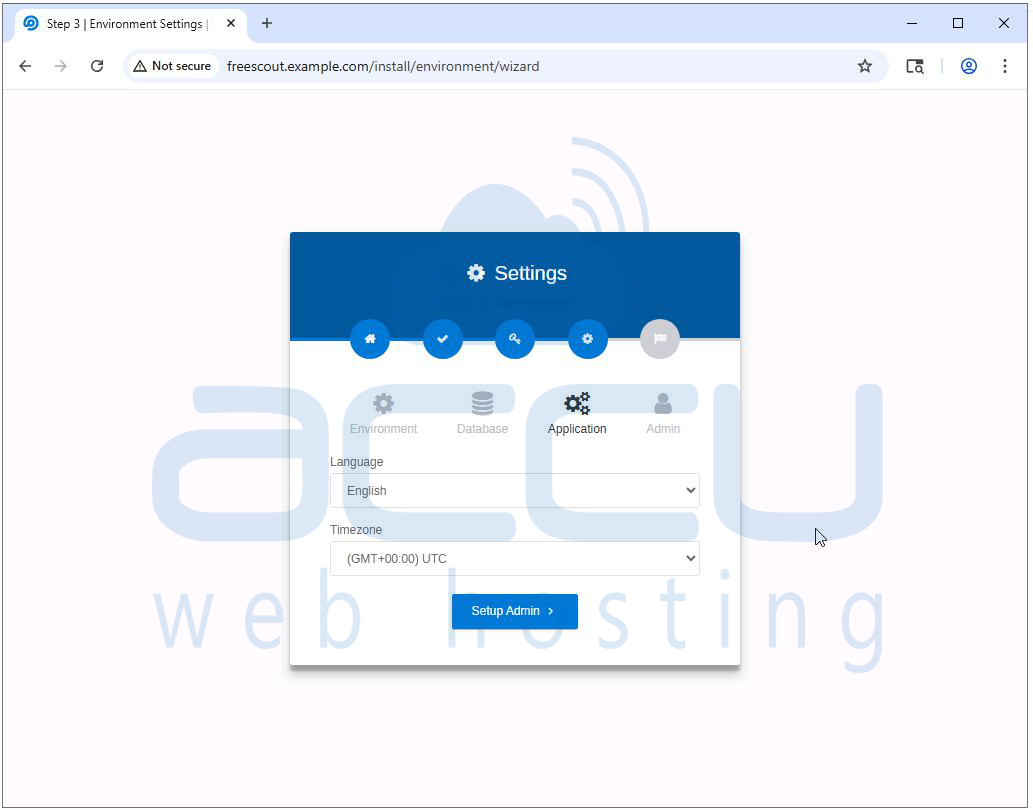
Click Setup Admin.
7. Create Admin User: Now set up your first administrator account:
- Email Address: Your login email address
- Username: For example, admin
- Password: A strong, secure password
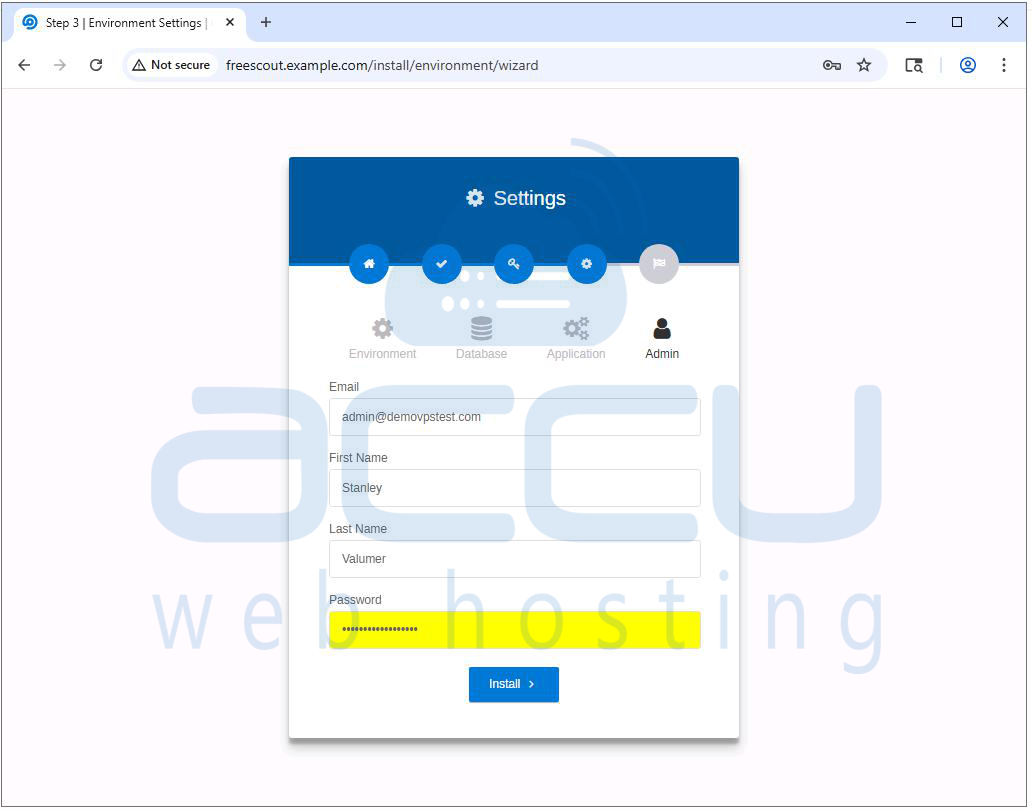
Click Install.
FreeScout will finalize the setup, and you will see the following screen.
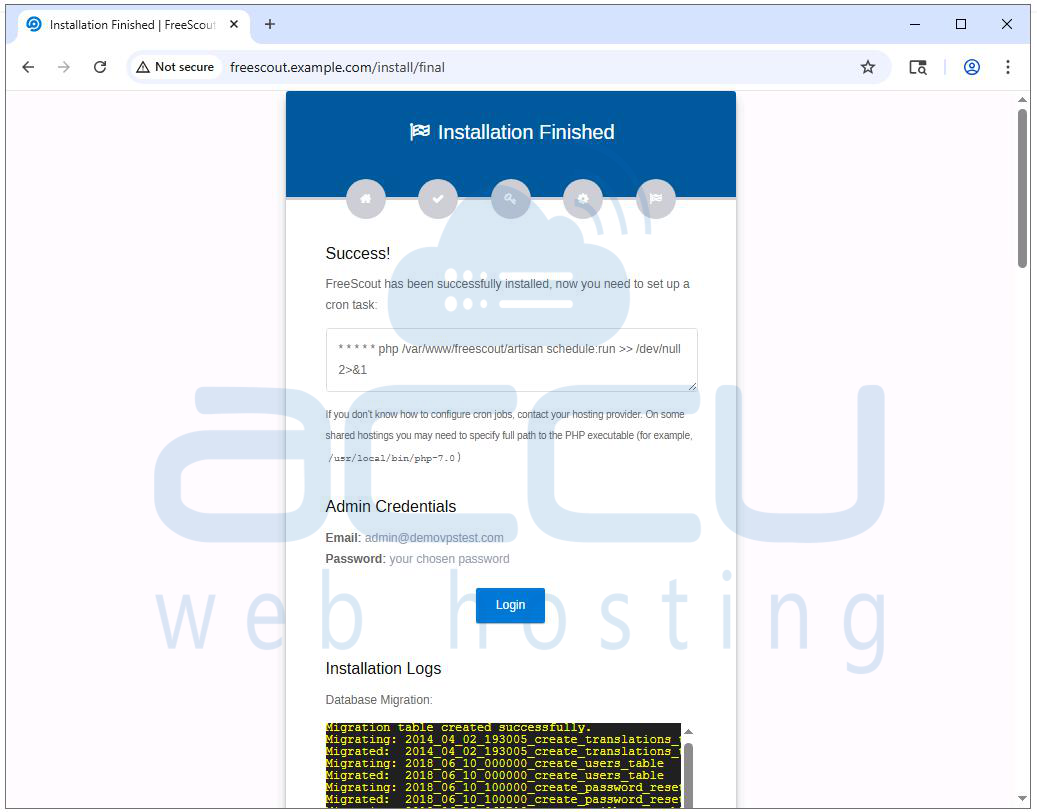
After installation completes, click on the Login button. It will be redirected to the FreeScout login page.
- Enter your admin email and password
- Click Login
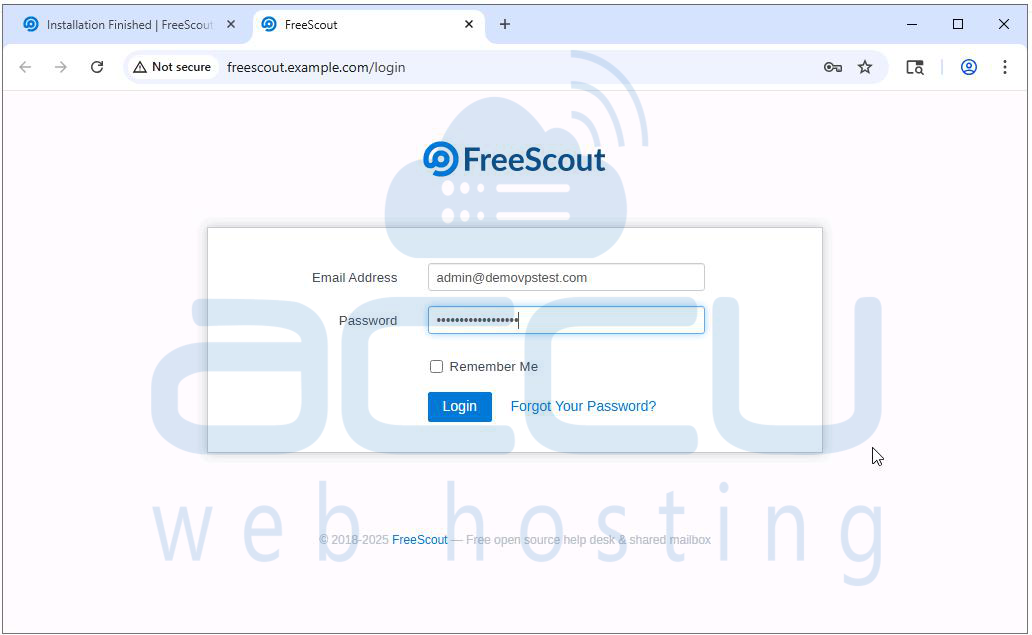
You will now see the FreeScout Dashboard, where you can start creating mailboxes, adding team members, and customizing settings.
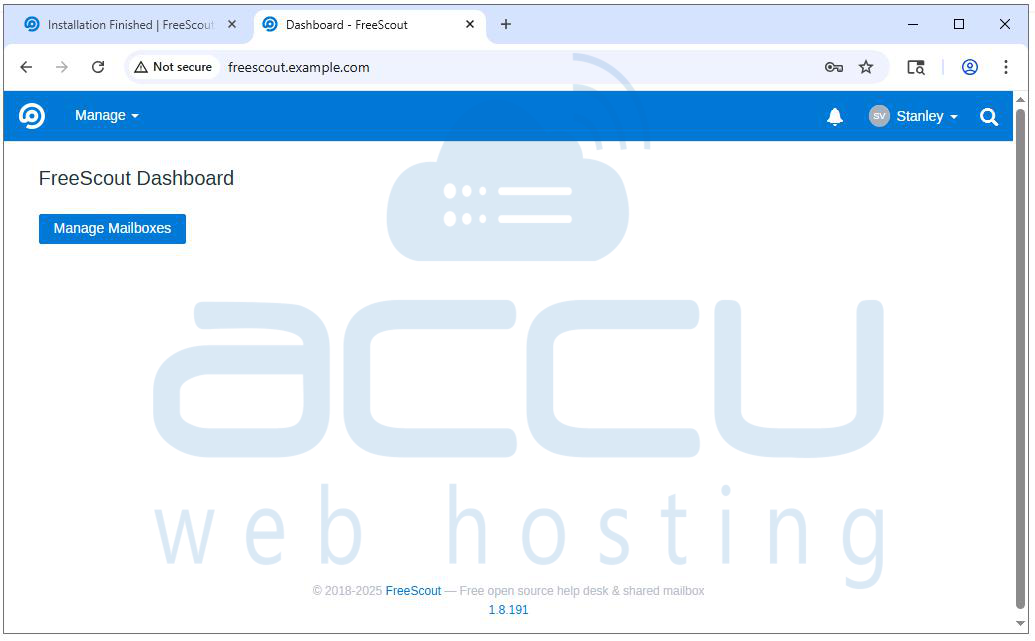
At this stage, your FreeScout Help Desk installation is fully operational.
Conclusion
FreeScout Help Desk is a powerful and easy-to-use tool for managing customer support. By following the steps above, you can install and set it up on Ubuntu without much hassle. Once installed, FreeScout helps your team respond faster, stay organized, and deliver better customer service.
