Introduction
NodeBB is a powerful, real-time forum platform built on Node.js, and it's a great choice for modern online communities. This guide will walk you through installing NodeBB on Ubuntu 24.04, using MongoDB 8.0 as the database and Nginx as a reverse proxy.
System Requirements
- Ubuntu 24.04
- At least 1GB RAM
- Node.js LTS (v22.x)
- MongoDB 8.0, Git, and Nginx
Steps to Install NodeBB on Ubuntu 24.04 with MongoDB
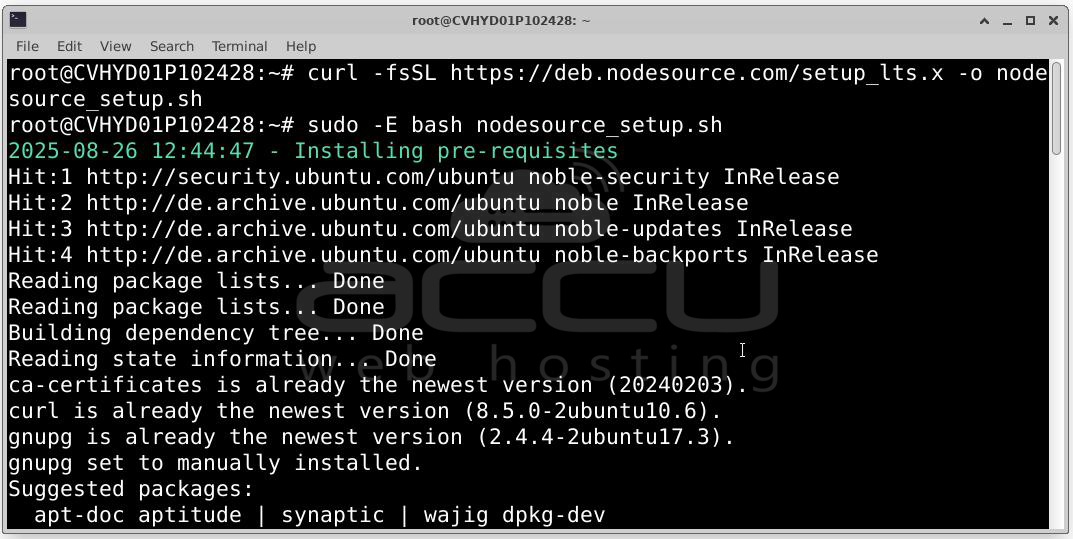
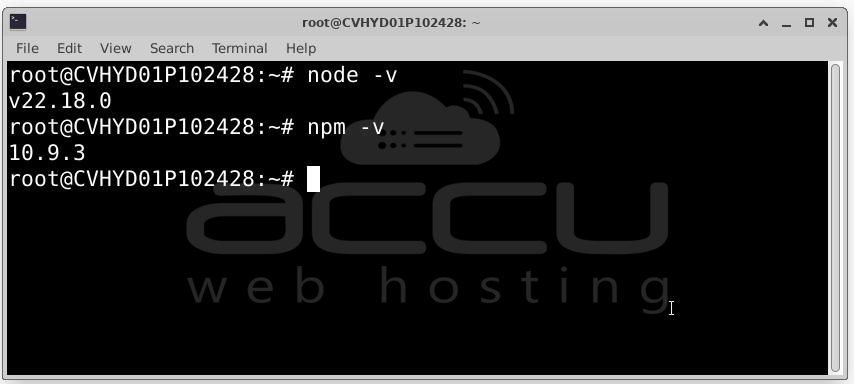
Step 1: NodeBB is powered by Node.js. First install the current LTS version (v22 as of this writing):
sudo -E bash nodesource_setup.sh
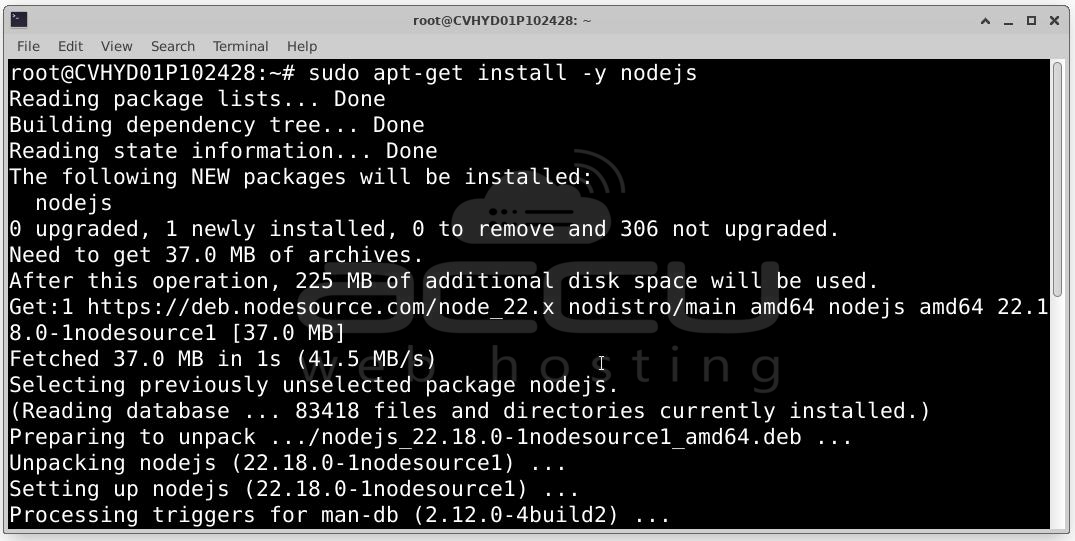
Verify the installation:
npm -v # Should output 10.9.3 or similar
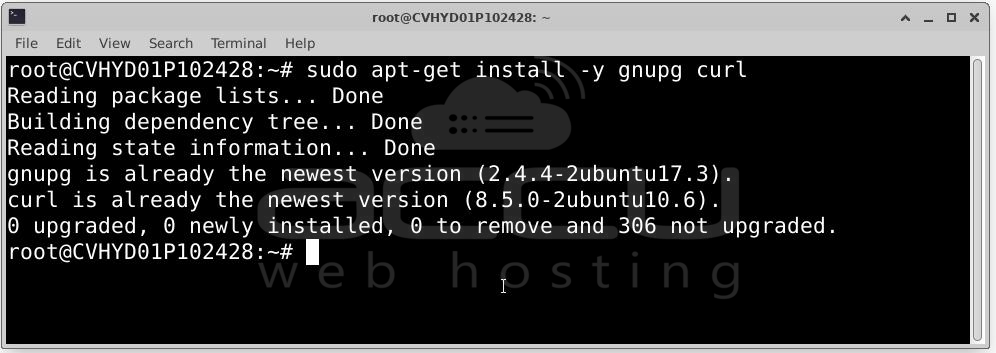
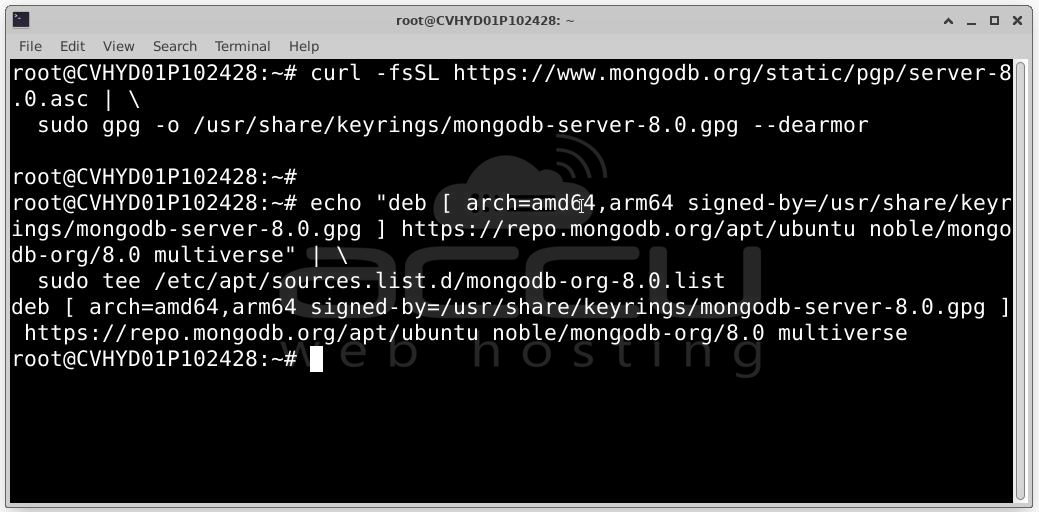
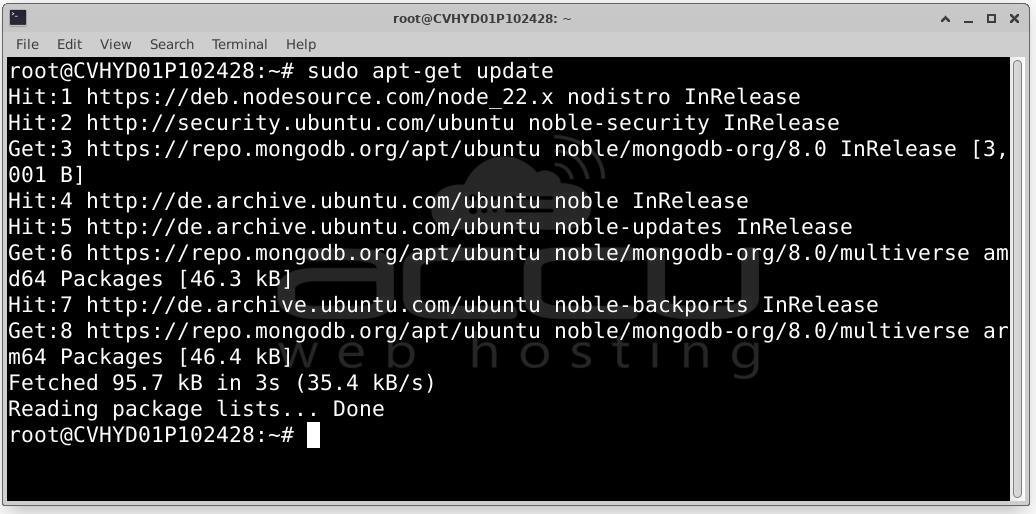
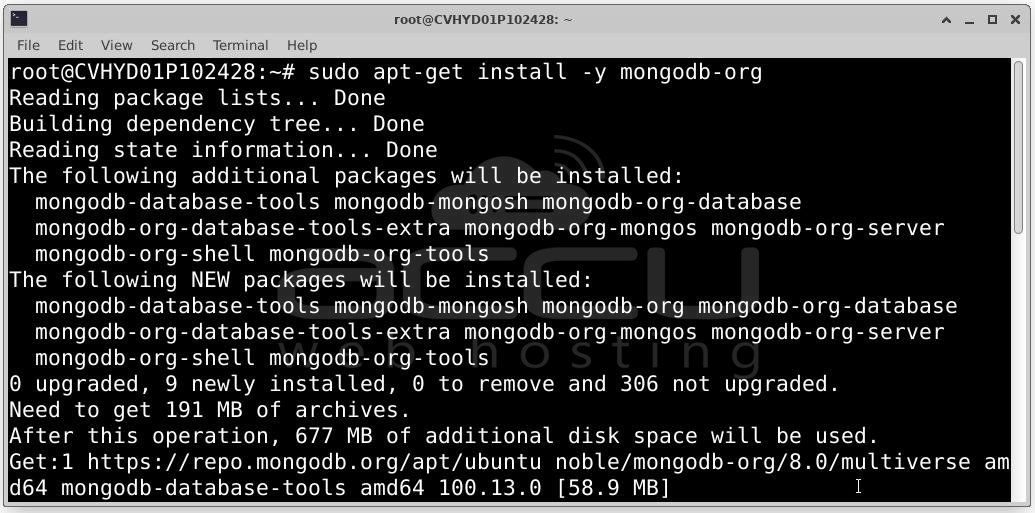
Step 2: MongoDB is the default database for NodeBB. To install it run the following commands.
curl -fsSL https://www.mongodb.org/static/pgp/server-8.0.asc | \
sudo gpg -o /usr/share/keyrings/mongodb-server-8.0.gpg --dearmor
echo "deb [ arch=amd64,arm64 signed-by=/usr/share/keyrings/mongodb-server-8.0.gpg ] https://repo.mongodb.org/apt/ubuntu noble/mongodb-org/8.0 multiverse" | \
Start and check the MongoDB service:
sudo systemctl status mongod

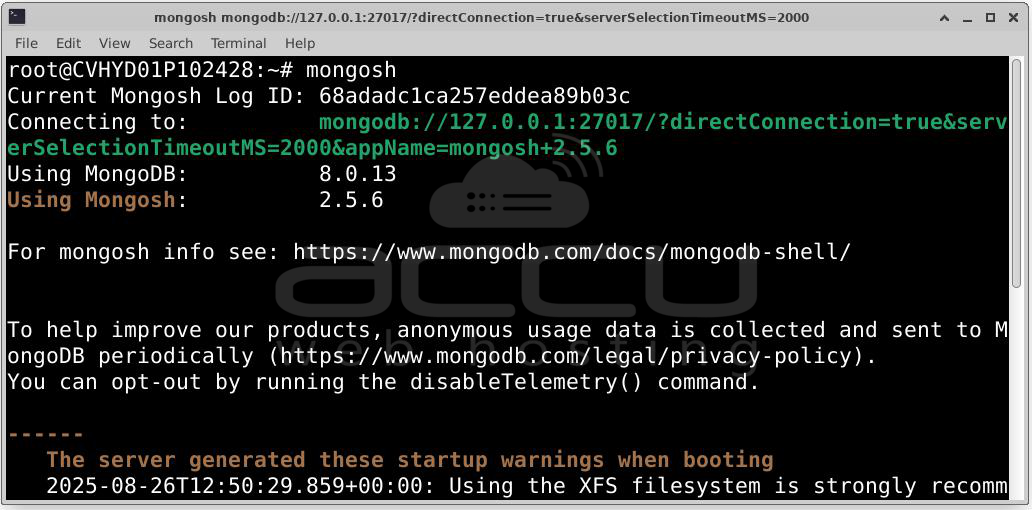
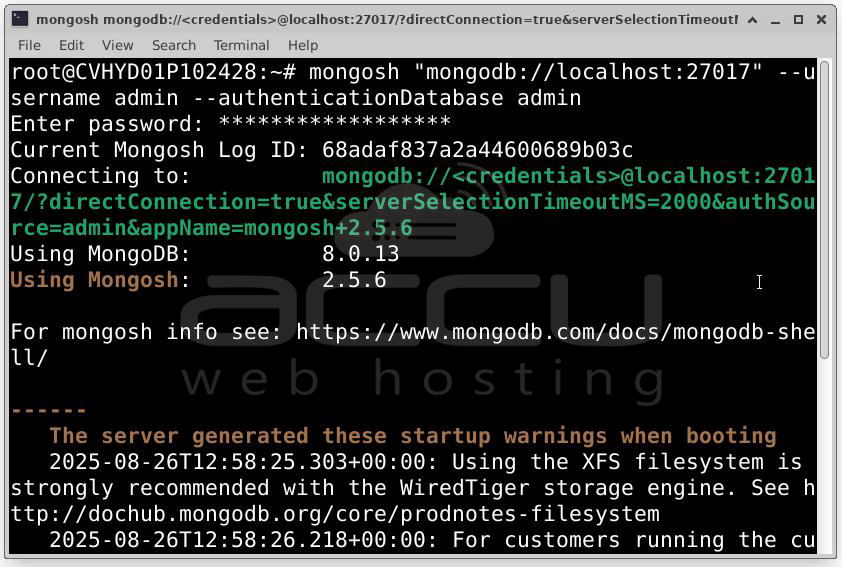
Step 3: Secure MongoDB with Users
Access the MongoDB Shell:
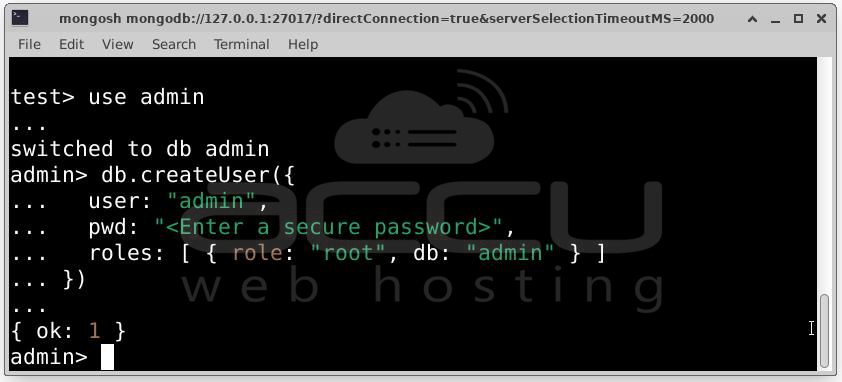
Create Admin User:
use admin
db.createUser({
user: "admin",
pwd: "<Enter a secure password>",
roles: [ { role: "root", db: "admin" } ]
})
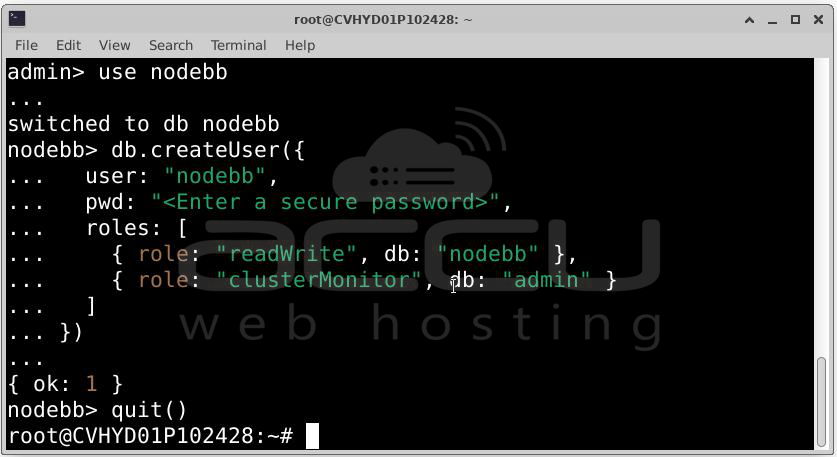
Create NodeBB Database and User:
use nodebb
db.createUser({
user: "nodebb",
pwd: "<Enter a secure password>",
roles: [
{ role: "readWrite", db: "nodebb" },
{ role: "clusterMonitor", db: "admin" }
]
})
quit()
Enable Authentication:
Edit /etc/mongod.conf and add:
security:
authorization: enabled

Restart MongoDB:
sudo systemctl restart mongod
Verify access:
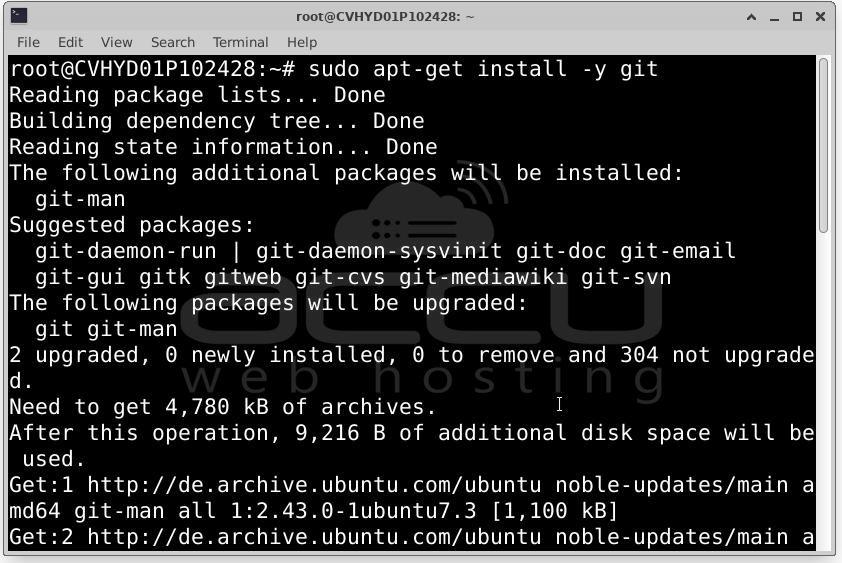
Step 4: Now, install Git and Clone NodeBB
Install Git:
Clone the latest NodeBB release:
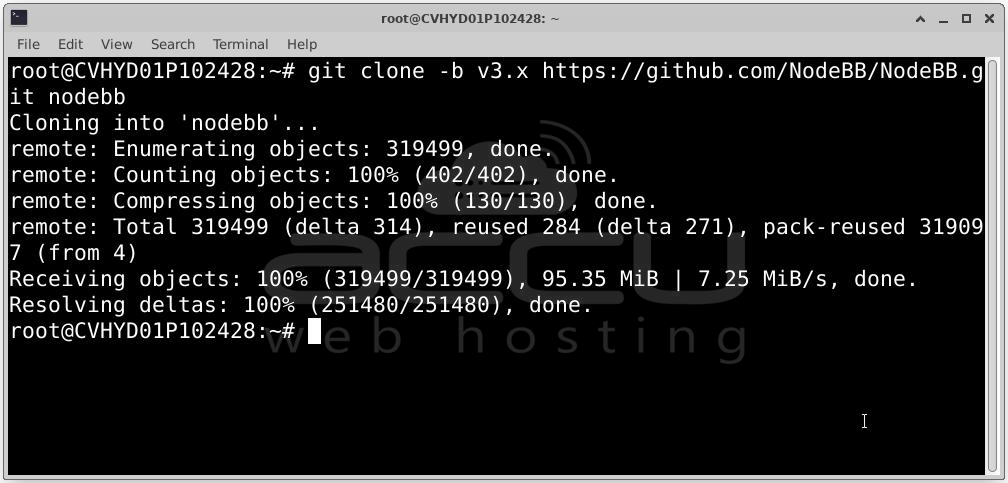
cd nodebb
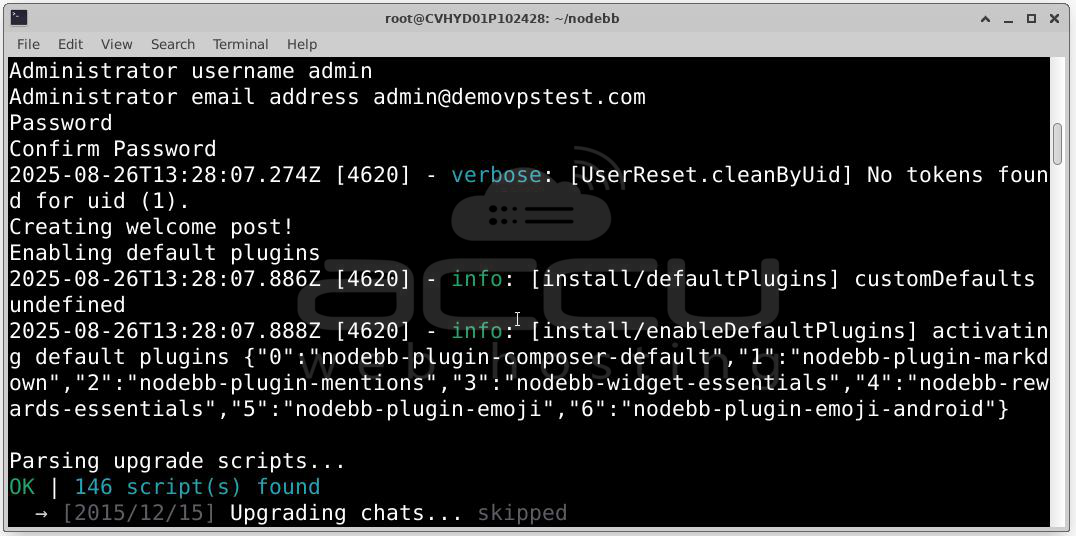
Step 5: Configure NodeBB. Run the setup script:

You’ll be asked a series of questions:
- Site title: Your forum name
- URL: http://forum.example.com
- Database: MongoDB
- Hostname: 127.0.0.1
- Port: 27017
- Username: nodebb
- Password: <password from earlier>
- Database name: nodebb
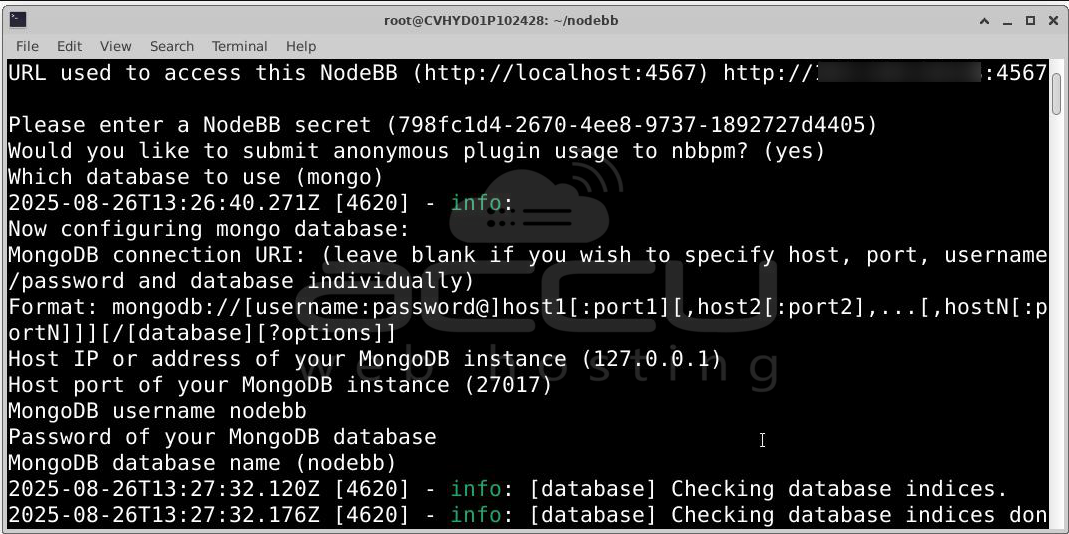
Once the database connection is verified, you'll be prompted to create the admin user for your forum.
After setup, start the forum: ./nodebb start
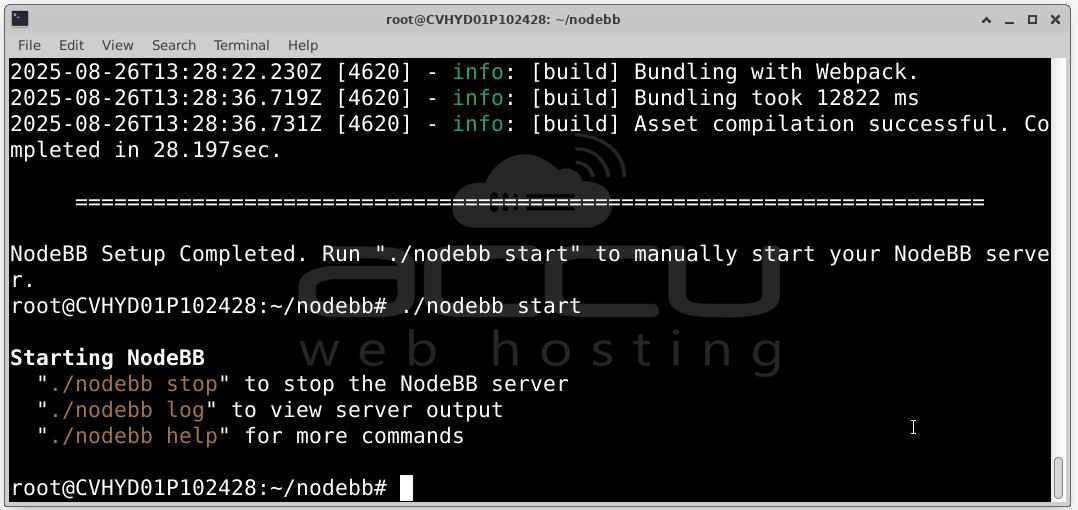
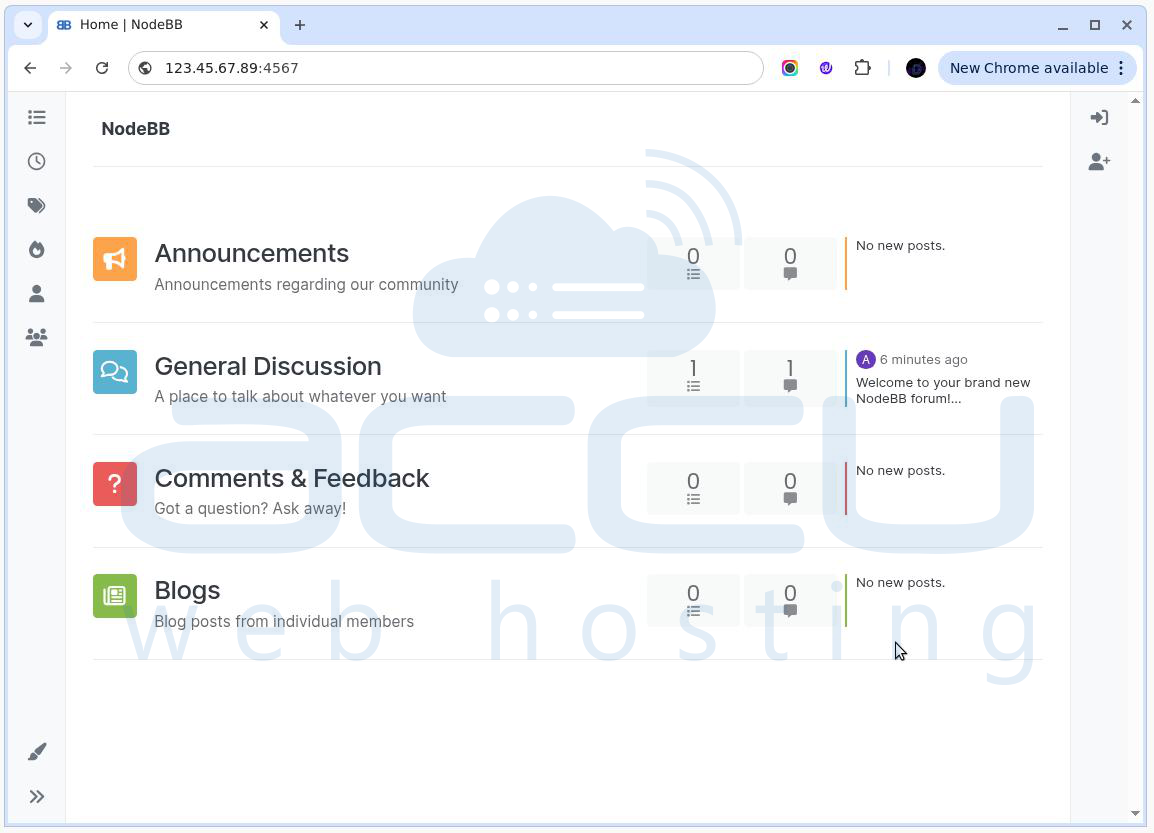
Test your forum at http://your-server-ip:4567.
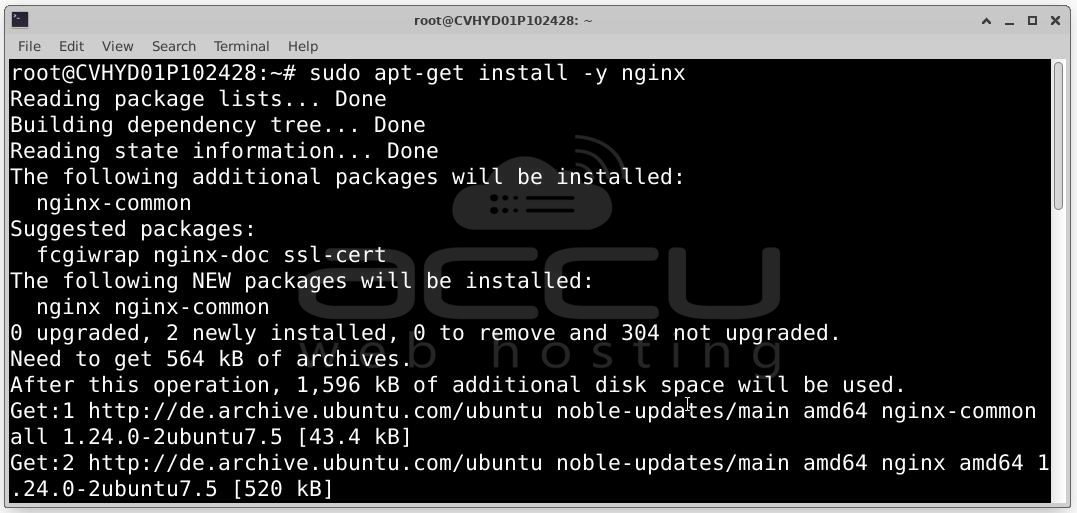
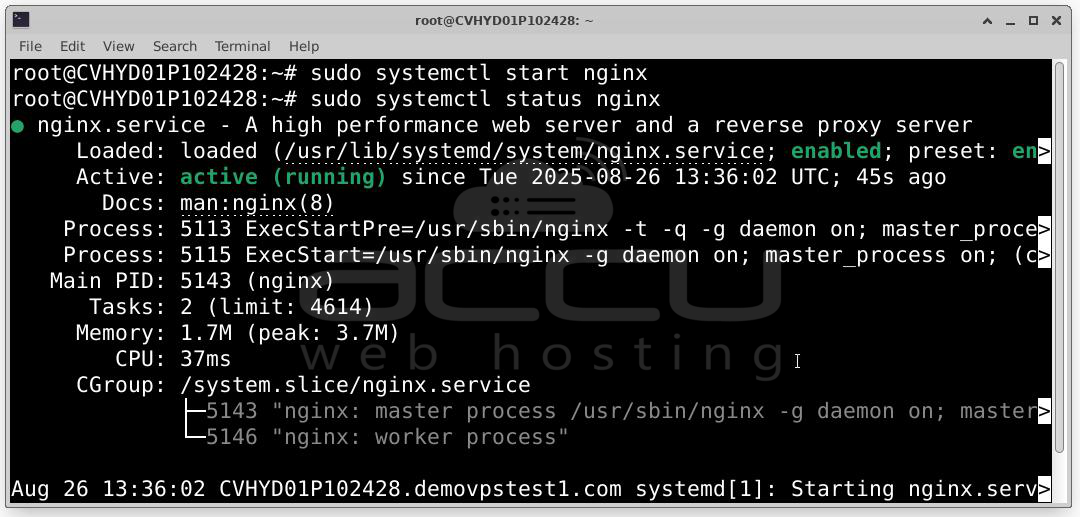
Step 6: Set Up Nginx as a Reverse Proxy. NodeBB listens on port 4567. Use Nginx to serve it on the standard HTTP port (80).
Install Nginx:
sudo systemctl status nginx
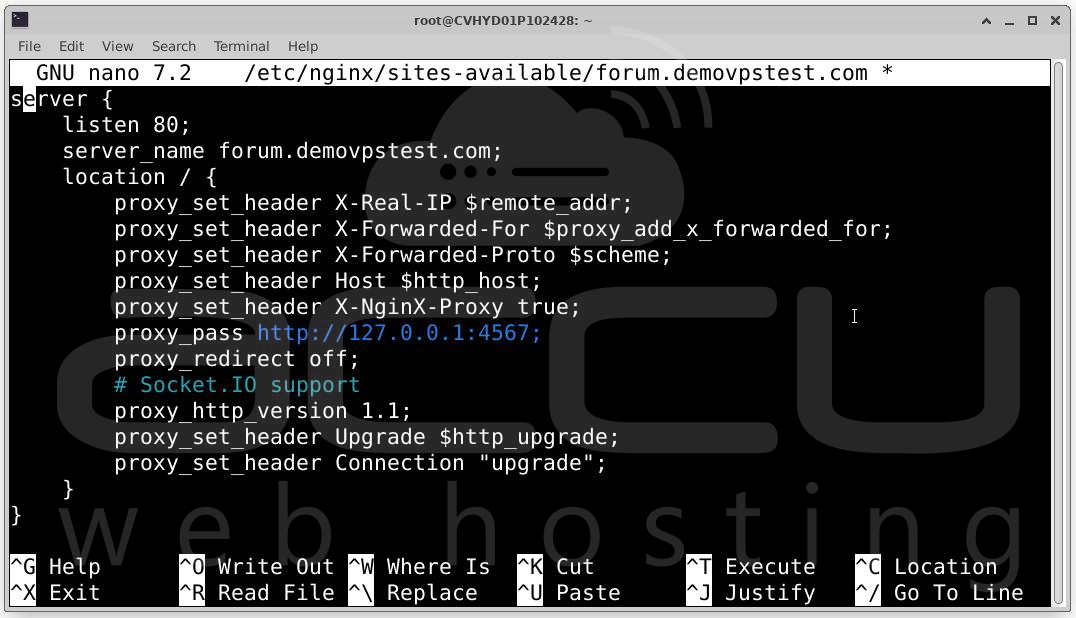
Create a new config file:
sudo nano /etc/nginx/sites-available/forum.example.com
Paste the following (replace domain name):
server {
listen 80;
server_name forum.example.com;
location / {
proxy_set_header X-Real-IP $remote_addr;
proxy_set_header X-Forwarded-For $proxy_add_x_forwarded_for;
proxy_set_header X-Forwarded-Proto $scheme;
proxy_set_header Host $http_host;
proxy_set_header X-NginX-Proxy true;
proxy_pass http://127.0.0.1:4567;
proxy_redirect off;
# Socket.IO support
proxy_http_version 1.1;
proxy_set_header Upgrade $http_upgrade;
proxy_set_header Connection "upgrade";
}
}
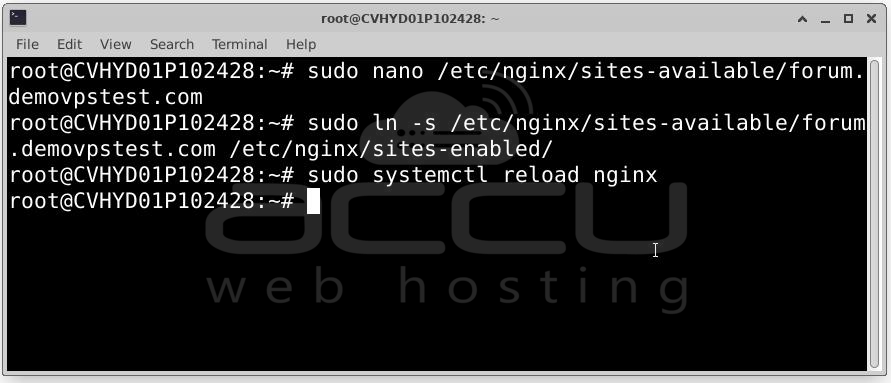
Enable the config and reload Nginx:
sudo systemctl reload nginx
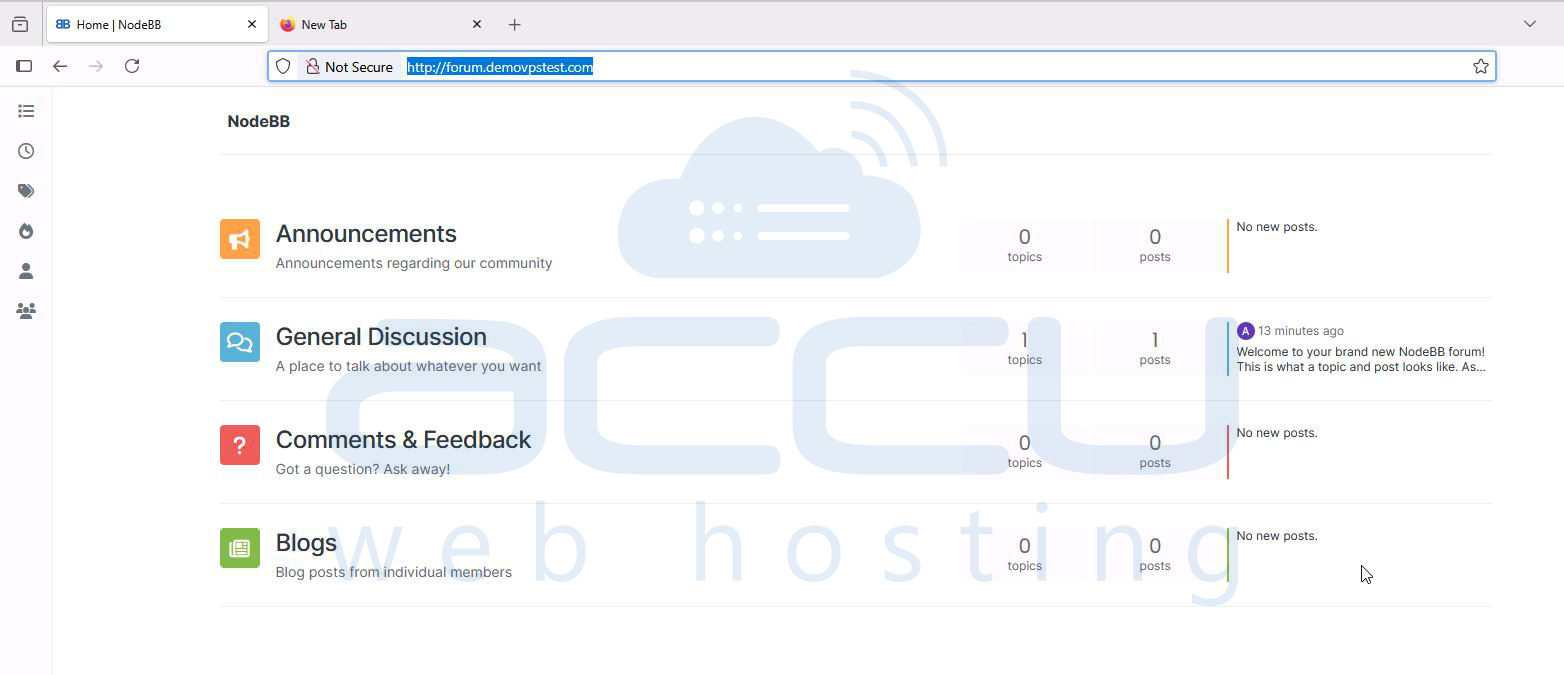
Step 7: You’re Done! Visit your forum at:http://forum.example.com. You can now log in with the administrator account you created and begin customizing your community.
Conclusion
Setting up NodeBB on Ubuntu 24.04 with MongoDB 8.0 gives you a robust and real-time forum platform for modern communities. Whether you're building a support portal, a developer community, or an internal team forum, NodeBB offers the flexibility and performance to handle it all.
By following this guide, you’ve installed the latest Node.js LTS and MongoDB, properly configured database users and access control, set up NodeBB with a working admin account, and Integrated Nginx as a reverse proxy for clean URLs. Now you’re ready to start customizing, adding plugins, and building your online community.
