CyberPanel is a modern web hosting control panel powered by OpenLiteSpeed or LiteSpeed Enterprise web servers. It provides a graphical interface and automation tools to simplify the process of managing websites, email, DNS, databases, SSL certificates, and more on a Linux server.
CyberPanel makes server management easy and intuitive, especially for developers, website owners, and system administrators. CyberPanel supports multiple domains, email servers, FTP, PHP configurations, Docker, and DNS with a user-friendly dashboard. In this article, we will guide you on how to install CyberPanel on a Linux VPS.
There are two versions of CyberPanel:
1. CyberPanel (Free) – Uses OpenLiteSpeed, completely free, supports unlimited domains.
2. CyberPanel Enterprise (Paid) – Uses LiteSpeed Enterprise, comes with a free license for one domain. Plans for multiple domains are available on their https://cyberpanel.net/litespeed-enterprise-get-started.
Supported Operating Systems (OS Compatibility)
CyberPanel officially supports the following Linux distributions with a fresh OS installation as last updated on its official website on June 5, 2024:
- Ubuntu: 18.04 LTS, 20.04 LTS, and 22.04 LTS
- AlmaLinux: 8.x and 9.x
- CloudLinux: 8.x
Unsupported OS: CentOS 7, CentOS Stream, Rocky Linux (officially), Debian, Fedora, Arch, Amazon Linux.
Minimum System Requirements
Before installing CyberPanel, ensure your server meets the following:
- CPU: 64-bit architecture (x86\_64)
- RAM: Minimum 1 GB (1024 MB), 2 GB recommended
- Disk Space: Minimum 10 GB (SSD preferred)
- OS: Fresh installation of a supported OS
- User: Must be logged in as root
CyberPanel Features:
- Create and manage websites with a few clicks and built-in SSL (Let's Encrypt) management.
- Email server setup with Postfix/Dovecot and DNS management via PowerDNS.
- FTP/SFTP account management, PHP version switcher, and configurations.
- Manage MySQL databases and One-click WordPress installation.
- Built-in support for Docker and GIT.
- Auto-backups and server monitoring tools.
How to Install CyberPanel on a Linux Server?
Follow these steps to install CyberPanel successfully on your Ubuntu or AlmaLinux server.
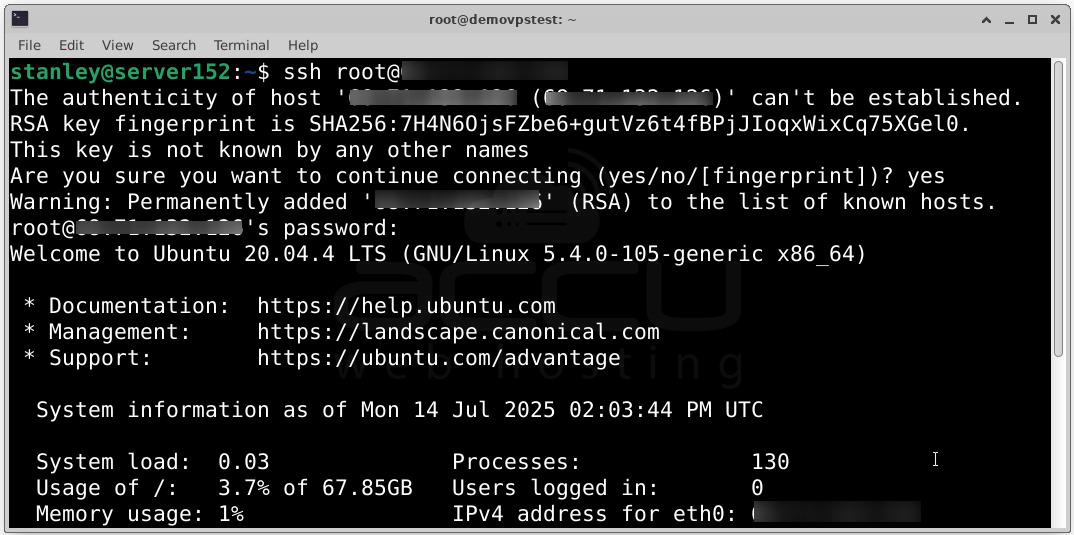
Step 1: Connect to Your Server via SSH. You can use an SSH client to access your Linux server as the root user:
ssh root@your_server_ip
> Note: `sudo` is not supported for installation. You must be the root user.
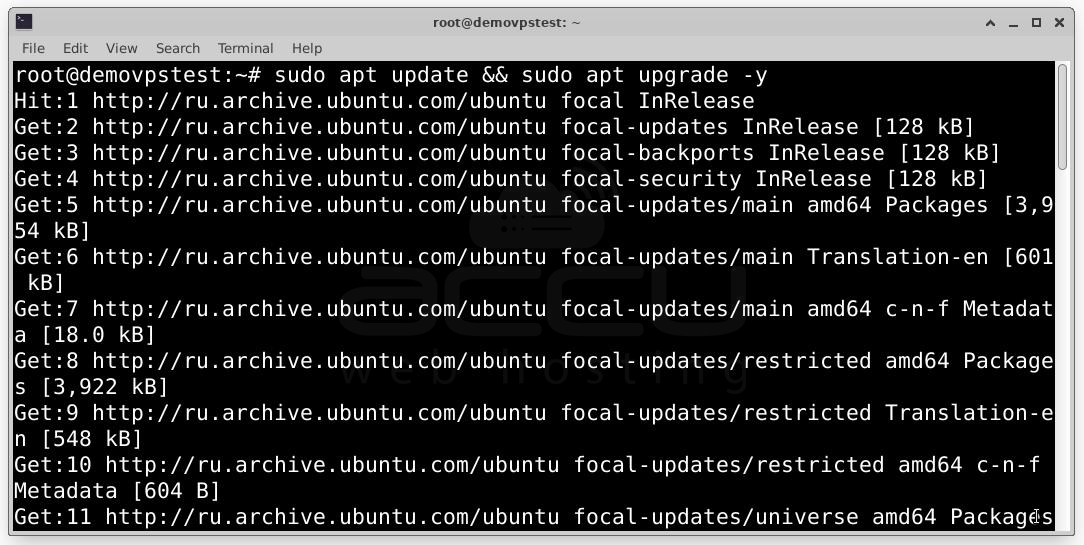
Step 2: Update your system packages. Keeping your packages up-to-date ensures smoother installation.
For Ubuntu: sudo apt update && sudo apt upgrade -y
For AlmaLinux / CloudLinux: sudo yum check-update
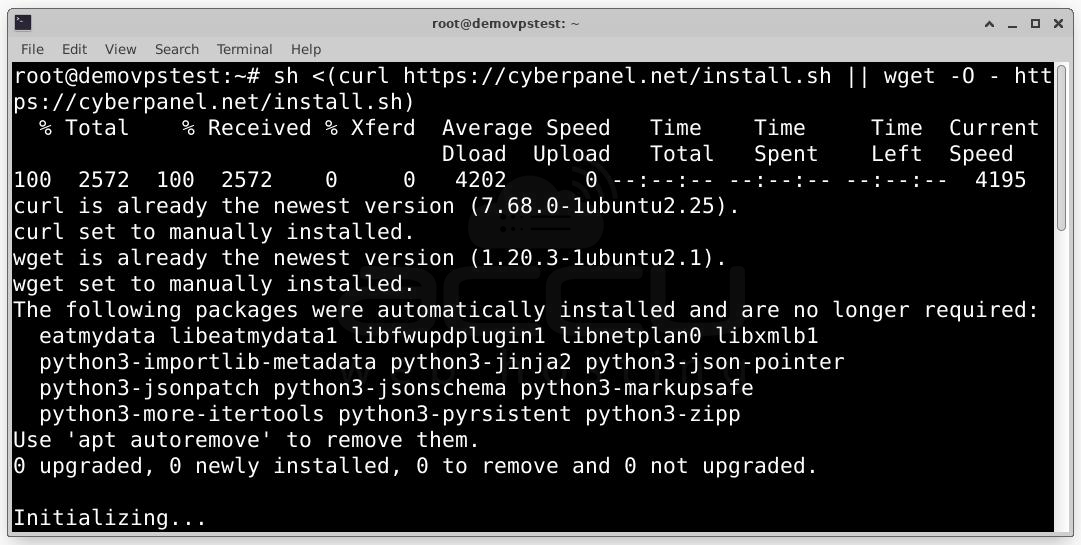
Step 3: Start CyberPanel Installation by running the official installation script:
sh <(curl https://cyberpanel.net/install.sh || wget -O - https://cyberpanel.net/install.sh)
If not logged in as root, use:
sudo su - -c "sh <(curl https://cyberpanel.net/install.sh || wget -O - https://cyberpanel.net/install.sh)"
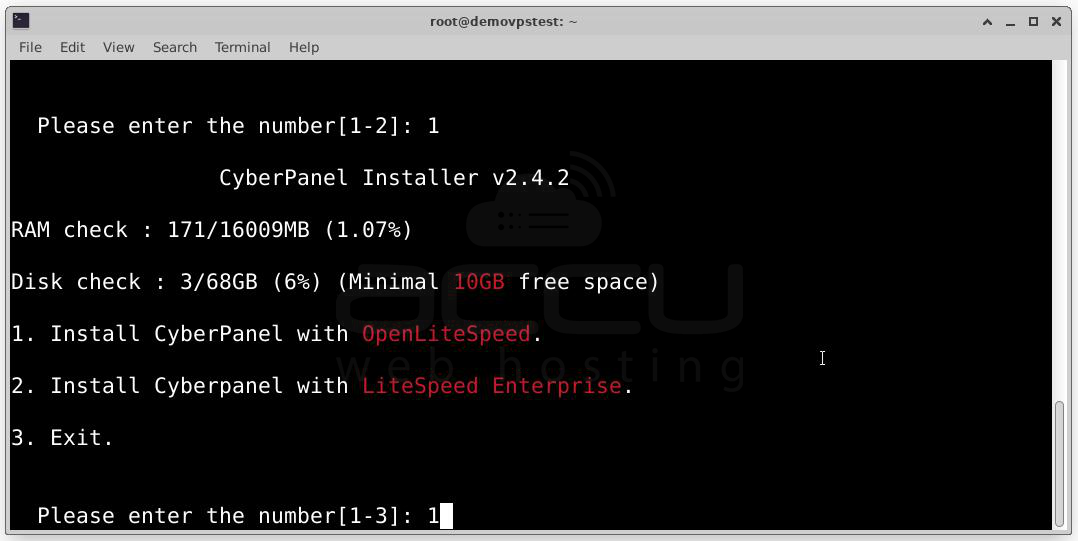
Step 4: Choose LiteSpeed Version. You will be prompted to select:
1. OpenLiteSpeed (Free) – Recommended for most users.
2. LiteSpeed Enterprise (Paid) – Requires a license or trial serial number.
If choosing Enterprise, input your license key or type `TRIAL` to start a free trial (if eligible).
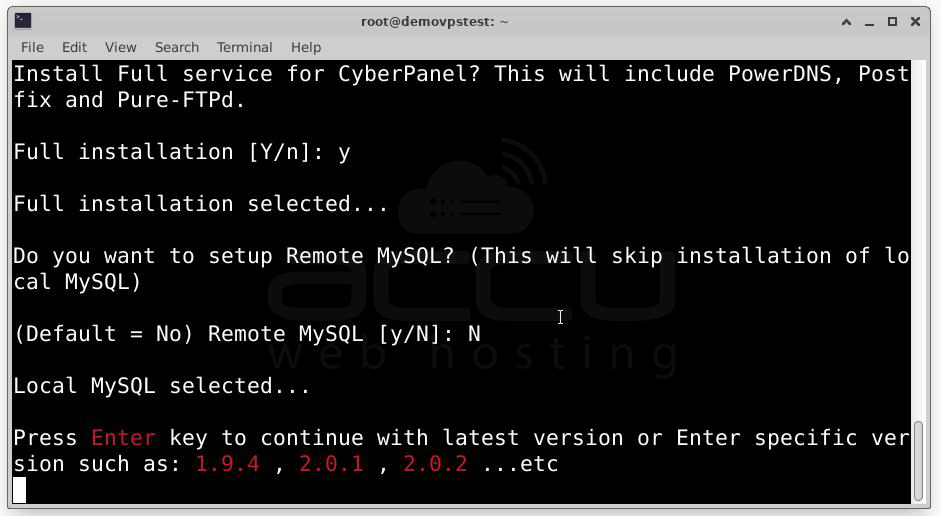
Step 5: Choose Services and Packages. You will be prompted to install various optional packages. The recommended setup is:
Full Service (Y): Includes DNS, Mail, and FTP.
Remote MySQL (N): Local MySQL unless using a separate DB server.
CyberPanel Version: Press Enter to install the latest version.
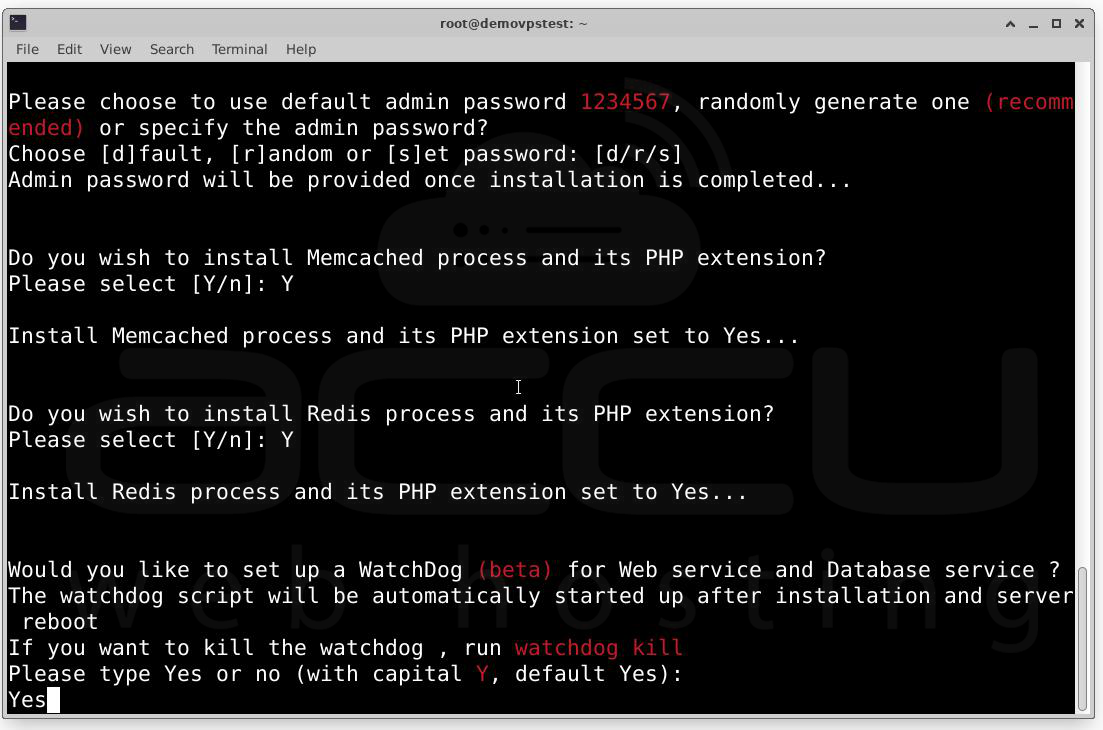
Password: Set a custom admin password (don’t use the default).
Memcached (Y): Recommended.
Redis (Y): Recommended.
Watchdog (Y): Enables system health monitoring.
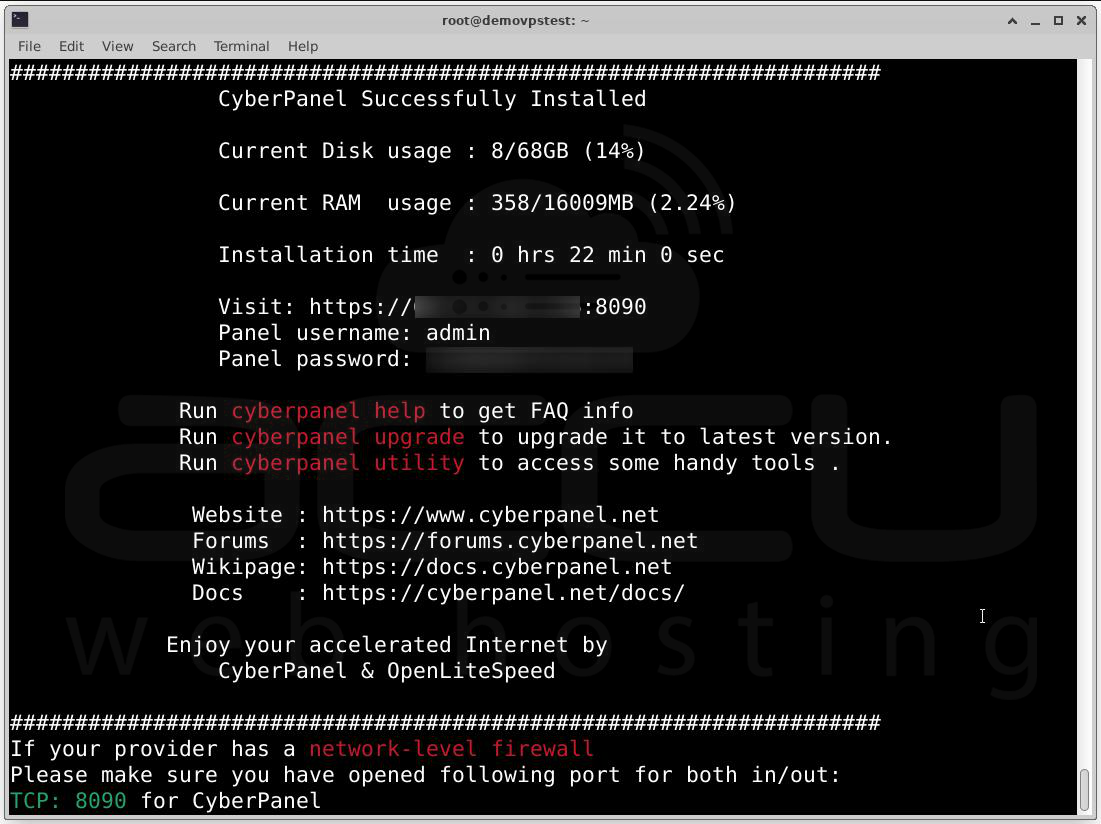
Step 6: Once the above step is completed, wait for the Installation. Installation usually takes 5–10 minutes. You’ll see progress logs on your screen. Once finished, you’ll be shown the Admin panel URL, Admin username and password, Port numbers, and LiteSpeed version. Copy and save this information securely.
Accessing CyberPanel Dashboard
Once installed, you can access the CyberPanel dashboard from your browser.
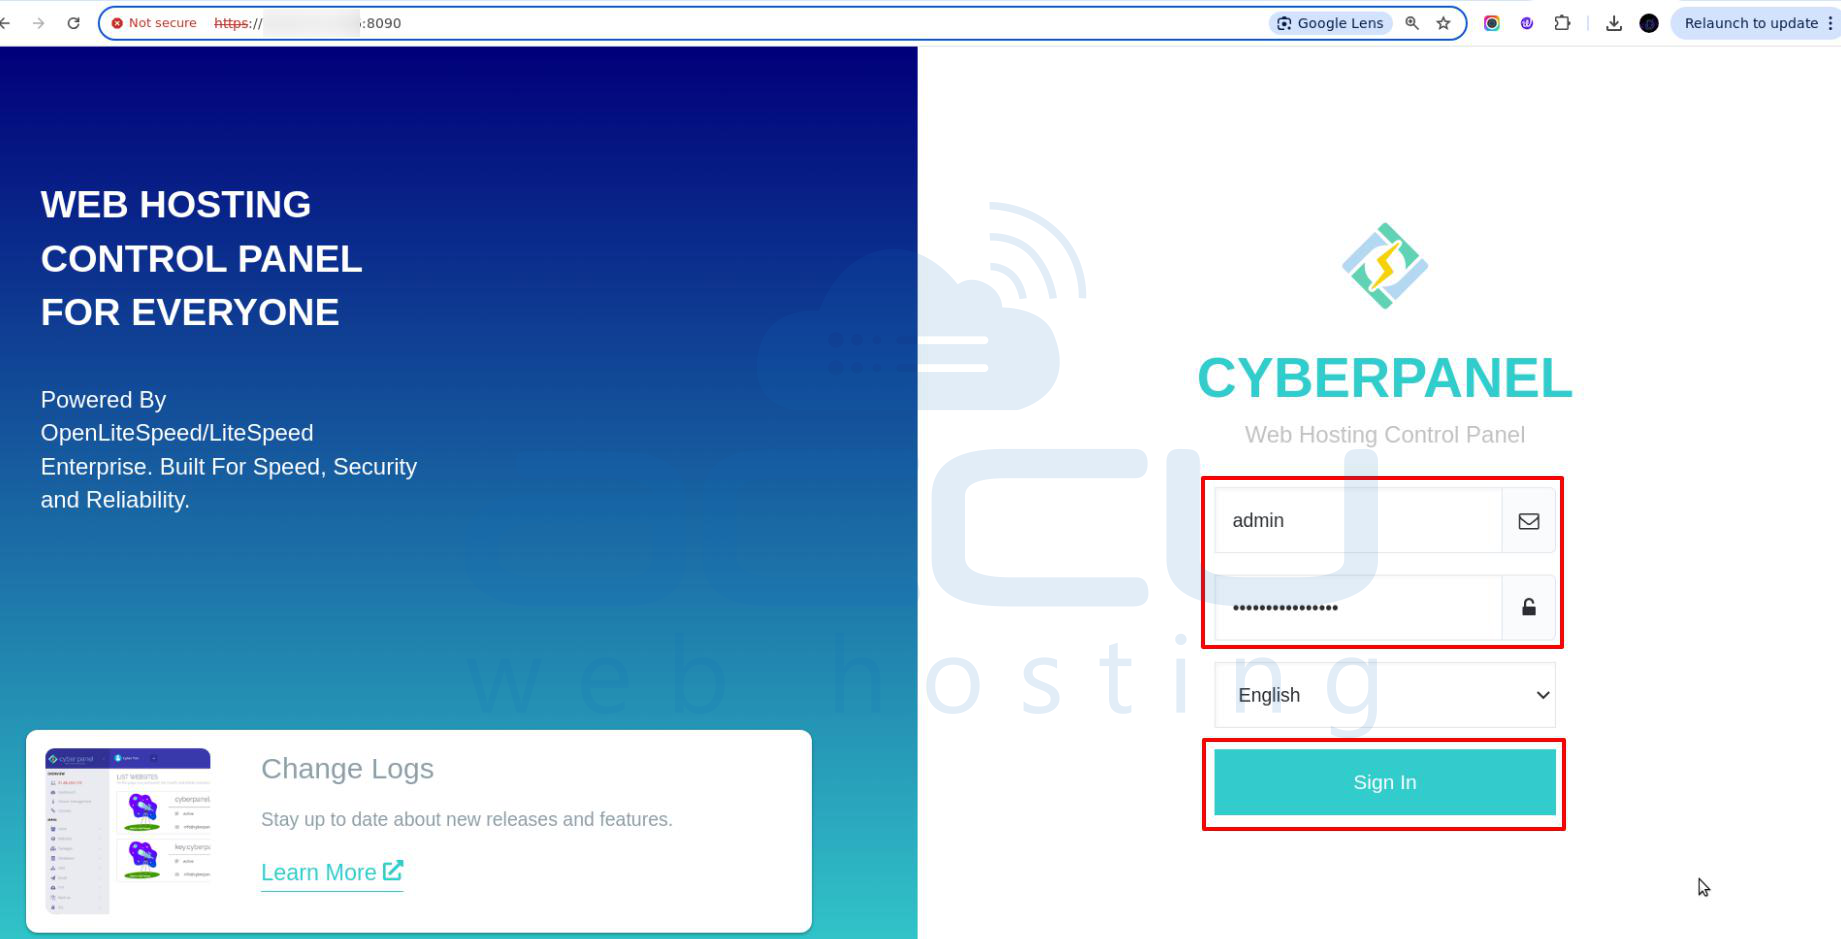
Step 1: Open CyberPanel in a Browser. http://your_server_ip:8090. Replace `your_server_ip` with your actual server IP or domain name.
Step 2: Log in to the control panel using the username and password. Use Username: `admin` and Password: The one you set during installation, and click on the Sign In button.
You will be redirected to the CyberPanel admin Dashboard.
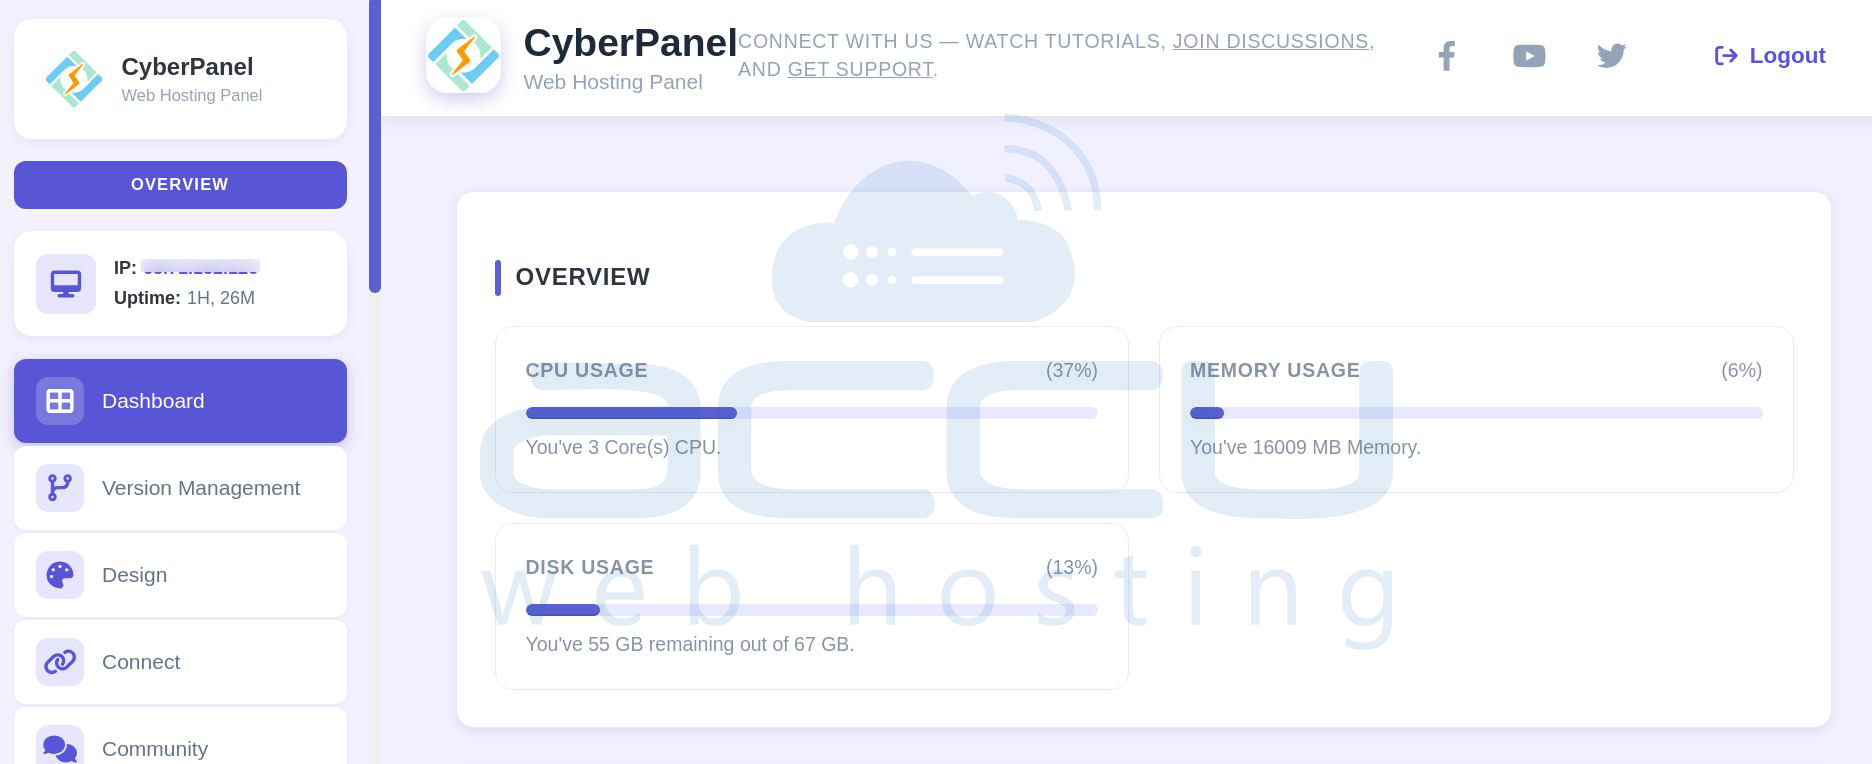
Congratulation! You have successfully installed CyberPanel on a VPS.
Conclusion
CyberPanel offers an all-in-one solution for Linux server management using LiteSpeed technology. With a few terminal commands, you can install a powerful, intuitive hosting panel capable of hosting unlimited websites (OpenLiteSpeed), managing emails and databases, and setting up SSL, FTP, DNS, and more.
