Running a WordPress website means you're always making improvements, whether updating plugins, refreshing the design, or adding new content. Visual regression testing can be a huge help in ensuring everything looks the way you want after making the changes. It’s an easy and effective way to keep your site polished and professional.
In this guide, I’ll show you how to perform visual regression testing on your WordPress site. No coding is needed—just a simple, reliable method to keep things running smoothly.
What is Visual Regression Testing?
Visual regression testing is a process that checks for unexpected changes in the visual appearance of your WordPress site. It works by capturing screenshots of your website before and after updates, like plugin changes, theme tweaks, or content edits, and comparing them to highlight any visual differences.
This type of testing focuses purely on what visitors see: layout, spacing, colors, fonts, images, and overall design. It helps ensure that everything looks exactly as it should after making changes.
Why is Visual Regression Testing Important?
Even small updates can sometimes cause parts of your site to break visually—a shifted button, misaligned text, or a missing image. These issues might not cause errors, but they can hurt the user experience and your brand’s credibility.
Visual regression testing helps you:
- Catch visual bugs early before your users see them
- Save time by avoiding manual page-by-page checks
- Maintain a consistent, professional appearance
- Avoid losing trust or sales due to broken layouts
It’s especially valuable for agencies running updates across multiple WordPress sites, freelancers managing client websites, and online store owners who want to ensure that product and checkout pages stay intact after updates.
How Do Visual Regression Tests Work?
The VTRs plugin takes screenshots of the pages you choose. You can run tests manually or set them to run automatically after things like plugin updates or theme changes.
It then compares the “before” and “after” screenshots side by side and highlights anything that looks different.
This saves you from checking each page manually—you’ll get a quick visual report showing what changed and if anything looks wrong.
Steps to Do Visual Testing in WordPress
Here, we will use the VRTs plugin, which automatically monitors your site for visual changes and notifies you of alerts.
VRTs conduct automatic daily tests on selected pages and posts, creating daily comparison screenshots that are compared with a reference snapshot.
1. Log in to your WordPress dashboard.
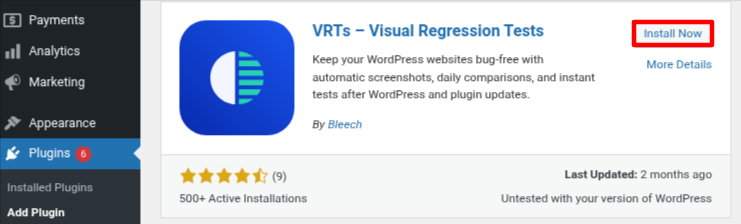
2. Go to the Plugins > Add Plugin.
3. Search for the VRTs plugin in the search bar.
4. Click on Install Now and activate it.
In the free version, you can test up to 3 pages on one domain.
Paid plans let you test more pages, run manual tests, and automatically perform visual regression tests after WordPress core, plugin, and theme updates.
5. Go to VRTs > Settings in your WordPress dashboard.
6. Scroll down to the Triggers section to select when the plugin should automatically take and compare screenshots.
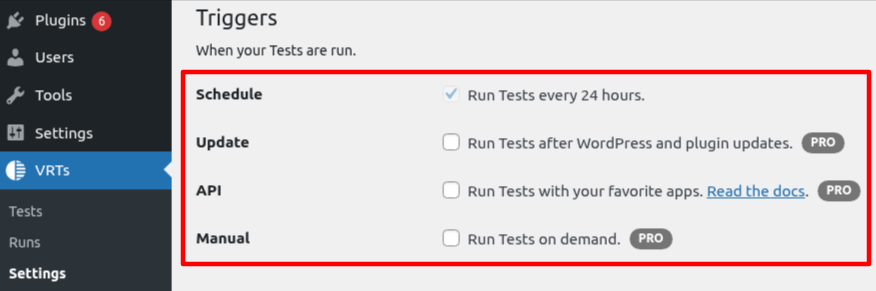
Here are the options you get:
- Run tests every 24 hours (Free) – VRTs checks your selected pages once a day for visual changes.
- Run tests after WordPress or plugin updates (Pro) – Helps catch layout issues right after an update.
- Run tests with other apps (Pro) – Use webhooks to connect VRTs with your favorite tools or workflows.
- Run tests manually (Pro) – Start a test anytime directly from your dashboard.
7. After choosing the trigger that works best for you, click Save Changes at the bottom.
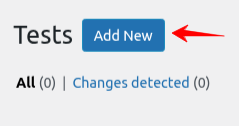
8. Next, choose the Test tab.
9. Click on the Add New button and choose your posts or pages to test.
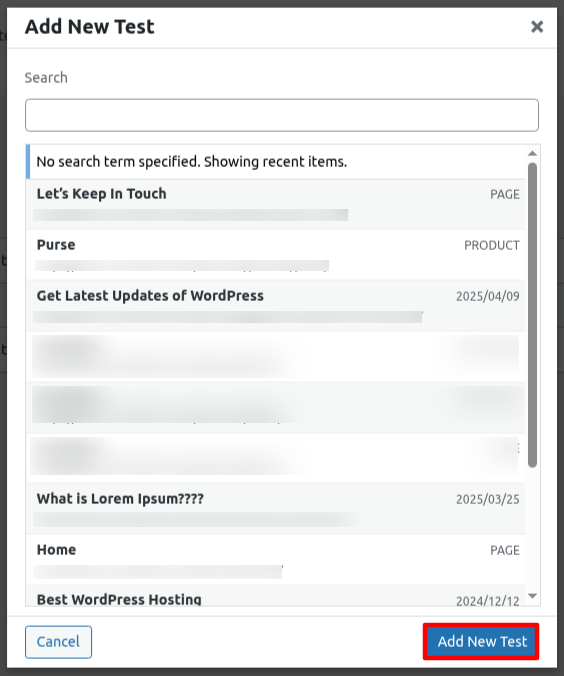
10. In the pop-up that appears, select the pages or posts for visual regression testing.
11. Then, click ‘Add New Test’ to confirm your choices.
The VRTs plugin will take a first snapshot of each page you select. This snapshot is your starting point — a “before” version of how the page looks right now.
12. Once you’ve set up your test, you’ll be asked to refresh the page to load the snapshot.

After that, you’ll see a link to the snapshot of the page or post you added.
The ‘Test Status’ will show as Scheduled for the next day. This is because the free version of VRTs runs tests every 24 hours.

13. Click the ‘View Snapshot’ link to see the screenshot of your page.
It will open in a new tab so you can take a look.
Now you can go ahead and make any changes to your site. Just come back the next day to review the comparison and check for any visual changes.
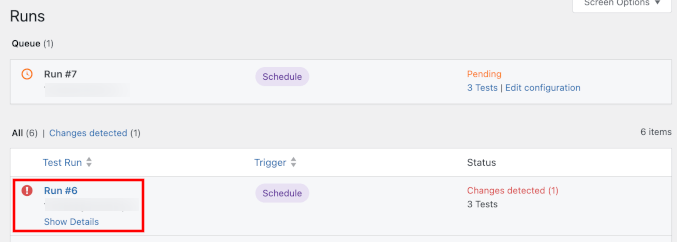
14. After a test runs and visual changes are found, you’ll get a notification in the VRTs > Runs tab.
15. Go to the Runs tab and hover over the test that shows changes. When the ‘Show Details’ link appears, click it.
You’ll then see a side-by-side view of your page, showing both the old and new versions.
The plugin highlights the changes so you can easily spot:
- Layout shifts or misaligned elements – Like buttons or text moving after an update.
- Missing or broken elements – For example, an image, form, or CTA button that disappears.
- Unexpected content changes – Such as changes in text, images, or links that shouldn’t be there.
You can also use the drag handle in the middle to slide between the two versions and clearly see what changed.
After running a test, if you notice only small visual changes, you can fix them right away by editing the page, like adjusting the layout, moving elements, or adding back anything that’s missing.
For bigger or more complex issues, it’s best to revert to a previous version using your site’s backup or version history. This way, you can quickly restore everything and keep your website looking just the way it should.
Types of Visual Regression Testing
1. Manual Visual Testing
You can do visual testing by manually checking each page yourself. This means designers or developers scan the site for changes one by one. It takes a lot of time and can be easy to miss things. With premium plan, VTRs plugin run manual test on demand.
2. Pixel-by-Pixel Comparison
This method compares screenshots before and after a change, pixel by pixel. It can catch all kinds of changes, even tiny ones. But it might also show differences that don’t really matter, like small spacing or font rendering issues.
3. DOM-Based Comparison
This method checks the code structure (DOM) of your page before and after changes. It highlights differences in the HTML, but not what users actually see. Sometimes it gives false results, so you may still need someone to double-check.
4. Visual AI Comparison
Visual AI testing is the smartest method. It looks at your site like a human would, focusing only on real visual differences that matter. It helps avoid false alerts and reduces human error, making it faster and more reliable.
Other Tools For Visual Regression Testing
|
Tool |
Use Cases |
Price (Starting) |
|
Percy |
Percy captures DOM snapshots, has smart comparison filters, and integrates with CI/CD pipelines. |
Free for personal use; Paid from $199/month |
|
BackstopJS |
Offers visual regression testing by taking screenshots at various screen sizes and comparing screenshots at the pixel level. |
Free (open-source) |
|
Wraith |
Developers need fast visual feedback using headless browsers. Supports full-page or CSS-targeted tests. |
Free (open-source) |
|
Screenster |
Enterprise-grade testing with advanced UI workflows |
Free |
