Well, search engines only de-index your site's content when they find any spam or guideline issues. But for a webmaster, it is unavoidable to deal with outdated content like event listings, limited-time promotions, or seasonal information.
These pages were useful when they were active, but as soon as the promotion or event ends, they are of no use except that they can provide past records.
Not a single website owner wants the problem outdated pages create, like low freshness signals, confuse visitors, and potentially damage UX.
SEO is not only about indexing your content but also de-indexing those pages from the Google search index. As it ensures your visitors find relevant & fresh content.
Why De-Index Time-Sensitive Content?
Before going into the methods, let's understand why this matters:
- Improved search experience: Users find current, relevant content rather than expired information.
- Better SEO performance: Your site's "freshness" signals improve when the index focuses on current content.
- Reduced crawl budget waste: Google spends time crawling your valuable pages instead of outdated ones.
- Maintain historical records: You can keep past content for reference without messing with search results.
How to Identify Zombie Content?
After differentiating dead content, we can get an idea of which method to use and take action:
1. Conduct a Content Audit
Start by assigning a category to your content into these groups:
- Time-sensitive content: Events, promotions, seasonal campaigns, limited-time offers.
- Outdated information: Old product specifications, deprecated features, obsolete services.
- Redundant content: Multiple pages covering the same topic without unique value.
- Low-quality pages: Thin content that provides little value to users.
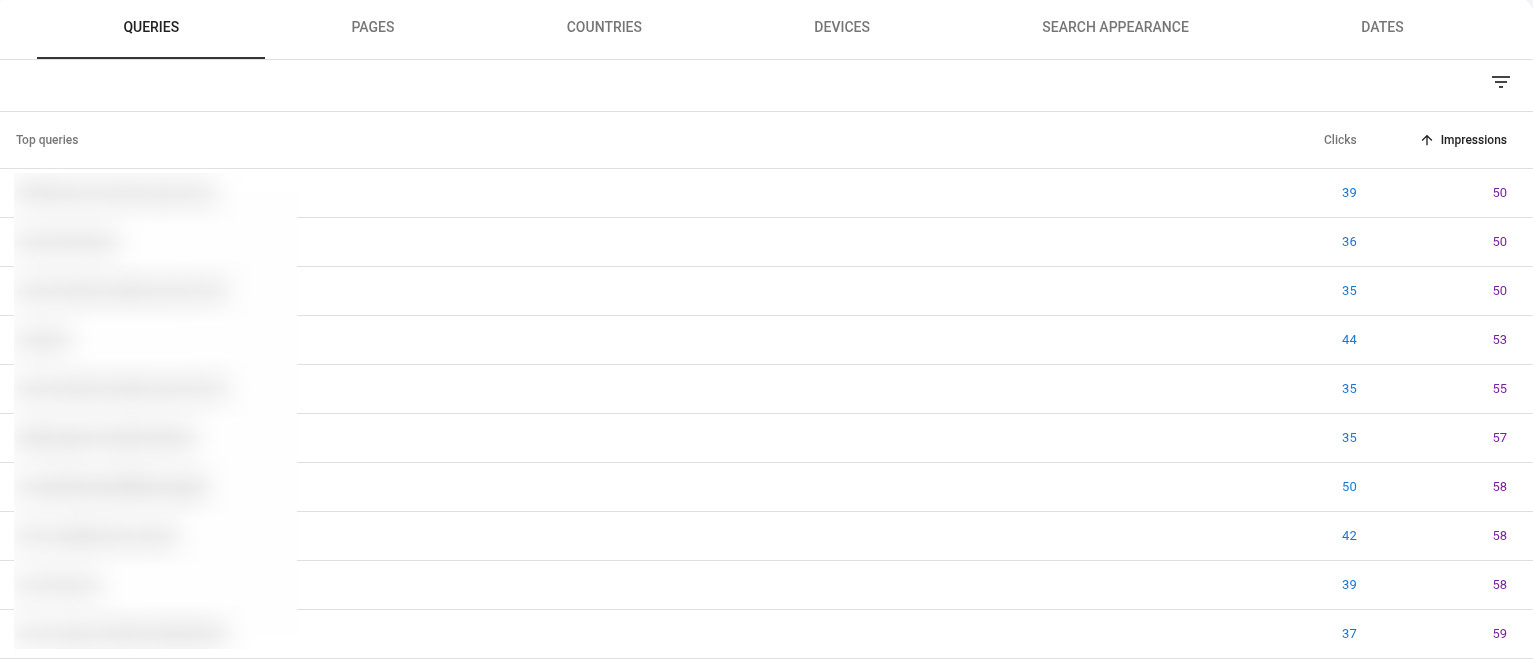
2. Review Search Analytics Data
Use Google Search Console to identify problematic content:
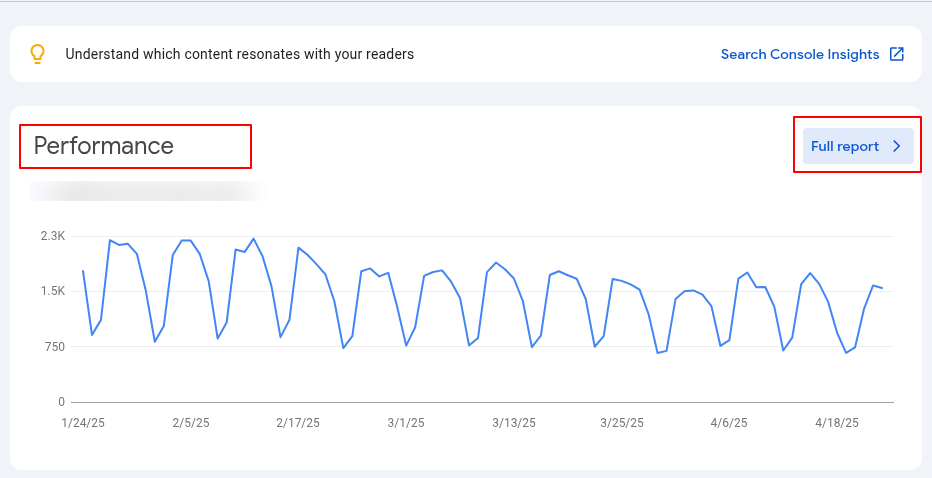
Go to the "Performance" report in Google Search Console
Sort pages by impressions (low to high) or click-through rate.
Look for pages with:
High impressions but low clicks (may indicate irrelevant or outdated content)
Seasonal patterns in traffic that no longer apply
Keywords that include terms like "2022," "last year," etc.
3. Check for Types of Outdated Content
- Closed job listings: Positions that have been filled
- Past events: Conferences, webinars, or meetups that have already occurred
- Former employee pages: Staff profiles for people who have left the organization
- Outdated statistics or research: Data that has been superseded by newer information
- Pages with obsolete information: Content about laws/regulations that have changed
4. Set Up Automated Detection Systems
- For larger websites, implement automated systems to flag potentially outdated content:
- Set up alerts for content containing specific date references
- Implement database queries that identify content past its expiration date
5. Review User Feedback and Analytics
Look for signals that users are encountering outdated content:
- Pages with high bounce rates
- Negative user feedback or comments
- Customer service inquiries about outdated information
- Pages with declining engagement over time
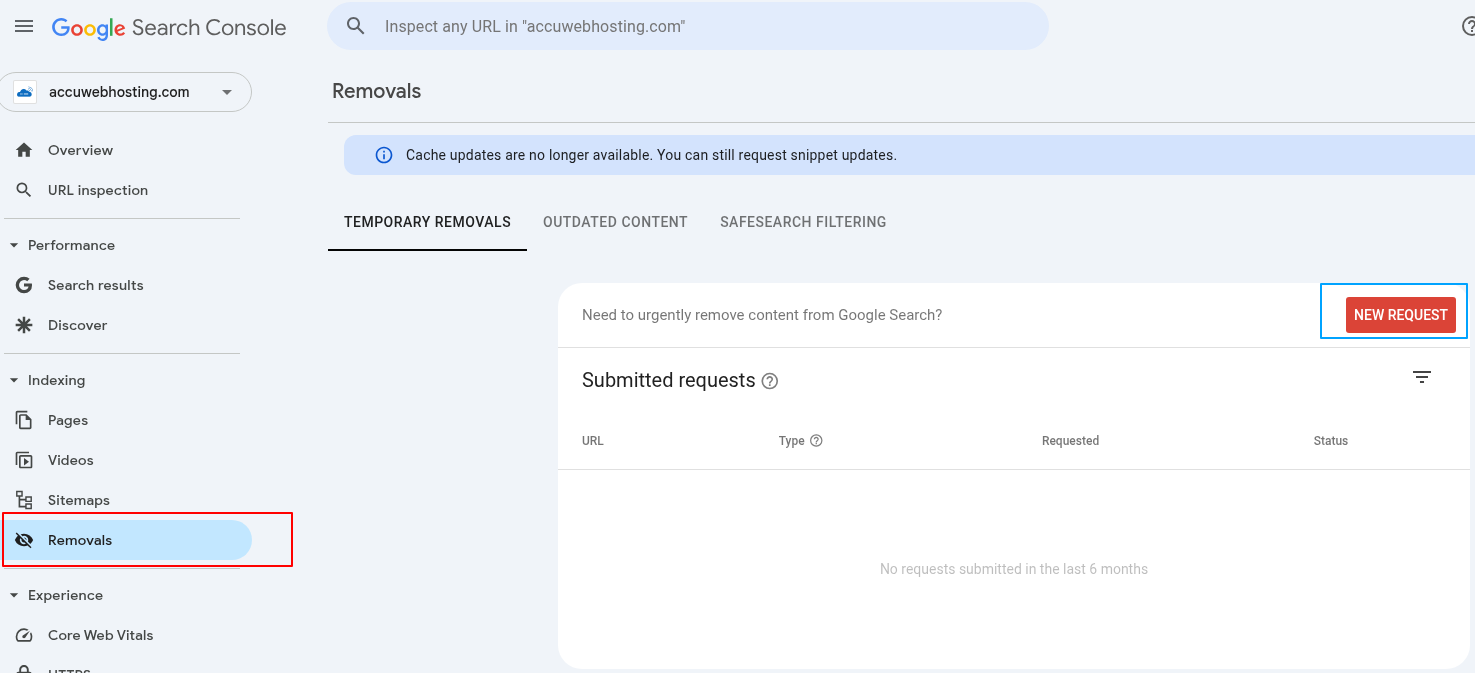
Method 1: Manual De-Indexing Through Google Search Console
For individual pages or small batches of content:
1. Log in to your Google Search Console account
2. Select the property containing the URLs you want to remove
3. In the left menu, click "Indexing" then "Removals"
4. Click the red "New Request" button
5. Enter the full URL you want to temporarily remove.
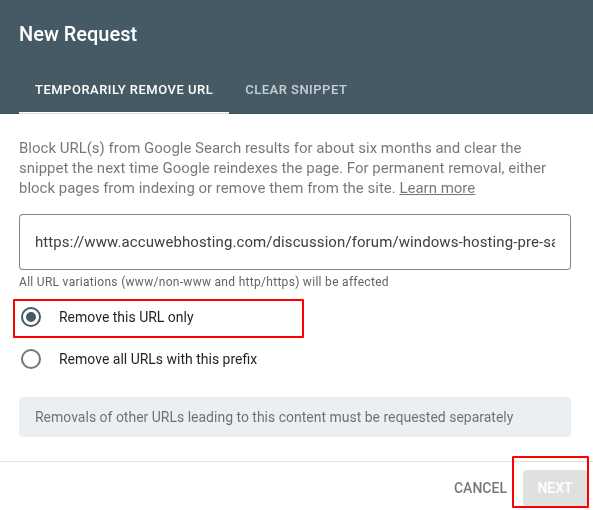
6. Choose "Temporarily remove URL" - this will remove the URL and clear the cached copy
7. Click "Next," then "Submit Request."
Important notes:
- This removal is temporary (lasts 6 months)
- You must implement a permanent solution during this period
- Check the status in the "Submitted requests" section
Method 2: Automated De-Indexing Using Google Tag Manager
For websites with many time-sensitive pages (like event listings), this automated approach is far more efficient:
1. Set up a variable in Google Tag Manager to capture the event date from the page
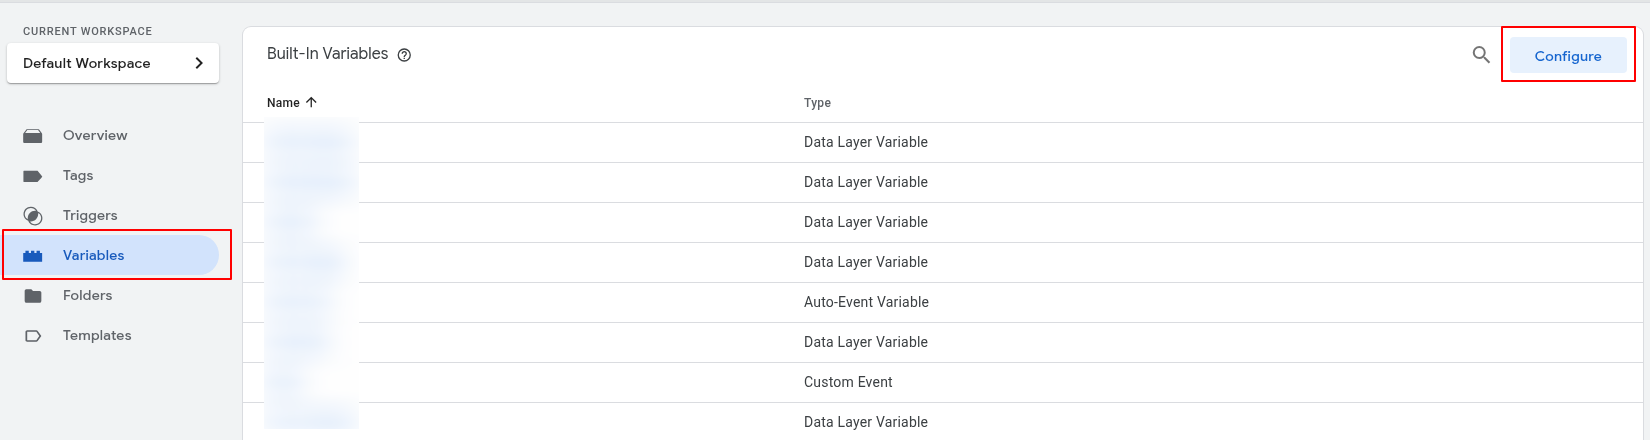
- Create a variable that pulls the date using a CSS selector targeting the element with the date information

- Example: Create a variable called "Event Date" that captures the datetime attribute from the relevant div.
- The initial step was to capture the event date and time from every page. This was achieved by retrieving the datetime attribute of the specific div on the page – to accomplish this, we created a variable that retrieved the DOM element using a CSS selector as below:

2. Create a trigger that detects when an event page is being viewed.
- Set conditions based on URL patterns that identify your event pages
3. Create a custom HTML tag with the following code (adjust as needed):
The trigger fires the HTML tag:
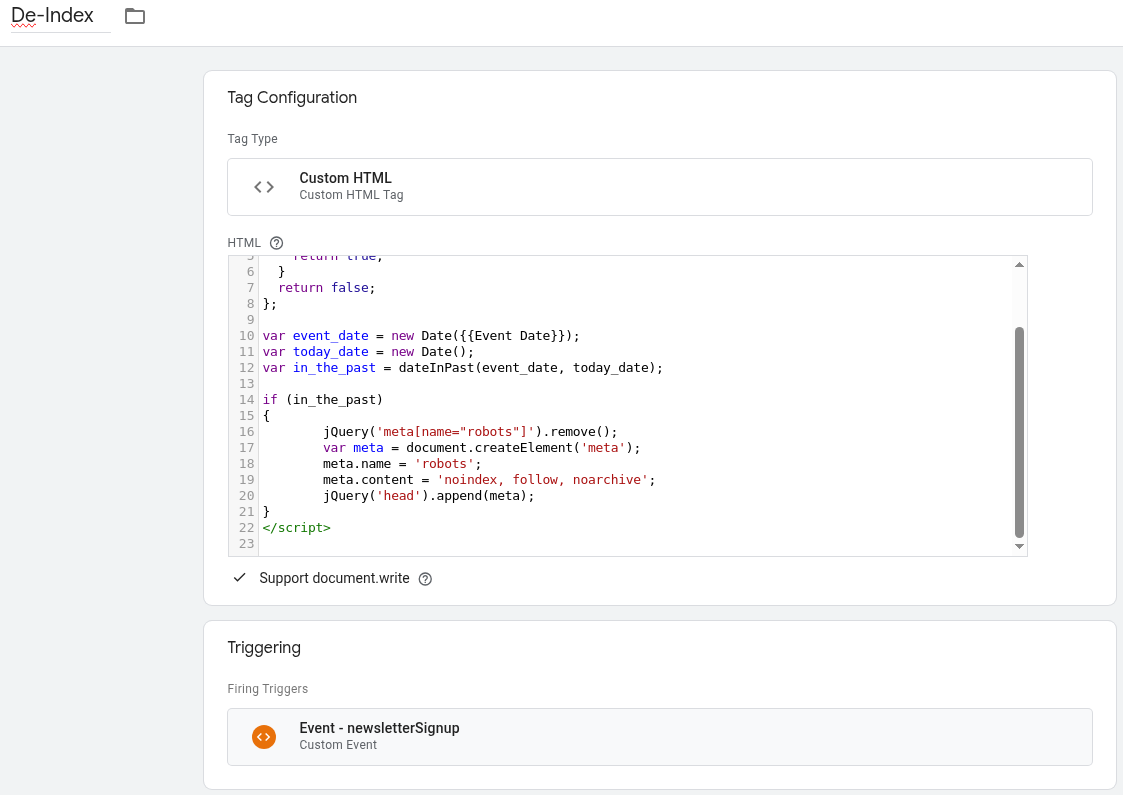
<script>
var dateInPast = function(firstDate, secondDate)
{
if (firstDate.setHours(0, 0, 0, 0) <= secondDate.setHours(0, 0, 0, 0)) {
return true;
}
return false;
};
var event_date = new Date({{Event Date}});
var today_date = new Date();
var in_the_past = dateInPast(event_date, today_date);
if (in_the_past)
{
jQuery('meta[name="robots"]').remove();
var meta = document.createElement('meta');
meta.name = 'robots';
meta.content = 'noindex, follow, noarchive';
jQuery('head').append(meta);
}
</script>
4. If your site doesn't support jQuery, use the code below to add the robots.txt tag:
var metatag = document.createElement('meta');
metatag.setAttribute('name', 'robots');
metatag.content = 'noindex,follow';
document.getElementsByTagName('head')[0].appendChild(metatag);
This setup automatically adds a noindex tag to event pages once their date has passed, preventing Google from indexing outdated content without requiring manual intervention.
Method 3: Using Meta Robots Tags
For permanent de-indexing of specific pages:
1. Add the following meta tag to the <head> section of any page you want to de-index:
<meta name="robots" content="noindex, follow">
2. Ensure your robots.txt file does not block these pages (important!)
- Google must be able to crawl the page to see the "noindex" tag.
- Remove any "Disallow" directives for these pages in your robots.txt
3. Verify Google has processed your noindex tag by:
- Using Google Search Console's URL Inspection tool
- Checking if the page still appears in search results after a few weeks
Method 4: Server-Side Implementation for Dynamic Content
For sites with database-driven time-sensitive content:
1. Modify your server-side code to automatically add noindex tags based on date conditions:
<?php
// Example PHP implementation
$event_date = new DateTime('2023-12-31'); // Get from your database
$today = new DateTime();
if ($event_date < $today) {
echo '<meta name="robots" content="noindex, follow">';
}
?>
2. Implement this logic in your template files or CMS (content management system)
3. Test thoroughly to ensure the correct pages receive noindex tags
Method 5: Using the X-Robots-Tag HTTP Header
For non-HTML content or server-level implementation:
1. Add the following to your .htaccess file (Apache) for specific content types or directories:
<FilesMatch "\.(pdf|doc|xls)$">
Header set X-Robots-Tag "noindex, follow"
</FilesMatch>
2. For Nginx servers, add to your server configuration:
location ~* \.(pdf|doc|xls)$ {
add_header X-Robots-Tag "noindex, follow";
}
3. For specific directories containing time-sensitive content:
<Directory "/var/www/html/events/past">
Header set X-Robots-Tag "noindex, follow"
</Directory>
Avoiding Common Mistakes
1. Don't rely solely on robots.txt: A common misconception is that adding "Disallow" in robots.txt prevents indexing. It only blocks crawling, not indexing.
2. Don't block Google from crawling pages with noindex tags: Google must be able to crawl the page to find other sub-pages that contain the URL that you want to remove from Google.
3. Don't use canonical tags for this purpose: Canonical tags suggest alternative versions but don't prevent indexing. Google sometimes ignores the canonical tags and still indexes canonicalized pages.
4. Check your implementation: Use Google Search Console's URL Inspection tool to verify Google has checked your noindex directives.
Monitoring and Maintenance
1. Regular audits: Use Google Search Console to identify indexed pages that should be de-indexed
- Check the "Pages" report for pages that shouldn't be indexed
- Look for outdated URLs still appearing in search results
2. Track removal requests: Monitor the status of your removal requests in Google Search Console
3. Set up alerts: Create automated alerts for when time-sensitive content expires.
4. Documentation: Keep records of your de-indexing strategy and implementation
Bonus: Implementing an "Expiry Date" System for Content
This is a unique approach for de-indexing:
1. Add an "expiry date" field to your content management system for time-sensitive pages.
2. Create an automated script that runs weekly to check for expired content.
3. Implement one of these options when the content expires:
- Automatically add noindex tags
- Redirect to newer, relevant content
- Add a prominent "Archived" banner
- Move to an archive section with proper canonical tags
Here's a sample implementation using JavaScript and a custom data attribute:
<article data-expires="2023-12-31">
<!-- Your content here -->
</article>
<script>
document.addEventListener('DOMContentLoaded', function() {
const expirableContent = document.querySelectorAll('[data-expires]');
const today = new Date();
expirableContent.forEach(element => {
const expiryDate = new Date(element.dataset.expires);
if (today > expiryDate) {
// Add visual indicator
element.classList.add('archived-content');
// Add noindex if this is a single page
if (document.querySelector('body').classList.contains('single-page')) {
const meta = document.createElement('meta');
meta.name = 'robots';
meta.content = 'noindex, follow';
document.head.appendChild(meta);
}
}
});
});
</script>
Managing the indexing of time-sensitive or outdated content is necessary for maintaining a healthy website that provides value to both users and search engines.
