PyTorch is a free Machine Learning python framework based on the Torch library. It is widely used for research to develop new deep learning techniques and applications. Installing PyTorch on the Ubuntu VPS server provides boundless opportunities to conduct machine learning development without spending money locally on hardware resources. Your Ubuntu VPS will then become an environment dedicated to model training, algorithmic tests, and deployments of machine learning applications.
Whether you are a researcher, developer, or data scientist, having appropriate PyTorch set up on your Ubuntu VPS server guarantees the dependencies you need to pursue your AI developments.
Prerequisites
Before installing PyTorch on your Ubuntu VPS, ensure your system has all these:
- Ubuntu VPS with at least 1 GB RAM (more suitable for training models)
- Python 3.6 or newer (PyTorch's latest versions require Python 3.9+)
- At least 2 GB of free disk space
- Optional: NVIDIA GPU with CUDA support for faster processing
What are we going to cover in this article?
Method 1: Installing PyTorch with Pip (CPU-only) [ Recommended ]
Method 2: Installing PyTorch with Anaconda
Method 3: Installing PyTorch with Pip (GPU Support)
How to Uninstall Pytorch from Ubuntu?
Method 1: Installing PyTorch with Pip (CPU-only)
This method is suitable for Ubuntu VPS servers without GPUs or when you're just starting with PyTorch.
Step 1.1: Update System Packages
First, ensure your Ubuntu VPS is up to date:
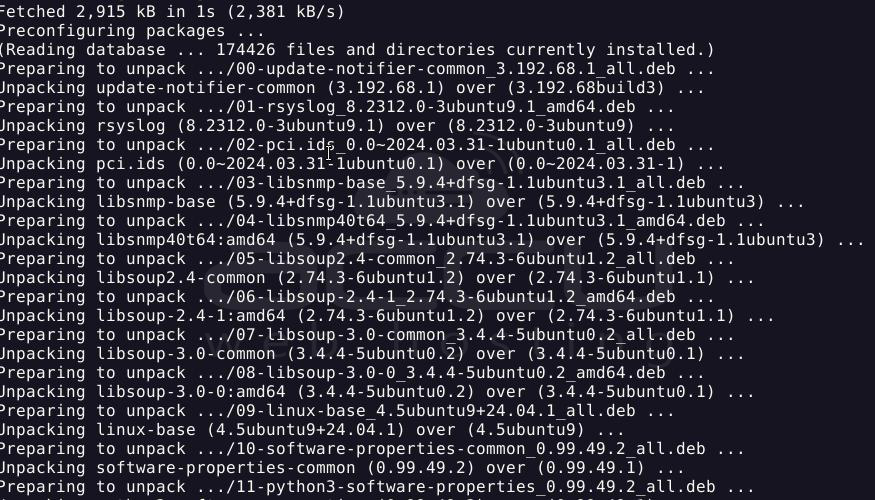
sudo apt update
sudo apt upgrade -y
Step 1.2: Install Python and Pip
Install Python and its package manager if you have not already installed:
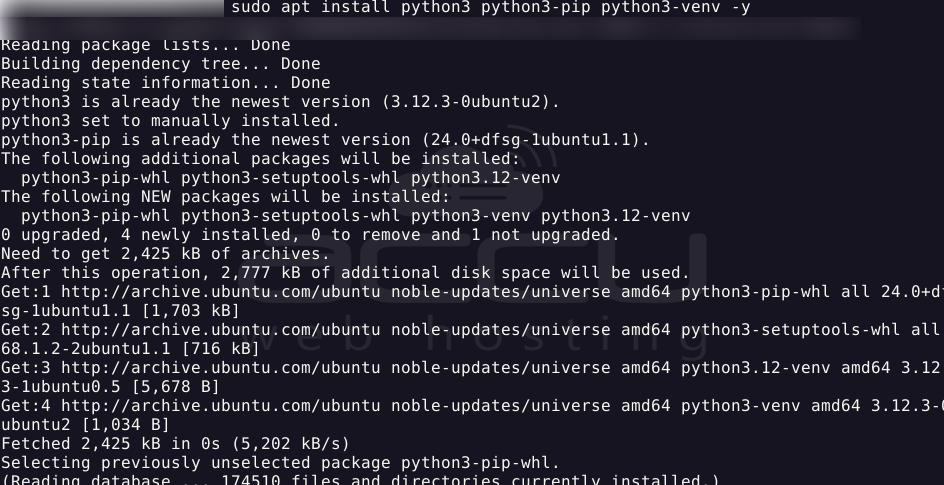
sudo apt install python3 python3-pip python3-venv -y
Step 1.3: Create a Virtual Environment
Creating a virtual environment helps keep your PyTorch installation isolated.
Execute these commands in sequence:
mkdir ~/pytorch_project
cd ~/pytorch_project
python3 -m venv pytorch_env
source pytorch_env/bin/activate

Your terminal prompt should change to indicate that the virtual environment is active, as shown in the above output.
Step 1.4: Install PyTorch (CPU Version)
With your virtual environment activated, install the CPU-only version of PyTorch:
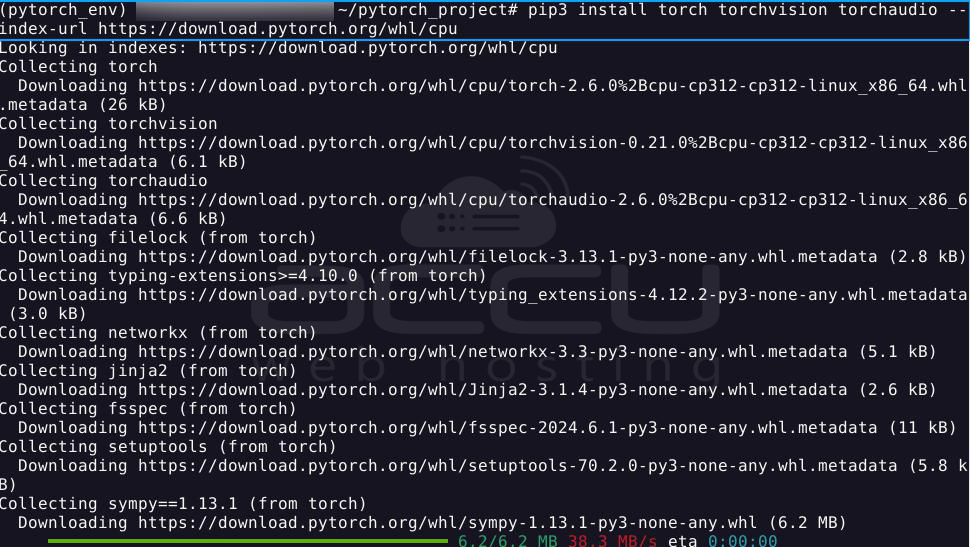
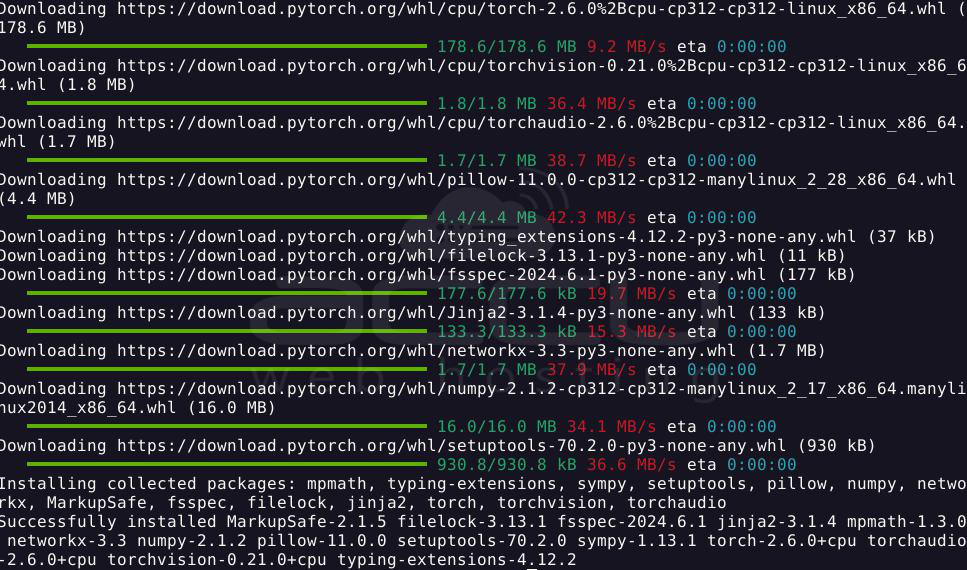
pip3 install torch torchvision torchaudio --index-url https://download.pytorch.org/whl/cpu
Step 1.5: Verify the Installation
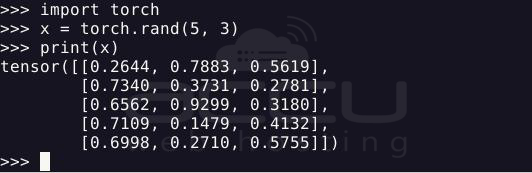
After installation, verify that PyTorch has been installed correctly by this small code block:
python3
import torch;
print(torch.__version__);
x = torch.rand(5, 3);
print(x)
This command will display the PyTorch version and a randomly generated tensor if successful.
Method 2: Installing PyTorch with Anaconda
Anaconda provides a comprehensive environment management system, which can be especially useful on VPS servers where multiple environments might be needed.
Step 1: Install Anaconda
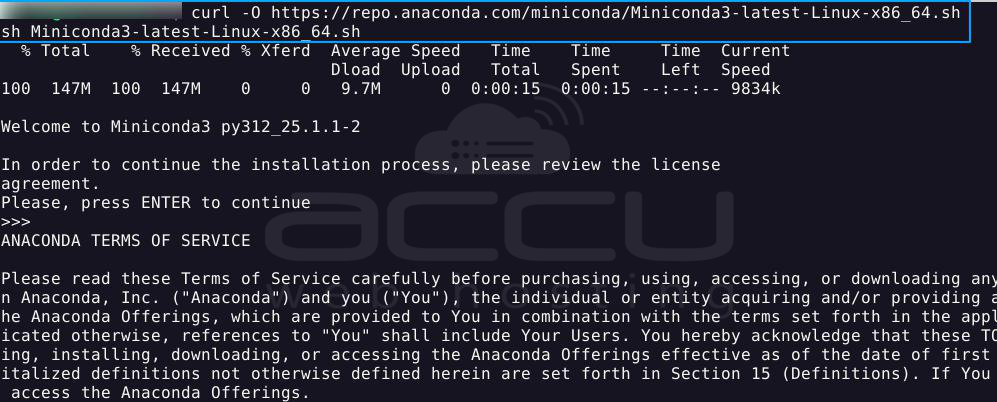
Download and install Anaconda on your Ubuntu VPS:
cd /tmp
curl -O https://repo.anaconda.com/miniconda/Miniconda3-latest-Linux-x86_64.sh
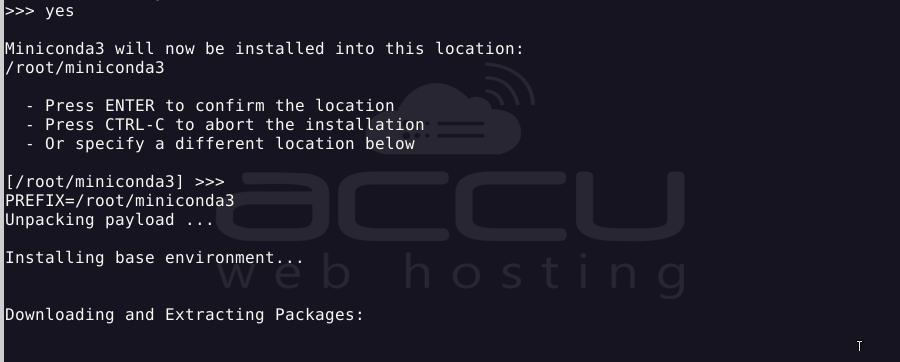
bash Miniconda3-latest-Linux-x86_64.sh
Follow the prompts to complete the installation. Then, restart your shell or run:
source ~/.bashrc
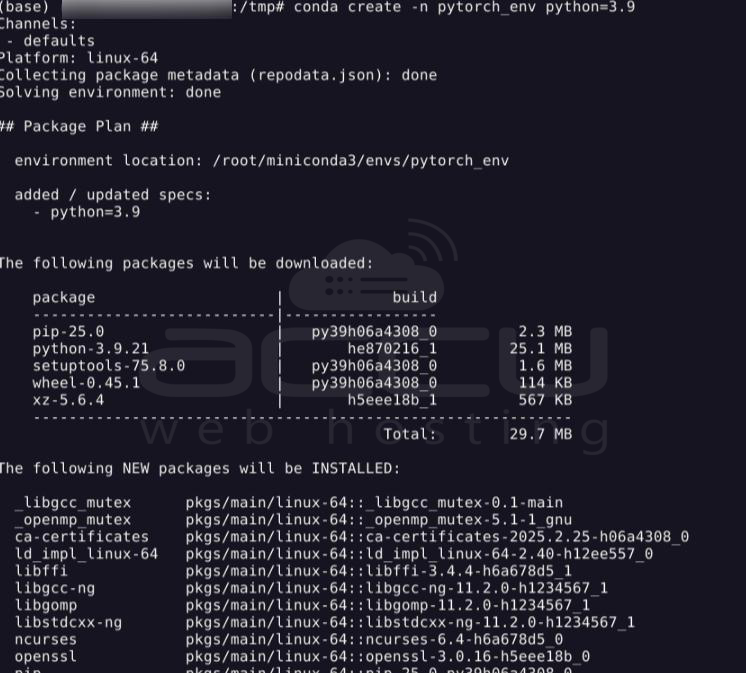
Step 2: Create a Conda Environment
Create a dedicated environment for PyTorch:
conda create -n pytorch_env python=3.9
Step 3: Install PyTorch
For CPU-only support:
conda install pytorch torchvision torchaudio cpuonly -c pytorch
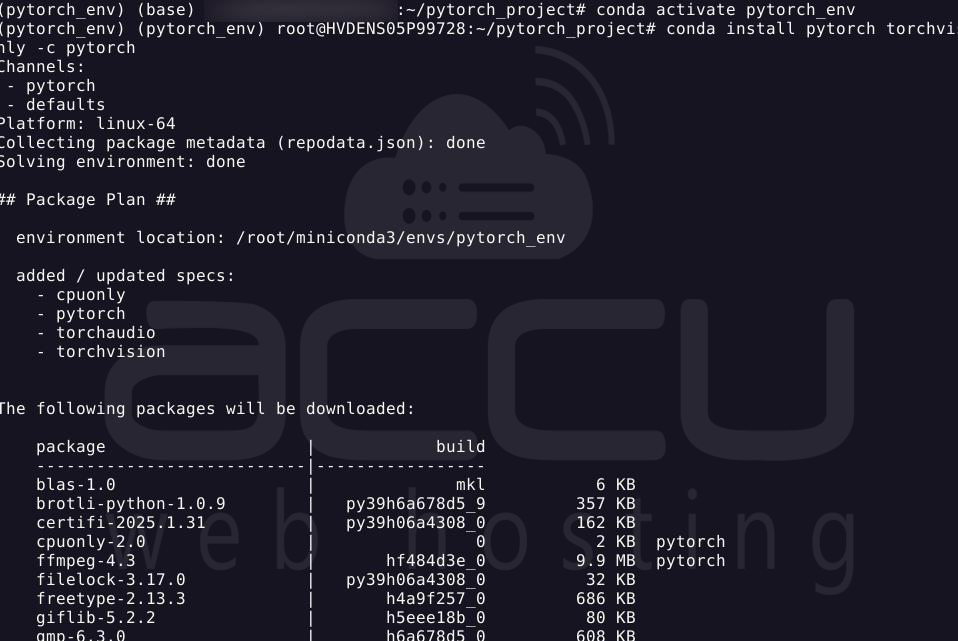
For GPU support:
conda install pytorch torchvision torchaudio pytorch-cuda=11.8 -c pytorch -c nvidia
Step 4: Verify the Installation
Test your PyTorch installation:
python3
import torch
x = torch.rand(5, 3)
print(x)

Method 3: Installing PyTorch with Pip (GPU Support)
If your Ubuntu VPS has an NVIDIA GPU, you can install the GPU-accelerated version of PyTorch.
Step 1: Install CUDA Dependencies
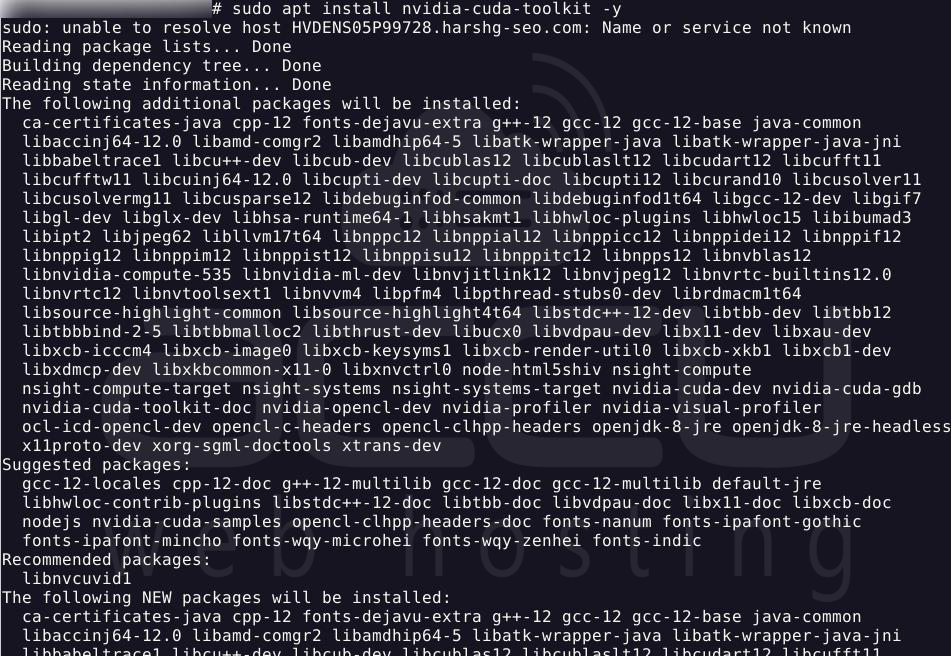
First, install the necessary CUDA dependencies (check the compatible CUDA version for your PyTorch version):
sudo apt install nvidia-cuda-toolkit -y // wait for the the output to end in 5 mins.
Step 2: Create and Activate Virtual Environment
Follow the same steps as in Method 1 to create and activate a virtual environment.
mkdir ~/pytorch_project
cd ~/pytorch_project
python3 -m venv pytorch_env
source pytorch_env/bin/activate
Step 3: Install PyTorch with CUDA Support
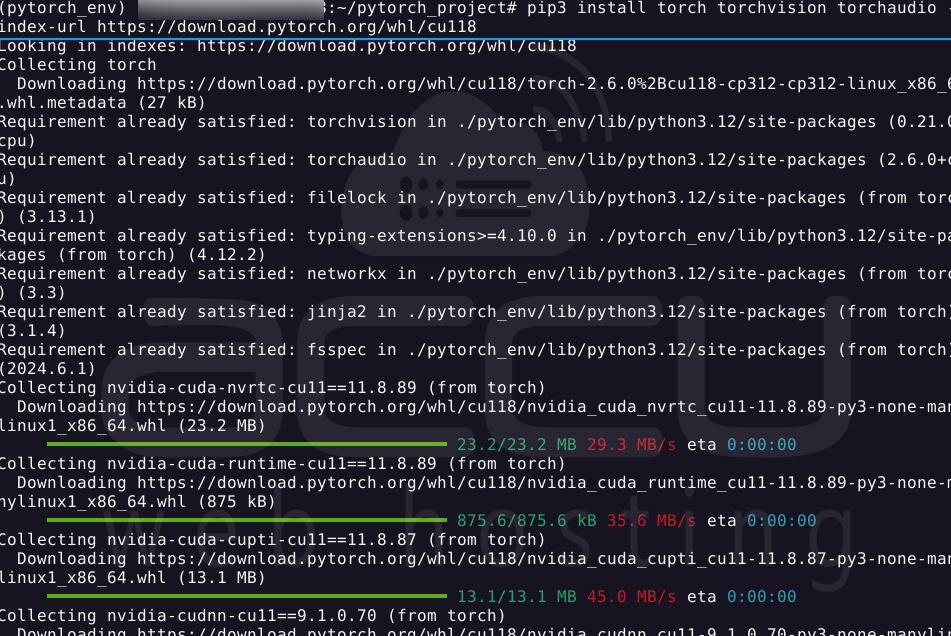
Choose the appropriate CUDA version for your system (example using CUDA 11.8):
pip3 install torch torchvision torchaudio --index-url https://download.pytorch.org/whl/cu118
Step 4: Verify GPU Support
Check if PyTorch can access your GPU:
import torch
print(torch.cuda.is_available())
print(torch.cuda.device_count())
If this returns True and shows at least one device, your GPU setup will work correctly.
How to Uninstall Pytorch from Ubuntu?
To uninstall PyTorch from your Ubuntu system, follow these steps depending on how you originally installed it.
If you installed PyTorch using Pip, you can remove it by running the following command:
pip3 uninstall torch -y
This command will uninstall PyTorch from your Python environment.
If you used Anaconda to install PyTorch, you can uninstall it with this command:
conda remove pytorch -y
This will remove PyTorch from your Anaconda environment.
Troubleshooting Common Issues
Issue: Insufficient Memory
If you encounter memory errors during installation:
Temporarily increase swap space on your Ubuntu VPS:
sudo fallocate -l 4G /swapfilesudo chmod 600 /swapfilesudo mkswap /swapfilesudo swapon /swapfile
After installation, you can remove the swap file if needed.
Issue: Version Compatibility
If you encounter compatibility issues:
- Check the PyTorch website for compatible versions of Python and CUDA.
- Consider downgrading to a more stable version if you face persistent issues
Issue: CUDA Not Found
If PyTorch cannot find your GPU:
- Verify that your CUDA installation is correct
- Ensure NVIDIA drivers are properly installed
- Check that the system properly recognizes your GPU
Conclusion
Having PyTorch installed on your Ubuntu VPS server gives you a strong platform for machine learning development without the necessity of costly local hardware. With the option to install using pip or Anaconda, or with specific GPU acceleration support, your Ubuntu VPS can be a strong environment in which to train and deploy AI models. By following these precise instructions, you should now have a working PyTorch installation available for your machine learning work.
Remember to select the installation strategy most appropriate to your Ubuntu VPS setup and project needs. With PyTorch now installed, you're free to explore the incredible potential of deep learning and artificial intelligence.
