Updating your Ubuntu VPS server is essential to ensure security, stability, and powerful performance. Updates regularly fix security issues and bugs and add new features that improve your server's functionality. This tutorial will guide you through the process of keeping your Ubuntu VPS updated both manually and automatically.
Why Update Your Ubuntu VPS?
Maintaining current software on your Ubuntu VPS server provides several benefits:
- Enhanced security through vulnerability patches
- Improved system stability and performance
- Access to the latest features and improvements
- Removal of unnecessary packages that consume resources
Prerequisites:
- An Ubuntu machine with sudo privileges - 18.04 or newer. (Livepatch will no longer be supported for older versions.)
Manual Update Process
To manually update your Ubuntu VPS, you'll need to use these core commands:
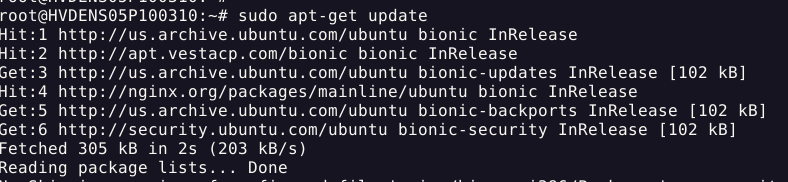
Update Package Lists:
sudo apt-get update
This command refreshes your package lists without installing anything. It identifies which packages have available updates.
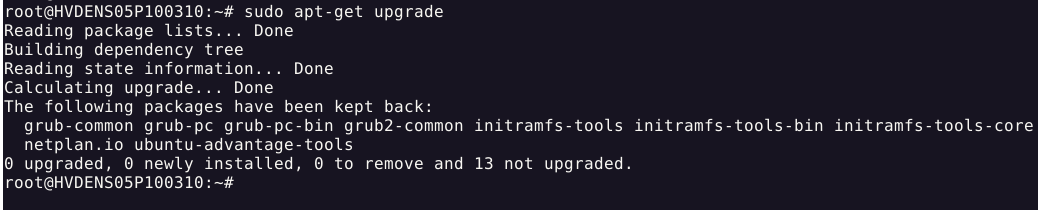
Upgrade Installed Packages:
sudo apt-get upgrade
This installs newer versions of the packages already on your system.
Perform Distribution Upgrade:
In comparison to the default upgrade, this command also handles any new dependencies and may install or remove packages as needed to resolve errors later.
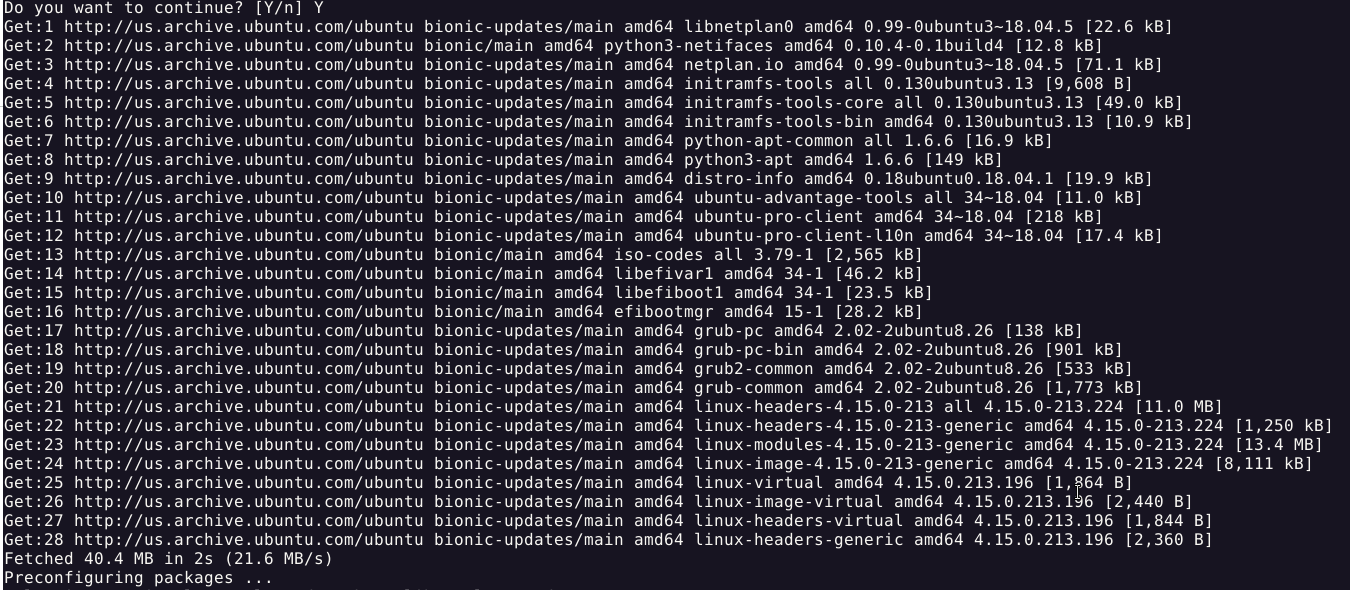
sudo apt-get dist-upgrade
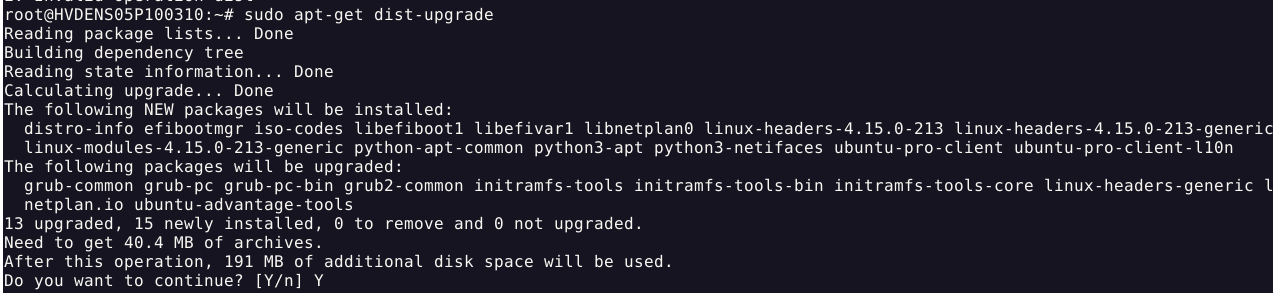
It's normal to see many lines of output text after opting ‘Y’:
Remove Unnecessary Packages:
This removes packages that were automatically installed to satisfy dependencies but are no longer needed.
sudo apt-get autoremove

Understanding Update vs. Upgrade
It's essential to understand the distinction between these two fundamental commands:
- sudo apt-get update: This command doesn't install any new versions of software. Instead, it refreshes the package lists from repositories, identifying which packages have updates available. Think of it as checking what's available for update but not installing anything yet.
- sudo apt-get upgrade: This command installs the newer versions of packages that were identified in the update process. It performs the actual installation of updated software packages.
Running update without upgrade means you've identified available updates but haven't installed them. Both steps are necessary for a complete update process.
How do you apply a complete update in Ubuntu?
For a thorough update of your Ubuntu VPS server, run these commands in sequence:
sudo apt-get update
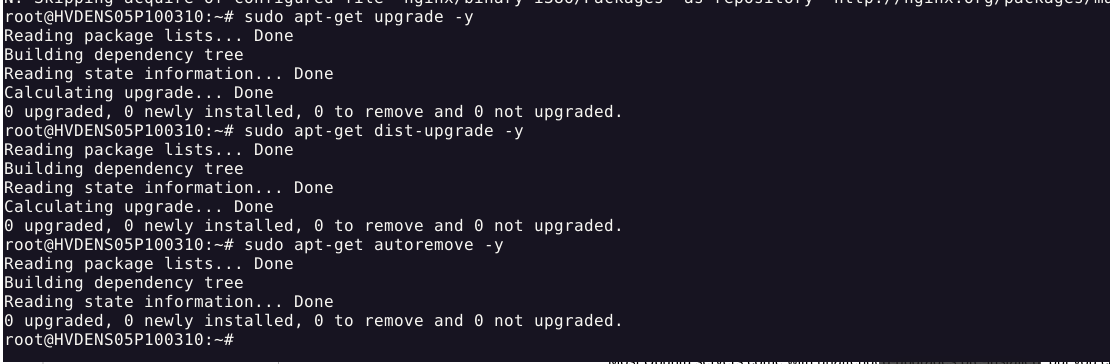
sudo apt-get upgrade -y
sudo apt-get dist-upgrade -y
sudo apt-get autoremove -y
The -y flag automatically confirms the installation process without requiring manual approval.
Configuring Automatic Updates
Manual updates are fine, but automating it keeps your Ubuntu VPS up to date with minimal fuss.
Installing Unattended-Upgrades
Most Ubuntu servers have unattended-upgrades installed by default, but you can check or install it using:
Verify if it is already installed:
dpkg -l | grep unattended-upgrades
If not installed, install it using:
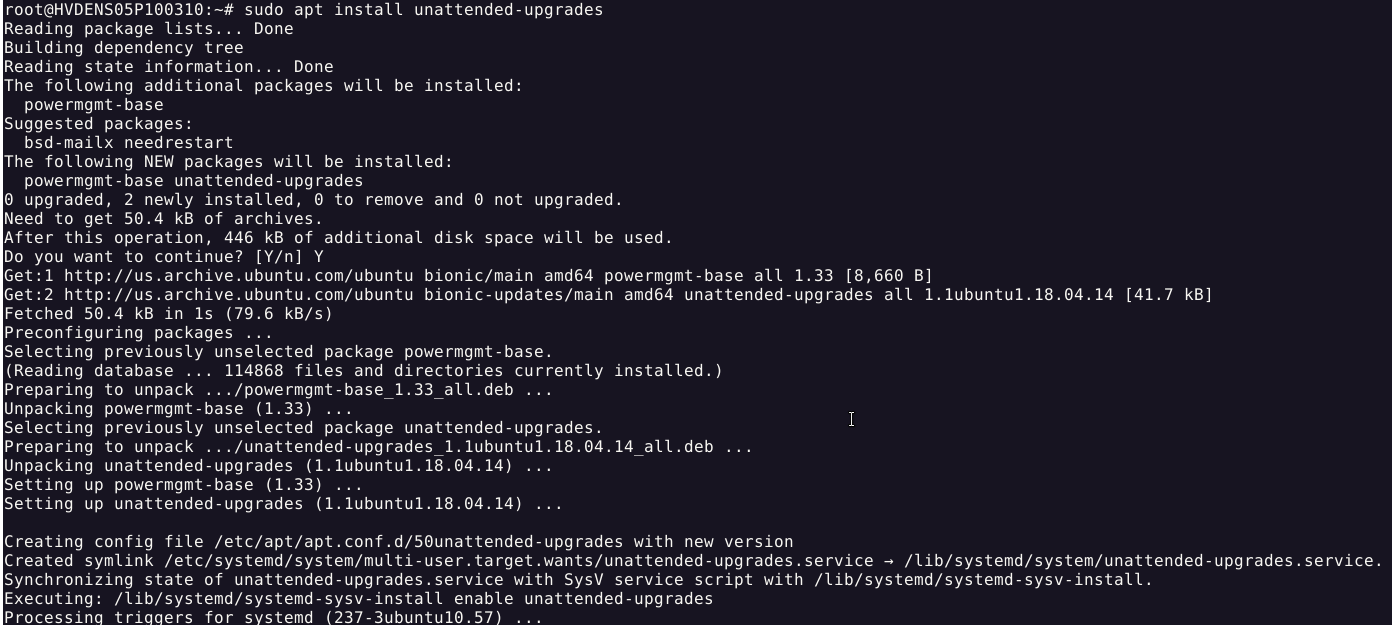
sudo apt update
sudo apt install unattended-upgrades
Verifying the Service
Check if the unattended-upgrades service is running:
sudo systemctl status unattended-upgrades.service
You should see "active (running)" in the output.

Customizing Automatic Updates
Edit the configuration file to customize which updates are applied automatically:
sudo nano /etc/apt/apt.conf.d/50unattended-upgrades
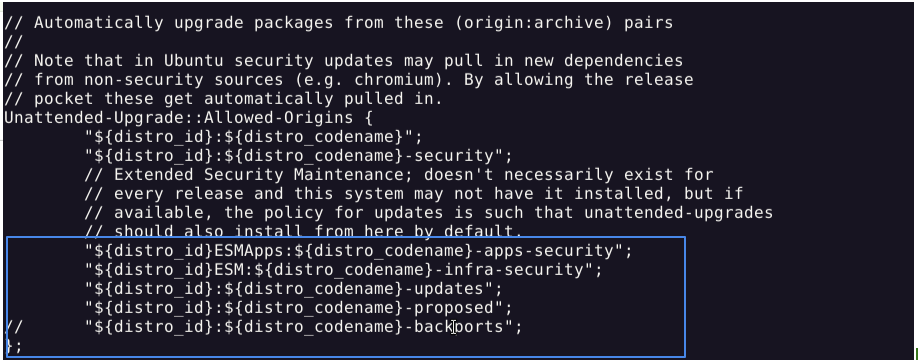
The default configuration automatically applies security updates. You can enable additional update categories by uncommenting these lines (removing the // at the beginning):
// "${distro_id}:${distro_codename}-updates";
// "${distro_id}:${distro_codename}-proposed";
// "${distro_id}:${distro_codename}-backports";
After making changes, restart the service:
sudo systemctl restart unattended-upgrades.service // No direct Output
Kernel Updates and Livepatching
Kernel updates are changes made to the core part of Ubuntu that controls how your computer talks to its hardware (like memory, CPU, and devices).
The kernel helps run the system smoothly and safely. When bugs are found or new improvements are made — like better speed or security — these updates are added to keep your system working well.
Canonical's Livepatch service allows you to apply kernel updates without rebooting, preventing downtime for critical missions.
Setting Up Livepatch
Livepatching is an advanced technology that is used to install kernel updates without rebooting your Ubuntu VPS server. Kernel updates demand a full system reboot, which results in downtime. Canonical's Livepatch service allows you to install important kernel security patches while your system is running without disrupting your service.
Install the Canonical Livepatch snap package:
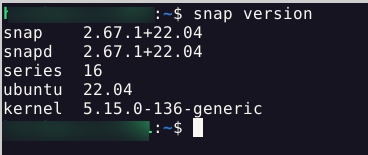
If you have already have the snap command installed, verify it using:
snap version
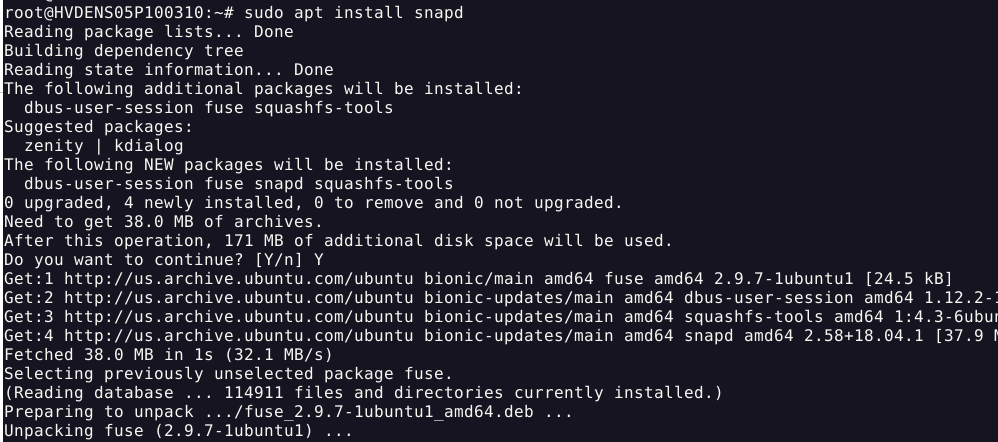
If you have not already installed the ‘snap’ command:
sudo apt install snapd
How to enable and start (optional) snap?

How to install canonical-livepatch?
sudo snap install canonical-livepatch

Register for a Livepatch key at auth.livepatch.canonical.com
Enable the service with your key:
canonical-livepatch enable YOUR-KEY
The output should show the message “Successfully enabled device.”
Verify that it's working:
canonical-livepatch status

Periodical maintenance will maximize your server's lifespan and reduce security threats, whether you perform manual updates or set up automatic updates via unattended upgrades. For high-priority production environments, kernel live patching is a good idea to prevent downtime during kernel updates.
