phpMyAdmin works as a web-based interface to manage databases, and it typically requires a database (such as MySQL or MariaDB) to be installed and running on the system. It can be set up either as part of a LAMP stack (Linux, Apache, MySQL/MariaDB, PHP) or independently on systems with the necessary prerequisites installed.
To install phpMyAdmin on AlmaLinux, follow these steps:
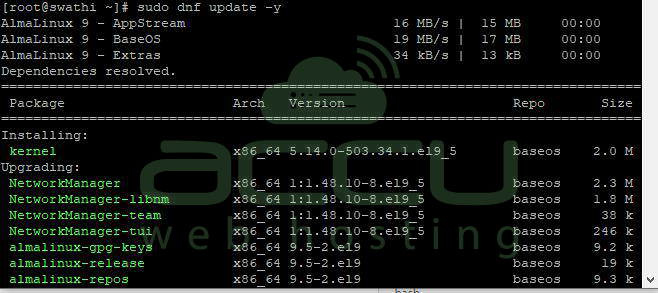
Step 1: Update System
Ensure your system is up-to-date:
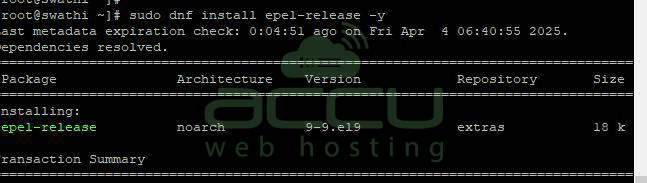
Step 2: Enable EPEL Repository
phpMyAdmin is not included in the default AlmaLinux repositories, so enable the EPEL (Extra Packages for Enterprise Linux) repo:
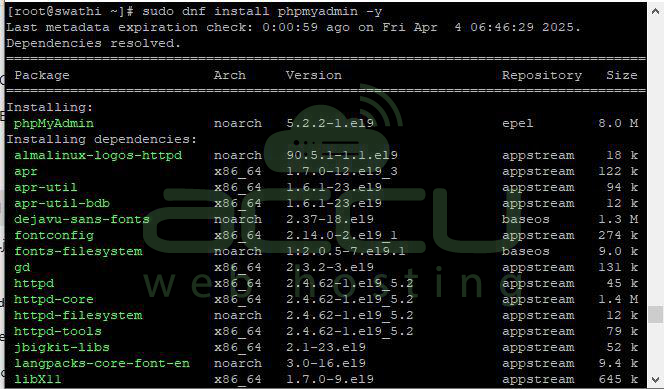
Step 3: Install phpMyAdmin
Now install phpMyAdmin using:
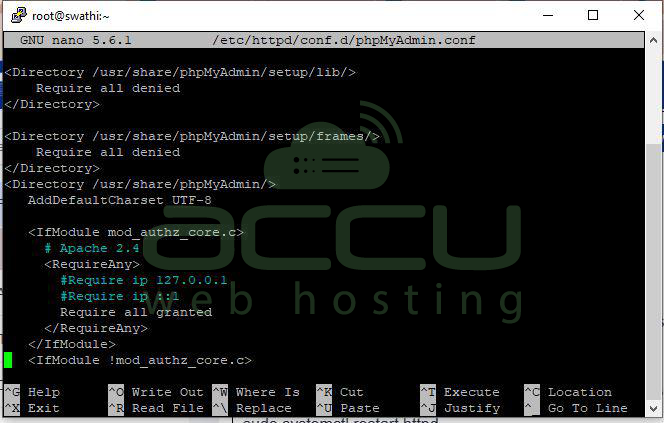
Step 4: Configure Apache to Serve phpMyAdmin
By default, phpMyAdmin may be restricted to localhost. To allow access over the web, edit the Apache configuration:

Step 5: To allow access from a particular IP address, make note of the Require syntax used in our example below:
<Directory /usr/share/phpMyAdmin/>
AddDefaultCharset UTF-8
<IfModule mod_authz_core.c>
# Apache 2.4
<RequireAny>
#Require ip 127.0.0.1
#Require ip ::1
Require all granted
</RequireAny>
</IfModule>
<IfModule !mod_authz_core.c>
# Apache 2.2
Order Deny,Allow
Deny from All
Allow from 127.0.0.1
Allow from ::1
</IfModule>
</Directory>
Step 6: The changes are applied by restarting the Apache service using the systemctl restart httpd command:

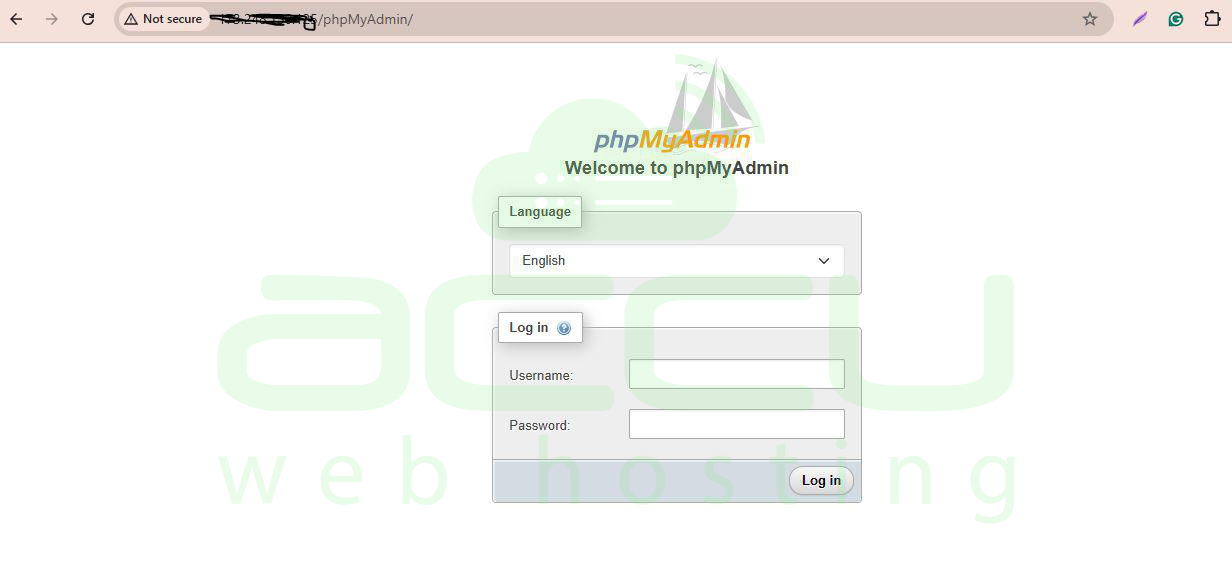
Step 7: Open a web browser and navigate to the appropriate webpage:
http://your-server-ip/phpMyAdmin
Conclusion
It's easy to install phpMyAdmin on AlmaLinux after you've enabled the EPEL repository. Once Apache has been correctly configured and phpMyAdmin installed, you will have a robust browser-based interface to manage your MariaDB or MySQL databases. Just be sure to secure your installation by limiting access, utilising a unique URL, or turning on authentication, particularly if your server can be accessed online. Your AlmaLinux server now has an easy-to-use database management tool after completing these steps.
