Ubuntu Server is designed for efficiency and performance; however, it typically runs without a graphical user interface. Sometimes, GUI can be helpful to make system administration more accessible, especially to those who are not comfortable with the command line.
Whether you're setting up a remote desktop, running applications that need a GUI, or simply want to have a visual interface, this tutorial will guide you through installing and configuring a GUI on the Ubuntu Server for added usability.
Prerequisites
- The latest version of Ubuntu Server.
- A user account with sudo privileges.
How to Install a Desktop (GUI) on an Ubuntu Server?
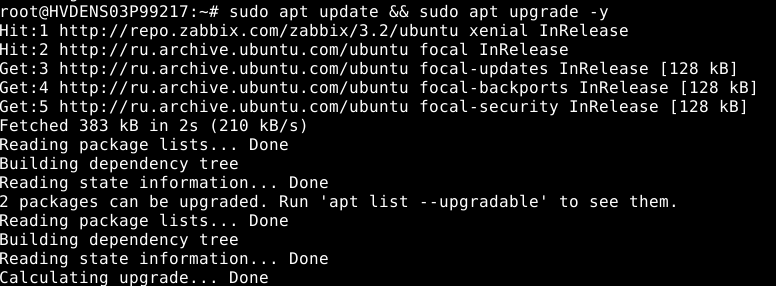
Step 1: Update your system
Ensure that your system is updated prior to installing anything. Open a terminal and execute the following command to update your package lists & upgrade any old software:
Step 2: Select Your Desktop Environment
Choose a suitable desktop environment for you.
- GNOME: It is the default desktop environment on Ubuntu. It’s modern, clean, and easy to use.
- KDE Plasma (Kubuntu): Popular because of its customization & feature-rich experience, it may use more resources.
- XFCE (xubuntu): A lightweight option for older hardware or systems with limited resources.
- LXDE (Lubuntu): light-weight desktop environment, ideal for low-spec or older hardware, but LXDE is no longer under development. Lubuntu now utilizes LXQt from Lubuntu 18.10 onwards.
- MATE: Visually appealing desktop experience similar to Windows or macOS. Designed to be lightweight, it’s ideal for less powerful machines.
Step 3: Install Desktop Environment
Install GNOME
If you want the complete Ubuntu desktop experience, you can install the GNOME desktop environment.
This will install GNOME along with all its built-in apps. Keep in mind that it may use more system resources.
Install XFCE
XFCE is a fast desktop environment that uses fewer system resources. To install it, run:
OR
This installs Xfce without extra apps, keeping it minimal and efficient—perfect for servers that need a simple, resource-friendly interface.
Install Ubuntu MATE:
Install LXDE or KDE
You can install LXDE or KDE by running:
(As stated above, LXDE is outdated. Lubuntu now uses LXQt.)
# For LXDE
# For KDE Plasma
Step 4: Install Display Manager
After installing the desktop environment, you’ll need a Display Manager. It manages the login screen, user login, and session. For GNOME, Ubuntu relies on GDM (GNOME Display Manager) by default.
To install a Display Manager for your preferred desktop environment, run the following commands:
GNOME or Unity: Install GNOME Display Manager (GDM)
Here we have used GNOME.
KDE Plasma: Install Simple Desktop Display Manager (SDDM)
XFCE and LXDE: Install LightDM
During the installation, you’ll be prompted to choose a default display manager. If you prefer LightDM, type Y and press Enter to confirm your selection.
For a lightweight option, Install SLiM
(SLiM is outdated, unmaintained, and has security vulnerabilities. We should not recommend it.)
Next, enable it by:
Choose the Display Manager that best fits your desktop environment and system requirements.
Step 5: Set the GUI to start automatically
Once you have installed the desktop environment, you should ensure your system boots in the GUI mode.
First, check the current startup mode with:
After performing the above command, if it returns “graphical.target”, it means your system is already set to boot into the graphical interface.

You only need to run above command if the output of systemctl get-default is multi-user.target (which means your system is set to boot into the command-line interface instead of the GUI).
Step 6: Reboot the system
Once you’ve installed the desktop environment and configured it to start automatically, reboot your system to apply the changes:
After the reboot, you should be welcomed by the login screen of the desktop environment you installed (GNOME, Xfce, etc.).
Step 7: Set up Remote Access
To remotely administer your server, you require a remote desktop connection to access the GUI.
- VNC (Virtual Network Computing): A common remote desktop access option. Install it with:
sudo apt install tightvncserver -y
OR
- RDP (Remote Desktop Protocol): A Microsoft protocol that allows remote connections to Ubuntu. Install it by:
sudo apt install xrdp -y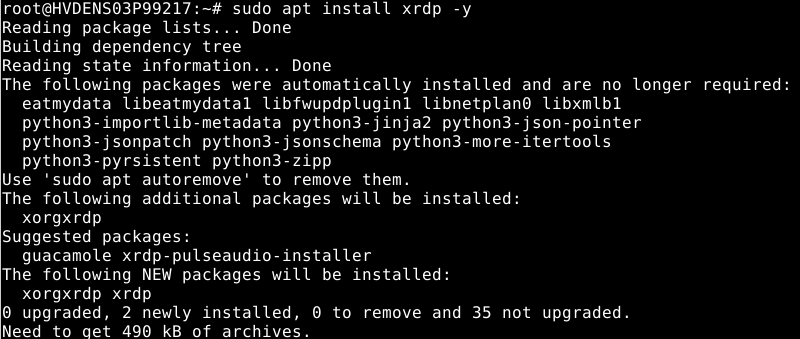
If you want to access your Ubuntu server remotely from Windows, open Remote Desktop, enter your credentials, and connect to gain access to the server's GUI.
If you're accessing it from another Ubuntu system, install a desktop environment using the following command.
Back to the CLI
If you ever want to return to a non-graphical environment (command line interface), you can change the default target back to multi-user.target:
It will make your server boot up in the command-line interface (CLI) again.
Errors During Installation of RDP
If you get the below error during the installation of RDP.
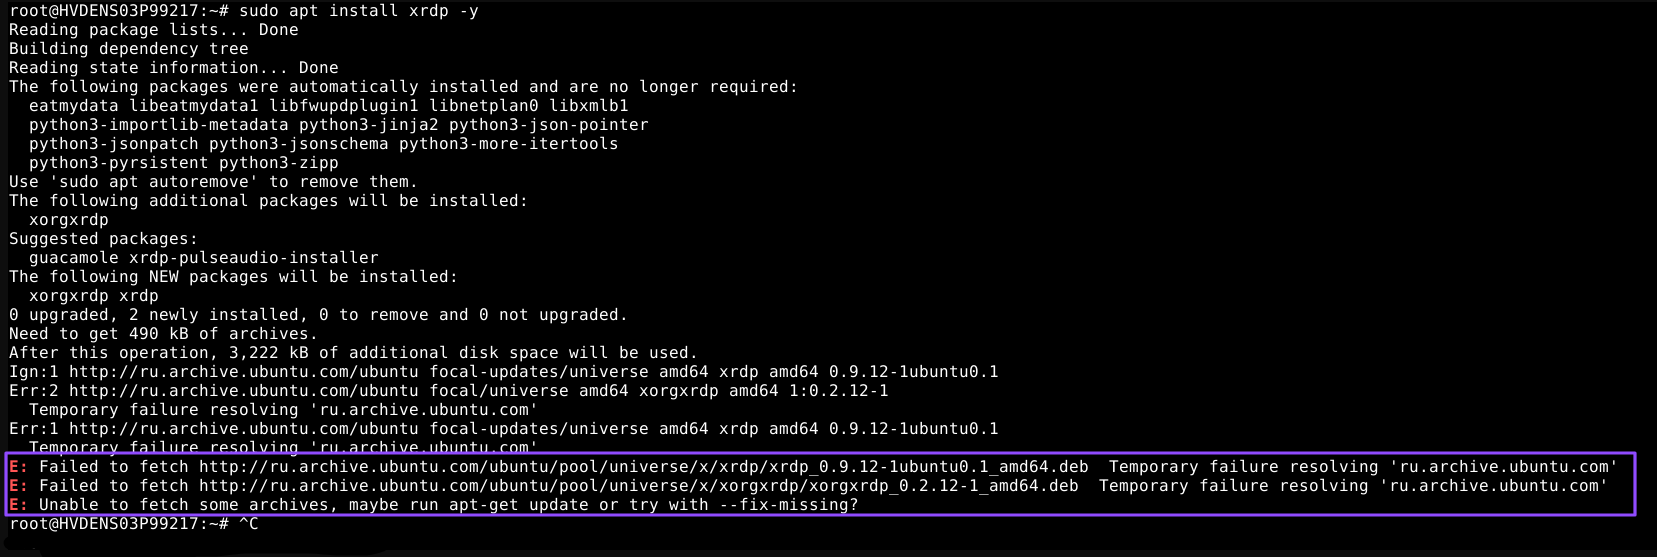
Then resolve it by performing below steps:
Your system is having trouble resolving the Ubuntu package repository (ru.archive.ubuntu.com).
Fix it by:
1. Check Your Internet Connection
If it fails, your internet connection may be down.

Reconnect with your network.
2. Update Your Package List
If this fails with the same error, execute to the next step.
3. Change DNS Settings
If the issue is DNS-related, change your DNS resolver to Google's or Cloudflare's DNS:
Add the following lines at the top:
Exit the screen by Esc + wq:
4. Install XRDP
Now, try to install xrdp again.
Having a GUI on your Ubuntu server simplifies management, particularly for users who like a graphical user interface. Note, though, that a GUI uses more system resources and can affect performance, particularly on production servers. Select the proper desktop environment depending on your requirements to strike a balance between usability and efficiency.


