
An SSH public key is like a lock that you put on a server to secure access. It works with a private key, like a special key only you have.
When you try to connect to the server, your private key proves that you are allowed in, and the server checks this against the public key. This makes logging in more secure than using a password because no one else can guess or steal your private key.
There are different ways to upload your public key to a remote SSH server. The best method depends on the tools you have and your server setup.
All methods achieve the same result. The first method is the easiest and most automated. The others require more manual steps, so use them only if the first method doesn’t work for you.
Method 1: Copying Your Public Key Using ssh-copy-id
The easiest way to copy your public SSH key to a server is by using the ssh-copy-id tool. If this tool is available, it is the recommended method because it is simple and automated.
Many Linux systems already include ssh-copy-id as part of the OpenSSH package. However, you must have password-based SSH access to the server to use it.
To copy your public key, run the following command, replacing username with your actual username and remote_host with the server’s address:
- If this is your first time connecting to the server, you may see a message asking if you trust the remote host. Type yes and press ENTER to continue.
- The tool will look for your id_rsa.pub key on your local computer.
- It will then ask for your server password (you won’t see your typing for security reasons). Enter the password and press ENTER.
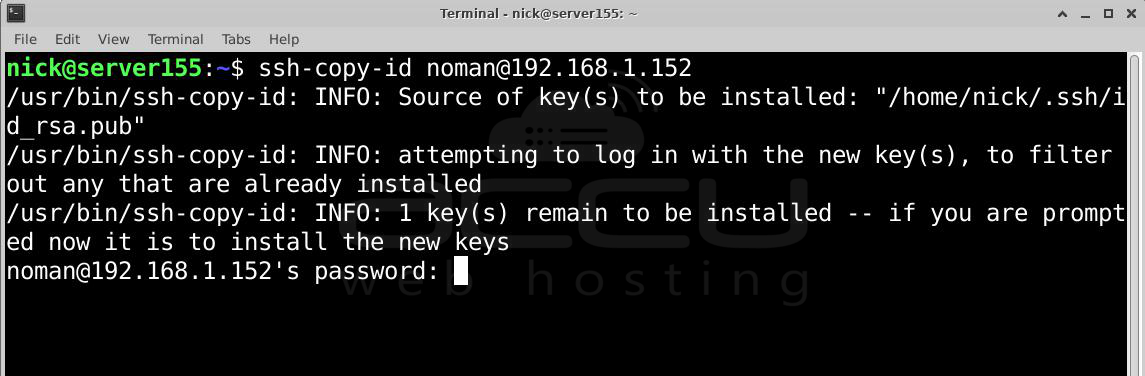
- The key will be copied to the server and saved in the authorized_keys file.
Once the key is copied, you should see a message confirming that the key was added.
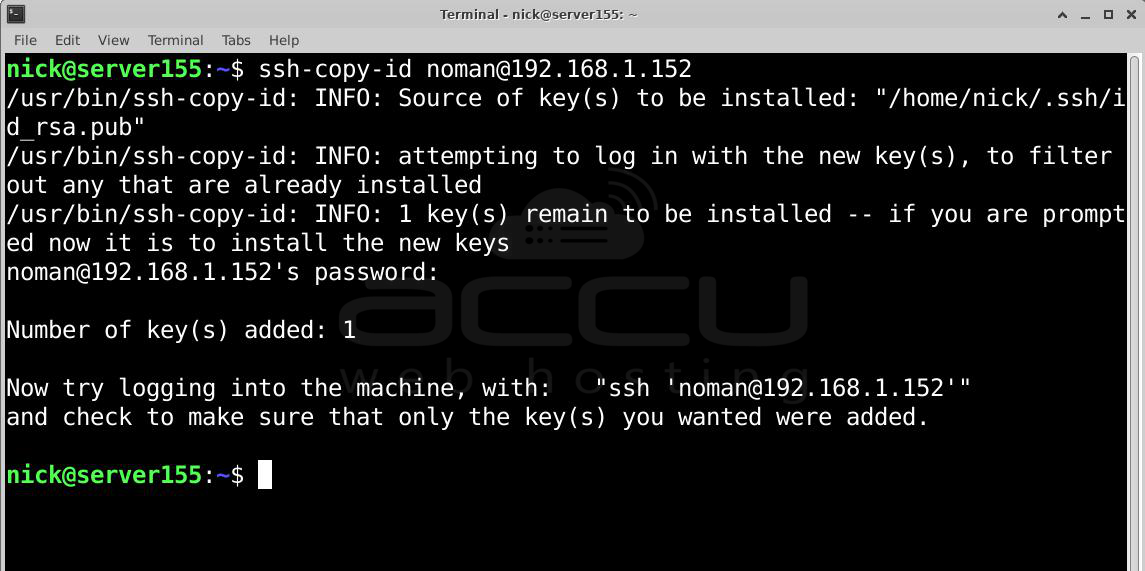
You can now log in to the server using SSH without a password:
Your public key is now set up, and you can move on to the next step!
Method 2: Copying Your Public Key Using SSH
If you don’t have ssh-copy-id, but you can log in to your server using a password, you can still upload your SSH key using a simple SSH command.
This method sends your public SSH key from your local computer to the remote server. The server will store it in a file called authorized_keys, allowing you to log in without a password next time.
The command to do this is:

Run the command, replacing username with your actual username and remote_host with your server’s address.
First-time connection warning: If this is your first time connecting, you will see a message asking if you trust the remote server. Type yes and press ENTER.
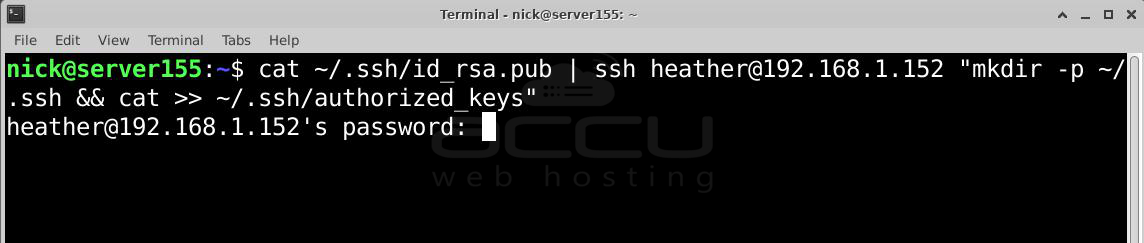
Enter your password: The server will ask for your password. Type it in and press ENTER (your typing won’t be visible for security reasons).
Key is added: Your public key will be saved to the authorized_keys file on the server.
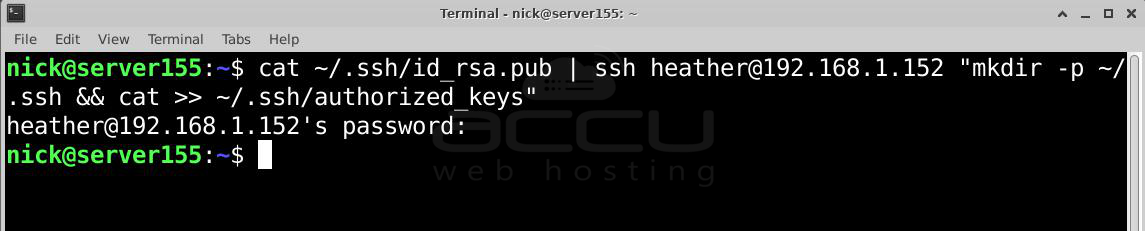
Once done, you can try logging in without a password using:

Method 3: Copying Your Public Key Manually
If you can’t log in to your server using a password, you will need to manually add your public SSH key to the server.
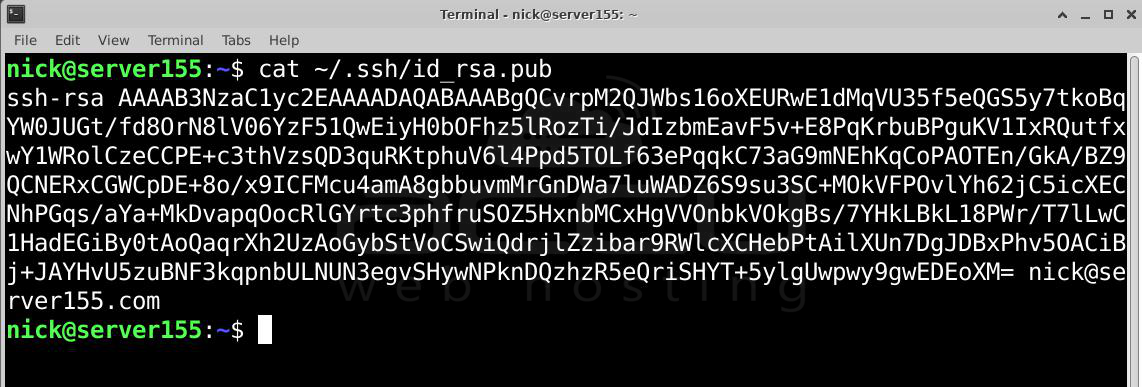
Step 1: We need a public key and for that you need to run this command to display your public key on your local system:
You will see a long string of characters that looks like this:
Step 2: Now, you need to access the server (remote server) where you want to copy this public key.
Step 3: Then, create a .ssh directory in the remote server. Once logged in, ensure the .ssh folder exists on your server by running:
This creates the directory if it doesn’t exist.

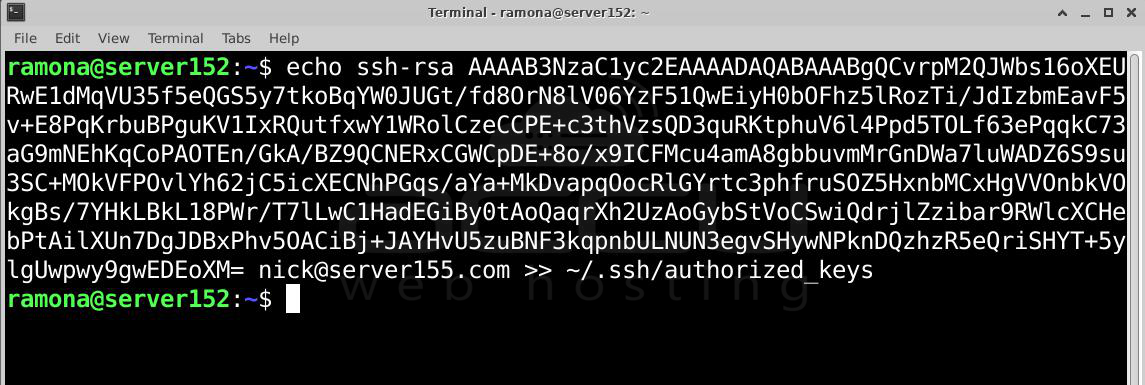
Step 4: Add Your Public Key to authorized_keys. Now, you need to add your public key to the authorized_keys file. Run:
Replace public_key_string with the actual key you copied earlier (the output of cat ~/.ssh/id_rsa.pub).
Example:
Step 5: Test Your SSH Login. If everything is set up correctly, try logging in from your local computer without a password:

If it works, your key-based authentication is now set up!
Conclusion:
Copying the public key to the remote system using a command or doing it manually through SSH is a safer and easier way to connect.
In this guide, we learned three ways to copy the public key to a remote server. After completing these steps, the server will let you log in without a password.