Let's Encrypt is a Certificate Authority that offers free TLS/SSL certificates to enable HTTPS on web servers. It simplifies the process with Certbot, an automated client that handles certificate installation and renewal. This guide will walk you through securing Apache on Ubuntu using Let's Encrypt and Certbot.
Prerequisites
- A server running Ubuntu
- SSH root or a system user with regular access and sudo permissions.
Step 1. Update the System
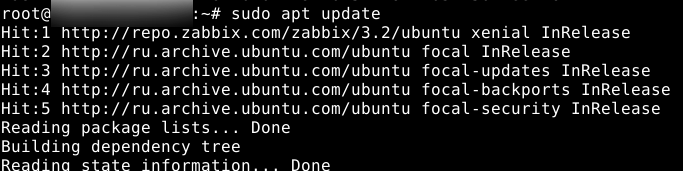
- Before going further, first, we will update the package list:
sudo apt update
Step 2. Installing Certbot
Certbot is an open-source tool that gets and manages SSL certificates automatically, and it's completely free. It secures your website by enabling HTTPS with very little manual effort.
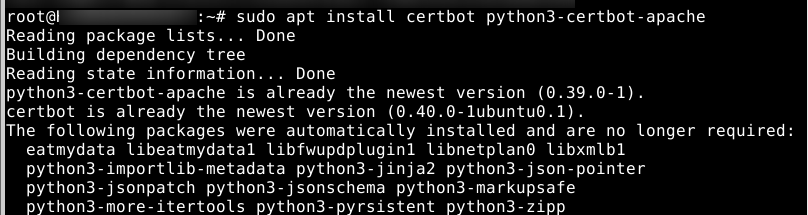
- Now, we will install Certbot and the Apache plugin.
sudo apt install certbot python3-certbot-apache
The python3-certbot-apache plugin enables Certbot to work with Apache, which allows automatic certificate generation and HTTPS setup with one command.
Step 3. Verifying Apache Configuration
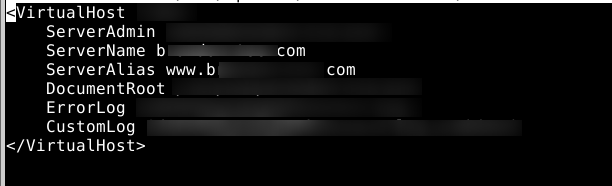
- Certbot needs to identify the correct virtual host configuration. Open your virtual host file:
If Apache is not on your server, you can install it by following this tutorial.
- Certbot needs to find the correct settings in your Apache files to set up SSL automatically. Ensure the ServerName and ServerAlias directives match your domain.
- To verify if it's correctly set up, open this file with a text editor such as nano.
sudo nano /etc/apache2/sites-available/your_domain.conf
- In the above command, replace your_domain with your actual domain name.
- For example, if your domain is example.com, the command would be:
(sudo nano /etc/apache2/sites-available/example.com.conf) - Ensure the ServerName and ServerAlias directives match your domain:
ServerName your_domain
ServerAlias www.your_domain
- If your ServerName and ServerAlias are already set correctly, you can close the text editor and proceed to the next step. If the configuration doesn’t match, update it as needed.
- In nano, exit by pressing CTRL+X, then Y, and ENTER to save any changes.
- Next, run the following command to validate your changes:
sudo apache2ctl configtest
- If everything is correct, you should see Syntax OK as a response. If you get an error, reopen the virtual host file and check for typos or missing characters.

- Once the syntax is correct, reload Apache to apply the changes.
Step 4. Allowing HTTPS Through the Firewall
- If UFW is enabled, you need to adjust its settings to allow HTTPS traffic. Upon installation, Apache provides different UFW profiles, and using the Apache Full profile will enable both HTTP and HTTPS.
- To check the current firewall rules, run:
sudo ufw status
- If your output looks similar to the screenshot above, your firewall is inactive. To activate it, run the following command:
sudo ufw enable - After enabling it, confirm the status with:
sudo ufw status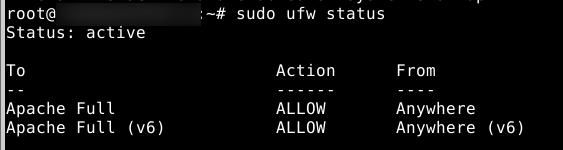
- Then, proceed with allowing HTTPS traffic:
sudo ufw allow 'Apache Full'
sudo ufw delete allow 'Apache'
You are now ready to run Certbot and obtain your certificates.
Step 5. Obtaining an SSL Certificate
With our VPS Hosting, you don’t have to worry about SSL—your website includes a free SSL certificate!
- Run the following command to request and install an SSL certificate:
sudo certbot --apache
- This script will guide you through a series of questions to set up your SSL certificate. First, it will prompt you for a valid email address, which will be utilized for renewal reminders and security notices.

- Enter a valid email address and press ENTER to continue. Next, you'll be asked to agree to Let’s Encrypt’s terms of service. To confirm, press A and then ENTER.

- You’ll then be asked if you want to share your email with the Electronic Frontier Foundation for updates and news. To decline, enter N. To subscribe, enter Y, then press ENTER to continue.
The Electronic Frontier Foundation (EFF) is a non-profit organization dedicated to defending digital rights, including online privacy and free speech. Sharing your email allows them to provide you with updates on these crucial issues.

- Now, Certbot will ask which domains you want to activate HTTPS for. It automatically detects domain names from your Apache virtual host configuration, so ensure your ServerName and ServerAlias settings are correct.
- To enable HTTPS for all detected domains (recommended), simply press ENTER. If you want to enable it for specific domains, enter their corresponding numbers (separated by commas or spaces) and press ENTER.
- Once this step is complete, Certbot finalizes the configuration and provides details about your new certificate, including its location and related files.
Step 6. Verifying Auto-Renewal
- Let’s Encrypt certificates expire in 90 days. Certbot includes a renewal script managed by a system timer. Check its status:
sudo systemctl status certbot.timer
- Perform a dry-run test to confirm auto-renewal works:
sudo certbot renew --dry-run
If no errors appear, your setup is complete. Certbot will automatically renew your certificates and reload Apache as needed. If renewal ever fails, Let’s Encrypt will notify you via the email you provided before the certificate expires.
Following these steps, you have effectively locked down your Apache server with a Let's Encrypt SSL certificate on Ubuntu. Certbot automatically manages renewals so that your website continues to be secure without manual effort.
