You know how important it is to keep backups of your WordPress site—they’re your safety net when things go wrong. But what if you need to check a backup before restoring it? How do you know you’re bringing back the correct version?
That’s where a WordPress backup viewer comes in handy. It lets you preview your backup as a fully functional site so you can verify content, test features, or recover specific data without affecting your live website.
If you manage large or complex sites, this can save you a lot of time and headaches. You can catch potential issues early and confidently restore them.
We recommend using Duplicator to create backups and Local WP to view them. Both tools are free, user-friendly, and perfect for beginners and experienced users.
Let’s walk you through how to view and manage your WordPress backups easily like a pro!
When to View a WordPress Backup as a Website
Regularly backing up your WordPress site is essential for protecting your website and preparing for unexpected issues. It is a practice we rely on at AccuWeb Hosting to ensure our content and data remain secure.
A backup makes restoring your site easy when errors occur, or data is lost. However, confirming that you’re restoring the correct version is essential. Restoring the wrong backup can overwrite valuable updates or lead to further issues.
The best way to prevent issues is to check your backup as a functional website before restoring it. This allows you to confirm that the files, content, and functionality are intact and up to date.
Here are some situations where viewing a backup file can be beneficial:
1. After a major update: You’ve made significant changes to your site and must verify that your backup accurately reflects those updates.
2. Before restoring your site: You're preparing to restore your site and must verify that the backup is the correct version.
3. Troubleshooting: You're trying to identify when an issue occurred on your site.
4. Content recovery: You want to extract specific content from an old backup without performing a complete site restoration.
How to View a WordPress Backup as a Website
Viewing a WordPress backup as a website allows you to ensure everything is intact before restoration. Using the right tools, you can quickly inspect your backup in a fully functioning environment, avoiding potential issues.
1. Log into your WordPress dashboard.
2. Navigate to the Plugins > Add New Plugin.
3. Search for Duplicator.
4. Click on Install Now and activate it.
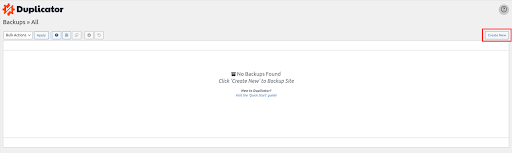
5. Once the plugin is activated, navigate to Duplicator > Backups.
6. Next, click the ‘Create New’ button at the top of the page to begin the backup process.
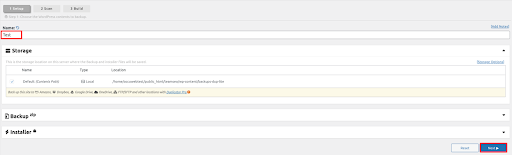
Enter a name for your backup file. This is for your reference, so please choose any name you like.
7. Once you’ve named the backup, click the ‘Next’ button to proceed.
At this point, Duplicator will scan your website.
If any issues are detected, you’ll see a warning and an explanation of the problem. If everything is fine, a green label that says ‘Good’ will appear.
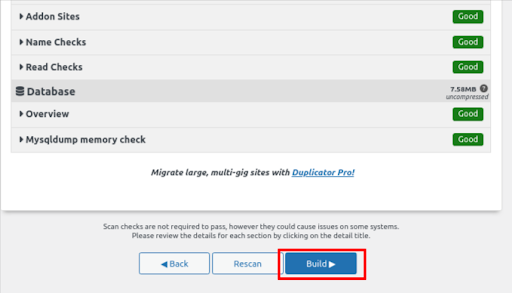
Duplicator will now create a complete backup of your WordPress site, including your files, database, images, and plugins, all packaged into a single downloadable file.
The process typically takes a few minutes, though it may vary depending on the size of your site.
If you're using the pro version of Duplicator, you can customize your backup by including only the database and media files or creating a custom backup. This feature is handy if you're low on storage space and want to back up everything except media files.
Once the backup is complete, you'll have the option to download your WordPress files. You can download the installer, the archive, or both. For this tutorial, simply click on ‘Archive’ to proceed.

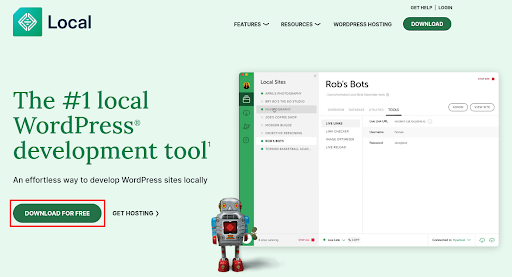
8. Next, install Local WP, a free tool for setting up WordPress locally on your computer.
9. Go to the website and click ‘Download for Free.
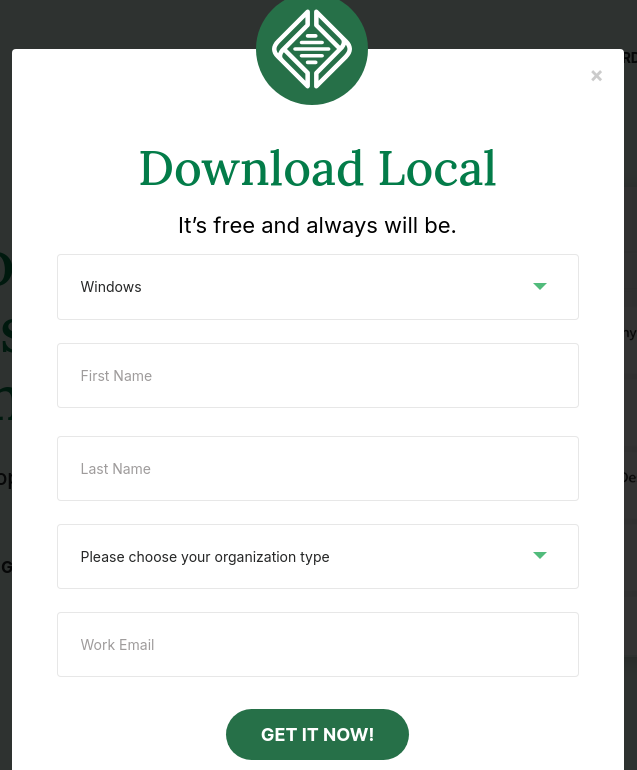
10. A popup will appear; choose your operating system (Mac, Windows, or Linux) here.
11. Next, fill in your name, email, and organization type, then click Get It Now.
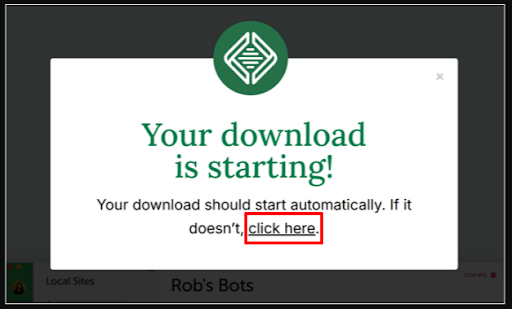
12. The download will start automatically. If not, use the click here link to start it manually.
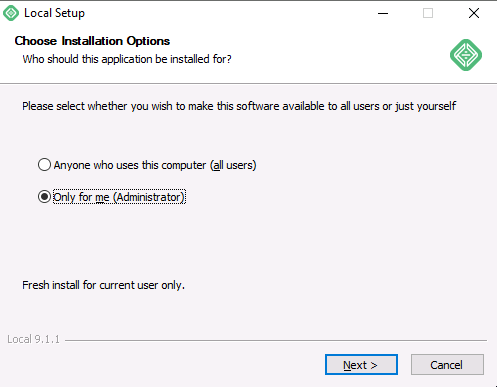
13. Once the file is downloaded, launch the setup wizard, choose to install Local WP for all users or yourself, and click Next.
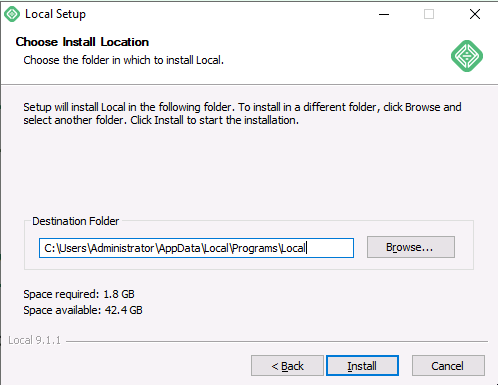
14. Click the Browse button to choose a folder, then select Install to proceed.
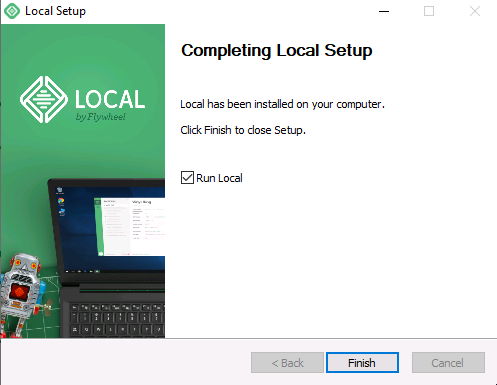
15. Once done, click on Run Local and click Finish to launch Local WP.
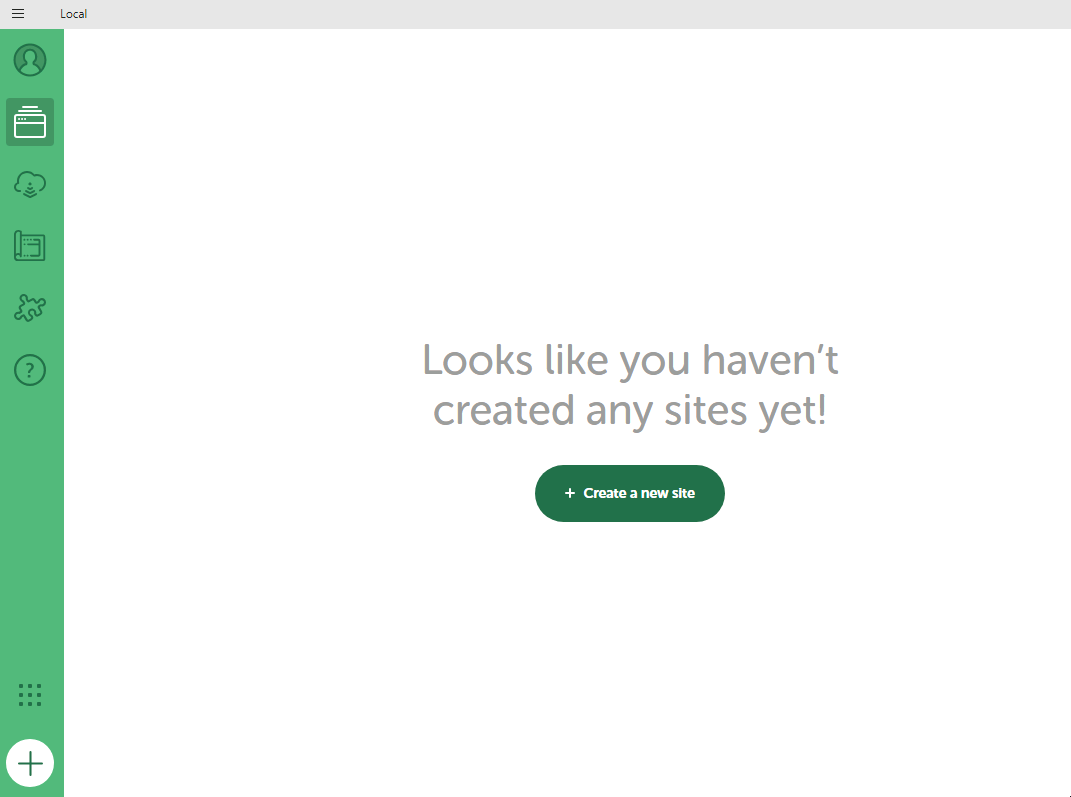
You can now use Local WP to manage and view your WordPress backups.
16. Click the ‘+’ button in the bottom left corner to add a new local site.
17. Drag and drop your Duplicator archive file into the window, or click Select an existing ZIP to upload it manually.
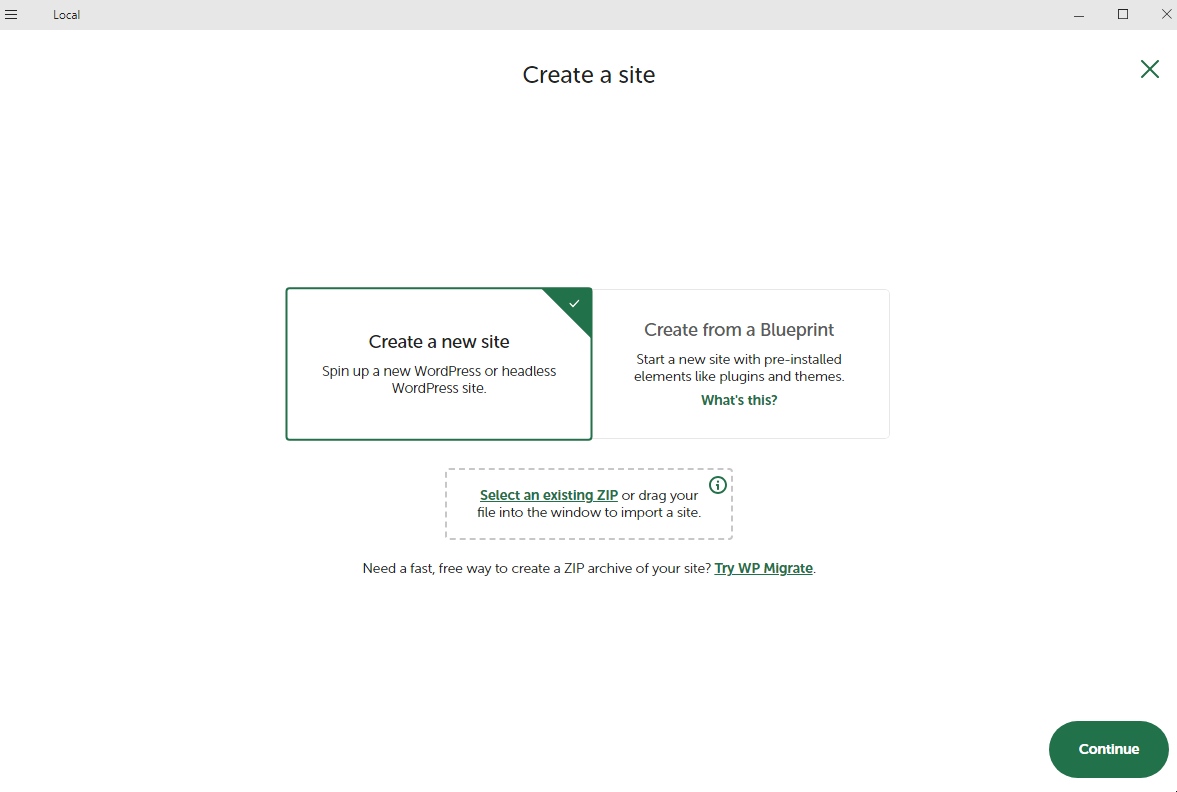
Local WP will analyze the backup to ensure it can be imported.
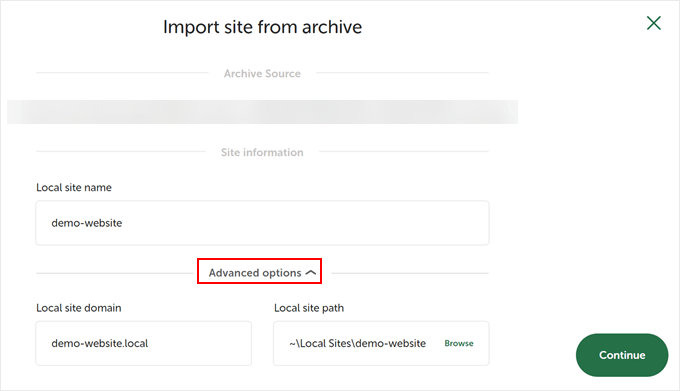
18. If the import is successful, enter a local site name. If necessary, adjust the site domain and path using the Advanced options. Then click Continue.
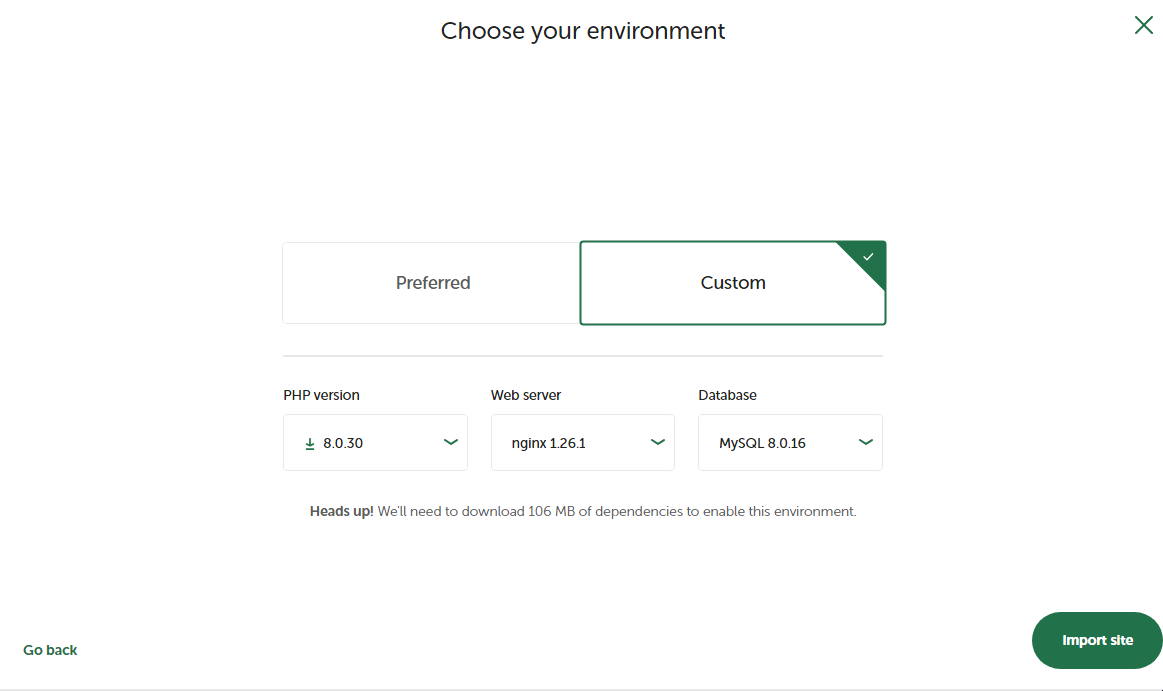
19. Next, set up your WordPress environment. Choose ‘Preferred’ to apply the default settings.
Select ‘Custom’ to configure the PHP version, web server, and database for more control. When ready, click ‘Import site’ to continue.
Wait for Local WP to set up your backup as a WordPress site – this may take a few minutes.
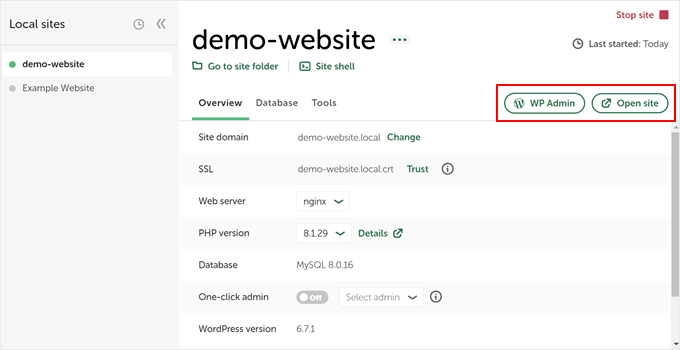
Once the backup is complete, click ‘WP Admin’ to log in through your browser or ‘Open site’ to view it as a live website.
After viewing the WordPress backup, simply close the browser tab.
Click ‘Stop site’ in the top right corner in Local WP to shut down the local site.
