This article describes step-by-step guidelines on restoring the WordPress website from a backup. You will need to restore WordPress if a disaster strikes your website. For example, it gets compromised or infected by malware, loses data, has a version update issue, etc.
What will you need?
To restore, you must have a functional and malware infection-free backup of the web contents and database. We recommend making a database backup before any website changes or just before upgrading to the latest version of the software that runs your website.
Linux Shared Hosting and WordPress Hosting customers can restore the WordPress database via cPanel or phpMyAdmin; we have described both methods here.
MySQL Database Restore using cPanel:
You can perform the following steps to restore the MySQL database via cPanel.
Step 1: First, log in to your cPanel account.
Step 2: Scroll down to the Files section and click on Backups.
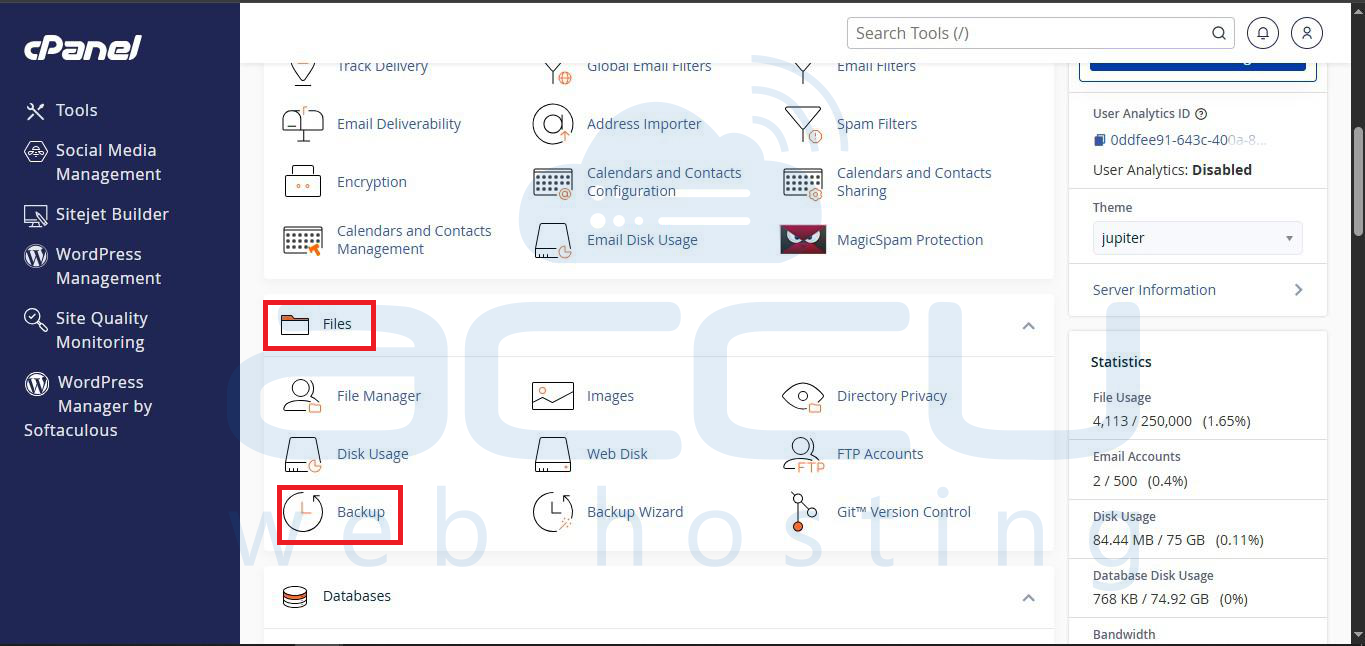
Step 3: On the Backups page, scroll down to Restore a Database Backup and click on Choose File.
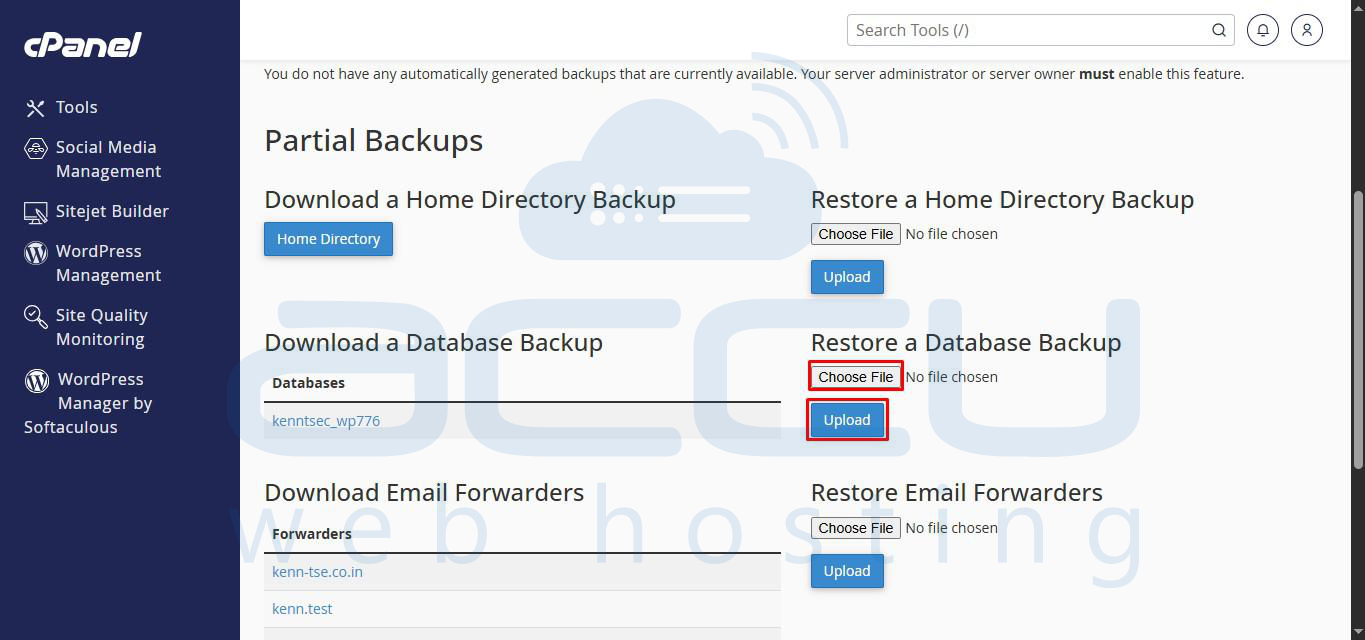
Step 4: Browse the appropriate backup file from your local computer and click on Upload. It may take a few minutes while cPanel uploads and restores the MySQL backup.
MySQL Database Restore using phpMyAdmin
When restoring a manually created backup, you may come across two possible choices:
- You can either create a new database and import your backup into it
- You can empty your existing database and import a backup.
Suppose you are cleaning a compromised WordPress website; changing your MySQL username and password is crucial before creating a new database or importing it into the existing database.
Step 1: Log in to your cPanel account.
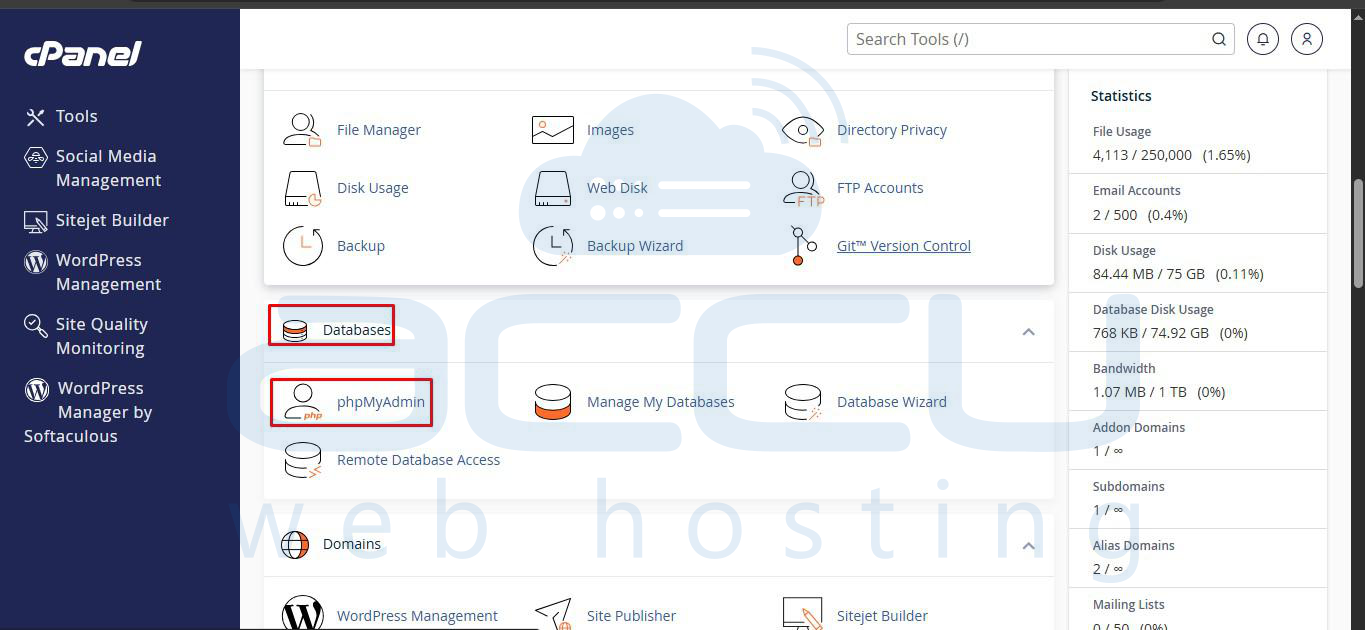
Step 2: Scroll down to the Databases section and click on phpMyAdmin.
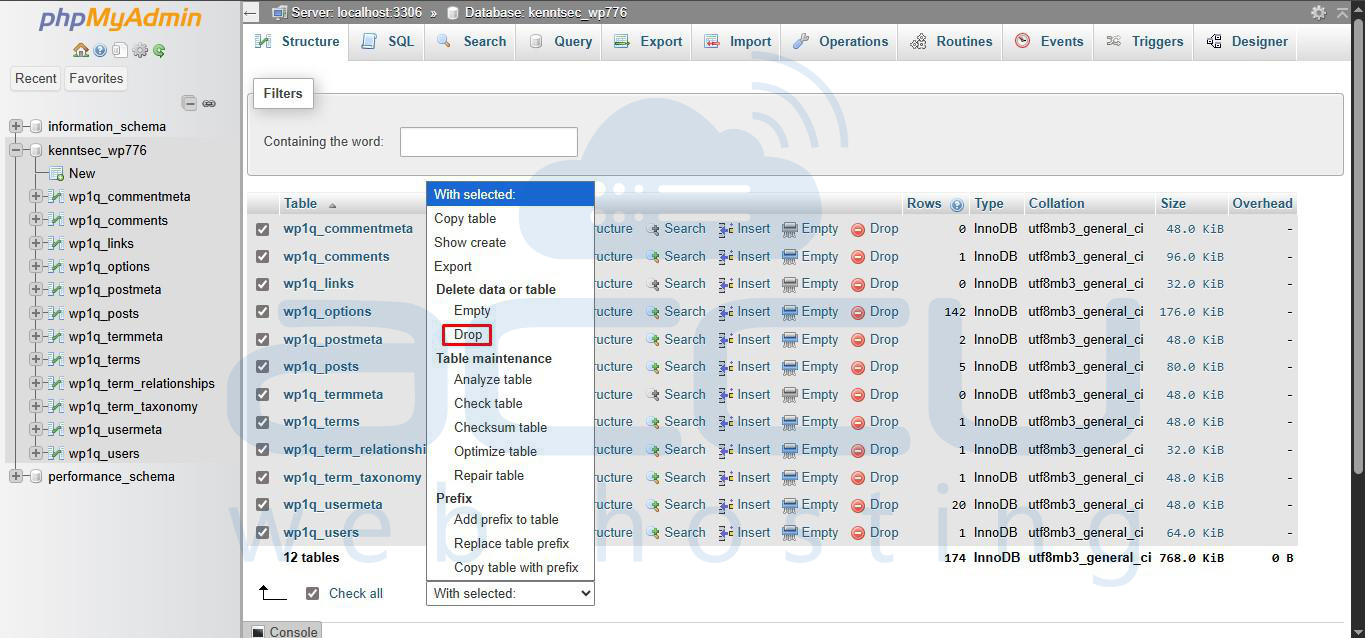
Step 3: Click on your WordPress database and choose the Check All option to select all tables.
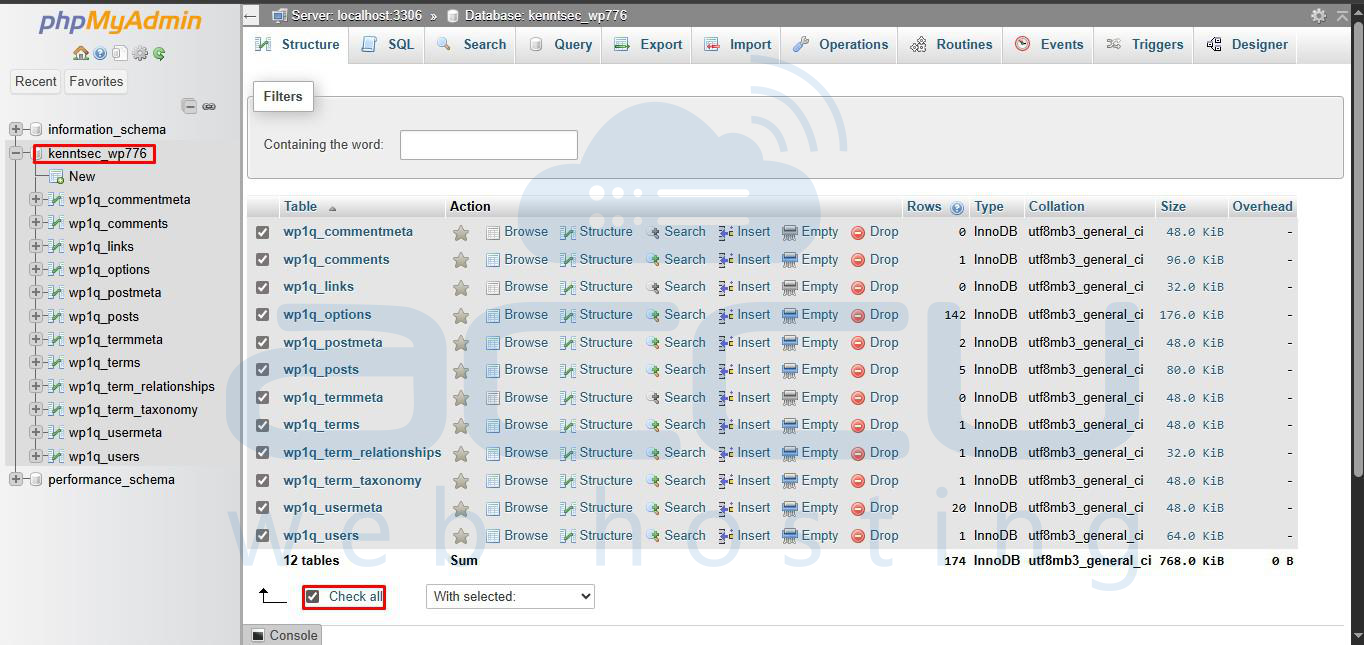
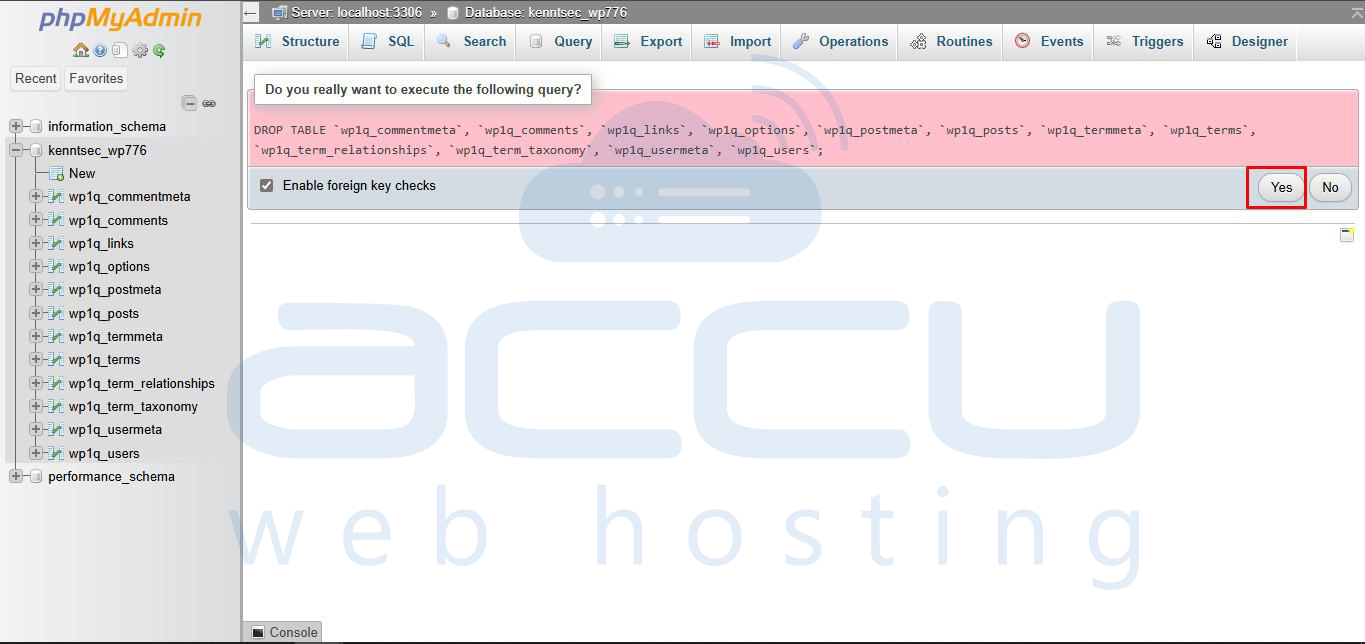
Step 4: From the drop-down list, select the Drop option to empty the database. On the next screen, click on Yes.
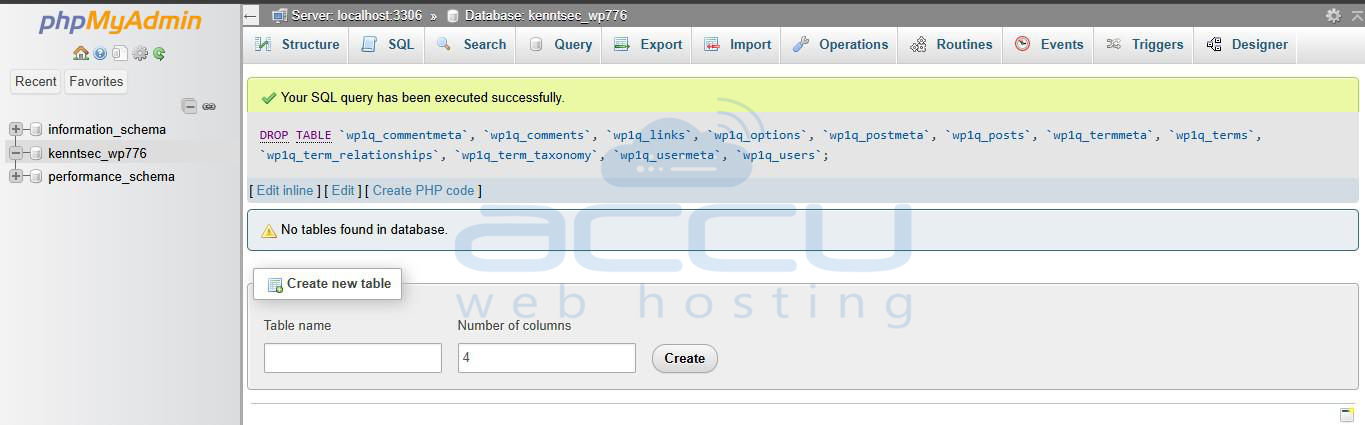
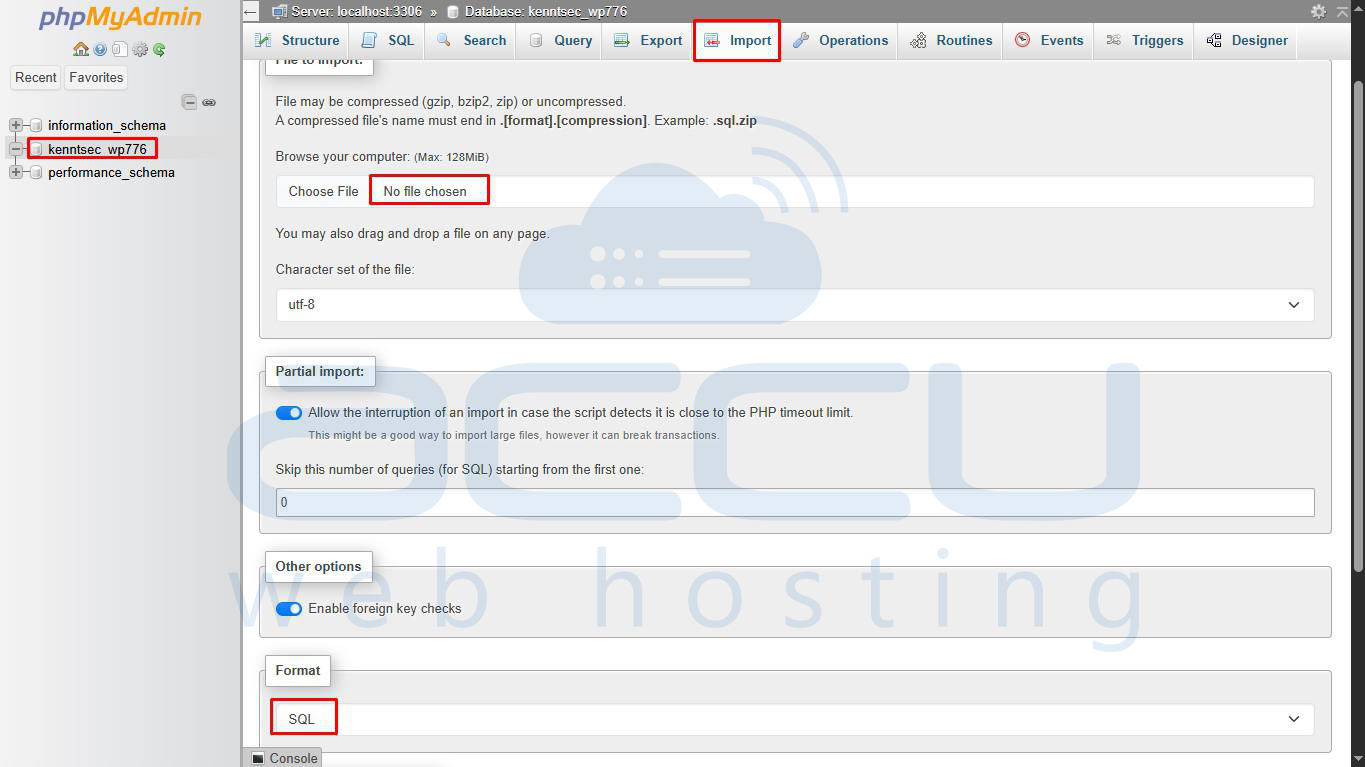
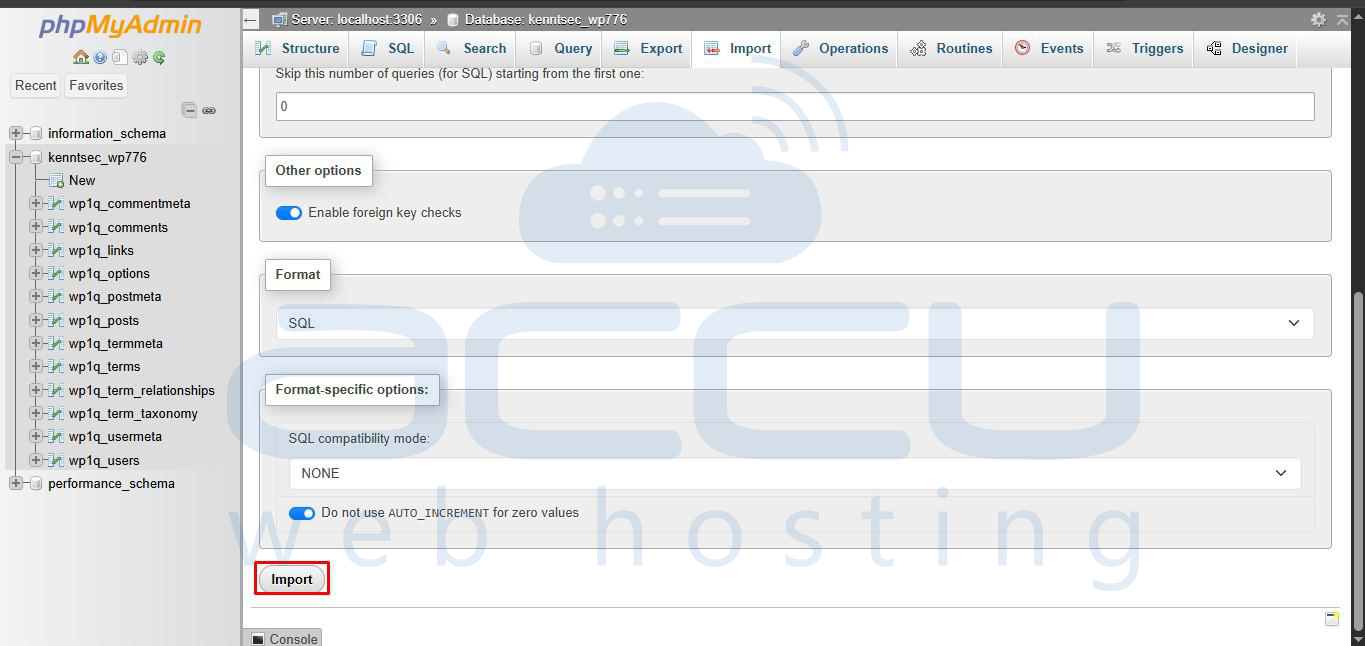
Step 5: Now, you have an empty database to restore your backup database to it. Select the WordPress database and click on the Import tab at the top in phpMyAdmin.
Step 6: Now, click on Browse and select the database file stored on your local computer. Ensure the SQL is selected in the Format drop-down menu and click on Import.
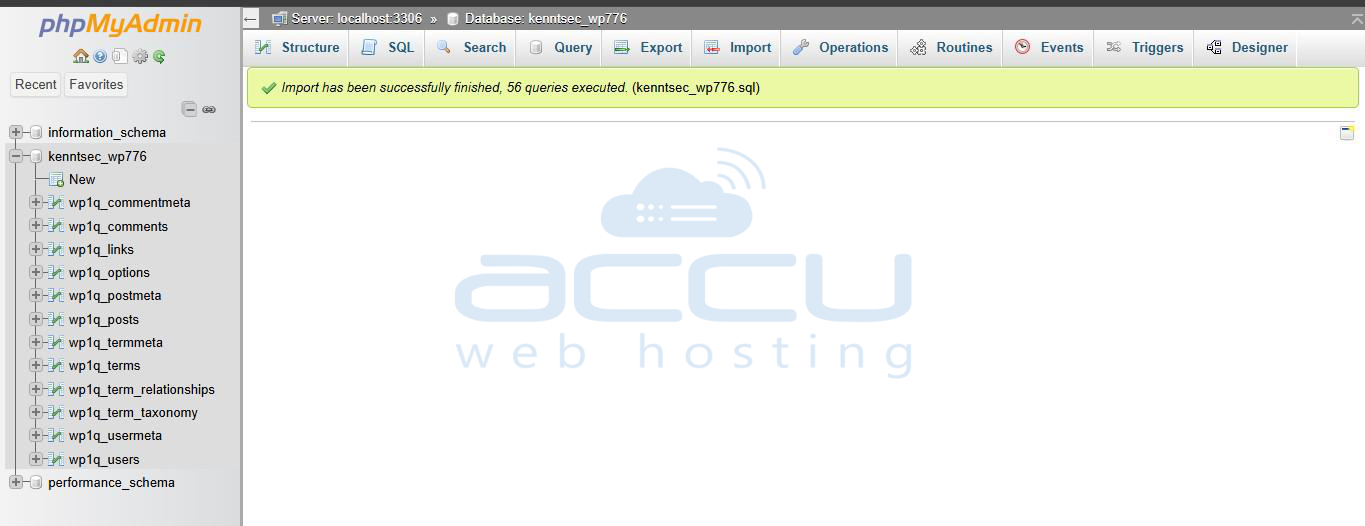
This process will take some time, depending on your database size. The completion of this process without any error assures a successful database restore.
MySQL Database Restore using Website Panel:
Windows Shared Hosting customers can restore the MySQL database backup by referring to the article here. Once your WordPress database is restored successfully, you will need to upload the WordPress backup files to the webspace.
Restore WordPress Files/ Folders using FTP
The following steps are common for both Windows and Linux Shared Hosting customers.
Note: In this step, you will need to replace the existing WordPress files with functional WordPress files from the available backup.
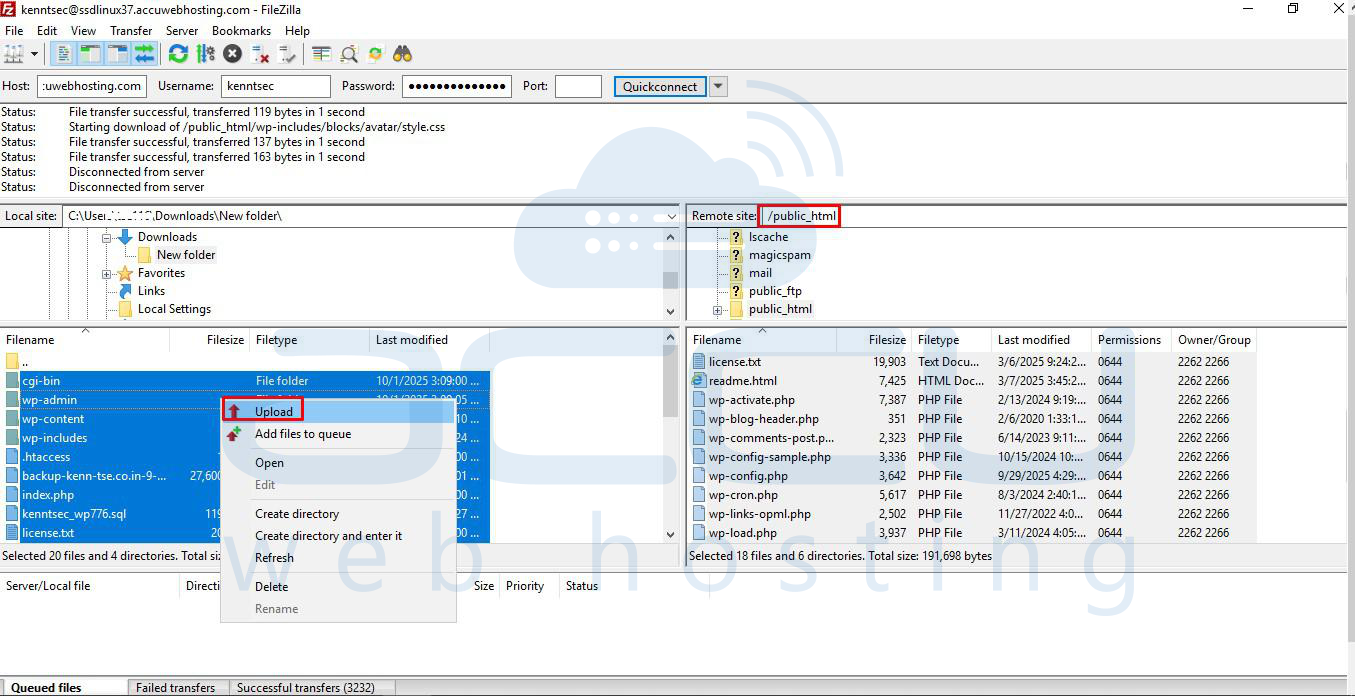
- Connect via any FTP client to your webspace.
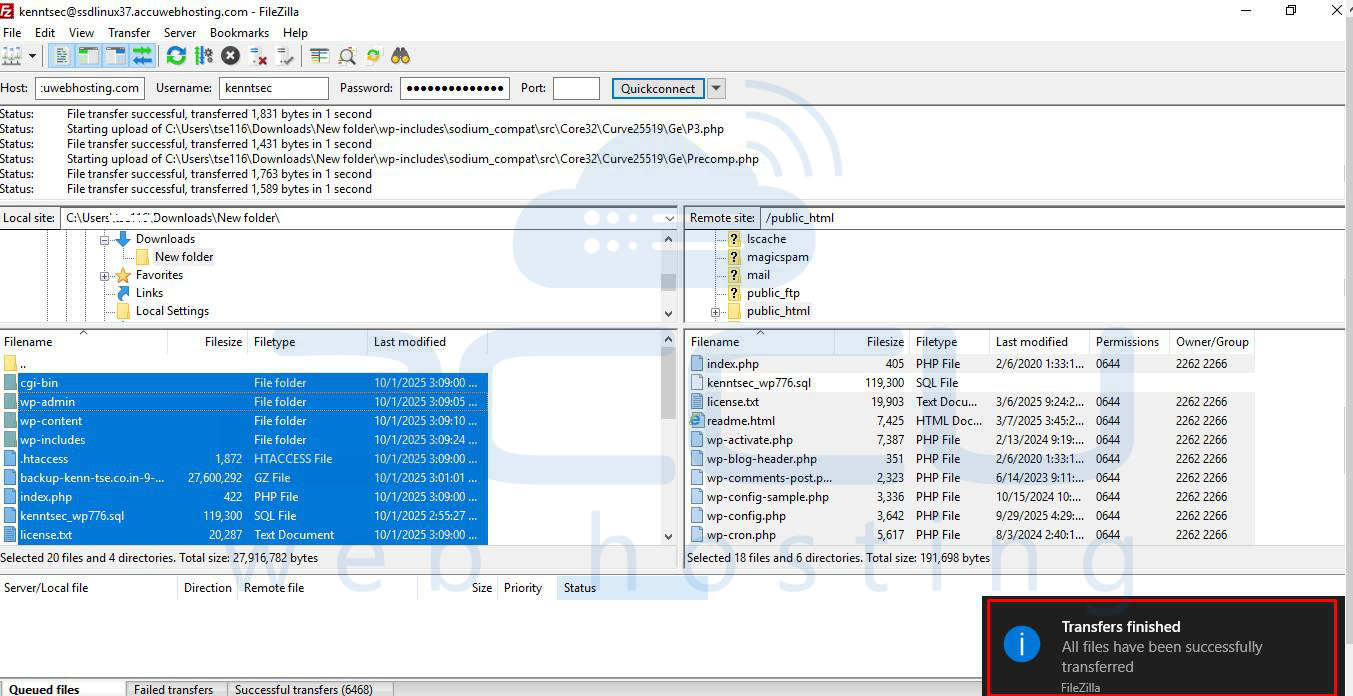
- Locate the home directory of your WordPress installation and replace those files with your backup files stored on your local computer.
Note: Suppose you created an entirely new database instead of importing the current one; in that case, you will require updating the database details on the wp-config.php file.
