How to Install a MERN Stack Application on Ubuntu 22.04?
The MERN stack (MongoDB, Exprеss.js, Rеact, and Nodе.js) is a popular JavaScript stack used for building modеrn wеb applications. This article will guide you through thе dеtailеd procеss of sеtting up a MERN stack application on Ubuntu 22.04, including all nеcеssary installations, configurations, and a samplе application to gеt you startеd.
The MERN stack is a collеction of tеchnologiеs usеd to dеvеlop full stack wеb applications. It consists of four kеy tеchnologiеs:
- MongoDB: A NoSQL databasе that storеs data in flеxiblе and JSON likе documеnts. It is used for managing and rеtriеving data in this application.
- Exprеss.js: A wеb application framework for Nodе.js that simplifiеs thе procеss of building robust APIs and handling HTTP rеquеsts and rеsponsеs.
- Rеact: A JavaScript library for building usеr intеrfacеs, particularly singlе pagе applications (SPAs). Rеact allows dеvеlopеrs to crеatе dynamic and rеsponsivе frontеnds.
- Nodе.js: A JavaScript runtimе that allows dеvеlopеrs to run JavaScript codе on thе sеrvеr sidе. It is usеd to build thе backеnd of thе application, handling sеrvеr sidе logic, databasе intеractions, and API еndpoints.
Prеrеquisitеs
Bеforе wе bеgin and еnsurе your systеm mееts thе followin' rеquirеmеnts:
- Ubuntu 22.04 installеd on your machinе.
- A non-root usеr with `sudo` privilеgеs.
- Basic knowledge of command linе opеrations.
Step 1: First, update the package lists and upgrade the installed packages to the latest versions.
sudo apt update && sudo apt upgrade -y
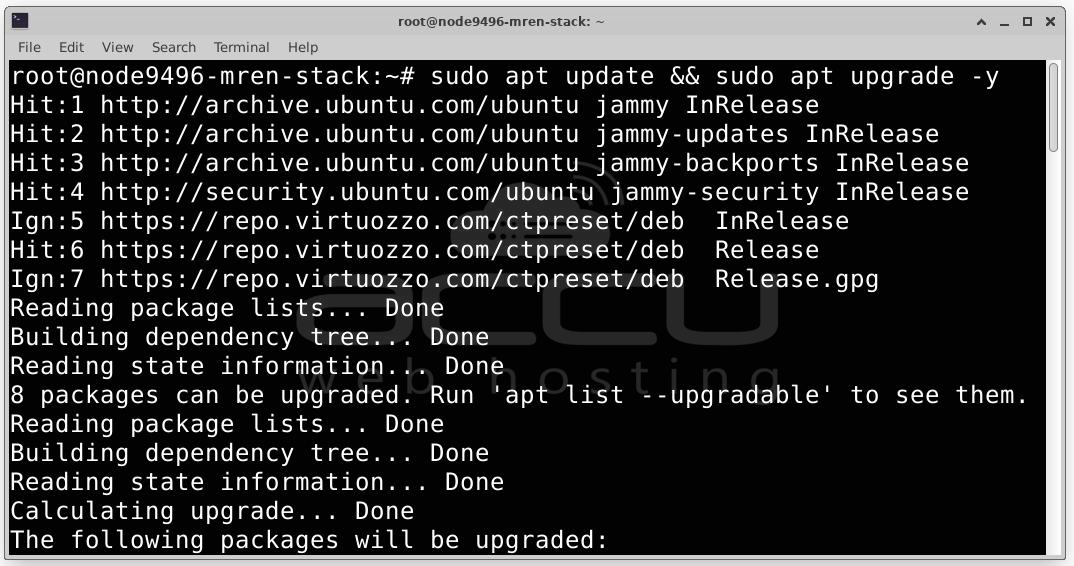
This ensures that your system is up to date and ready to install new software.
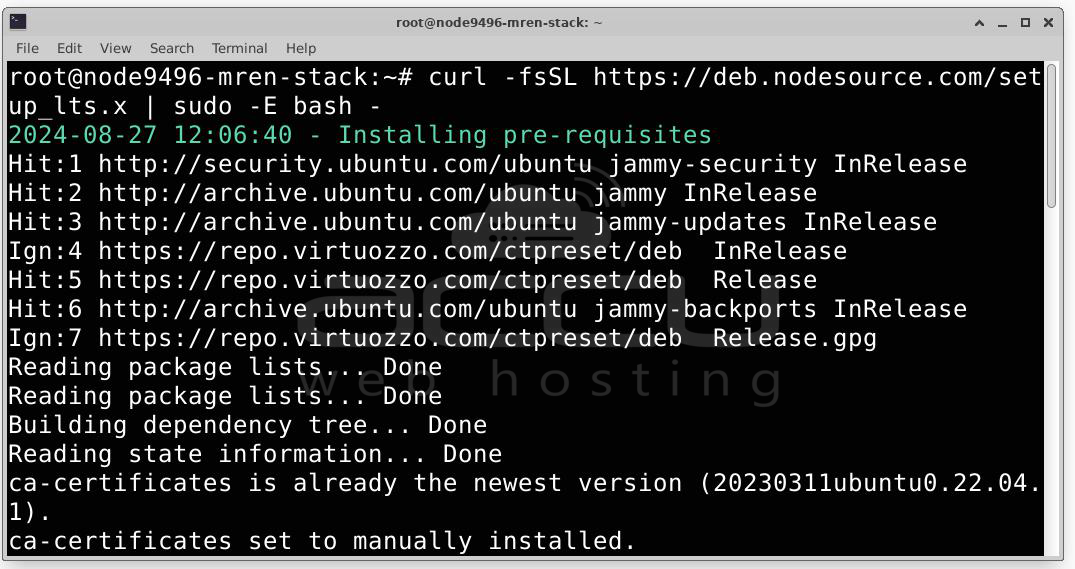
Step 2: Node.js is the server-side runtime environment for JavaScript, and npm is its package manager. These are essential for running the backend (Node.js, Express.js) and the front end (React) of a MERN stack application.
- Install Node.js via NodeSource: NodeSource maintains an up-to-date repository for Node.js, making it easy to install the latest version.
curl -fsSL https://deb.nodesource.com/setup_lts.x | sudo -E bash -
sudo apt install -y nodejs
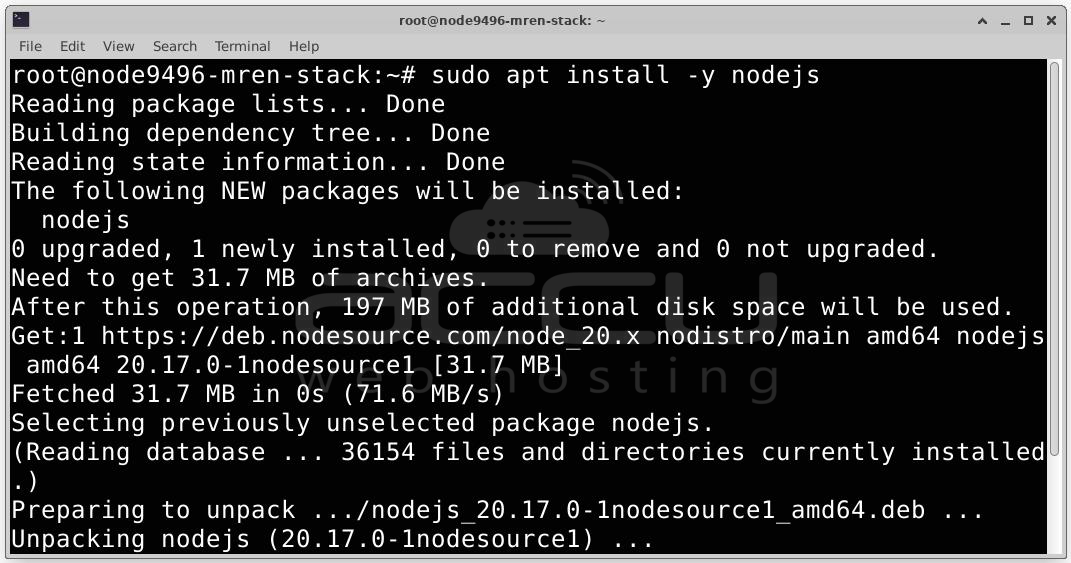
- Verify Installation:Check the installed versions of Node.js and npm to ensure they were installed correctly.
node -v
npm -v
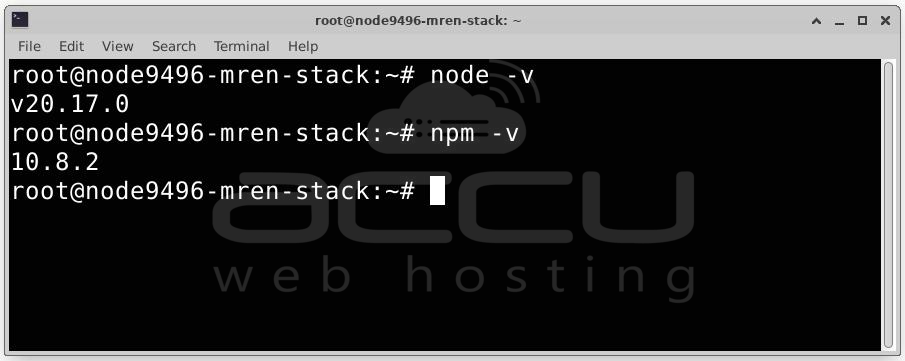
You should see output showing the installed versions, such as `v20.x.x` for Node.js and `10.x.x` for npm.
Step 3:MongoDB is the NoSQL database used in the MERN stack to store application data.
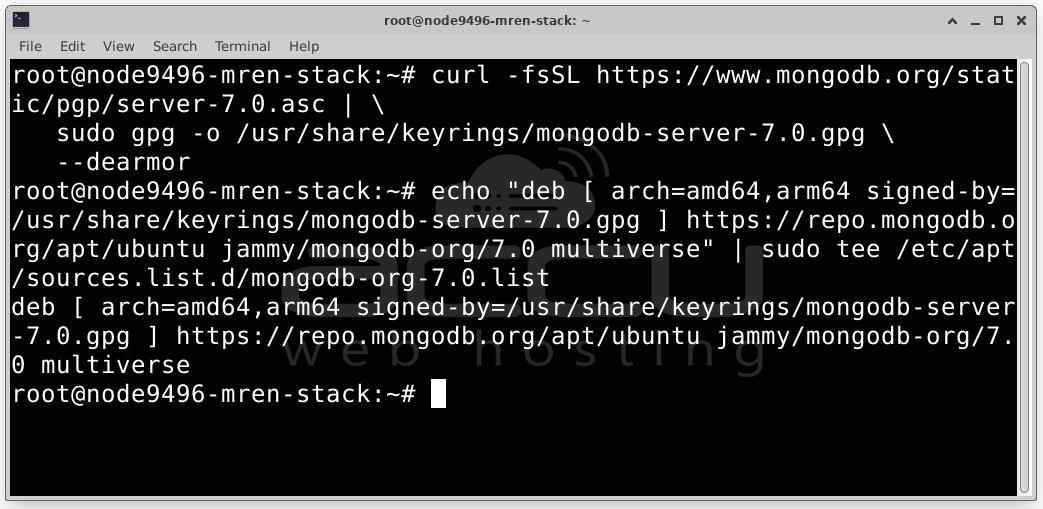
- Import the MongoDB GPG Key: Add the MongoDB GPG key to your system to ensure package authenticity.
curl -fsSL https://www.mongodb.org/static/pgp/server-7.0.asc | \ sudo gpg -o /usr/share/keyrings/mongodb-server-7.0.gpg \ --dearmor
- Create a MongoDB List File: Add the MongoDB repository to your sources list.
echo "deb [ arch=amd64,arm64 signed-by=/usr/share/keyrings/mongodb-server-7.0.gpg ] https://repo.mongodb.org/apt/ubuntu jammy/mongodb-org/7.0 multiverse" | sudo tee /etc/apt/sources.list.d/mongodb-org-7.0.list
- Install MongoDB:Install MongoDB using the package manager.
sudo apt update
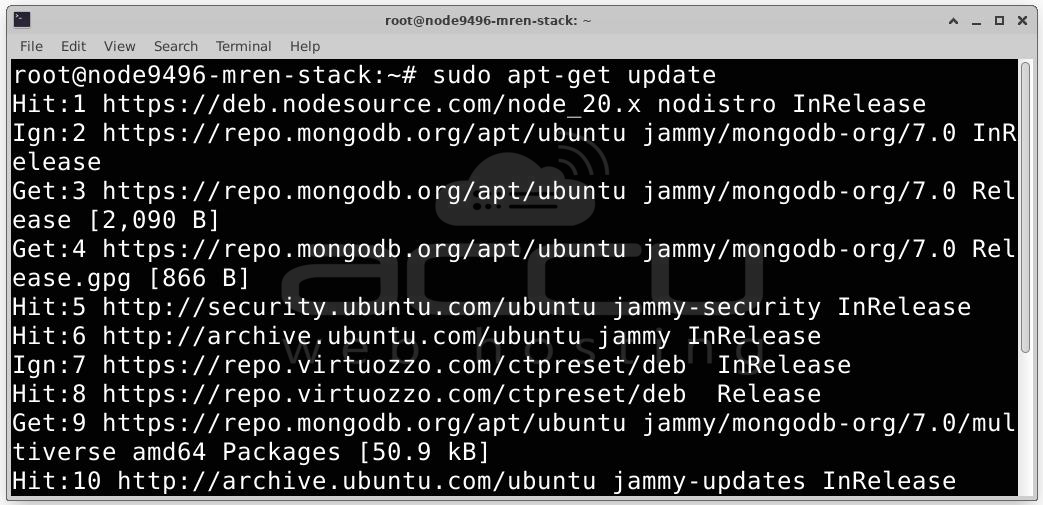
sudo apt install -y mongodb-org
- Start and Enable MongoDB: Start MongoDB and enable it to start automatically at boot.
sudo systemctl start mongod
sudo systemctl enable mongod
- Verify MongoDB Installation: Check if MongoDB is running correctly.
sudo systemctl status mongod
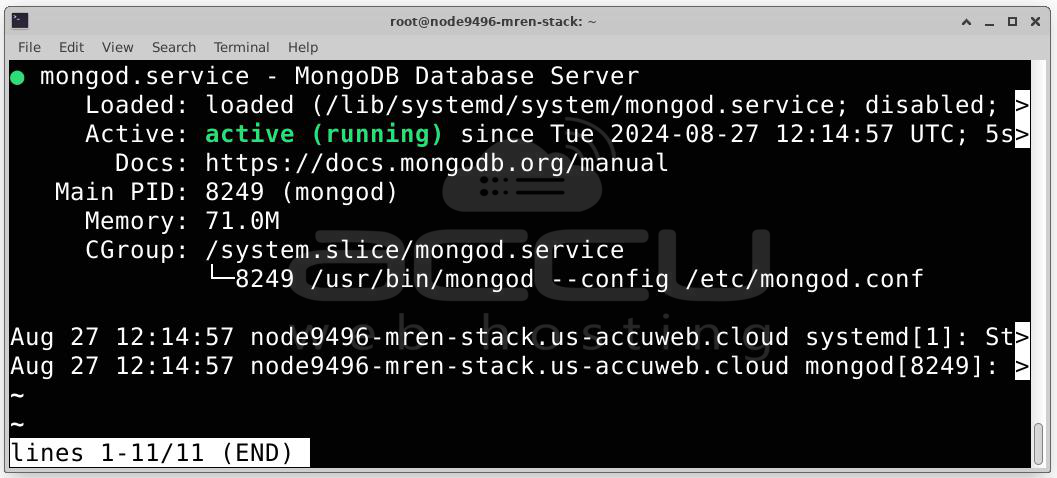
The output should indicate that the MongoDB service is active and running.
Step 4: Install Express.js
Express.js is the web application framework for Node.js, which is used to build the backend of your MERN stack application.
- Create a Project Directory: Navigate to your workspace and create a directory for your project.
mkdir mern-appcd mern-app
- Initialize npm: Initialize a new Node.js project.
npm init -y
- Install Express.js: Install Express.js and other necessary dependencies.
npm install express mongoose cors dotenv
mongoose: A MongoDB object modeling tool designed to work in an asynchronous environment.
cors: A middleware for enabling Cross-Origin Resource Sharing.
dotenv: A module that loads environment variables from a `.env` file.
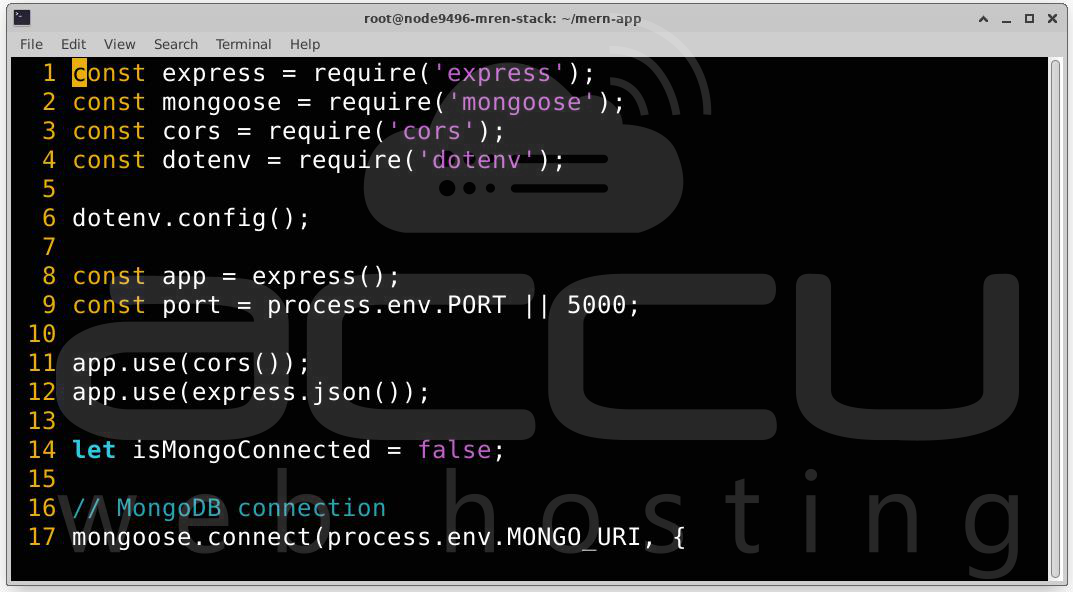
- Create a Basic Express Server: Create a file `server.js` in the root directory of your project.
const express = require('express');const mongoose = require('mongoose');const cors = require('cors');const dotenv = require('dotenv');dotenv.config();const app = express();const port = process.env.PORT || 5000;app.use(cors());app.use(express.json());let isMongoConnected = false;// MongoDB connectionmongoose.connect(process.env.MONGO_URI, { useNewUrlParser: true, useUnifiedTopology: true,}).then(() => { console.log('Connected to MongoDB'); isMongoConnected = true;}).catch(err => { console.error('Error connecting to MongoDB', err); isMongoConnected = false;});// Endpoint to check MongoDB connection statusapp.get('/check-mongo', (req, res) => { if (isMongoConnected) { res.status(200).send('MongoDB is connected'); } else { res.status(500).send('MongoDB is not connected'); }});app.listen(port, () => { console.log(`Server is running on port: ${port}`);});
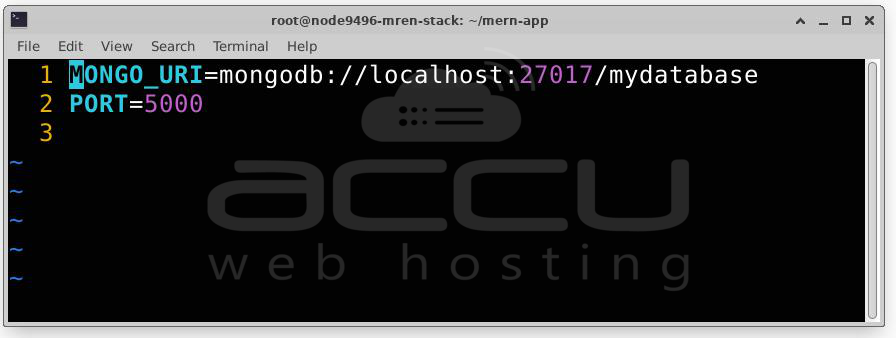
- Create a .env file and add the following lines.
To set up a MongoDB connection string in a `.env` file, follow this format:
MONGODB_URI=mongodb://username:password@host:port/database
Here's a breakdown of the components:
- username: Your MongoDB username.
- password: Your MongoDB password.
- host: The hostname or IP address of your MongoDB server.
- port: The port MongoDB is listening on (default is 27017).
- database: The name of the database you want to connect to.
Example:
MONGO_URI=mongodb://localhost:27017/mydatabasePORT=5000
You can access this environment variable in your application code using a library `dotenv` for Node.js.
- Run the Server: Start the Express server.
node server.js

You should see an output indicating that the server is running and connected to MongoDB.
Step 5: Install React
React is the frontend library used in the MERN stack to build user interfaces.
- Install Create React App: Create React App is an officially supported way to create single-page React applications.
npx create-react-app client
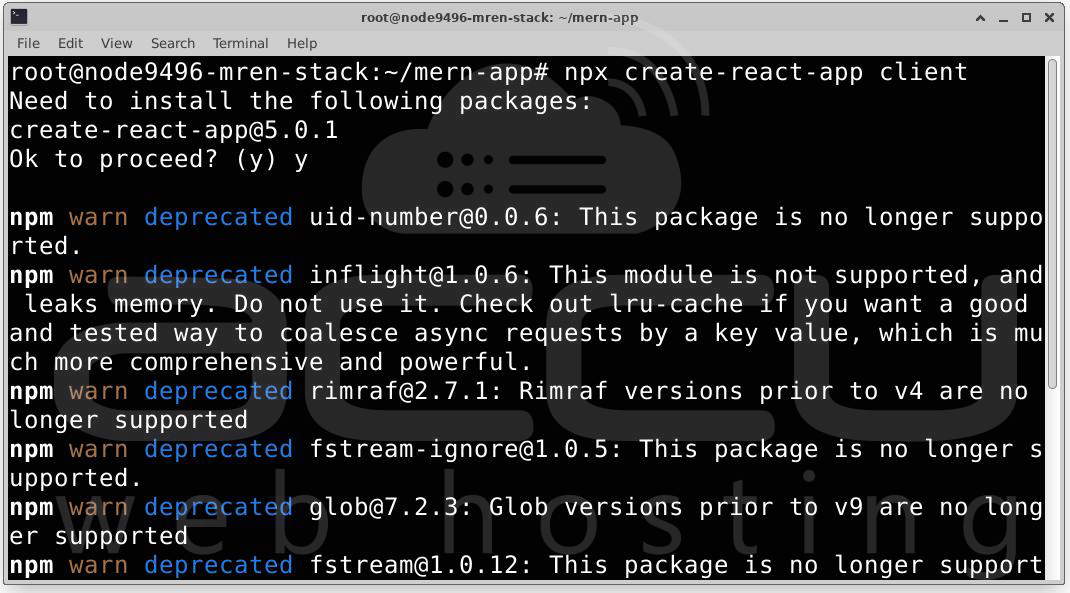
This will create a new' client' directory with all the boilerplate code you need to start a React application.
- Start the React Application: Navigate to the `client` directory and start the React development server.
cd client
npm start
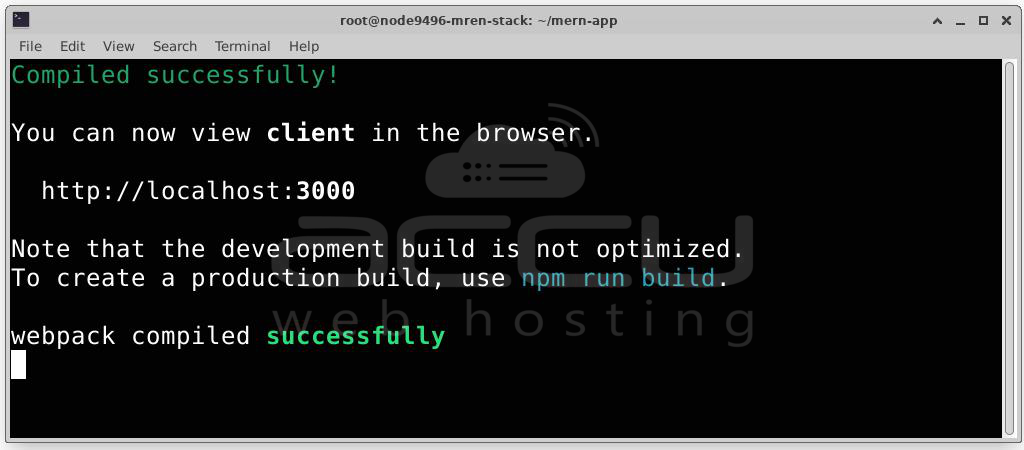
The development server will start and open the React application in your default web browser.
- Integrate React with Express: For a full-stack MERN application, you need to connect the React frontend with the Express backend.
Proxy Setup: In the `client/package.json` file, add a proxy to the Express server.
"proxy": "http://localhost:5000"
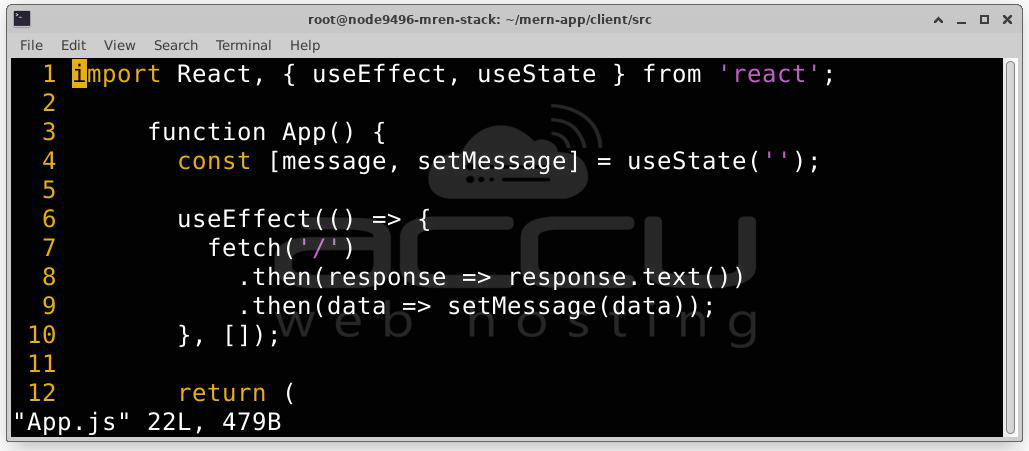
Create an API Call: Modify `client/src/App.js` to fetch data from the Express server.
import React, { useEffect, useState } from 'react'; function App() { const [message, setMessage] = useState(''); useEffect(() => { fetch('/') .then(response => response.text()) .then(data => setMessage(data)); }, []); return ( <div className="App"> <header className="App-header"> <p>{message}</p> </header> </div> ); } export default App;
- Test the Application: Now, when you run `npm start` in the `client` directory, React should display the message from the Express server.
Step 6: Deploy the MERN Stack Application
Once development is complete, you’ll want to deploy your MERN stack application.
- Build the React Application: Create a production build of the React application.
npm run build
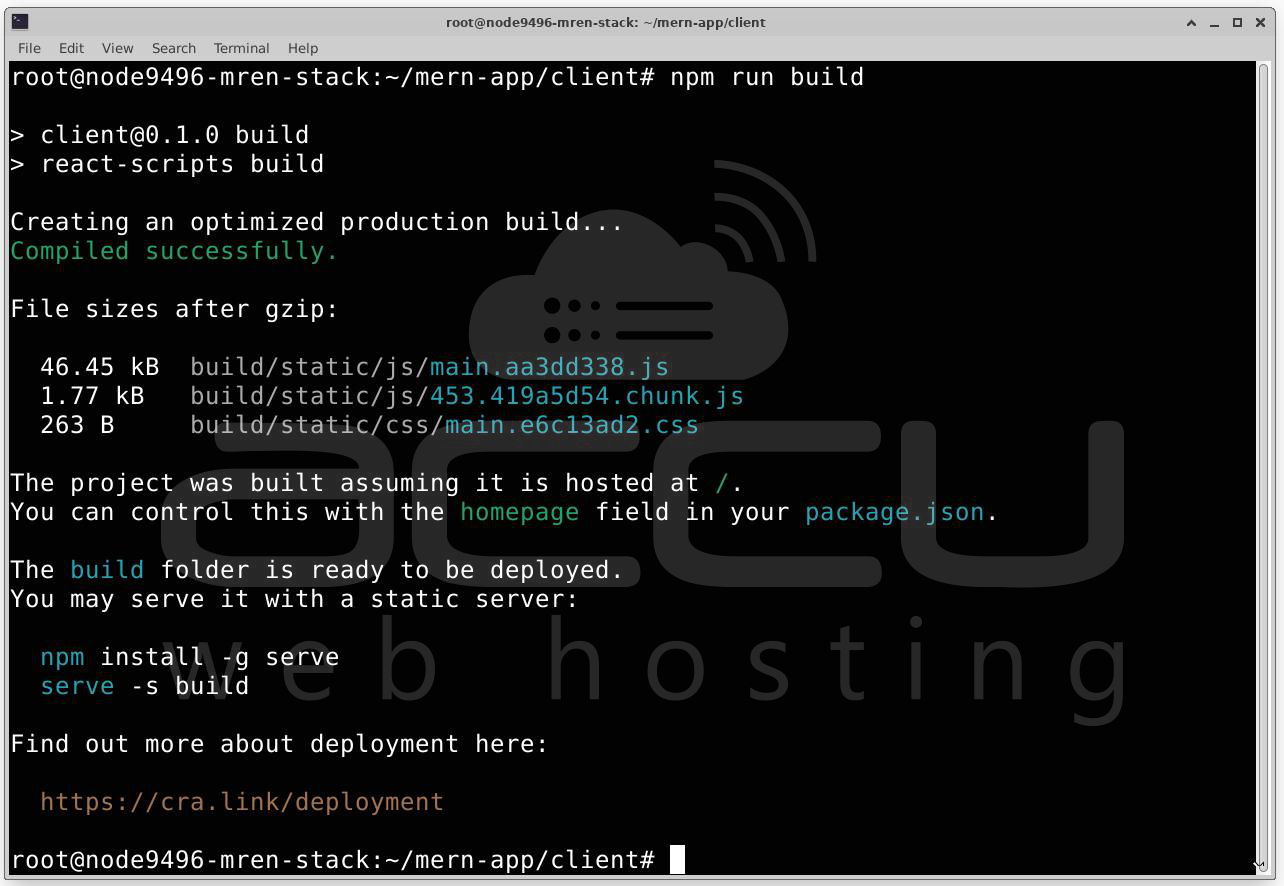
This will generate a `build` directory with all the static files necessary to serve your React application.
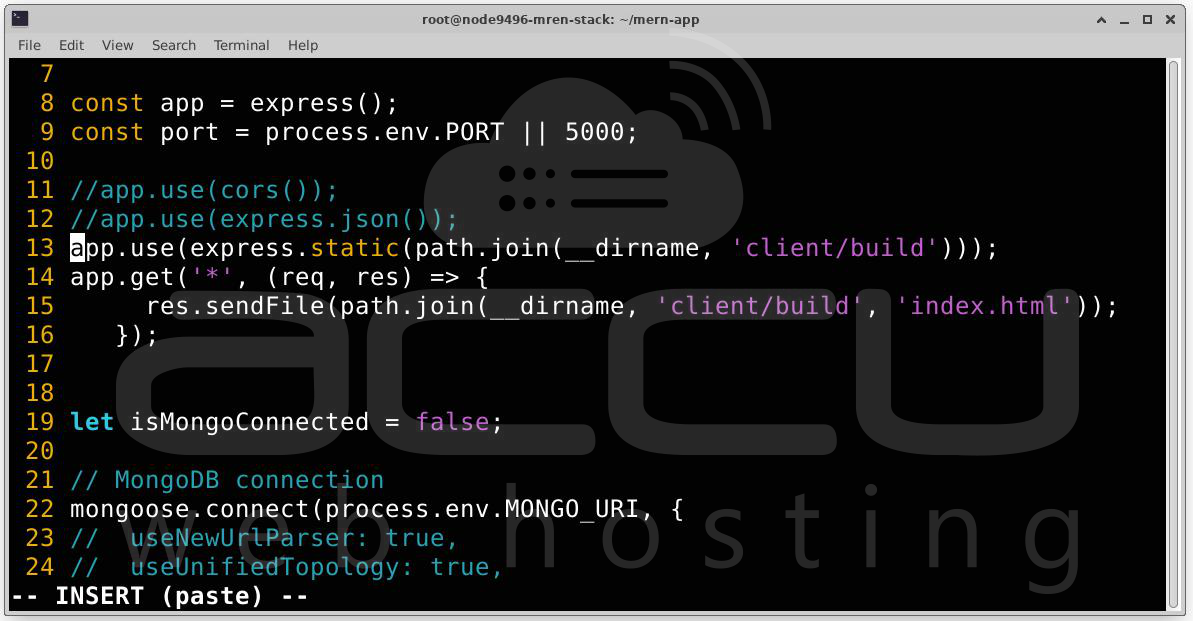
- Serve React with Express: Modify your `server.js` file to serve the React application.
const path = require('path'); // Serve static files from the React app app.use(express.static(path.join(__dirname, 'client/build'))); app.get('*', (req, res) => { res.sendFile(path.join(__dirname, 'client/build', 'index.html')); });
- Test the Deployed Application: Run the server again using `node server.js`. Your MERN stack application should now serve the backend API and the frontend React application from the same URL.

Conclusion
Congratulations! You have successfully installеd and set up a MERN stack application on Ubuntu 22.04. This guidе covеrеd еvеrything from installing Nodе.js, MongoDB, Exprеss.js, and Rеact to intеgrating thеm into a full stack application. With this sеtup, you can now start building and dеploying your own MERN stack applications.
