MySQL is a popular open-source database well known for its balance between speed and features. This tutorial demonstrates how to install phpMyAdmin on CentOS 7, enhance MySQL database management, and add a valuable utility to your VPS.
PhpMyAdmin is an essential web-based database management tool because the native MySQL access tool is the command line, which can be challenging for novice users without a GUI. phpMyAdmin addresses this by supporting various operations on both MySQL and MariaDB databases.
What are the Benefits of using phpMyAdmin?
Installing phpMyAdmin on CentOS 7 provides a user-friendly web interface accessible through your browser, offering features such as managing databases, tables, columns, relations, users, and direct execution of SQL statements. This eliminates the need for the command line.
Additional phpMyAdmin Features:
- Perform operations such as creating, browsing, editing, and dropping databases, tables, views, columns, & indexes.
- Display multiple result sets by stored procedures or queries.
- Execute tasks like creating, copying, dropping, renaming, and altering databases, tables, columns, and indexes.
- Conduct maintenance on servers, databases, and tables with suggested server configuration proposals.
- Load text files into tables.
Prerequisites:
Before starting, ensure you have the following:
- CentOS7
- Access to log in as the root user or possessing sudo privileges for software installation.
- An existing LAMP stack comprising Apache, MySQL/MariaDB, and PHP. If you don't have LAMP, follow these steps to set it up.
Important: CentOS Linux 8 reached its End of Lifetime (EOL) on 2021-12-31. Although CentOS Linux 7 is currently supported, it is scheduled to reach EOL on 2024-06-30. We strongly advise considering this information when selecting this operating system. For more information, please refer to their official website.
Step 1: System Update
Before software installation, it's essential to confirm your system is up-to-date by executing the following command:
# sudo yum update
This action will update all packages on your system to their latest versions.
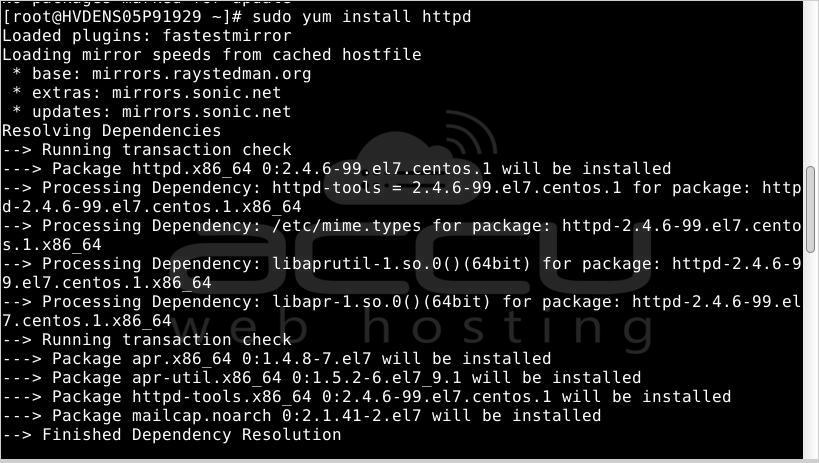
Step 2: Apache Web Server Installation
To enable the use of PhpMyAdmin, a web-based tool, install the Apache web server by executing the following command.
# sudo yum install httpd
After installation, initiate the Apache service and set it to start automatically during boot.
# sudo systemctl start httpd
# sudo systemctl enable httpd

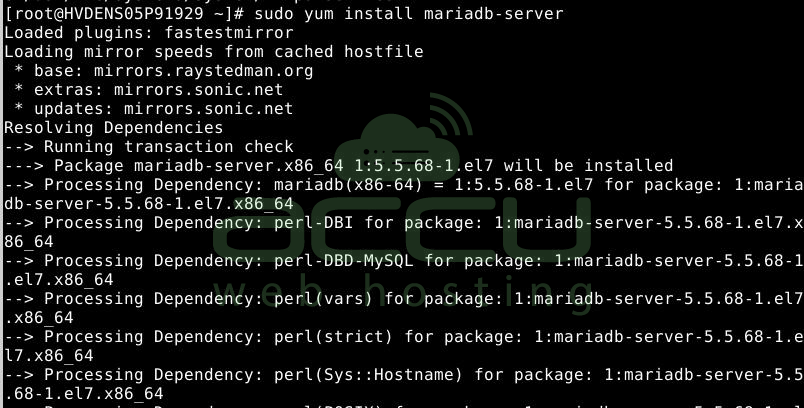
Step 3: Install MariaDB or MySQL
A database server is also necessary. You can install MariaDB or MySQL; we'll proceed with MariaDB for this example.
# yum install mariadb-server
After installation, start the MariaDB service and configure it to start automatically upon boot.
# sudo systemctl start mariadb
# sudo systemctl enable mariadb

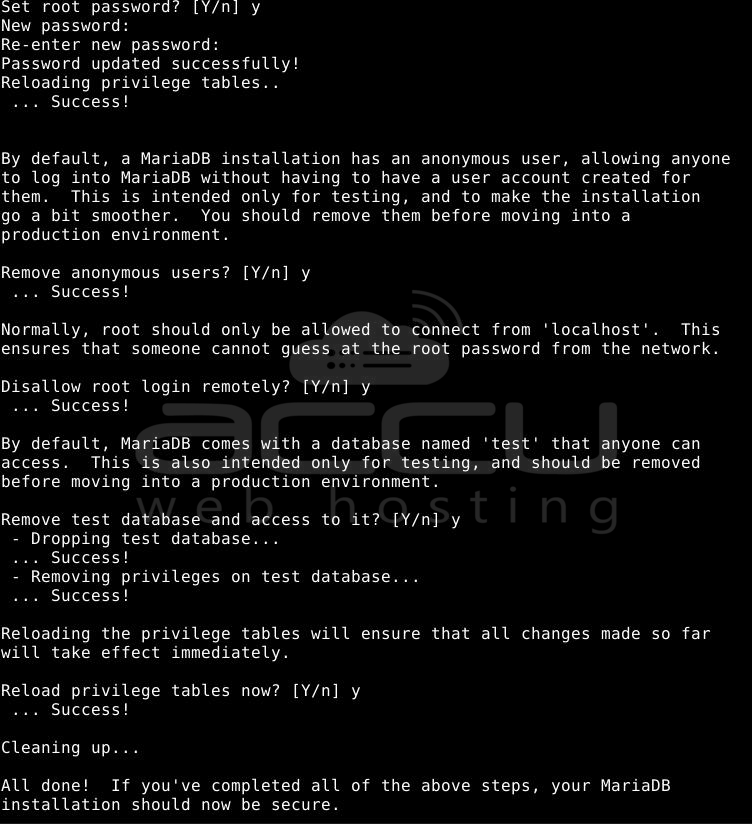
After installing MariaDB, enhance its security by executing the script. This script will guide you through setting a password for the root user, disallowing remote root logins, and removing anonymous users. Additionally, it will delete the default test database, which could otherwise be accessed by anonymous users.
# sudo mysql_secure_installation
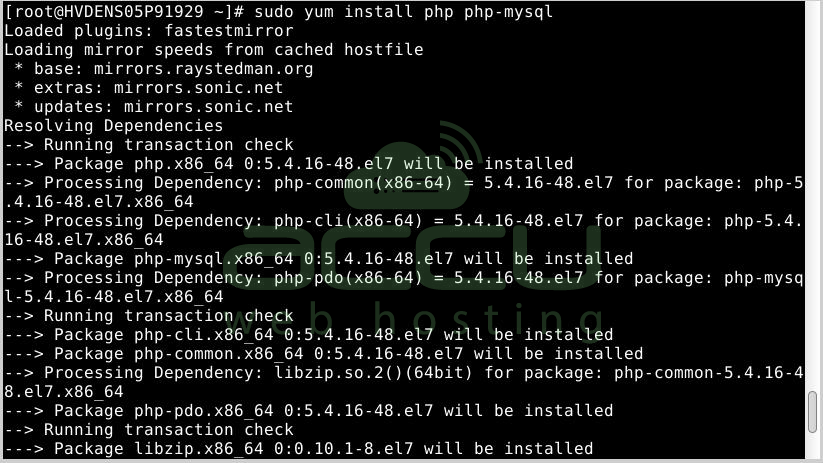
Step 4: PHP Installation
Since PHPMyAdmin is developed with PHP, it is essential to install PHP along with the necessary extensions. Execute the provided command for installation.
# sudo yum install php php-mysql
Note: Ensure that PHP is the latest version.
Step 5: Install the EPEL Repository
phpMyAdmin is available in the EPEL repository (Extra Packages for Enterprise Linux). To access EPEL, you must install a specific package – epel-release. Employ the following command to install epel-release on your CentOS:
# sudo yum install epel-release
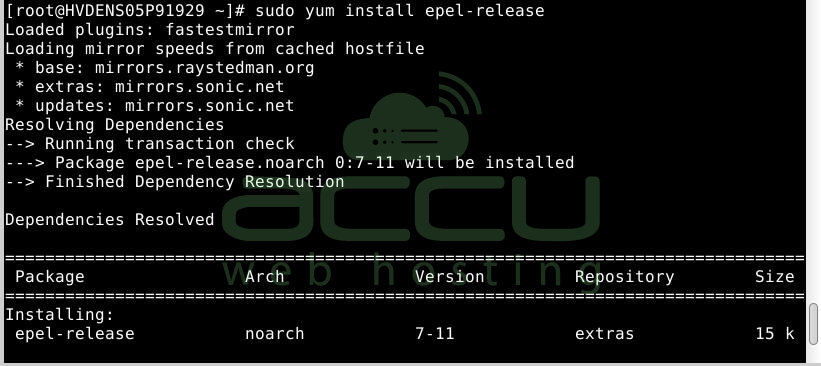
Now that the EPEL repository is accessible, we can install phpMyAdmin on CentOS 7.
Step 6: PHPMyAdmin Installation
Execute the following command:
# yum install phpmyadmin
After the installation, you'll need to edit the phpMyAdmin configuration file.
Step 7: Configure phpMyAdmin.conf File
This modification ensures remote access to your phpMyAdmin client. Open the phpMyAdmin.conf file in the directory /etc/httpd/conf.d/ using the vi editor.
# vi /etc/httpd/conf.d/phpMyAdmin.conf
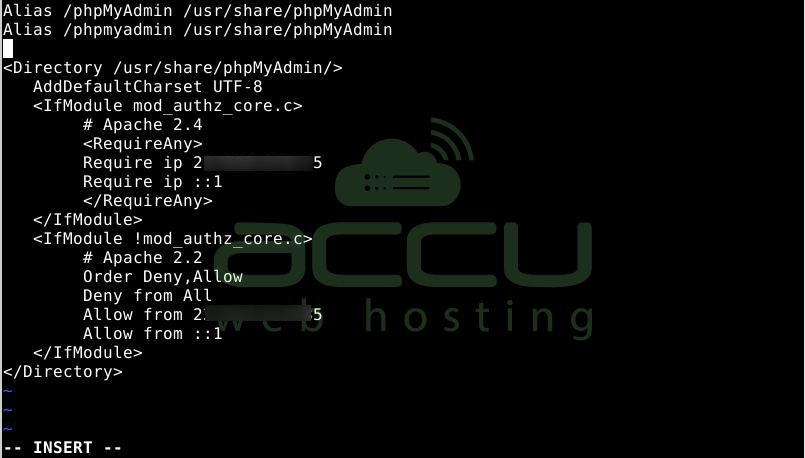
In this section, four "require ip" strings are paired with lengthy IPs, with the default value set to 127.0.0.1. Replace this value with the IP of the machine you intend to use for accessing phpMyAdmin. You can verify your IP using a tool like WhatsMyIP. Save & exit the file by pressing Esc and entering:wq.
Below is an example of phpMyAdmin.conf file:
Step 8: Restart the Apache Web Server
Proceed to restart the Apache web server by executing the following command in the command line:
# systemctl restart httpd
Step 9: Check if phpMyAdmin is functioning
To confirm, open the phpMyAdmin utility by entering your server's IP address in a browser's address bar with the addition of /phpmyadmin, like 127.0.0.1/phpmyadmin. You should then see the login screen.
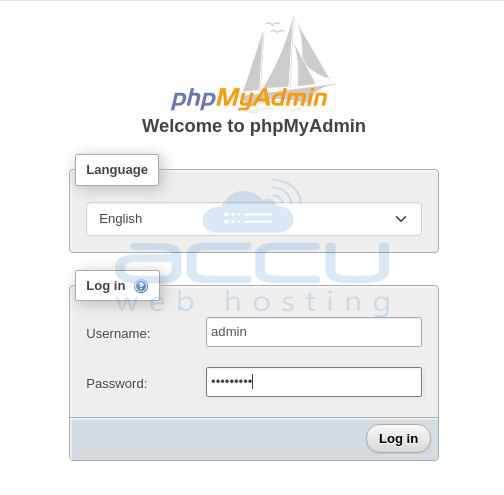
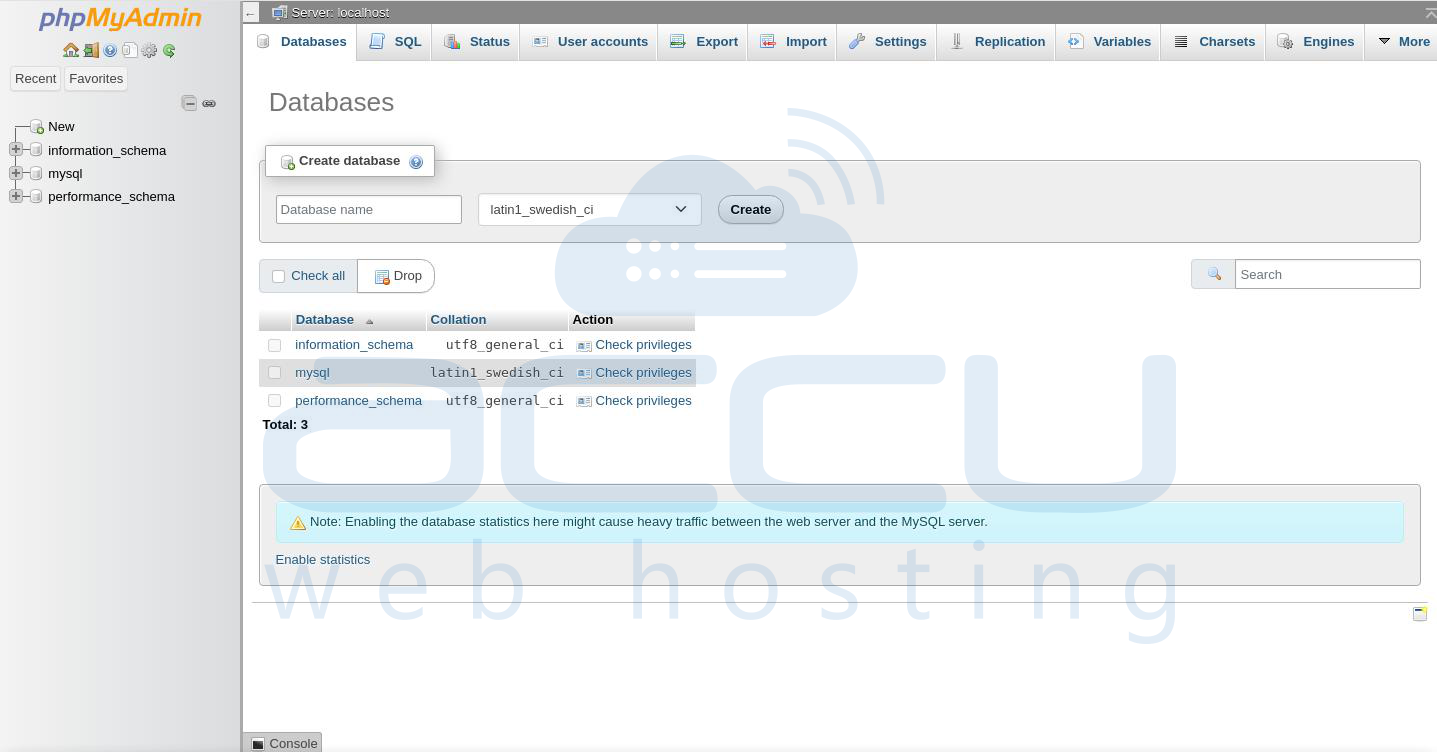
To access phpMyAdmin, enter your MariaDB server username and password when prompted. After logging in, utilize the phpMyAdmin user interface to manage your MariaDB databases.

Conclusion:
That's it! Now you can log in. You have completed the phpMyAdmin installation on CentOS 7. phpMyAdmin is user-friendly and an all-encompassing solution for numerous business database needs. Its popularity stems from the fact that you don't need to be an experienced database administrator to work with phpMyAdmin.
